How to Plant a Perennial Sun Garden
Perennnial sun gardens aren’t just beautiful, they’re also easy to care for, a good investment (plants come back every year), and they lure birds and butterflies to your yard. Don’t be afraid to design and plant your own garden—it’s easy. Begin by selecting plants with a variety of heights, leaf textures, and flower colors. If they look good in your cart at the garden center, they’ll look good planted together at home!
What You’ll Need
![]() Tape measure
Tape measure
![]() Pencil and paper
Pencil and paper
![]() Hard rake
Hard rake
![]() Spade or shovel
Spade or shovel
![]() Garden trowel
Garden trowel
![]() Compost or garden soil
Compost or garden soil
![]() Mulch
Mulch
![]() Plants
Plants
![]() Hose and watering wand
Hose and watering wand
Instant Green Thumb
These sun-loving perennials thrive in almost every climate, are easy to grow, and are always available at garden centers. When planning your perennial sun garden, add these to your list:
![]() Bee balm
Bee balm
![]() Black-eyed Susan
Black-eyed Susan
![]() Coneflower
Coneflower
![]() Coreopsis
Coreopsis
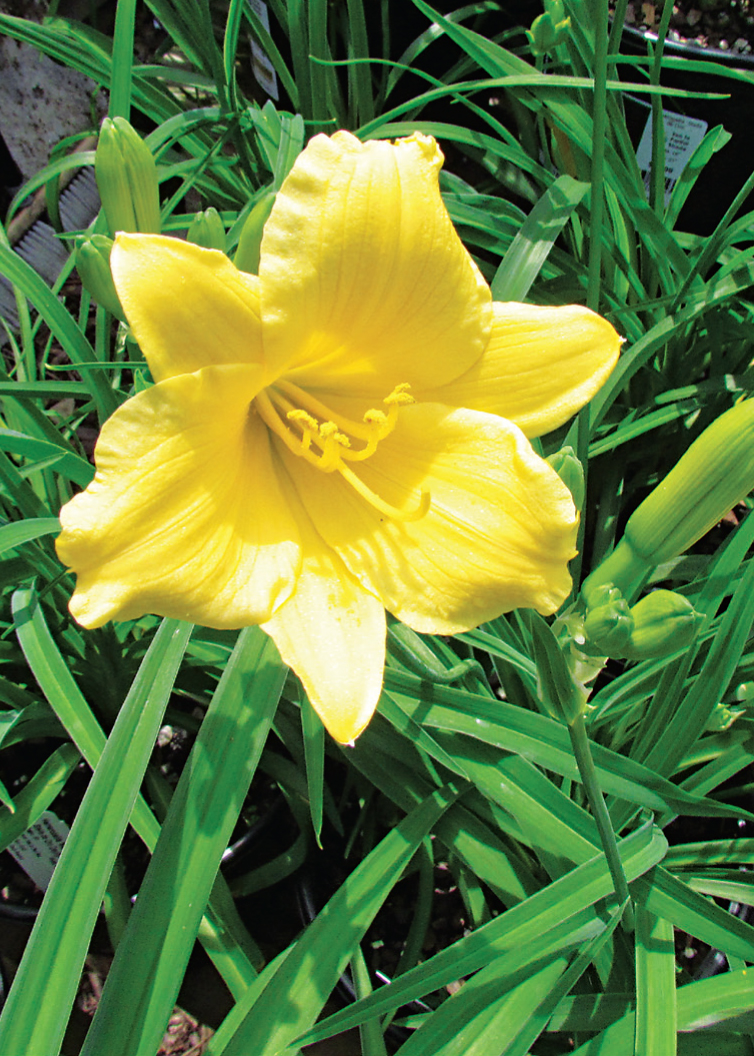
![]() Daylily
Daylily
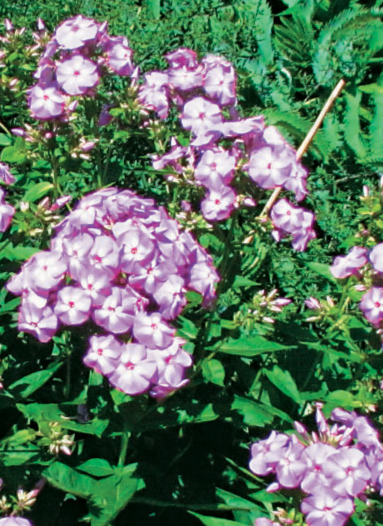
![]() Phlox
Phlox
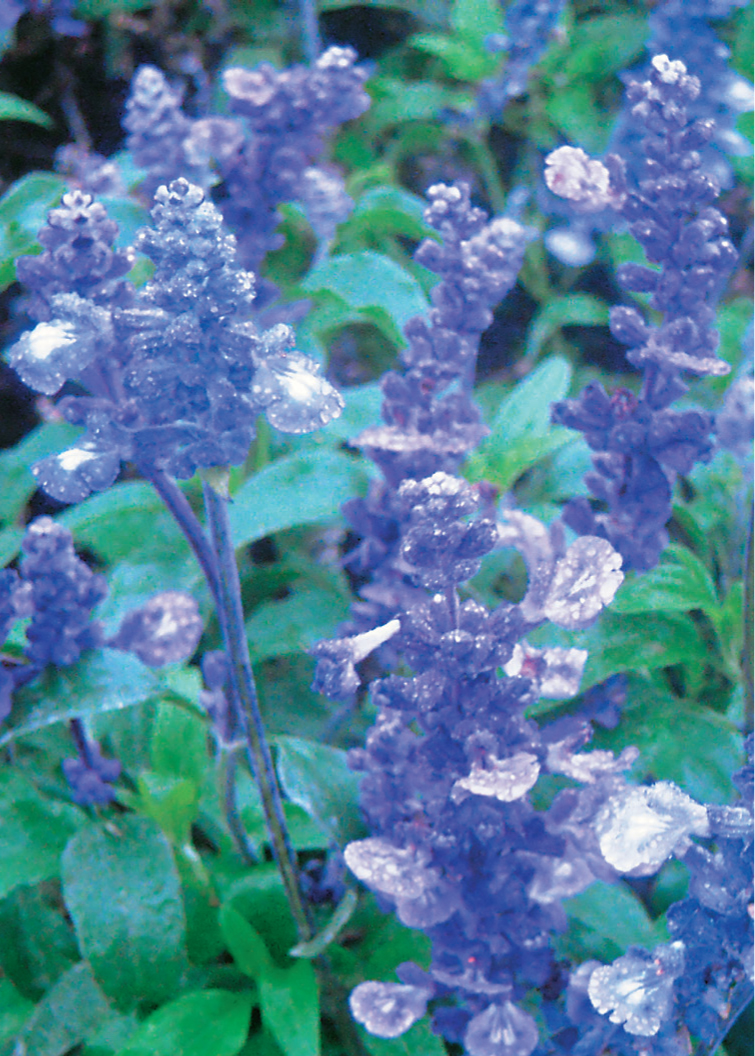
![]() Salvia
Salvia
Step-by-Step

1 Measure the area where you’re planning to plant the garden. Take length and width measurements and multiply them to get the square footage of the planting bed. You’ll use these when calculating the amounts of soil, mulch, and plants to purchase for the garden bed.
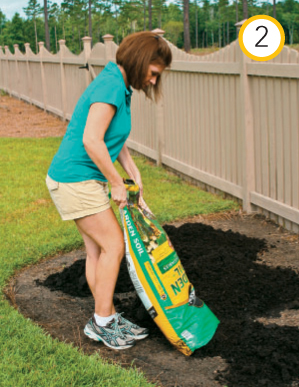
2 Add two inches of soil or compost to the bed. To determine the total cubic feet needed, multiply the area of the bed (length x width) by two and divide by twelve. (For three inches of mulch, multiply the entire area of the bed by three and divide by twelve.)
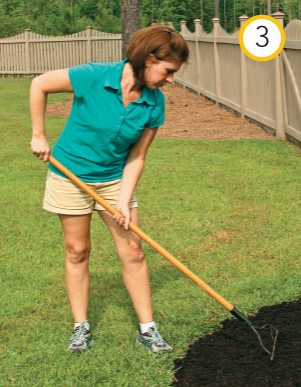
3 Use a 4 tine claw or hard rake to mix the soil into the planting bed. In new housing developments, topsoil is scraped off and sold. Adding compost or garden soil replenishes nutrients and helps plants grow.
You might have heard the term “double digging” before. That’s when you dig out all of the soil in a planting bed, mix it up with compost, and put it back. It is a lot of hard work, so it’s a good thing that science has proven that it’s unnecessary. Rototilling and double digging disrupt earthworms and other soil creatures, so add compost on top, rake it in, and leave it alone!
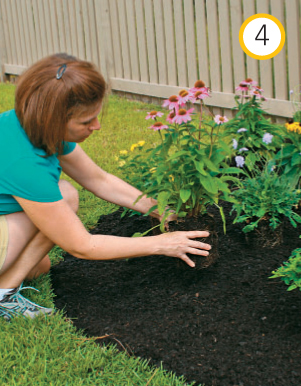
4 Set the plants out where you want to plant them. Stagger the plants so that they aren’t arranged in straight lines. You can also create groupings with one of each type of plant and repeat the groupings in several places throughout the flower bed. If you know you’ll have time to plant on the same day that you set out the plants, take all of the plants out of their containers before you set them in the planting bed—you’ll save yourself a lot of time.
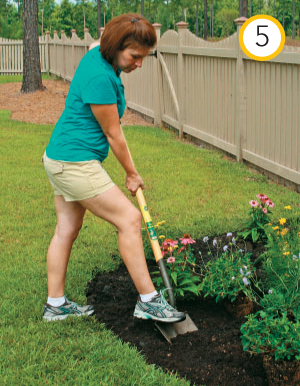
5 Dig the planting holes just as deep as the rootballs of the plants. If you’re planting larger perennials (plants in gallon-sized containers), use a spade or shovel for quick work. Really pay attention to the depth of your planting hole. Perennials can’t handle being planted too deep. The top of the rootball of a plant should be level with, or just slightly higher than, the ground around it.
6 Mulch the completed flower bed by spreading a layer of mulch two or three inches deep. Make sure that the mulch is slightly pushed away from the plant stems. Water the flower bed deeply by counting to ten while watering each plant, then repeat, again counting to ten on each plant. You’ll need to water the plants daily for the first couple of weeks. After the first month, you can water the plants twice a week.
Success Tip
Read the plant tags when you shop for plants and choose plants that have the same water needs. Plant low-water plants with low-water plants, and plants that like staying moist with plants needing the same.
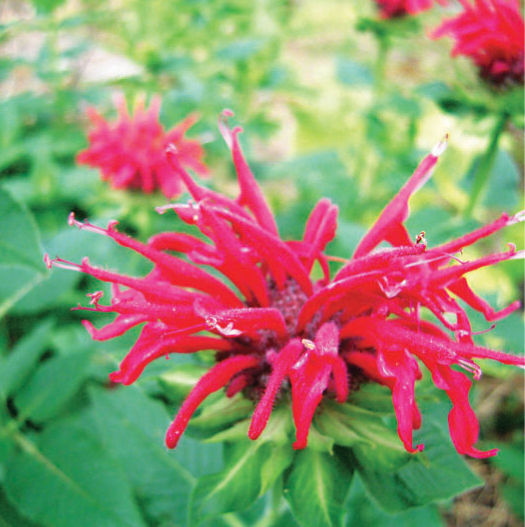
Bee balm
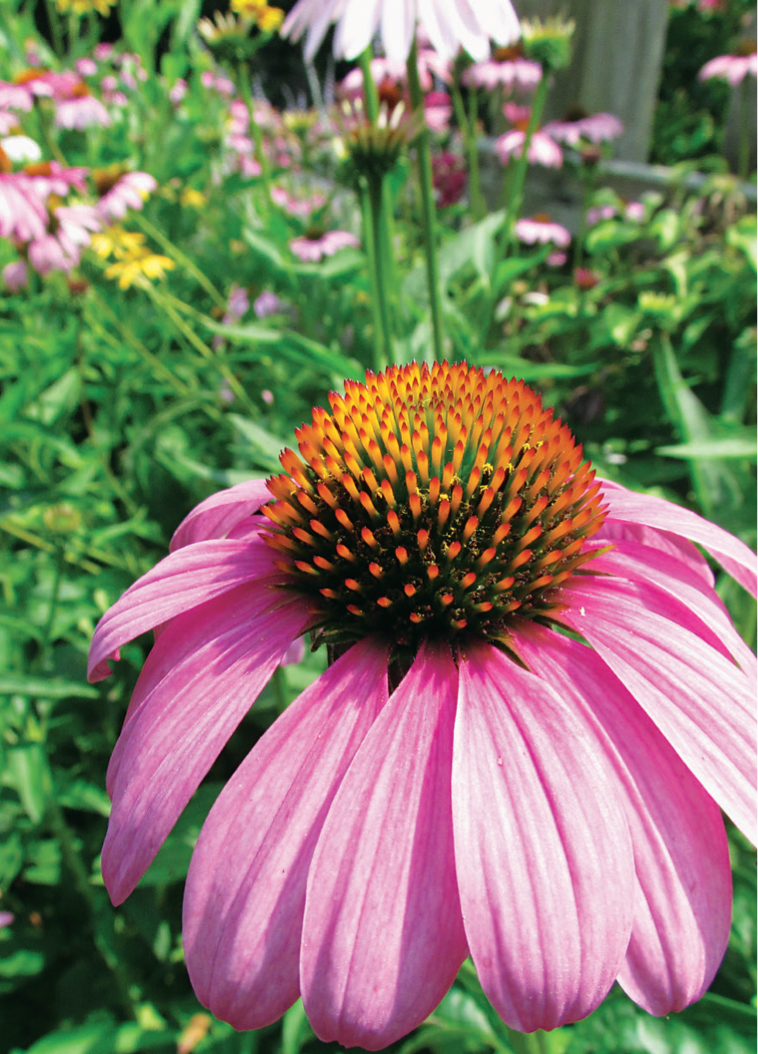
Purple coneflower
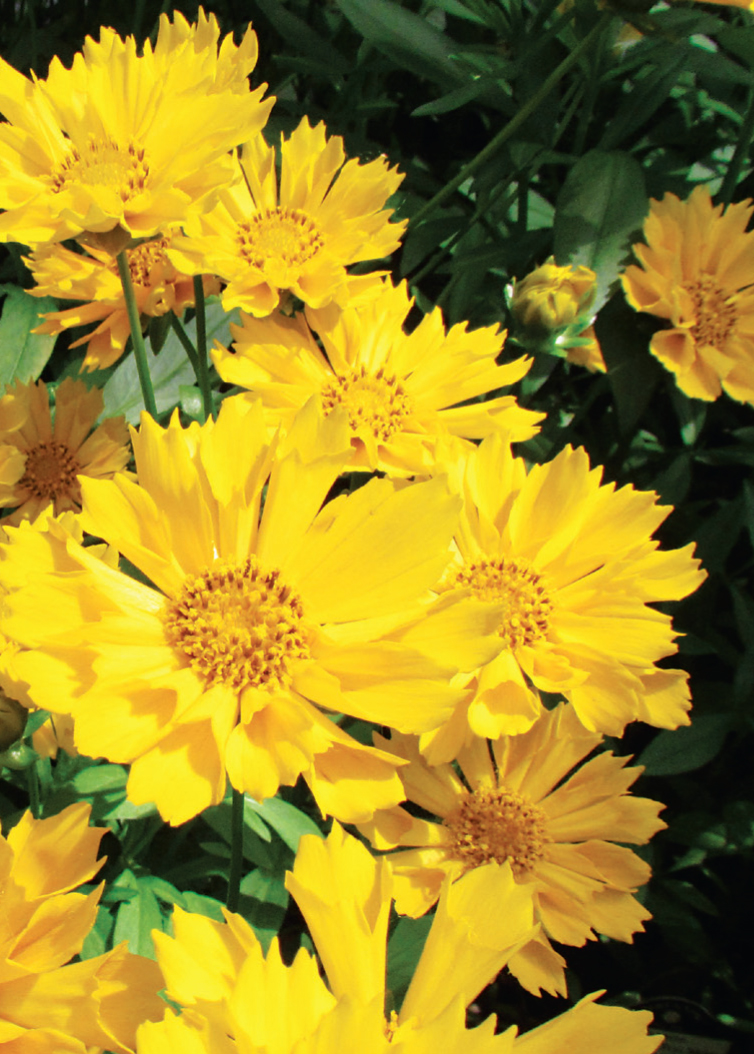
Coreopsis
Salvia
Phlox
Daylily