
•1 cream or white solid Jelly Roll
•1 print Jelly Roll
•2 yards of coordinating fabric for backing
•½ yard of coordinating fabric for binding
•½ yard of paper-backed fusible web (I used Pellon Wonder-Under.)
•50″ × 71″ batting
All seams are ¼ unless otherwise noted.
1. Sew 32 of the white Jelly Roll strips along the long edges to make the quilt top.
TIP:When sewing the strips together, make sure they match up end to end so you don’t get a curve in the finished piece. Match the starting points together, stitch about ½″, and stop. With the needle in the down position, pull the strips so that the center folds match on each strip. Hold the strips together in place while sewing to that point. With the needle in the down position, pull the strips again so that the ends match up. Hold in place while you finish sewing to the end. Repeat for each strip until all 32 strips are sewn together.
2.Press all the seams in the same direction. Set aside.
3.From the print Jelly Roll, select 4 strips each in 4 different colorways for the numbers in the year you selected. Sew the long edges of the matching-color strips together in groups of 4. For example, sew all the reds together, and set that group aside. Then sew all the blues together and set aside. Continue until all 4 color groups are sewn together.
4.Press the seams in the same direction on all 4 color sets. Optional: Topstitch the seams down.
5.Cut a section about 8½″ × 10″ from each of the 4 color group sets.
6.Using the word processing software of your choice, print the numbers for the year you have selected approximately 8″ high and reversed. Trace the numbers onto the paper side of the fusible web.
TIP:If you can’t reverse the numbers on the computer, just flip the printed numbers over and trace them in reverse. Use a lightbox or hold the page up to a sunny window to see what’s on the other side.
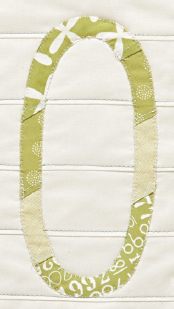
7.Rough cut each number from the fusible web. Position a number at an angle on the wrong side of each of the 8½″ × 10″ color group sets. Follow the manufacturer’s instructions to fuse each number to a strip set.
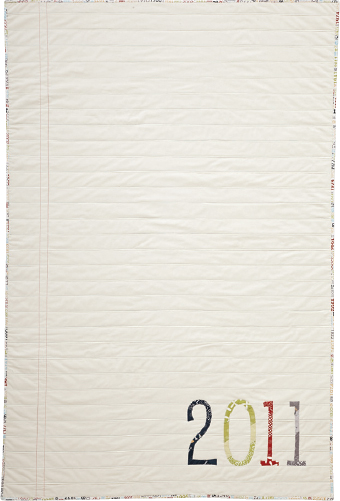
8.Carefully following the traced lines on the fusible web, cut the numbers from the fabric, and remove the paper backing. Fuse the appliqué pieces in place in the lower right-hand corner of the quilt top.
1.Refer to Finishing Touches (page 189) to layer and baste the backing fabric, batting, and quilt top together. The width of the backing fabric may be slightly narrower than the quilt top. This is okay—just match them up as closely as possible. You will trim all the excess from the sides once the quilting is done.
2.Use your favorite stitch to appliqué the numbers. I used a small machine buttonhole stitch around all the pieces. This also will help create a quilted look on the back of the quilt.
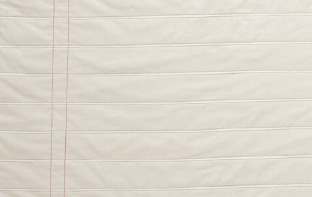
3.To finish quilting, stitch just above the horizontal seams with light blue thread, to give the appearance of ruled lines on notebook paper. (I skipped over the appliquéd numbers.)
4.With a rotary cutter, mat, and ruler, square up the quilt and evenly trim off any excess fabric and batting from all sides.
5.From the left side of the quilt, measure and mark 2 vertical lines going down the quilt. Place the first line 4½″ from the left side and the other line 5½″ from the left side. Stitch along these 2 lines with red thread to give the look of a notebook-paper margin.
6.From the binding fabric, cut 6 strips 2½″ × width of fabric. Refer to Finishing Touches to make and attach the binding.