
Blue Basket
FINISHED QUILT SIZE: 22˝ × 34˝

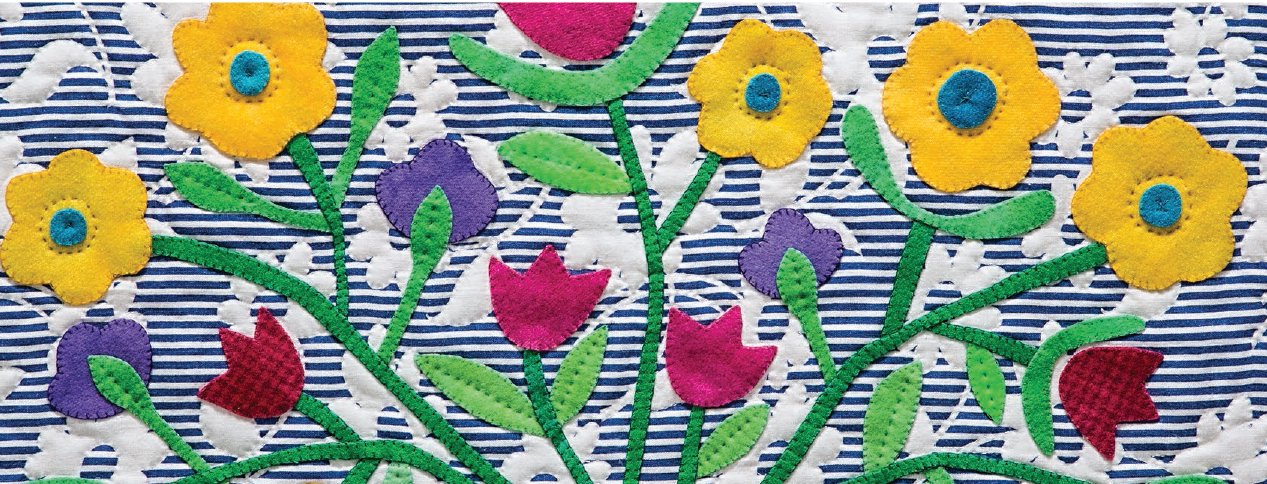
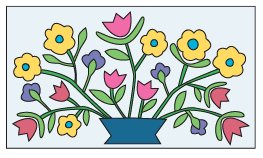
A lovely riot of flowers is anchored by a cute little basket in this charming small quilt. It is perfect to use on the wall or table.
Materials
Fabric note: Linda used the same vintage fabric for her block background and binding.
•Block background fabric: ⅝ yard
•Inner border: ¼ yard
•Outer border: ¼ yard
•Appliqué fabrics: A variety of large scraps of felted wool
•Binding: ⅔ yard
•Backing and sleeve: 1¼ yards
•Batting: 30˝ × 42˝
Additional supplies
•Self-adhesive laminating sheets: 6 sheets
•Clear vinyl: ½ yard of 54˝ wide OR ¾ yard of 16˝–18˝ wide
•Fusible web: 6 sheets of SoftFuse OR ⅔ yard of 18˝-wide fusible
•Appliqué threads: Aurifil wool in colors to match or complement the fabrics
•Aqua ½˝ rickrack: 3½ yards
•Aqua ¼˝ rickrack: ½ yard, for basket trim
Cutting
WOF = width of fabric
Block background fabric
Cut 1 rectangle 18˝ × 30˝.
Inner border
Cut 3 strips 1½˝ × WOF.
Subcut 2 strips 1½˝ × 16½˝ for the side borders.
Subcut 2 strips 1½˝ × 30½˝ for the top and bottom borders.
Outer border
Cut 3 strips 2½˝ × WOF.
Subcut 2 strips 2½˝ × 18½˝ for the side borders.
Subcut 2 strips 2½˝ × 34½˝ for the top and bottom borders.
Binding
Cut 1 square 22˝ × 22˝ to make a 2½˝-wide continuous bias strip 130˝ long for the binding (see Continuous Bias Binding).

Block Assembly
Refer to General Appliqué Instructions as needed.

Appliqué placement
1.Make templates and overlays for the block using the Blue Basket patterns.
2.Press the background in half horizontally and vertically. Place it on your design wall.
3.Refer to Preparing to Stitch to choose fabrics, fuse the fusible web to all the felted wool appliqués, and cut them out.
4.Place the appliqué pieces on the background on your design wall. Use the overlay to place the appliqué pieces in the proper position, or place them by eye. Play with color and fabric choices until you are happy with the way the block looks.
5.Hand sew the ¼˝ rickrack to the vase before fusing it to the block. Turn the ends of the rickrack to the back of the vase and secure them with a few stitches or, if that seems too bulky, trim the ends even with the edges of the vase and carefully stitch them down.
6.Fuse and appliqué the block; Linda used the blanket stitch. Select your appliqué stitch from Stitches for Appliquéing with Felted Wool.
7.When the appliqué is complete, press the block on the wrong side, and trim it to 16½˝ × 28½˝.
Quilt Assembly
Refer to quilt assembly diagram (below) for quilt construction. Seam allowances are ¼˝.
1.Place the block, inner border strips, and outer border strips on the design wall.
2.Sew the left and right inner border strips to the block. Press the seam allowances toward the inner border.
3.Sew an inner border strip to the top and bottom of the block. Press the seam allowances toward the inner border.
4.Sew the left and right outer border strips to the sides of the quilt. Press the seam allowances toward the outer border.
5.Sew the top and bottom outer border strips to the top and bottom of the quilt. Press the seam allowances toward the outer border.
6.Layer and baste the quilt. Quilt by hand or machine—or both—and bind. Linda hand quilted the background and inside some of the yellow flowers. She machine quilted the yellow inner border (refer to Finishing Techniques).
7.Pin the ½˝ rickrack to the border. Use a free-motion foot and machine quilt the rickrack to the quilt, through all layers. When you work your way around the quilt and back to the beginning of the rickrack, turn the raw edge under. Match the curves in the rickrack and sew the end in place, hiding the raw end.
If the rickrack edges curl, you can sew them down by hand.

Quilt assembly