Both vintage and newly-manufactured-but-neglected cast iron can be brought back to life with a little TLC.
Depending on the date of its manufacture, the surface texture should be uniformly smooth (the actual metal). If you see what some people refer to as “a surface that is flaking off,” the piece can be easily renewed because the only thing flaking off is a buildup of the layers and layers of bad oil crusted on from misuse.
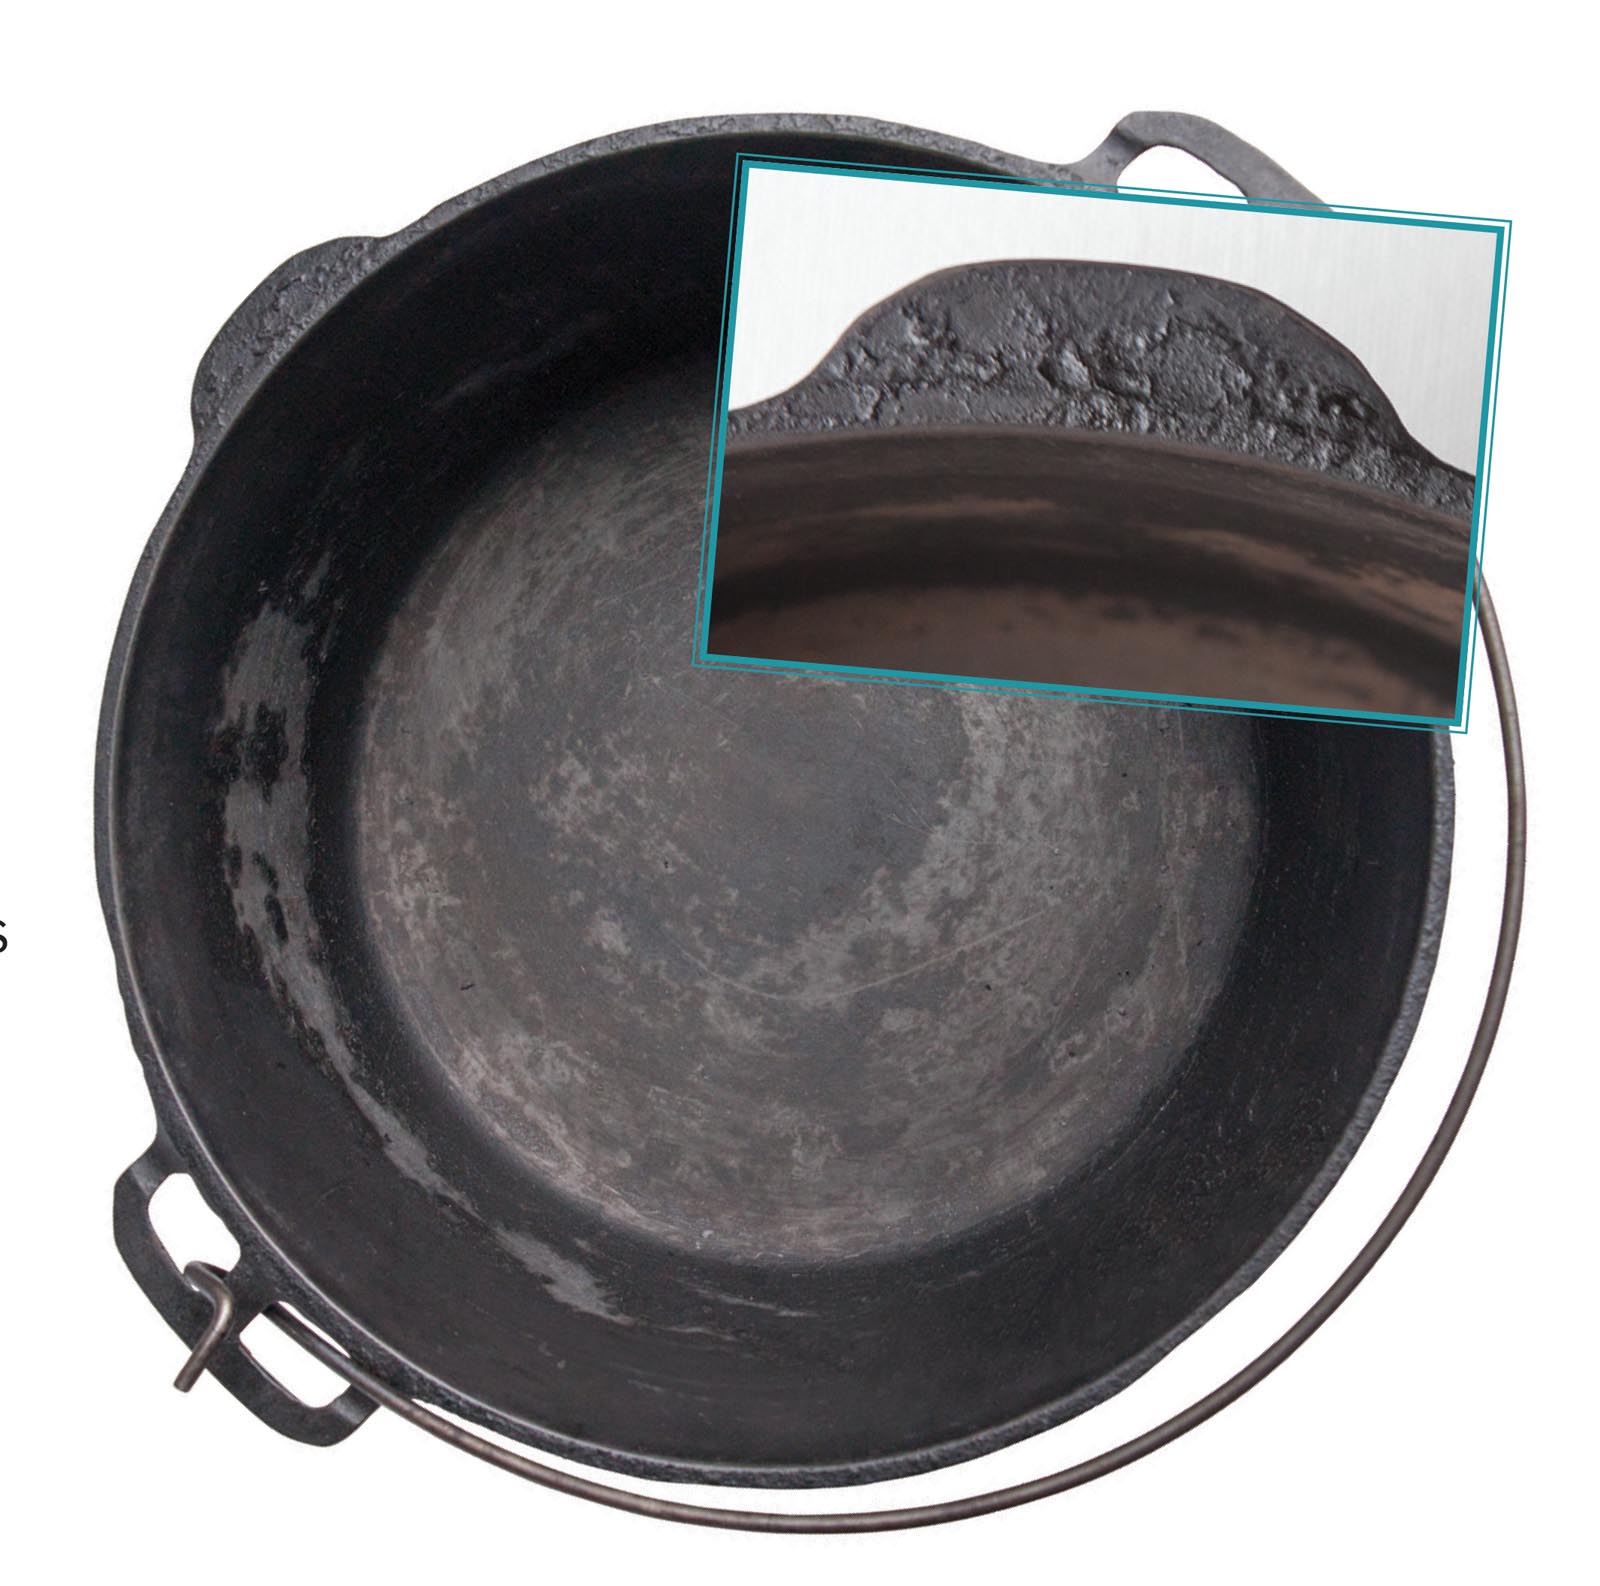
All the piece needs from you is to be properly re-seasoned, also referred to as “cured,” or in technical terms, its surface needs several applications of oil that you heat just right until it becomes polymerized, forming a thin layer of hardened “shellac” that you can barely see—cast iron’s version of a non-stick surface.
If it’s a newer piece (not so very vintage), its metal surface will most likely be rough (like a cat’s tongue).
If it’s a vintage piece, it will probably have a smoother surface. On this vintage piece, you can see some of the circular machining from when it was manufactured—not a problem as far as cooking goes because even though it looks grooved, it feels smooth to the touch.
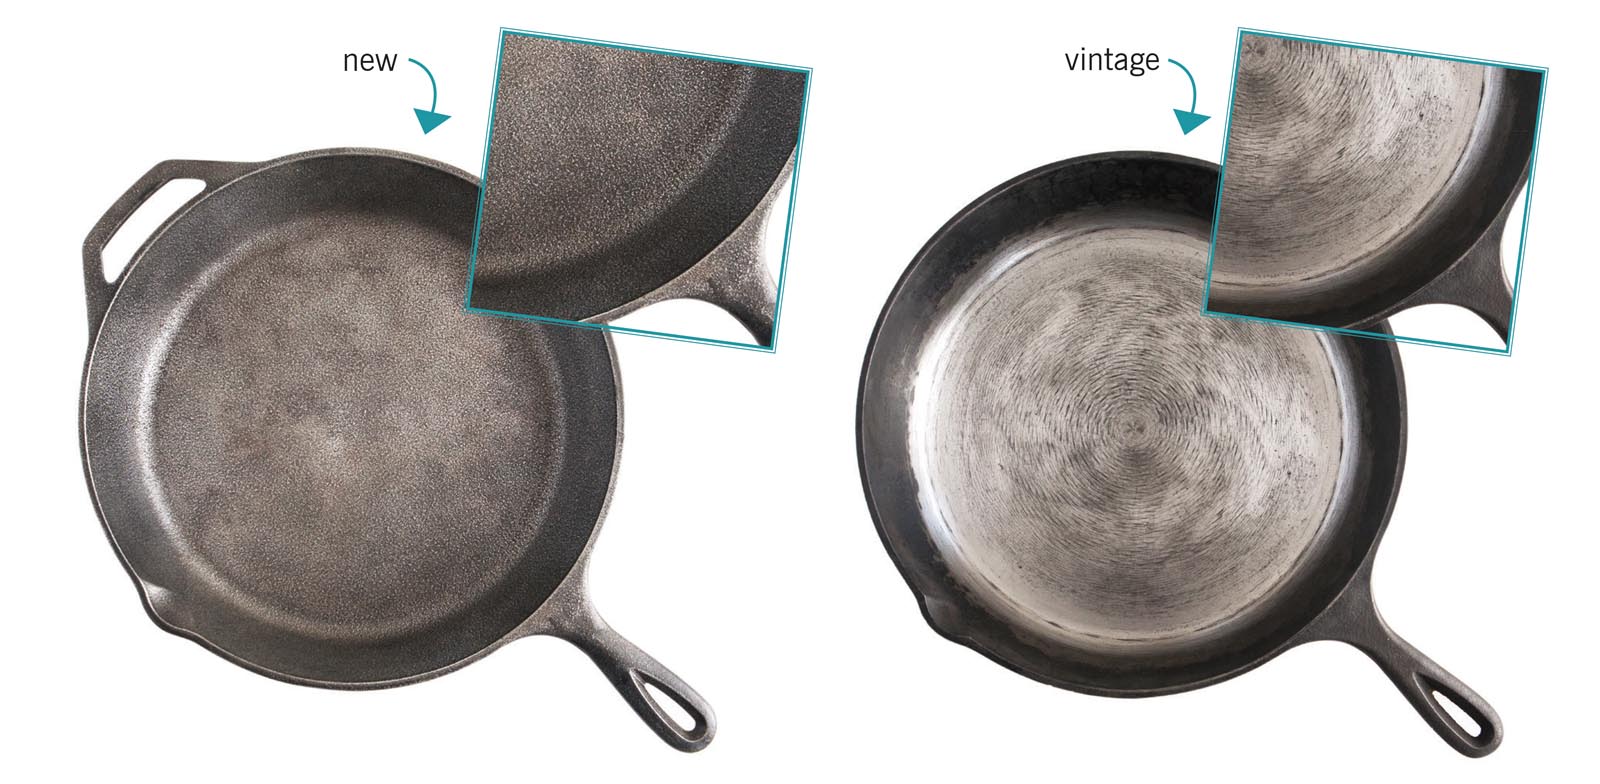
Unless cast iron is manufactured on a small scale, modern manufacturing techniques are different than they used to be, but that doesn’t mean you can’t love a newly manufactured piece. I have both old and new. Now that I have my daily cast-iron maintenance down to a science, and I’ve figured out how to cure a mistreated piece (the polymerized thing), they’re all the same to me.
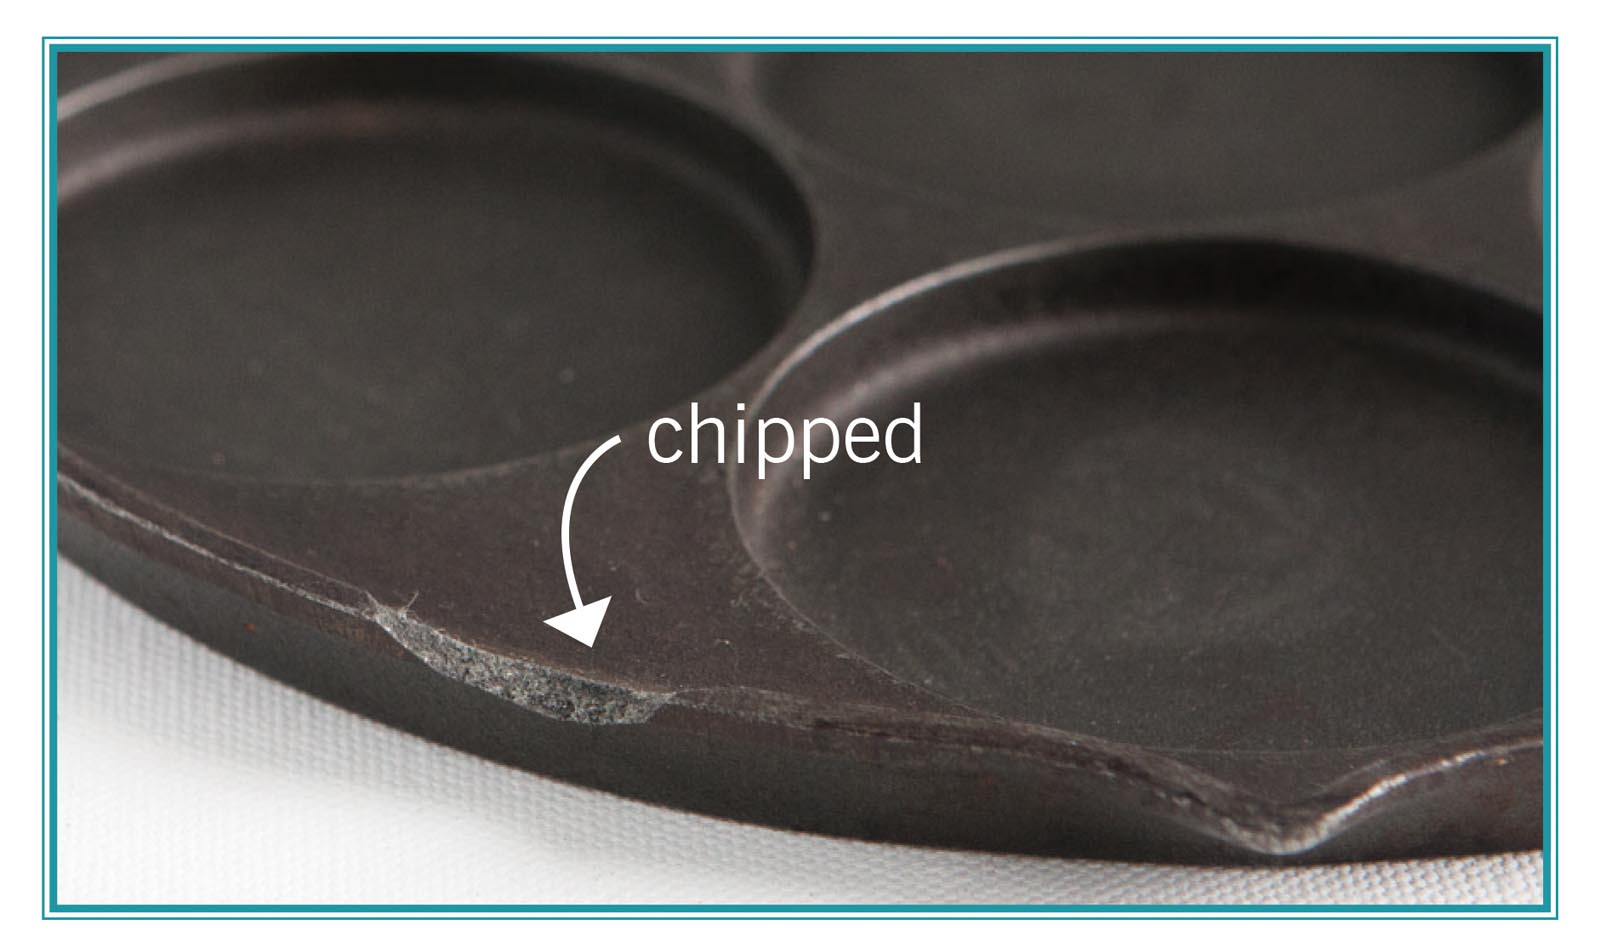
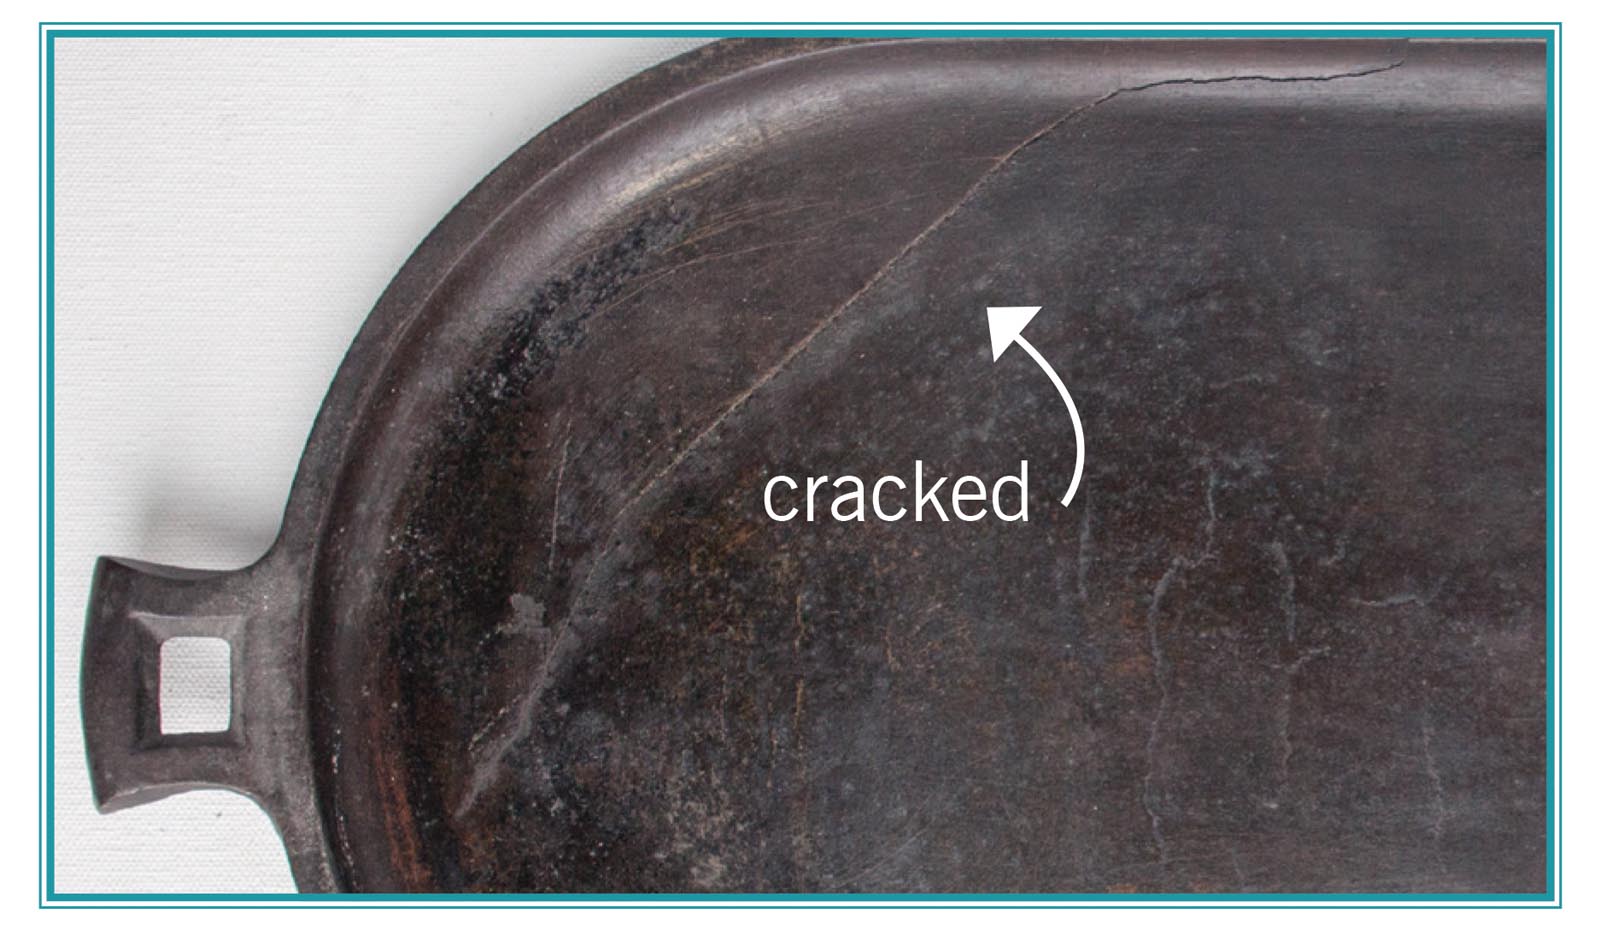
If you’re wondering about the vintage pieces that readily show up in secondhand stores or online stores like eBay, avoid pieces that are deeply pitted, chipped, cracked, deeply scratched, or warped (this is important!).
By warped, I mean it isn’t flat on the bottom. If it’s warped on the bottom, it won’t sit flat on your stove. That’s particularly problematic if you’re cooking on a ceramic stovetop. Not only will it make your heating element work overtime, the piece is likely to scoot around on your stovetop or your counter whenever you’re stirring food, potentially scratching their surfaces.
Warping is usually a result of someone tossing the entire piece into a raging campfire (not the softly glowing coals needed for cooking with cast-iron on a campfire) while saying to themselves, “Now, I won’t have a skillet sitting around looking neglected—fresh start, here I come.” Unfortunately, campfire flames range anywhere from 1,100°F (dark-red flames) to 2,000°F (orange-yellow flames) and can cause warping of the metal. Or perhaps the piece was super-hot and then splashed with cold water. Can you put your piece in your modern oven and set the dial for self-cleaning? Yes, you can!!!! That temperature is around 900 to 1,000°F. More on that in a minute.
Okay, let’s get this do-over restoration thing out of the way first, because once you understand how to give cast iron a fresh start, daily maintenance will make more sense. Again, if you bring home a piece that is “flaking” and/or merely rusty without any of the fatal flaws I mentioned above, it’s time for a strip-down makeover.
Stripping Cast Iron
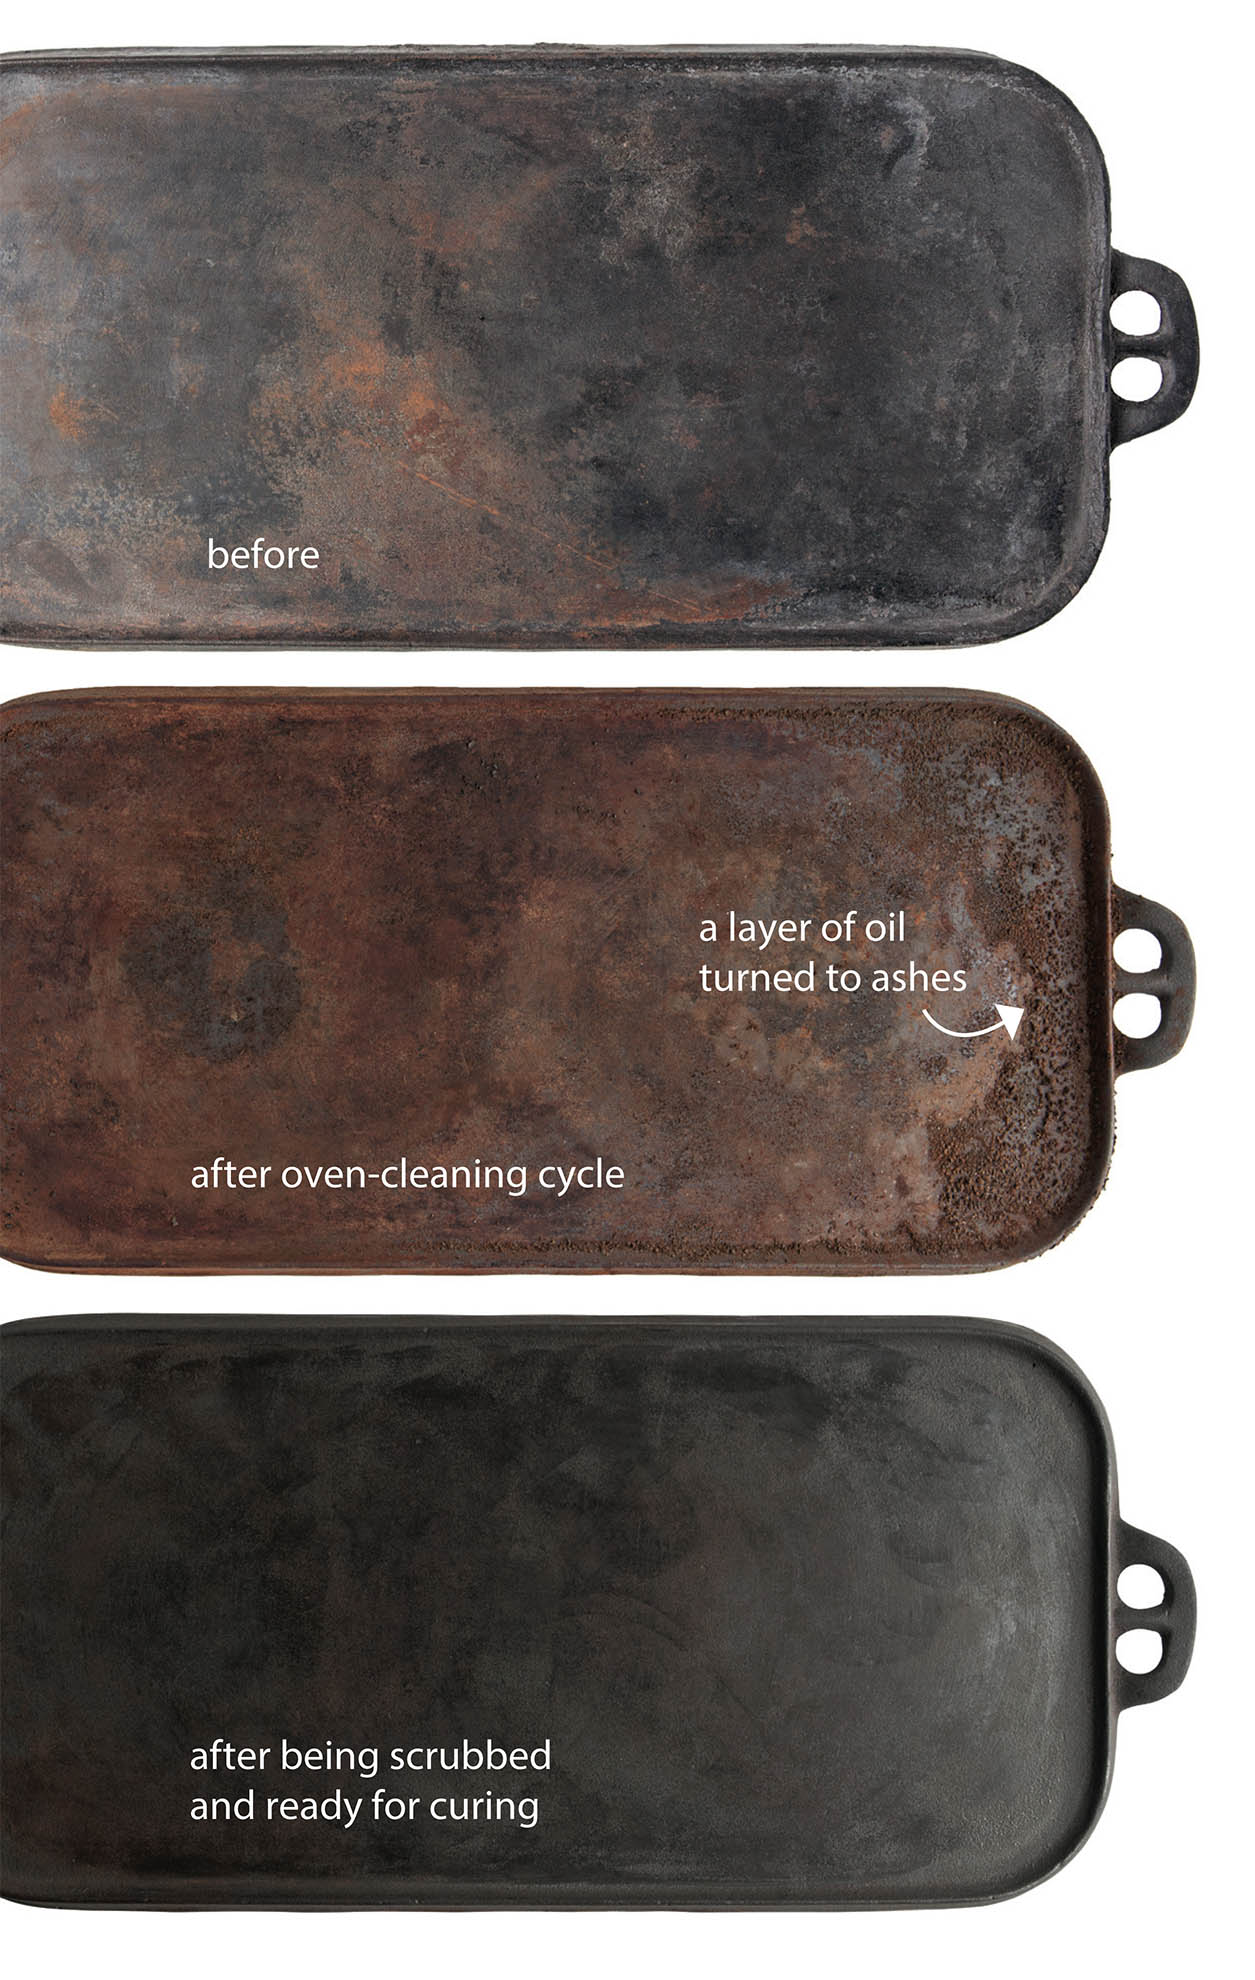
If you have a modern oven with a self-cleaning cycle and an exhaust fan, you can let it do most of the work so that when you scrub your piece down using one of my methods on the next page, it’ll only take a few minutes. Put your cast-iron piece in your modern oven (or make friends with someone who does have one), and set the oven on its clean cycle. You can’t do this if your piece has wooden or Bakelite handles, although sometimes, they can be easily removed.
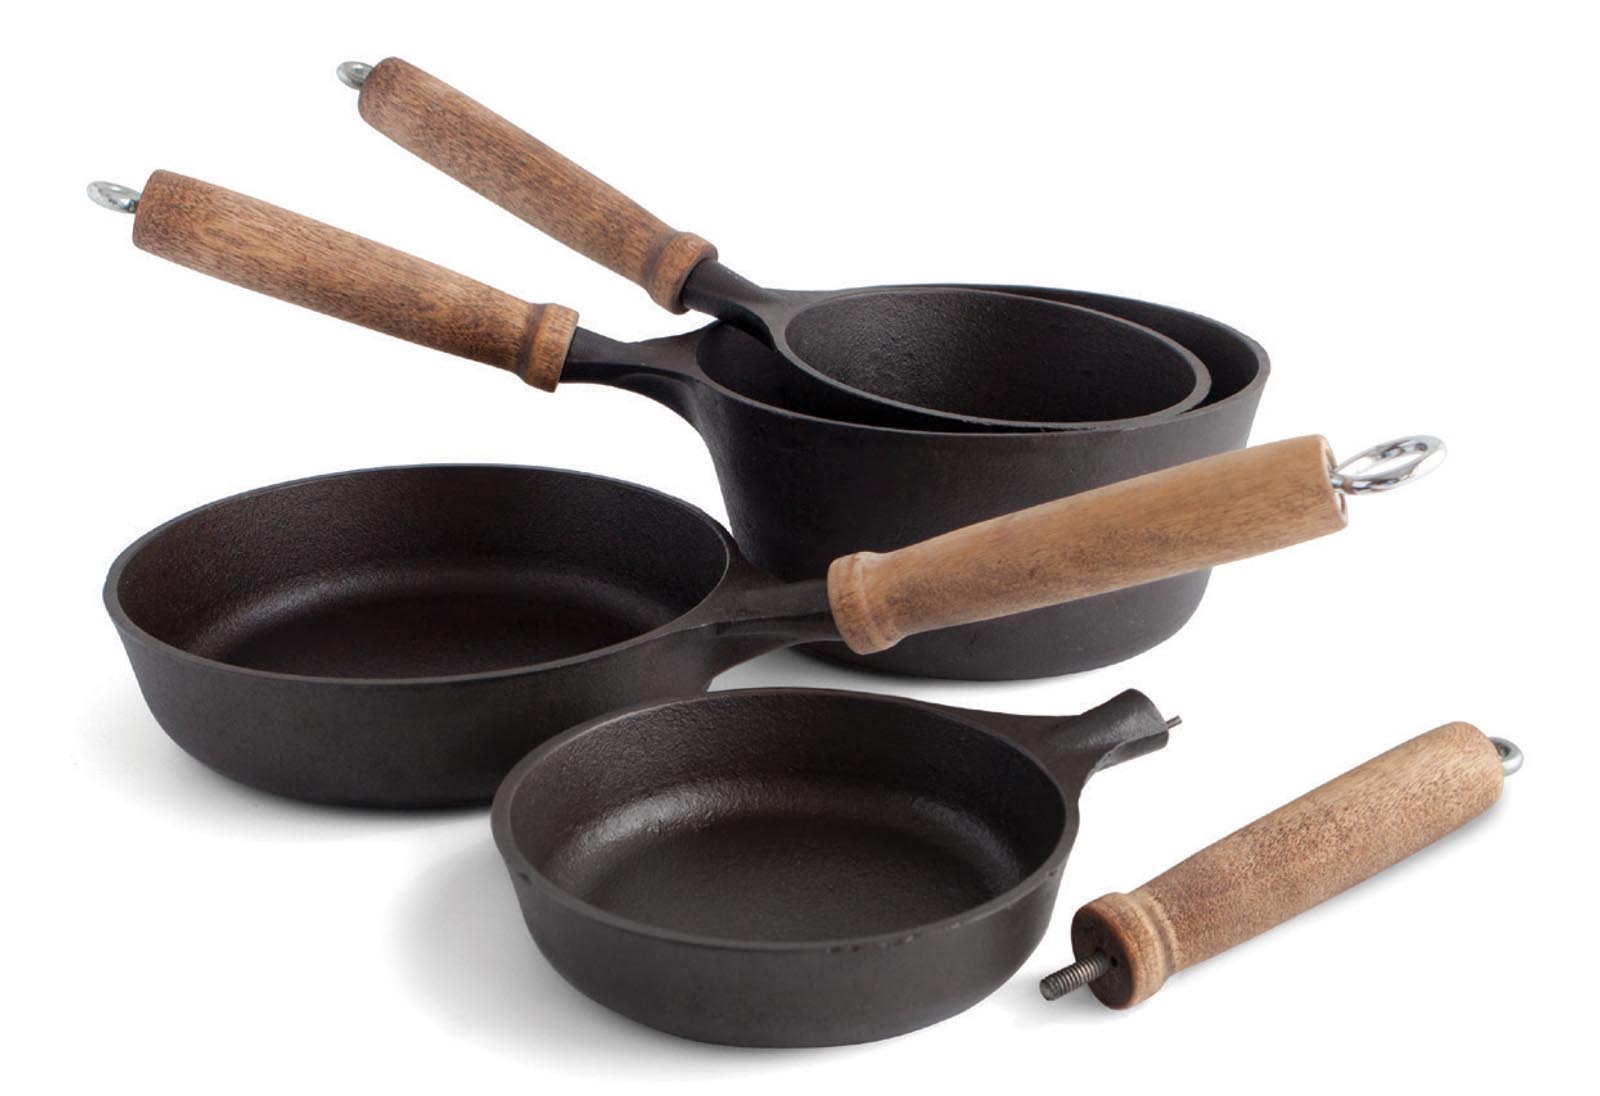
The little skillet in this set fries an egg like a dream. A sunny-side-up egg slides right out and onto a plate.
SCRUBBING by HAND:
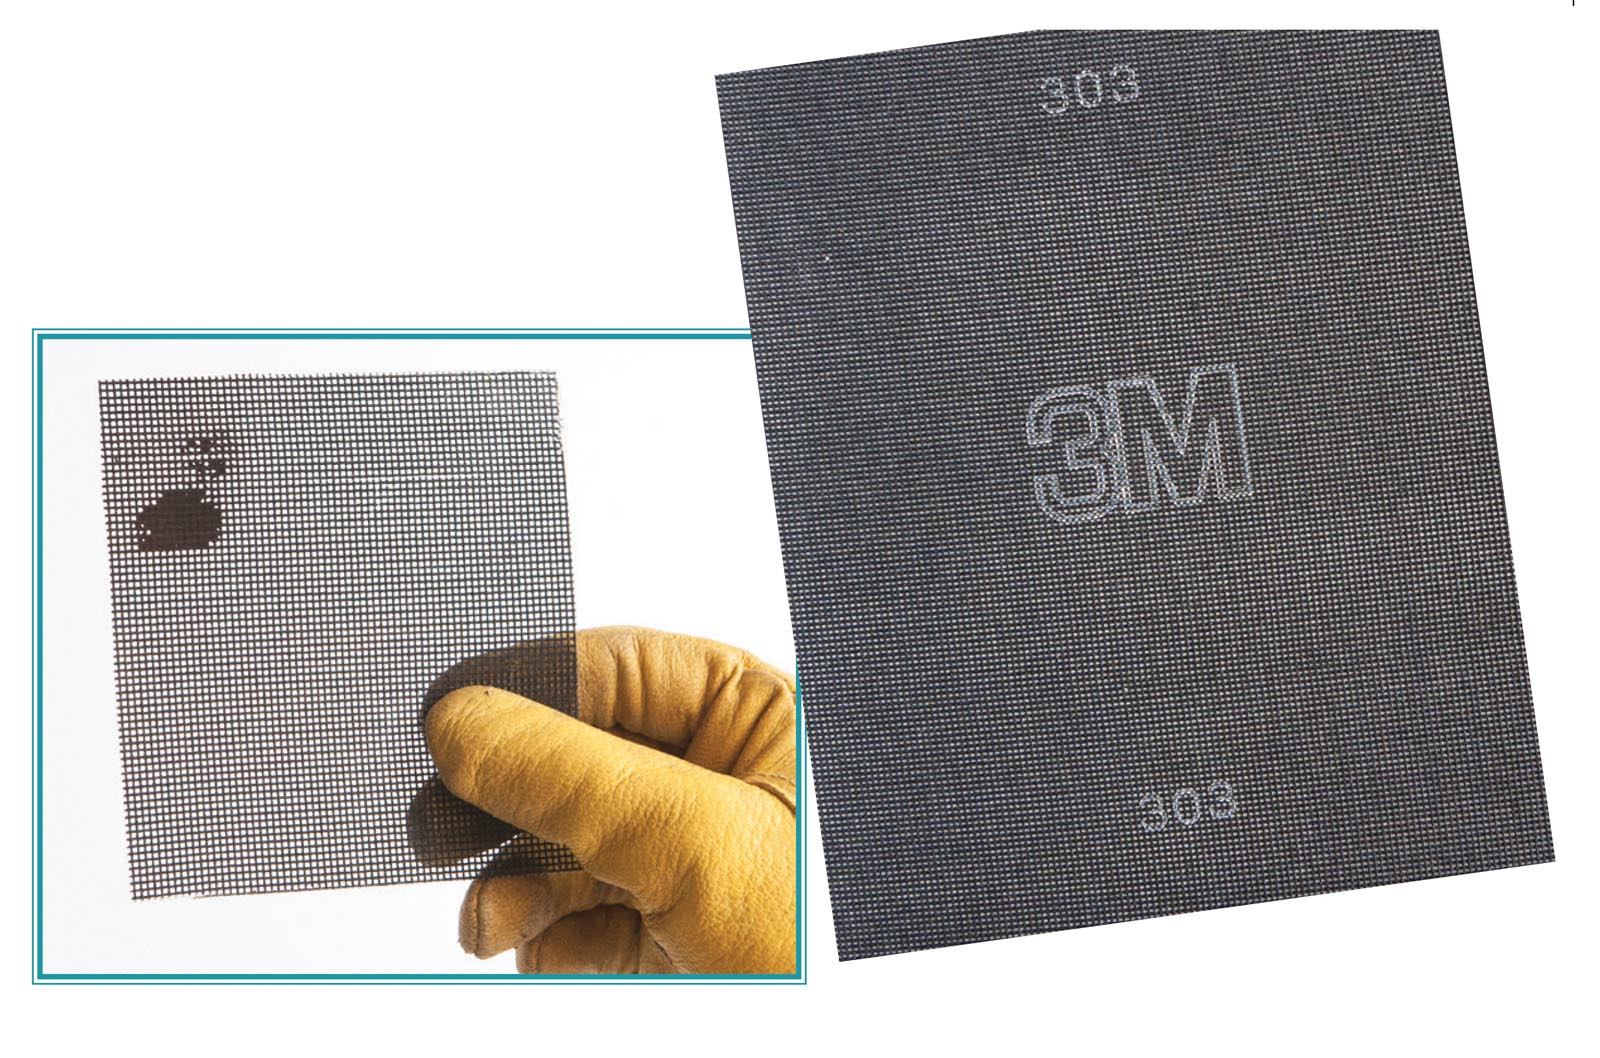
When it comes to cast-iron restoration, your new best friend is 220-grit drywall sanding screen made by 3M. This stuff is the bomb for cast iron. Cut it into smaller pieces, put on a pair of gloves, and be amazed at how quickly it does the job. Plus, you can rinse the screen off as you work and it’s good to go again. No need to push too hard—it’s best to “handle with care.”
SCRUBBING with DRILL & BRUSH:
Get yourself gloved and goggled up (make sure you don’t have loose-fitting clothing on, and if you have long hair, make sure it’s up and out of the way) and use a power drill with a brush attached to remove old layers of oil or rust. You’ll need a crimped wire-cup steel brush. I like a 1-1/2” brush, but a 2” brush also works. If managing the drill with one hand while holding your piece steady with the other is a problem for you, try putting the piece in a table vise (padded with a rag) so you can hold the drill with two hands.
Or, you can use a Dremel outfitted with a smaller brush. It’s the same idea, except using a Dremel will take you a tad longer (not much, though—it goes pretty fast) and you might need more than one brush, depending on the shape your piece is in. You’ll need a 1/2” carbon (cup-shaped) steel brush. The cup shape works on flat surfaces like the bottom of a skillet as well as when you “walk it up” the sides of pans.

No, I don’t recommend filling the pan with ammonia and setting it for seven days inside a black plastic bag outside in the hot sun or indoors next to a radiator. And no, I don’t recommend an application of oven cleaner. Or a lye bath. Or muriatic acid. If you go that route, make sure you put on a hazmat suit and check to make sure you have good health insurance.
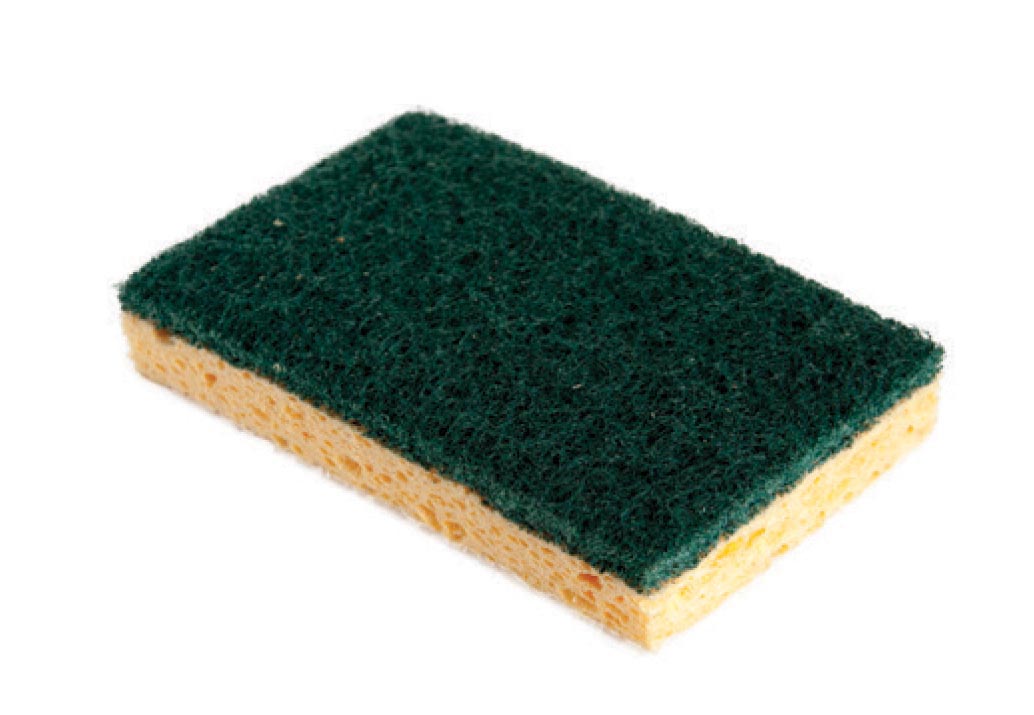
Now, wash your cast-iron piece in hot, soapy water using the scrubby side of a sponge. Give it a good scrub. Use plenty of soap this one time only, because once your piece is cured, you don’t want to use soap very often, if at all, because it will slowly break down the polymerized surface you’re about to give it by following the steps below. And then, MAINTAIN. That’s right, the word maintain is all in CAPS for a reason.
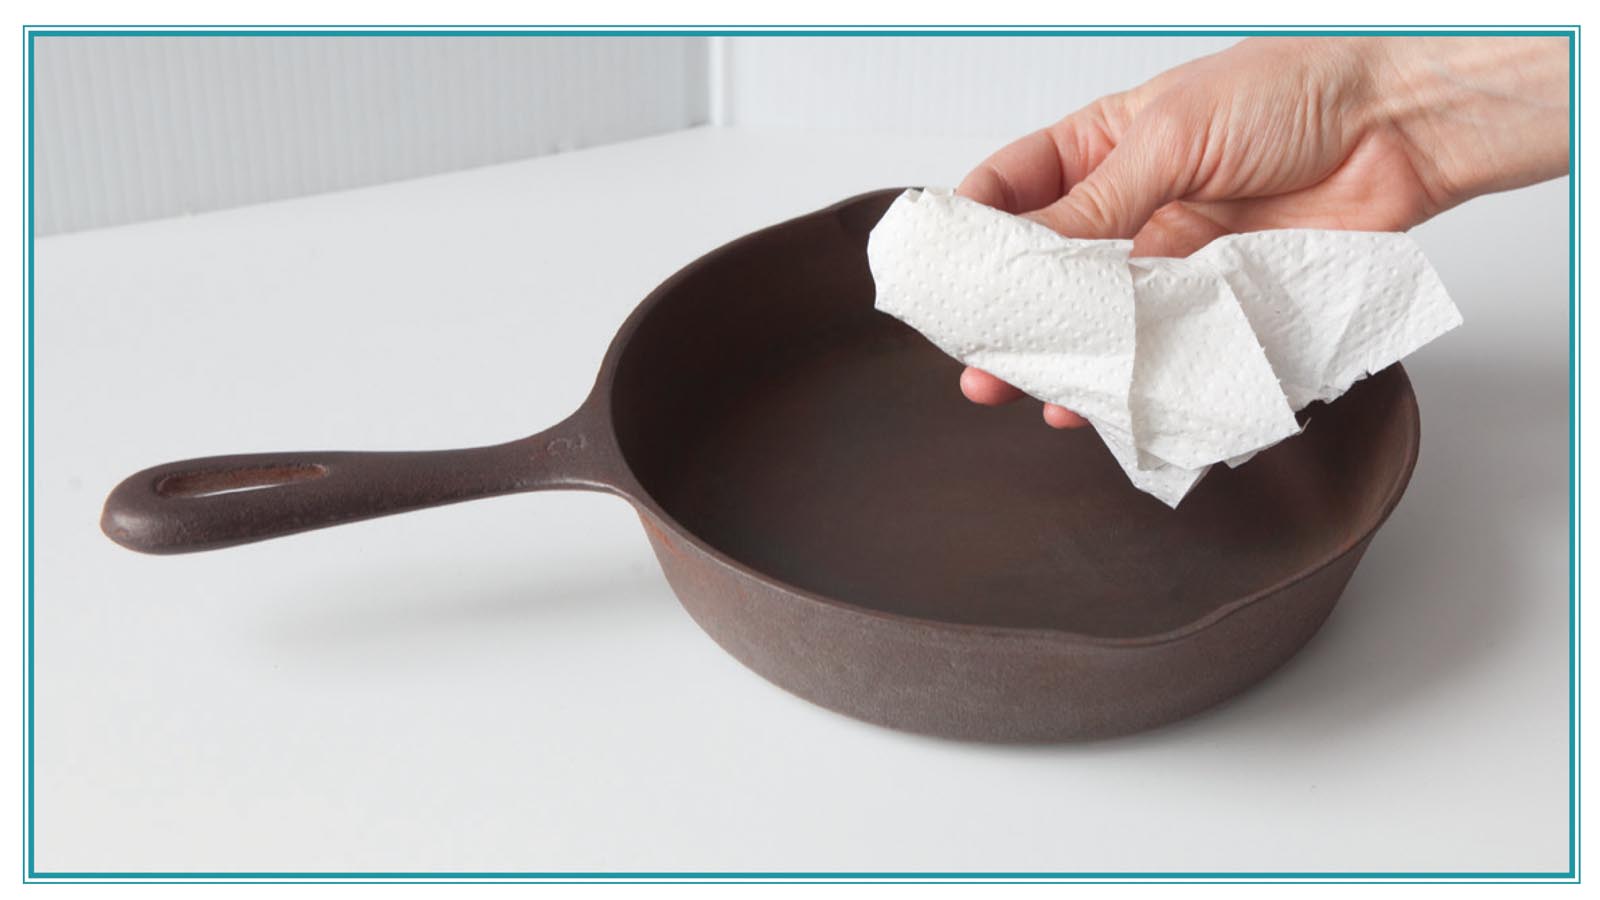
Rinse and dry completely. It will probably still have some red rust tones to it, but as long as all surface “dust” has been washed off and a paper towel comes away clean, it’s in good shape and ready to be cured.
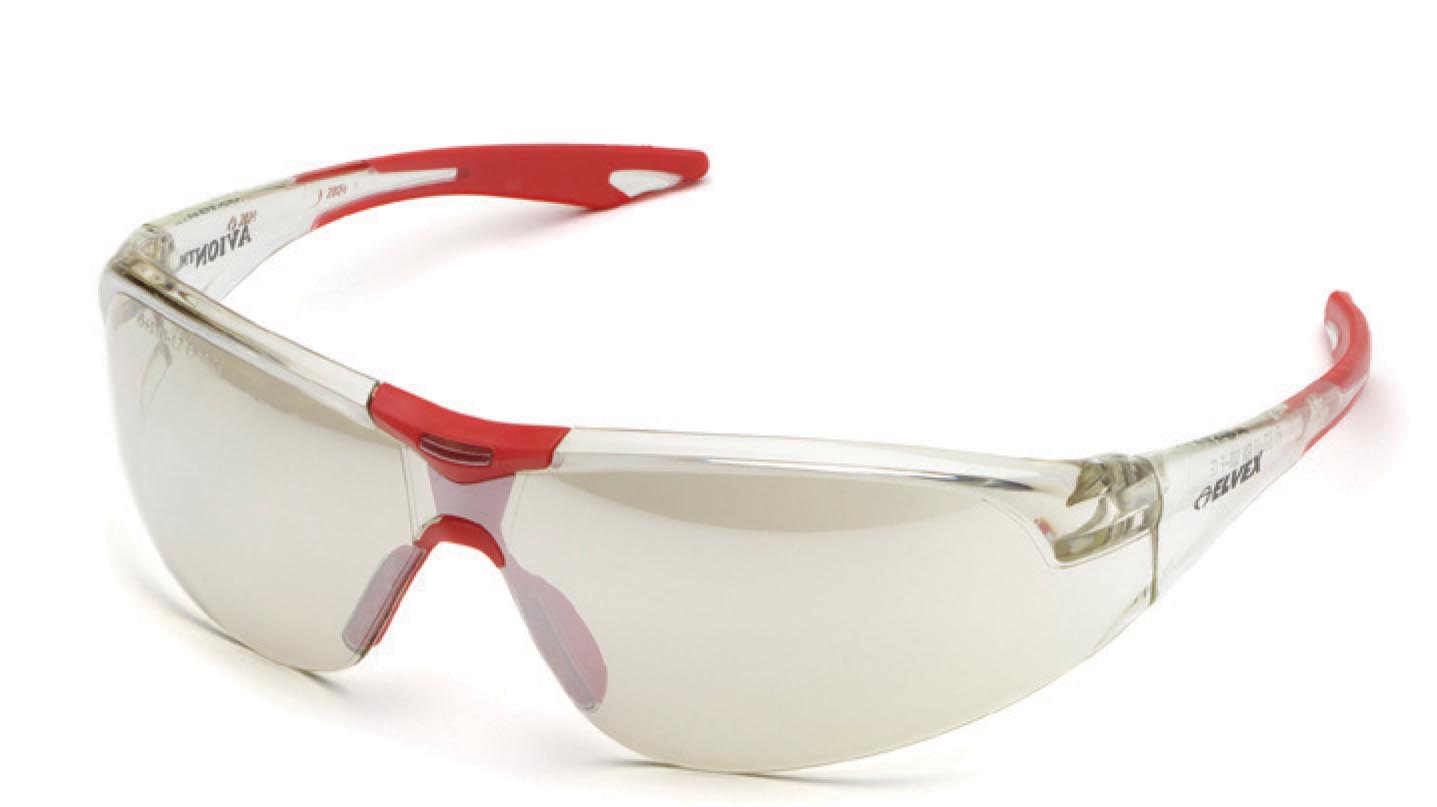
Be sure to wear safety goggles while working on any project that could result in eye injury. Elvex Safety with Style has a line of safety glasses that are not only safe, but stylish, www.Elvex.com.
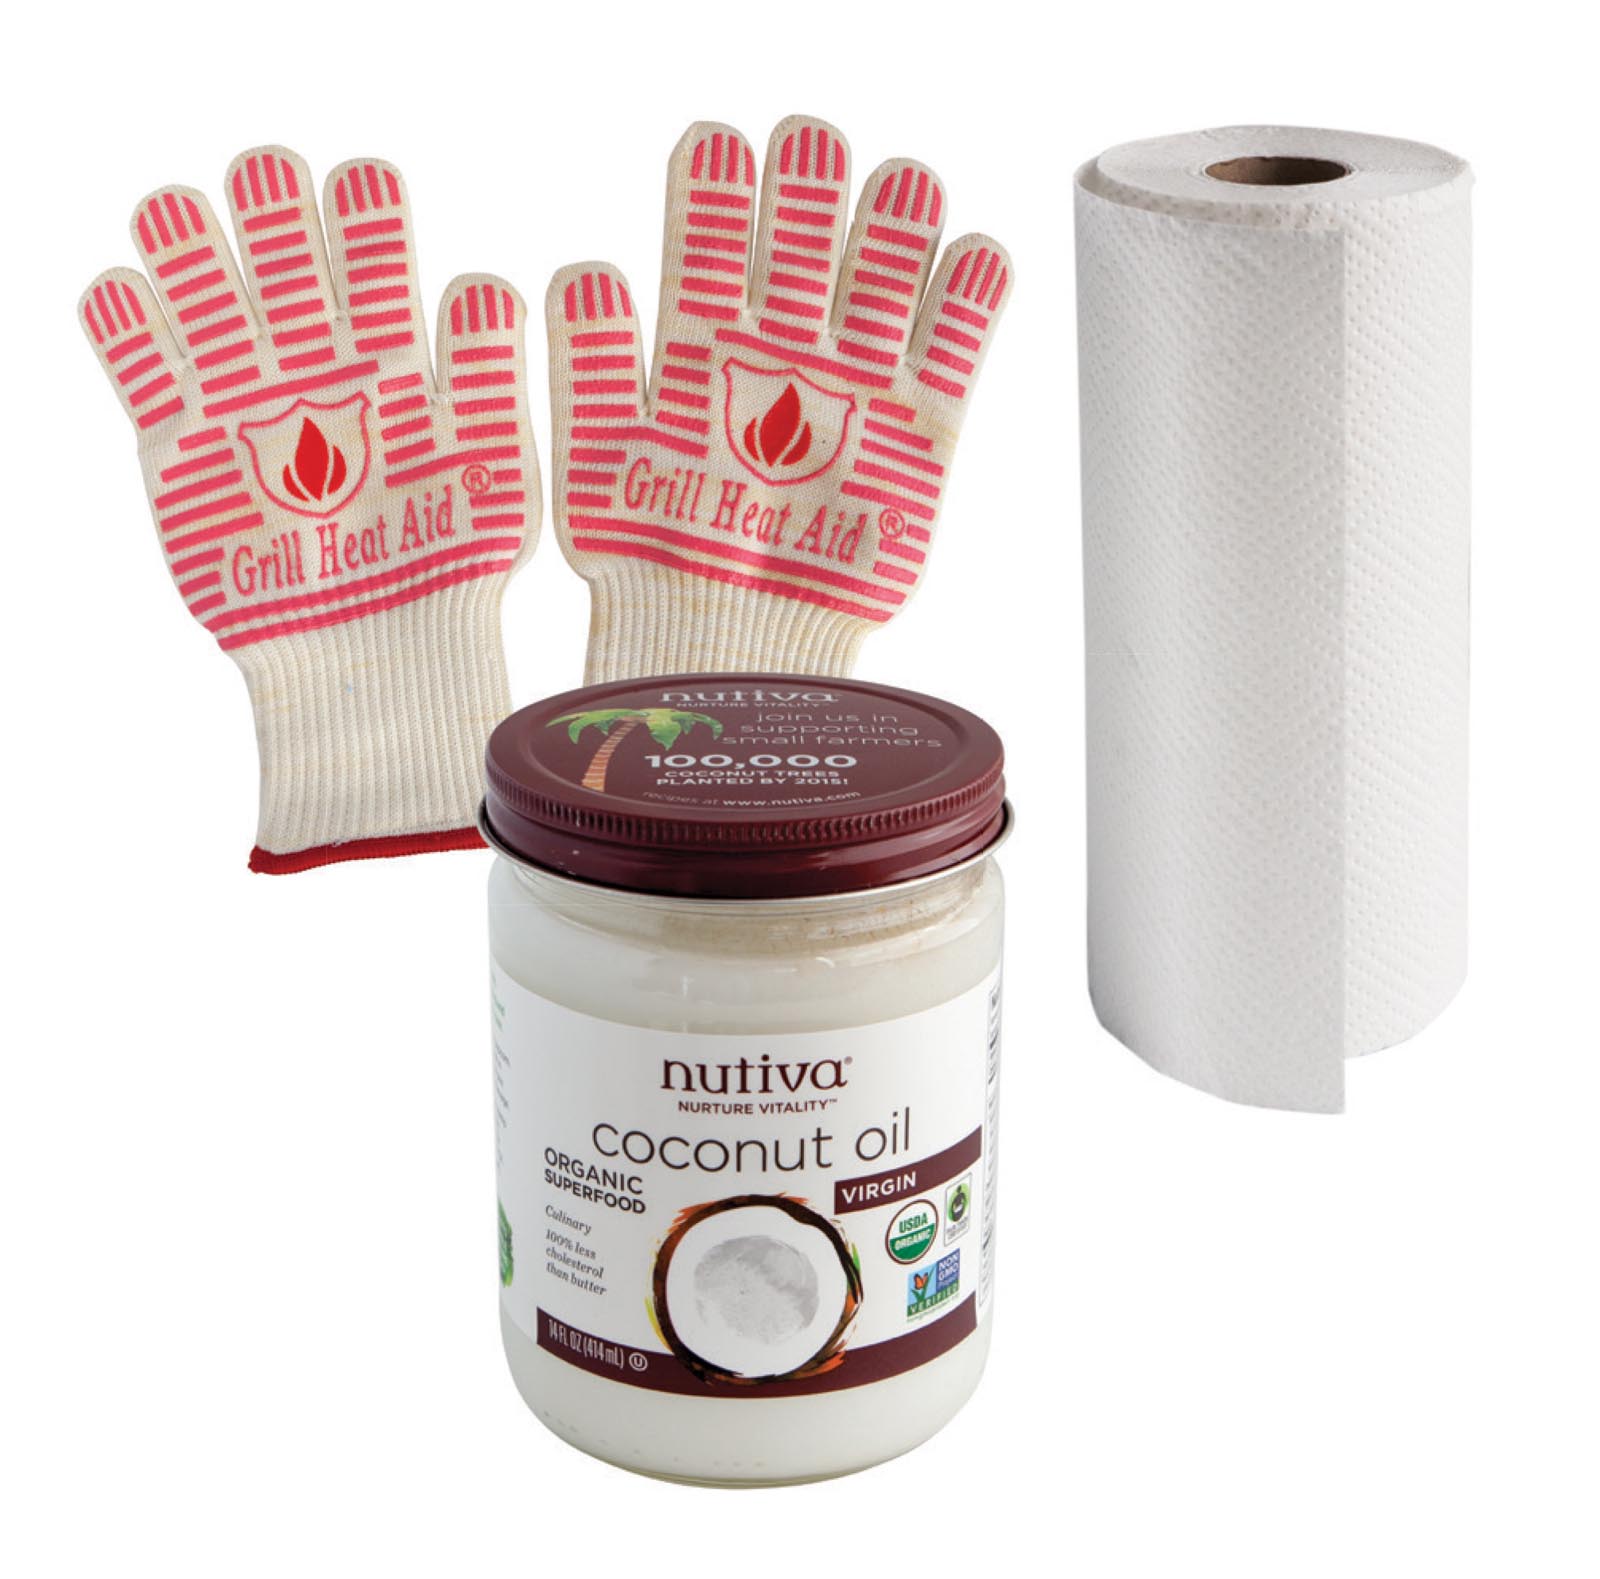
Now, you’re going to give it a polymerized “cured” surface. You’ll need the following: paper towels and organic virgin coconut oil—I use Nutiva (read about curing oils on the next page). Extreme-heat gloves are optional but highly recommended.
-
Preheat your oven to 200°F.
-
Using paper towels, rub a VERY thin layer of coconut oil over the entire piece, both inside and outside.
-
Put it in the oven for 10 minutes.
-
Bring it back out (heat gloves recommended from here on out).
-
Crank your oven up to 365°F and turn on your exhaust fan.
-
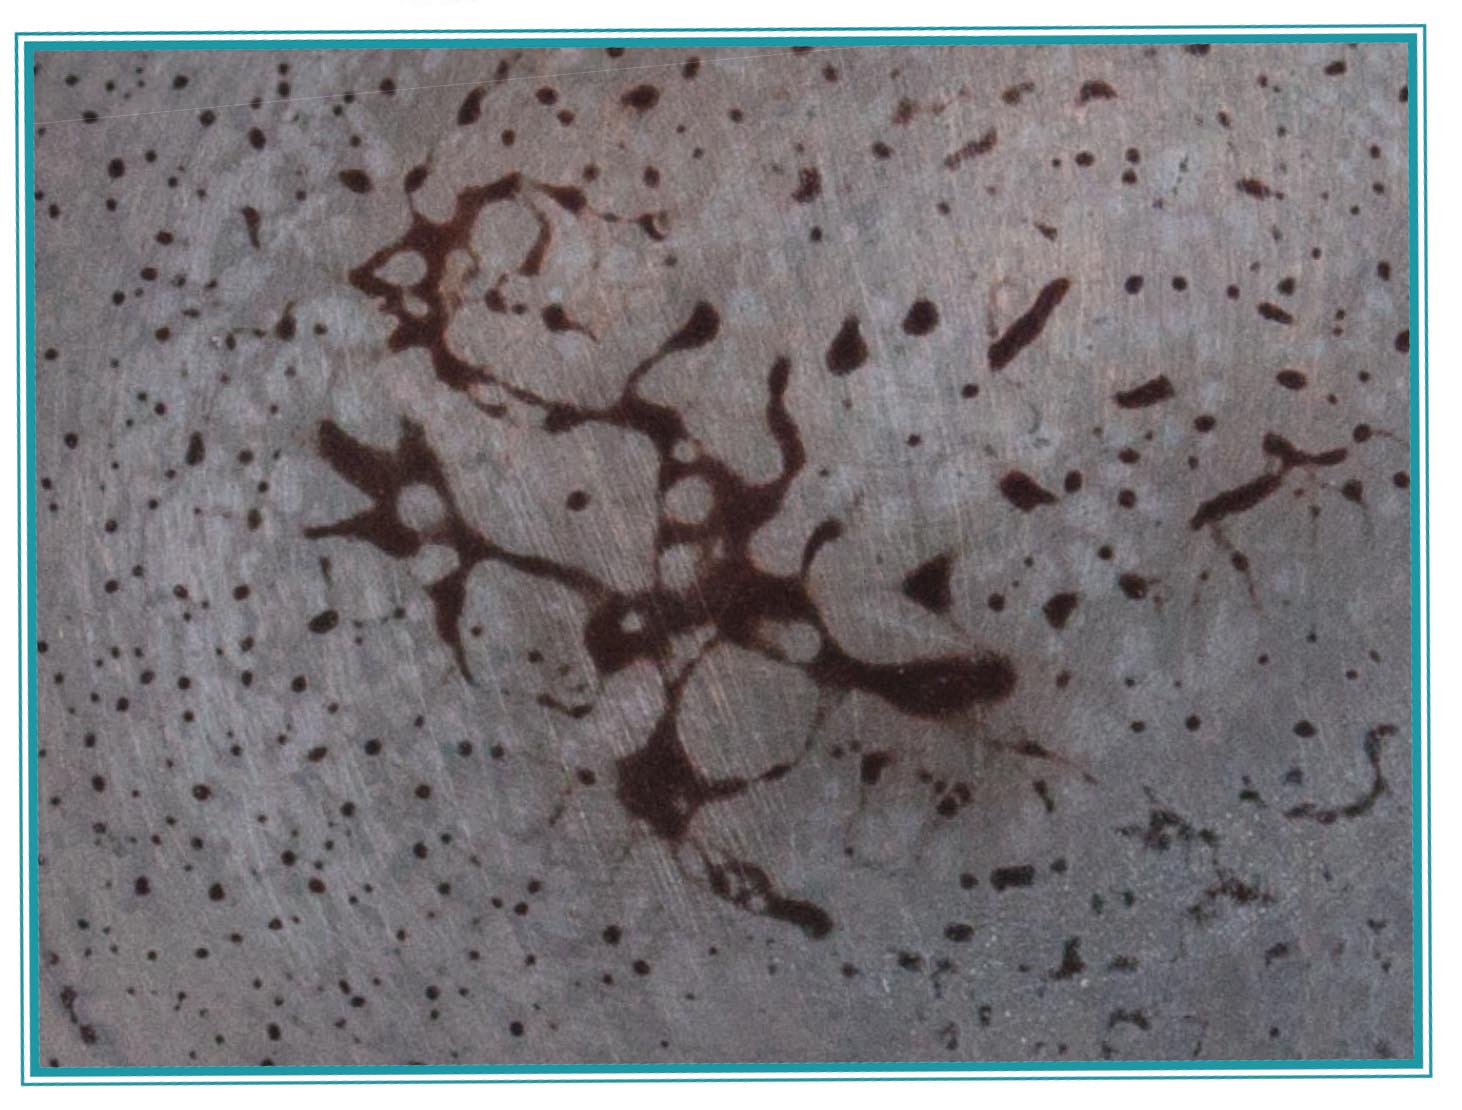
While your oven is getting up to temperature, rub the entire piece again using paper towels, but DO NOT apply more coconut oil. You’ll think you’re wiping all the oil off, but you can’t. Trust me. If you have so much on it that it looks oily, it’ll pool up when heated. Even if you put your pan upside down in the oven, the surface of your piece might end up looking like mitochondrial DNA. Plus, you want to keep your oven and racks free from dripping oil, and if you do this step right, your oven will remain sparkling clean. You do have a clean oven, right?:)
-
Now, let it bake at 365°F for 20 minutes.
-
Turn your oven off and wait until your piece stops smoking before taking it from the oven and setting it on the top of your stove. Let your piece continue to cool down.
-
Turn your oven back on to 365°F. Wipe on another super-thin layer of coconut oil using a paper towel. With a clean towel, wipe it again without adding additional oil as if you were trying to wipe off the layer of oil you just applied.
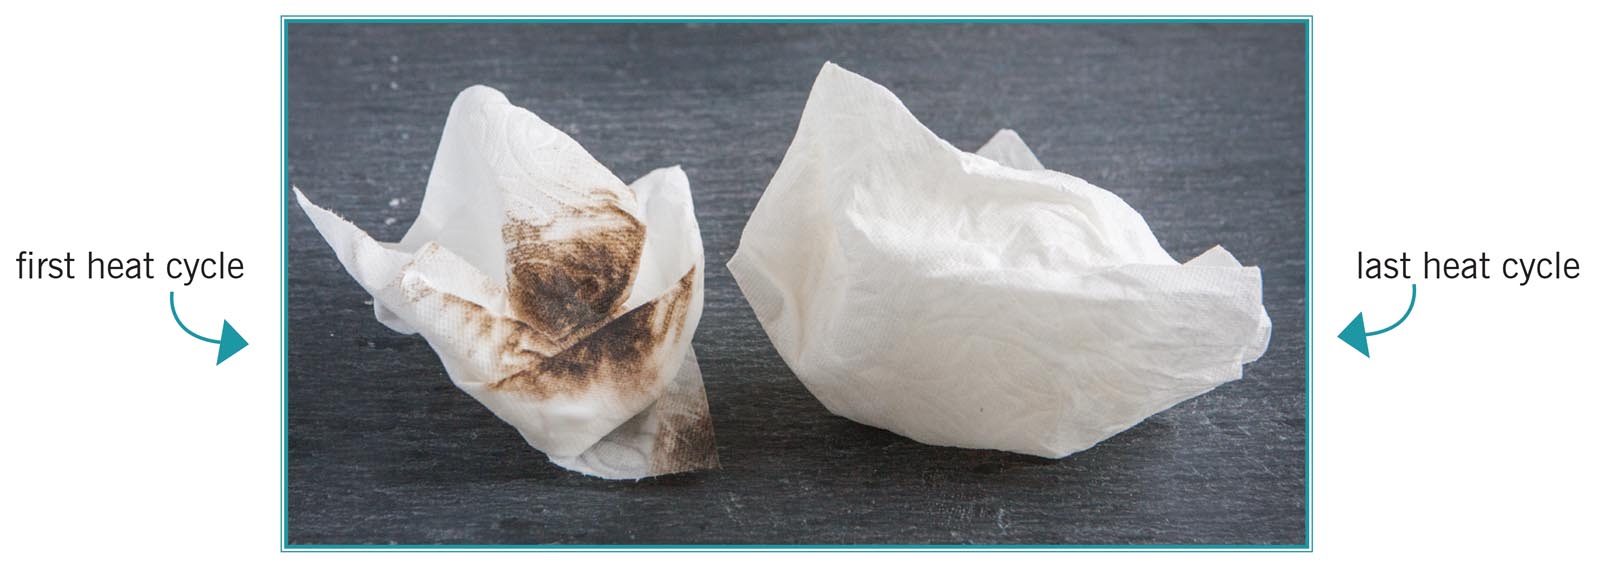
Repeat steps 7 through 9 at least three times (four times total). After each session in your oven, your cast-iron piece will discolor a paper towel less and less until finally, your paper towel will come away clean.
Keep in mind, you don’t need to do all the heat cycles on the same day. However, after you’ve rinsed and dried your piece right after stripping it, you’ll want to run it through at least one heat cycle so it doesn’t begin to rust. Also, if after your first heat cycle, you didn’t trust me and realize you didn’t get enough of the oil off and you have a few mitochondrial cells showing up, let your piece cool down completely, and take them off using either some fine-grit sandpaper or steel wool. Now is the time to make any course corrections.
Start using your piece for light-duty foods (toast and pancakes rather than scrambled eggs), because every time you use it and then clean it properly, its surface will improve. Eat more bacon. It’s no coincidence that old-timers tell us to “sear meat often” when it comes to maintaining the “cure” on cast iron.
If you’re wondering about the science behind my method, it goes something like this. There are two things that matter about the oil you use: smoke point and purity. (Smoke point can correspond with the type of fatty acids in an oil, but let’s not get sidetracked.) You want an oil above a certain smoke point (but not so high it puts most ovens out of the running). To produce an oil with a high smoke point, some manufacturers use techniques like bleaching, filtering, and heating to extract the compounds (minerals, enzymes, etc.) that don’t play well with heat. The oil you use needs to be pure and simple. Additives do weird things to your health as well as to the surface of your cast-iron piece.
Nutiva lists its ingredients as “organic, unrefined, cold-pressed virgin coconut oil.” That’s it, nothing else. Coconut oil is naturally semi-solid and requires no hydrogenation, plus it’s missing ingredients like TBHO (whatever that is), and the monoglycerides and diglycerides found in most shortenings. And these days, shortening’s once-pure predecessor, lard (pork fat), can have things like BHA, BHT, and propyl gallate added to it if it isn’t organic. Nutiva coconut oil has a smoke point of 350°F. The smoke point is the temperature at which it begins to break down into glycerol and free fatty acids (the polymerized thing) and produce smoke. The reason smoke points are almost always included on labels is because the changes that happen to the oil (and the ensuing smoke) aren’t good for us.
For many years, I used organic lard, but ever since I discovered organic virgin coconut oil, I’ve kept a small jar handy for all things cast iron. But, because people promote so many different oils for seasoning cast iron, I decided it would be good for me to test the cast-iron seasoning oils most commonly mentioned online. So, I completely stripped a large vintage griddle using the selfcleaning cycle on my range.
I divided my ready-to-be-cured griddle up into eight imaginary squares and tried the following organic oils using my curing method.
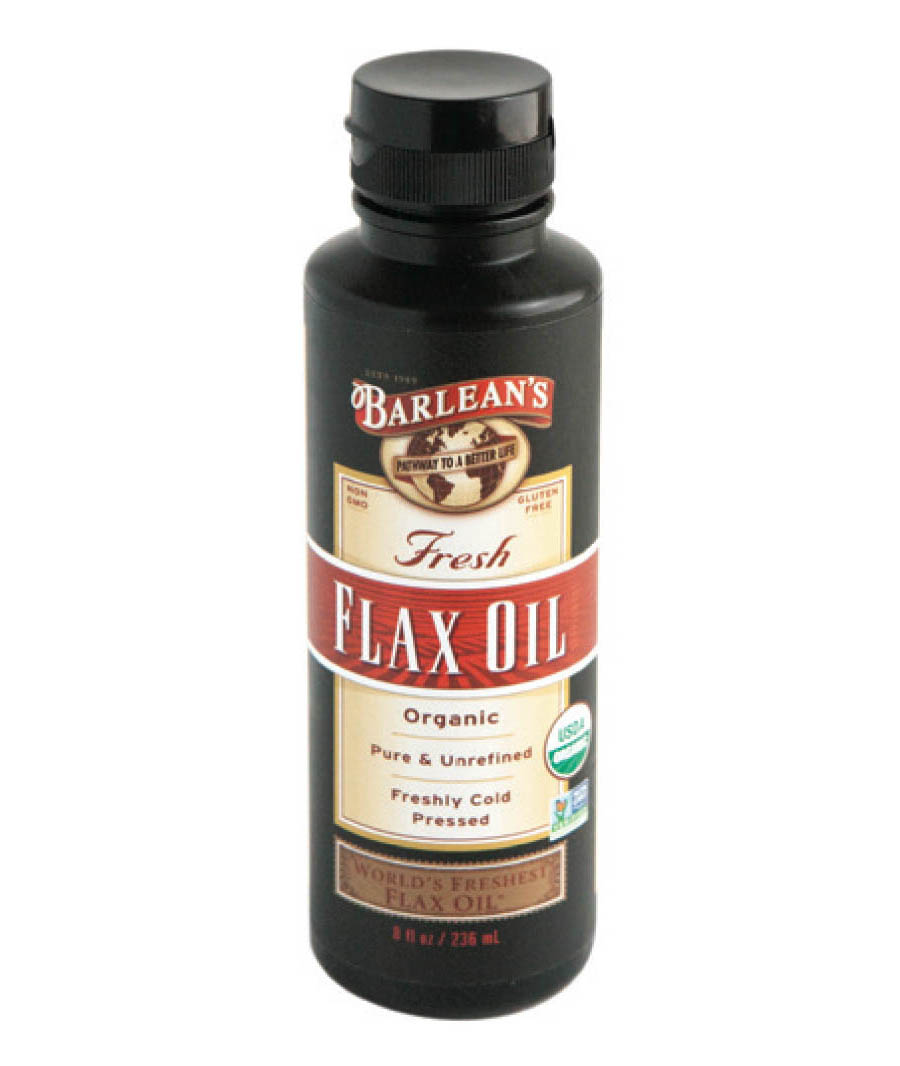
Flax Oil
225°F
smoke point
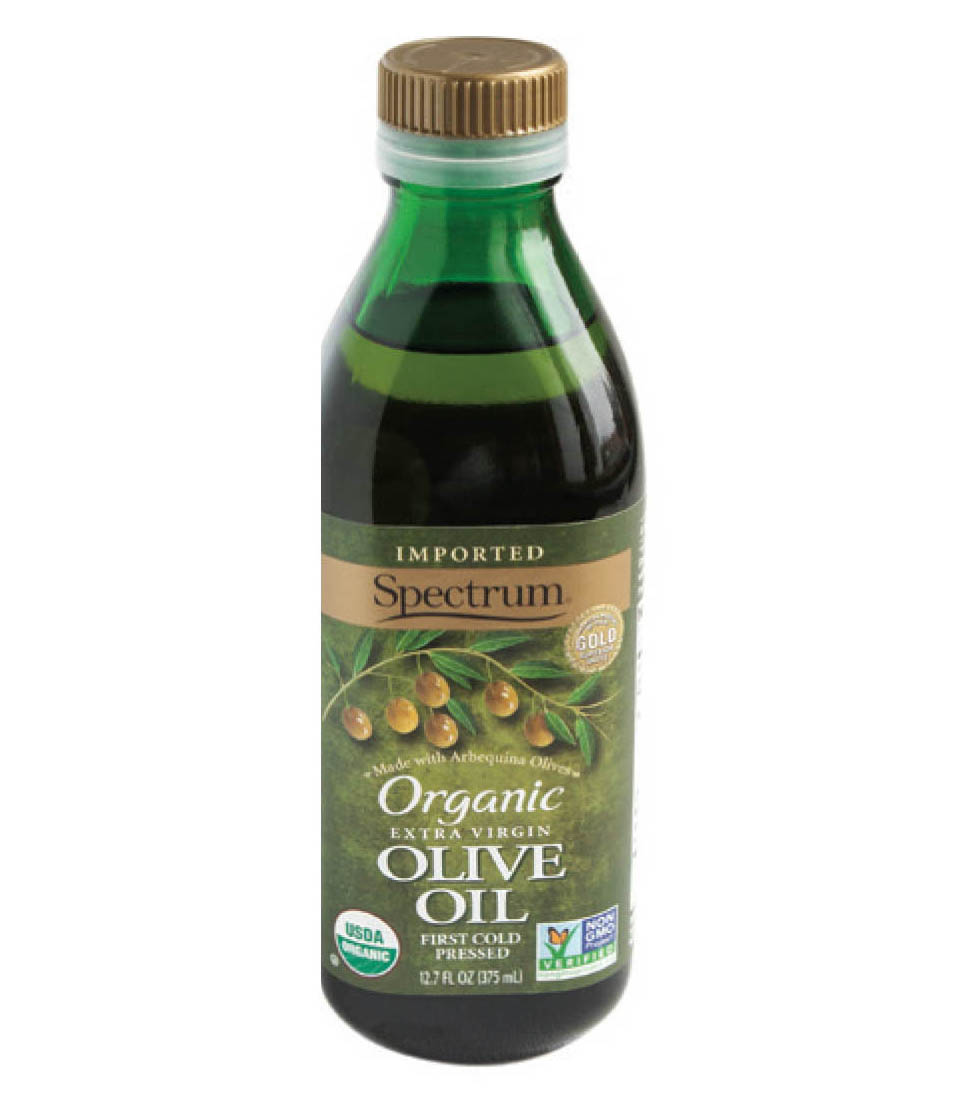
Olive Oil (virgin)
320°F
smoke point
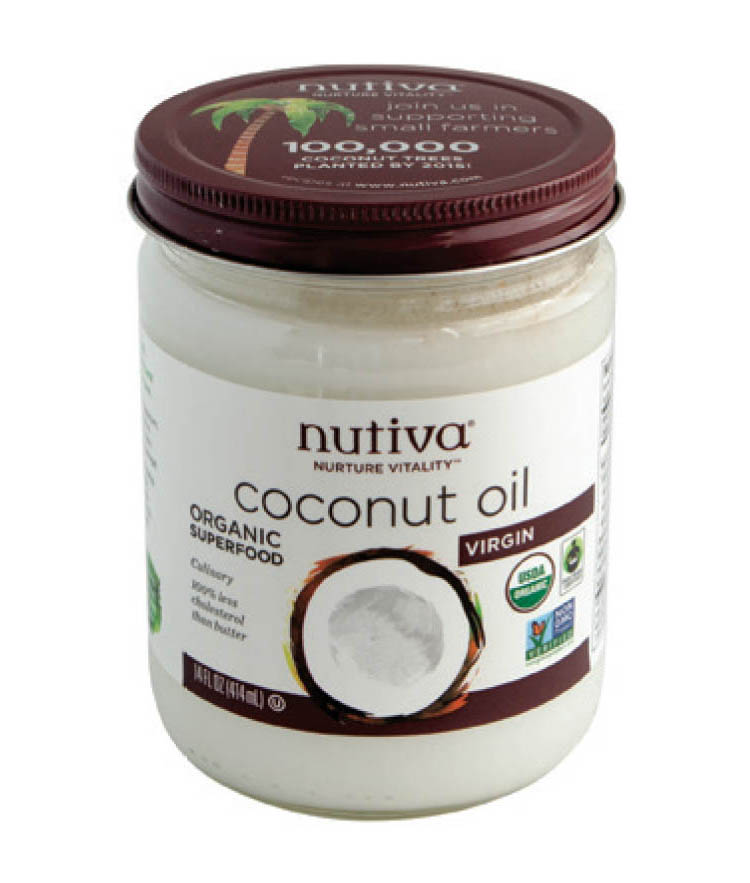
Coconut Oil (virgin)
350°F
smoke point
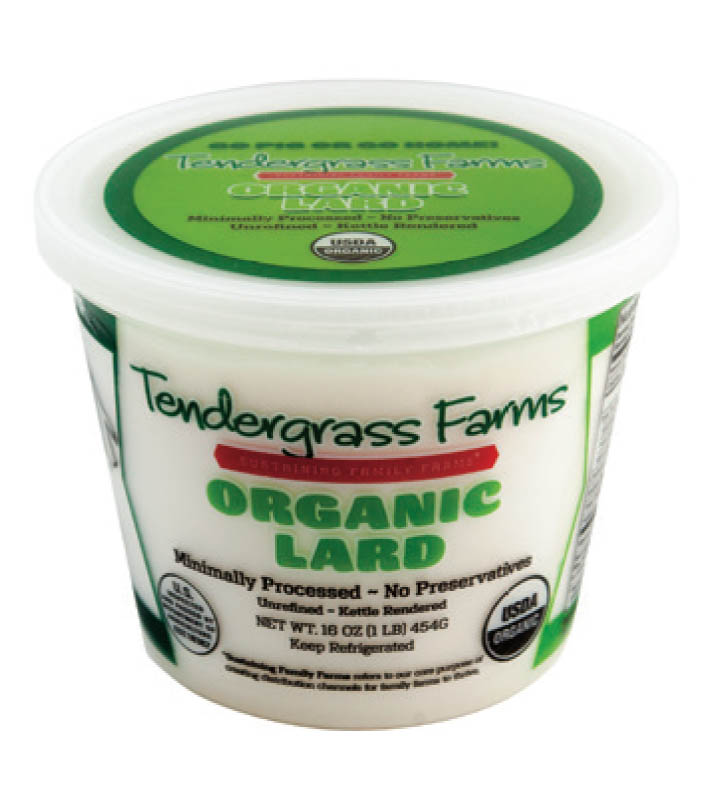
Lard
370°F
smoke point
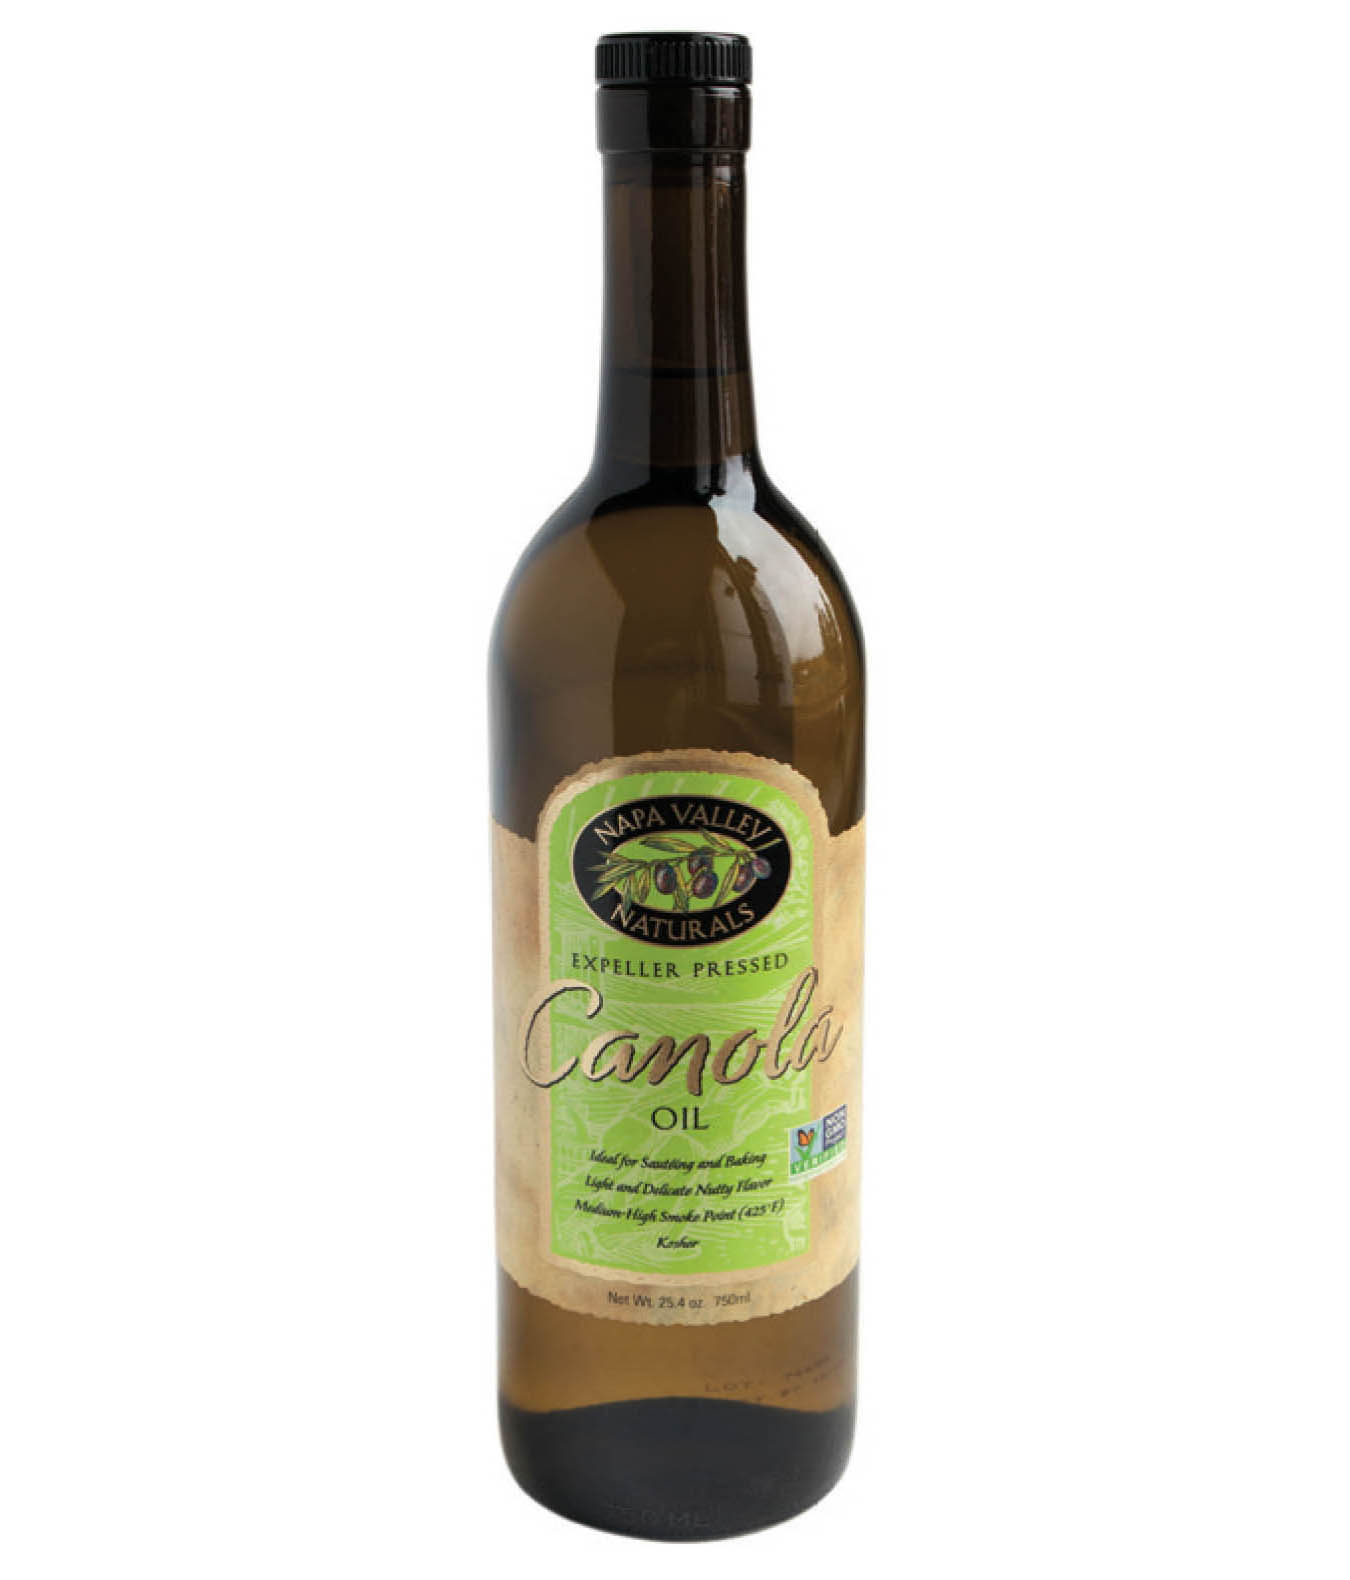
Canola Oil
425°F
smoke point
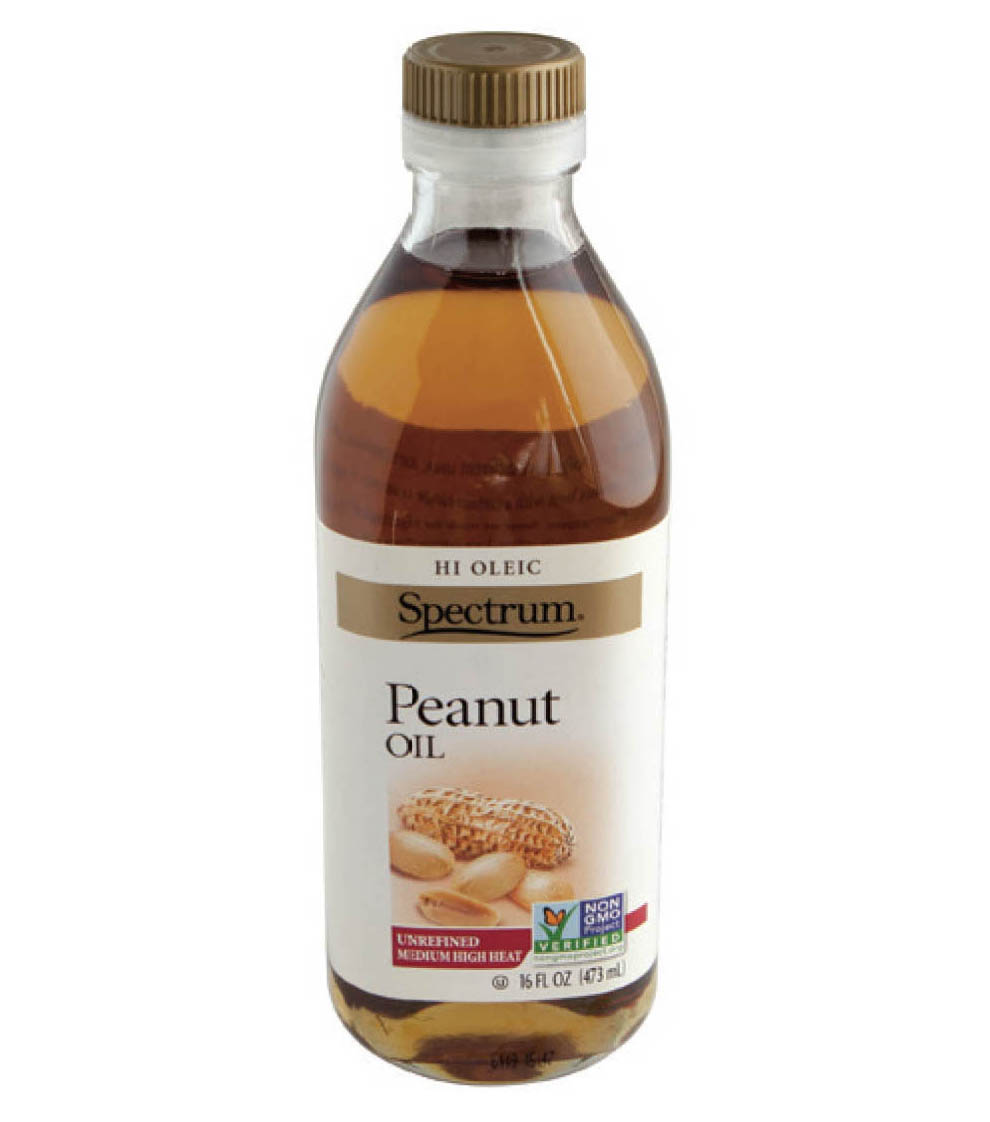
Peanut Oil
450°F
smoke point
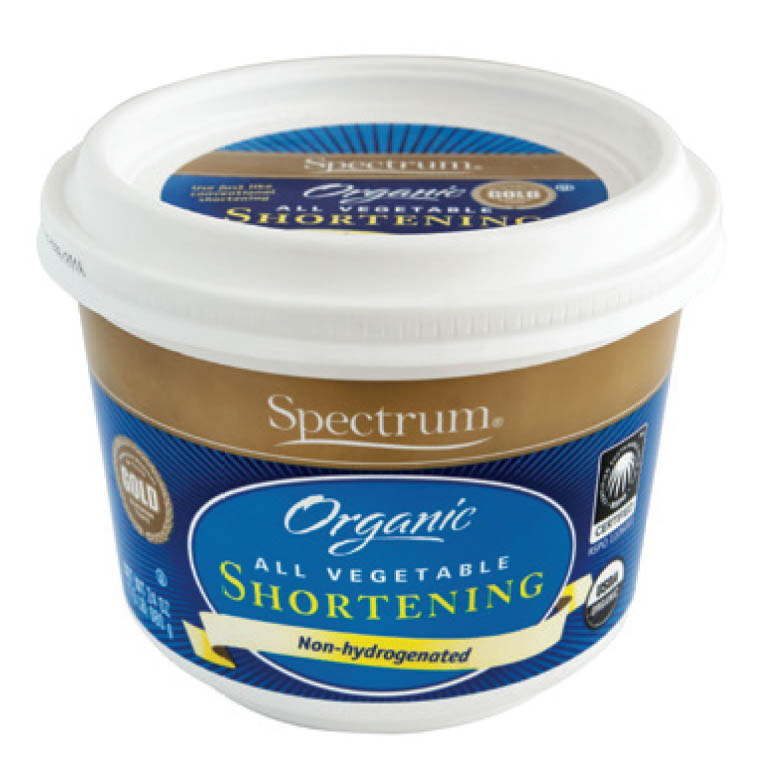
Shortening (Spectrum)
450°F
smoke point
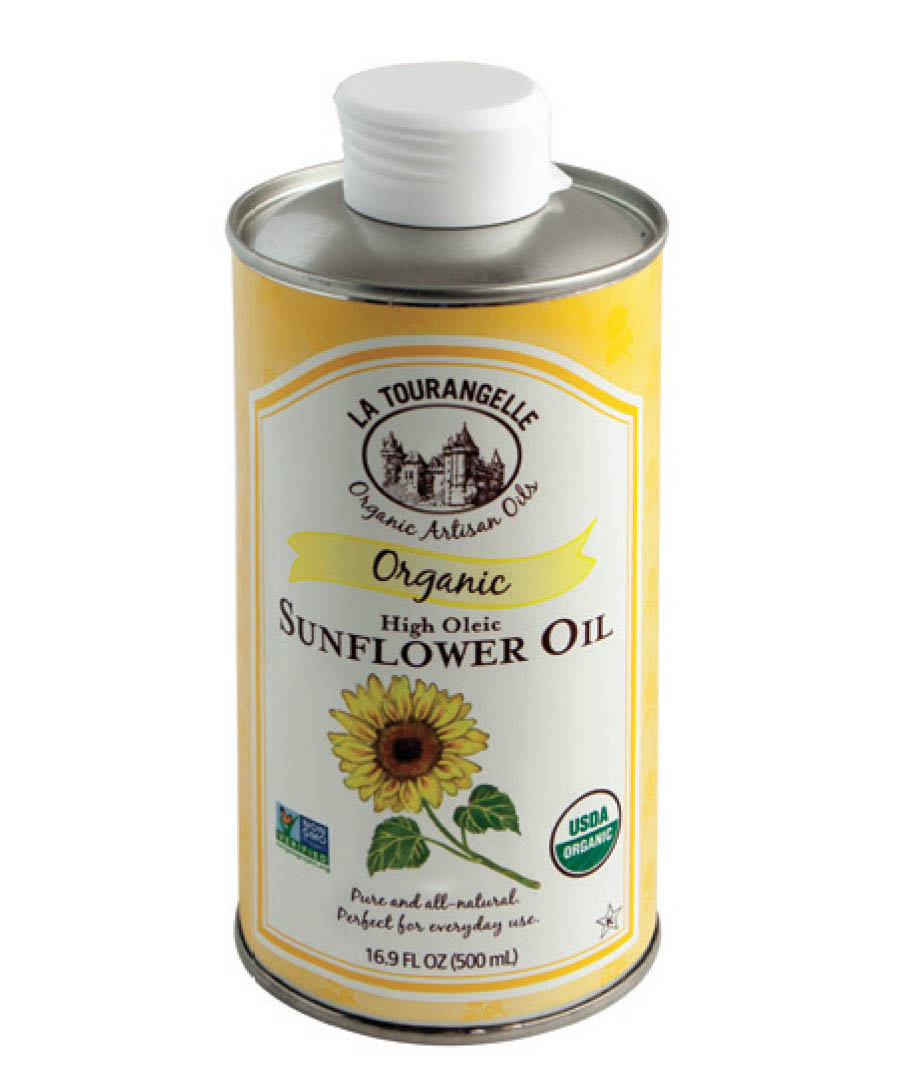
Sunflower Oil (high-oleic)
460°F
smoke point
After running my griddle through three heat cycles using the eight different oils, I did the first thing I always do to check to make sure the cure worked: I fried an egg, eight of them, to be exact. Several of them stuck horribly (flax, olive, canola, and sunflower). Lard was so-so. But coconut oil, Spectrum shortening, and peanut oil were clearly the winners. I continued to test curing oils on dozens of different skillets that I’d stripped in my oven. (I have close to 100 different cookware pieces I’ve collected over the years.) Meanwhile, I tested the eight different oils on my griddle for long-term durability by using it to cook pancakes and toast (using butter), then hamburgers and sausage patties (using safflower oil), and a vegetable stir-fry (using olive oil). Each time, after using it, I cleaned it with warm water, dried it, and then lightly coated the eight sections again with their appointed oils. Then, I fried eight eggs again to see how well the eight different types of oils were holding up. This time, the hands-down winner was virgin coconut oil. Neither side of a fried egg (that I flipped) was stuck to the pan one iota. I continued to test virgin coconut oil on both old and new cast iron skillets that I’d stripped first. Every time, an egg did not stick. Surprisingly, coconut oil doesn’t work all that great when prepping pans for baked goods, even though it works perfect for curing cast iron.
Unlike liquid oils that are kept in dark bottles or cans in an attempt to keep them from going rancid (if a spot of oil on your tongue tastes bitter, it’s gone rancid), coconut oil is extremely shelf-stable. In fact, if you buy a small jar (available on Amazon.com), you can put most of it into your freezer or refrigerator, enabling you to use it for what seems like forever for cast-iron restoration (all those gems you’ve brought home but haven’t done anything with yet). For routine maintenance, I keep a small wide-mouth canning jar full of coconut oil on my counter next to my stove. Dipping your paper towel into a tub of white oil (solid at room temperature—liquid at 76°F) to grab a dab is a whole lot easier and less messy than tipping a glass bottle upside down every time you need a smidgen of oil.
As I pondered the different oils people use for curing cast iron, I wondered if people complain about durability issues with flax oil because of its low smoke point. And since flax oil is never recommended as a cooking oil, why would I put it on my cast-iron pans? Safflower oil has a smoke point of 510°F, which is a good thing, but how many people have an oven that will go to 525°F in order to use it as a curing oil? Peanut oil has the same smoke point as Spectrum shortening, 450°F, but it’s a notorious allergen, even if technically, a highly refined oil doesn’t carry the protein needed to cause an allergic reaction. I’ll bet if you’re allergic to peanuts, you’re not apt to try peanut oil. (For the record, peanut oil came in third in my trials.) Spectrum shortening with a smoke point of 450°F, would be my second choice for use on cast iron (using an oven curing temperature of 465°F), but I rest my case in favor of Nutiva organic virgin coconut oil.
DAILY MAINTENANCE
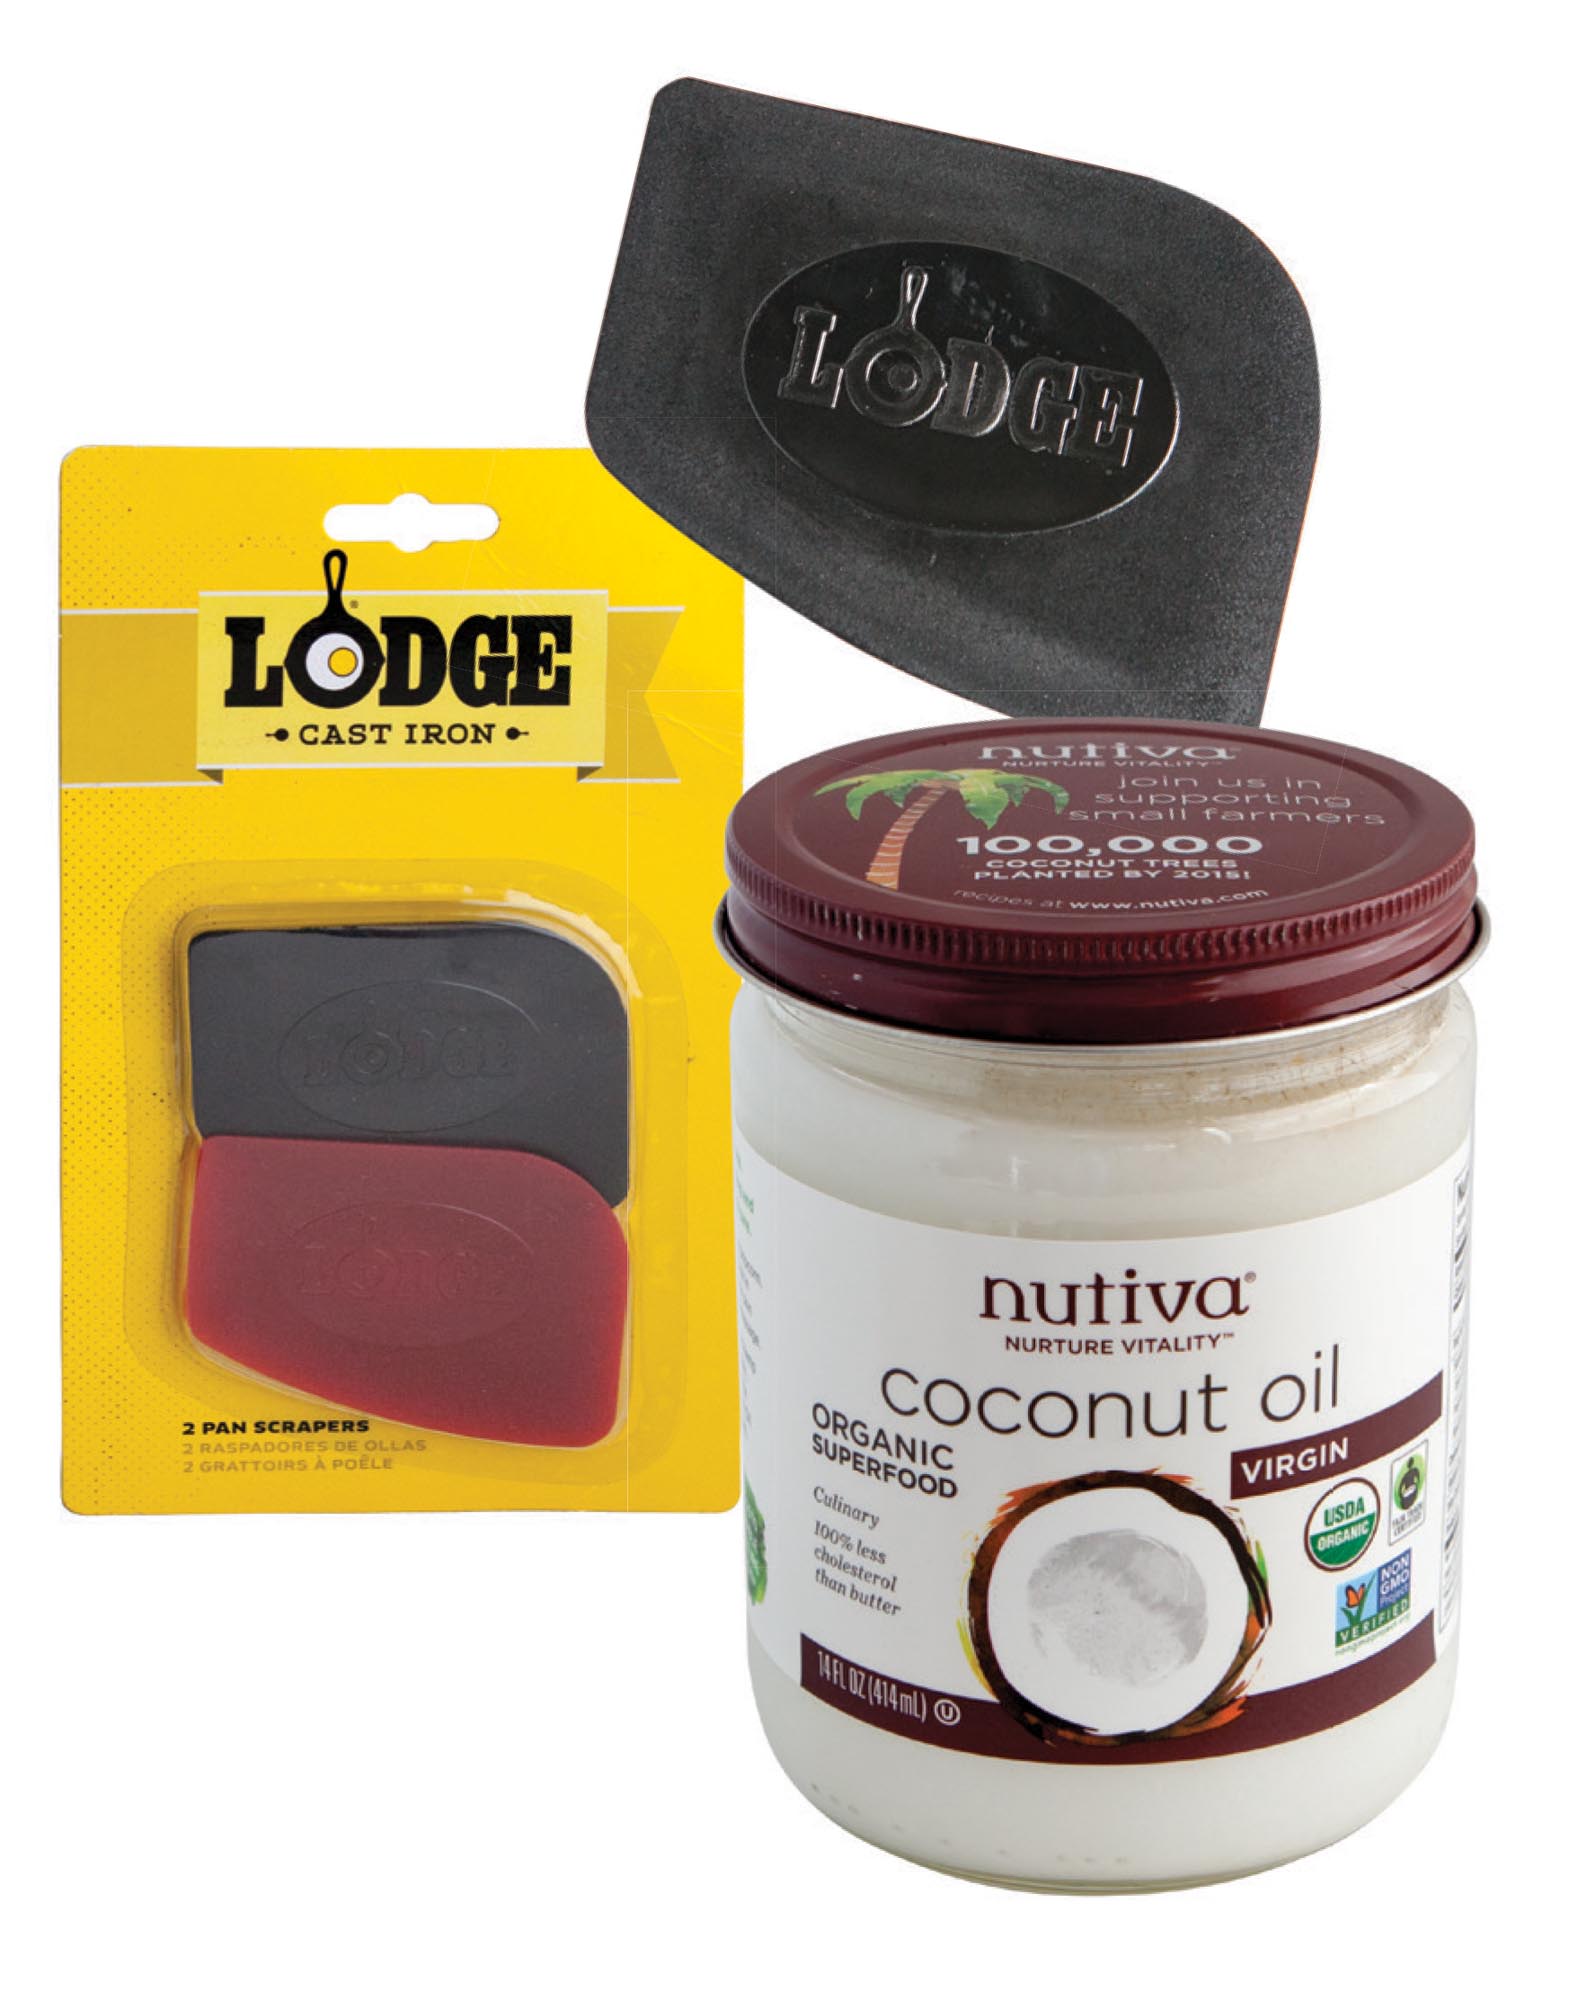
For daily maintenance, all you need are a Lodge scraper, paper towels (or dedicated lint-free cotton towels), and organic virgin coconut oil. After you’ve cleaned a piece using warm water only, dry it thoroughly. This is important. Or, while it’s still wet, give it a quick blast of heat on your stovetop to dry it (don’t walk away thinking you’ll remember to come back in a moment). If, after having just cooked with it, you feel like it could use a bit of oil, put a “barely there” coating of coconut oil on it, then wipe it off, and you’re done. Here’s a list of never-evers.
-
Never add cold water to an empty pan that’s hot. After use, wait for it to cool before using warm water to clean it.
-
Never let it soak in water in your sink or bring water to boil in it to loosen food.
-
Never put it in your dishwasher.
-
Never let it air-dry. Either dry it immediately with a towel or pop it on your stovetop for a quick blast of heat.
“Why I waited all these years to buy a cast-iron skillet, I have no idea. So, I bought two. I can’t believe how great they work. I fried up some chicken this morning, made cheeseburgers last night, and last week, made a nice ham chowder. I thought they would be really hard to clean up. But not so. We always used them on the farm I grew up on, so I don’t know what I was thinking.”
– Nancy Jo Gartenman, MaryJanesFarm chatroom member