Twist Note
BY MANY FOLDERS, ADAPTED FROM THE FUJIMOTO TWIST-FOLD
Adapted from square tile twist folding. This kind of origami technology is often called a “Fujimoto Twist,” named for Mr. Shuzo Fujimoto’s pioneering work in origami twist folds and pleated tessellations.
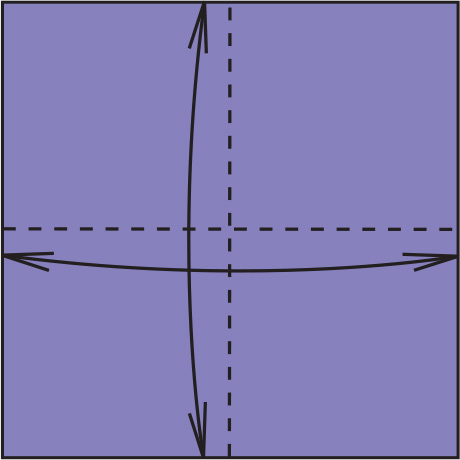
1 Begin with the paper display side up. Fold in half, edge to edge, both ways. Unfold.
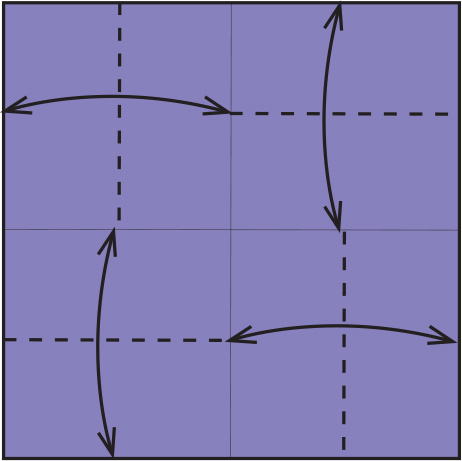
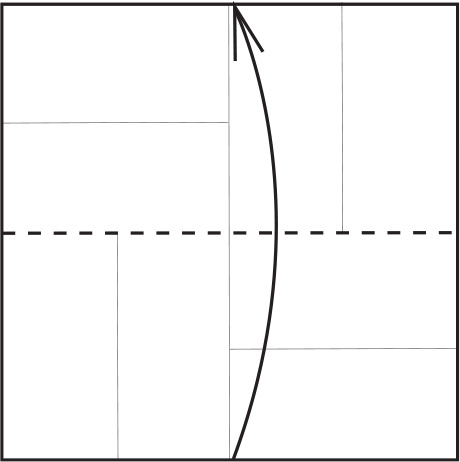
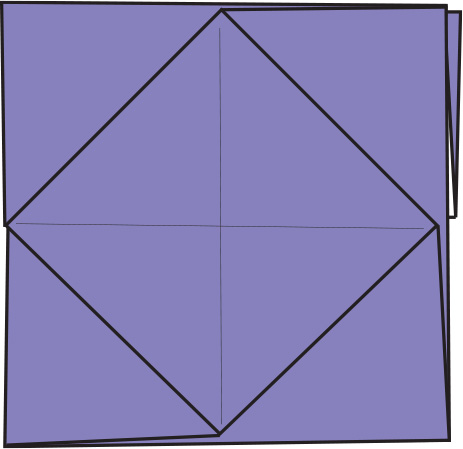
2 Your paper will be divided into four equal quadrants. Fold each quadrant in half to make the crease pattern displayed in the diagram.
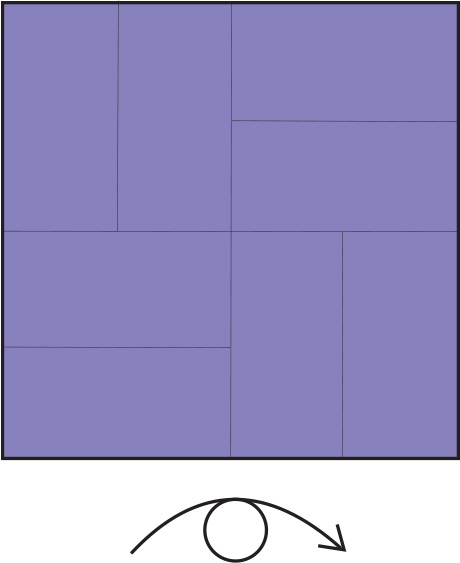
3 Your paper should look like this. Turn the paper over.
4 Fold in half, bottom edge to top edge.
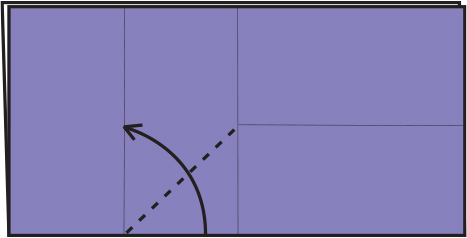
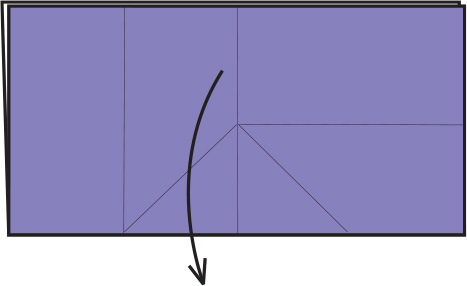
5 The folded edge should be at the bottom. Install an angled crease by folding the right half of the bottom folded edge to align with the vertical crease on the left.

6 Only crease up to the center-line. This is the position of the paper while forming the crease. Unfold.
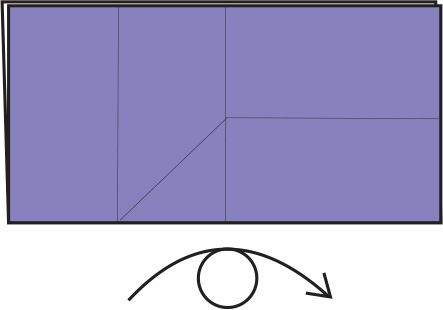
7 Your paper should look like this. Turn the paper over.
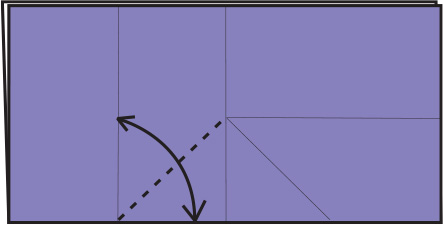
8 Install a similar crease, as in steps 5 and 6. Unfold.
9 Open the paper completely.
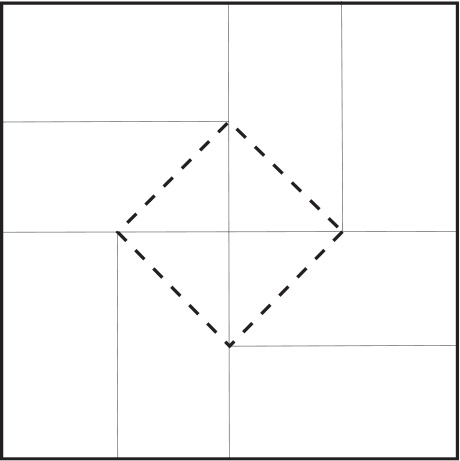
10 Sharpen the creases that form the square diamond in the center of the paper.
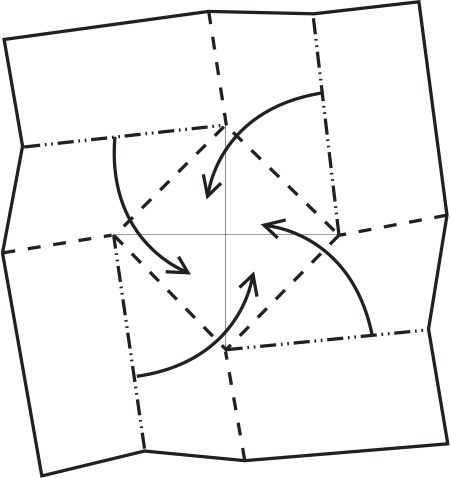
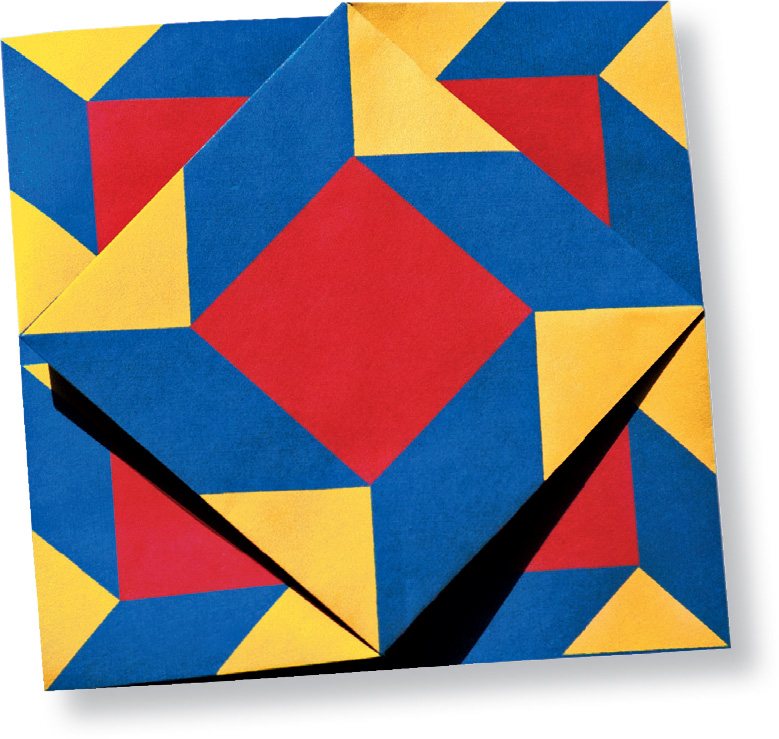
11 Using the existing creases, collapse the paper inward, in a twist, overlapping the layers into a woven square.
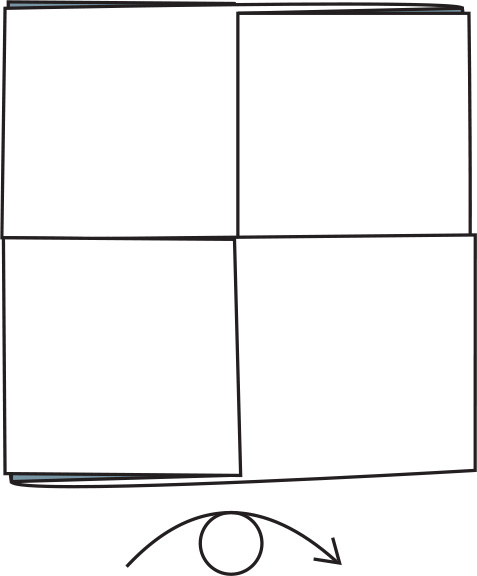
12 Turn the paper over.
13 The Twist Note. Try it with other kinds of rectangles!