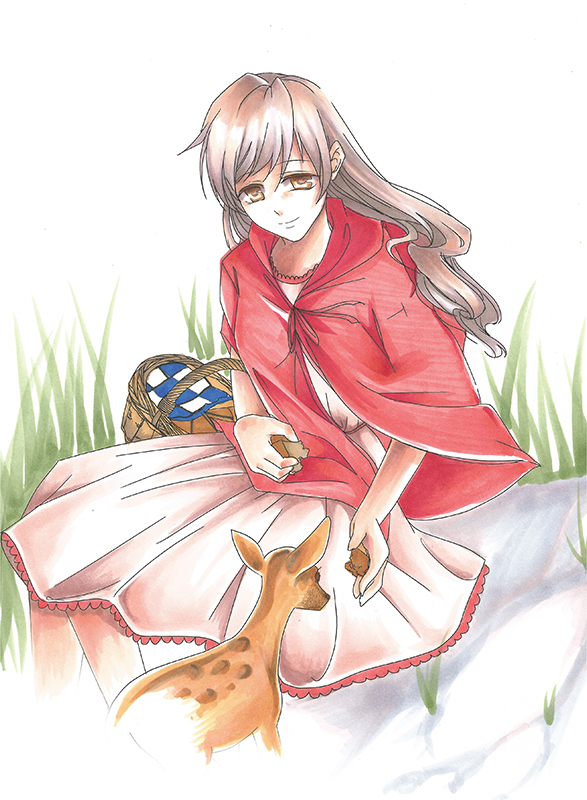
Copic markers require a fairly simple technique that results in beautiful illustrations resembling watercolors. You can start with only five markers if you don’t have the budget for a pack of thirty-six or seventy-two. For an artist who craves coloring, I find them entertaining to use, although sometimes it can take more than four hours to complete an illustration. In this demo, we will use the same drawing we colored with pencils so that we can compare the results. You can either do the line art traditionally, or create your line art in Manga Studio and print it out.
colored pencils
Copic Sketch markers, 72-color Set D, selected colors
eraser
pen
pencil
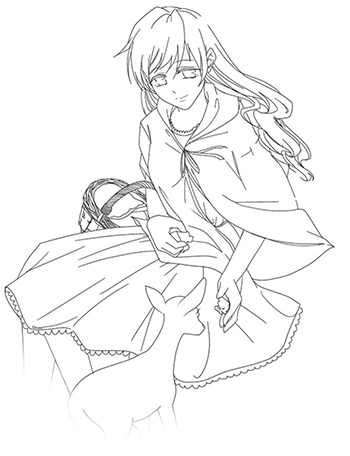
Sketch the figure with a pencil. Then either ink the art traditionally, or digitally ink the art and print it out with Manga Studio. This is the line art that we are going to color.

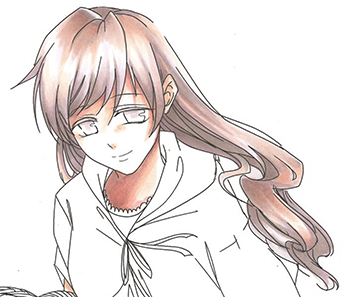
Use the lightest cream marker to color the base of the skin. Marker E01 (Pink Flamingo) is a good base color.

You don’t have to color the entire skin. Leaving white areas in the face and body is a good idea for highlights.
Next use a darker shade, such as E95 (Flesh Pink), to darken areas with heavy shadow, such as the neck, hands and legs.
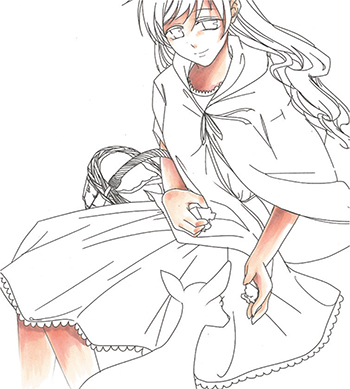
Apply marker E93 (Tea Rose) to blend the shades together.
Apply marker E04 (Lipstick Natural) for further shading. This is my favorite color when it comes to shading the skin. Finally, add RV42 (Salmon Pink) to finish the skin layers and blend the colors.
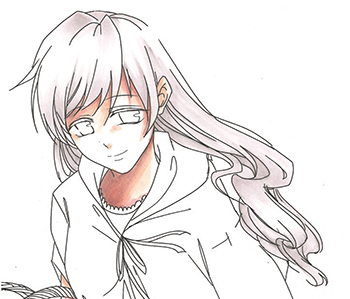
Color the base of the hair with V91 (Pale Grape), leaving some white areas for highlights. Always start coloring with a light color, then darken and build up layers.
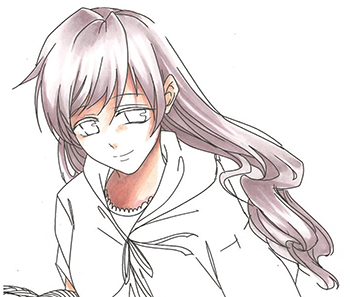
Apply a darker shade, such as V95 (Light Grape), on the edges of the hair. Then apply V91 (Pale Grape) to blend these colors together. Remember which direction your light source is coming from. Add the color, making sure to darken the areas with heavy shadow.
Apply E71 (Champagne) or any pink color over the hair to give it more depth and warmth.
Use a pale color such as V91 (Pale Grape) to color the first layer in the eyes.

Use a dark brown colored pencil to outline the pupil. I always use colored pencils for this step because the tip is smaller than a marker’s and therefore you have more control over it.
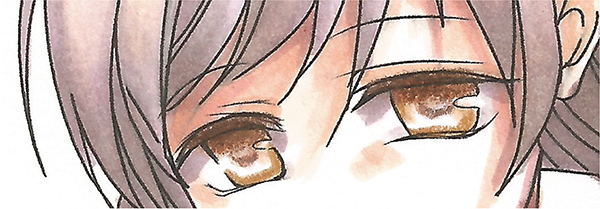
Use colored pencils to finish building up the layers in the eyes. Adding shadows will help give the eyes dimension.

Apply the red color for the cape. R14 (Light Rouge) is a good choice. Notice the way I’m coloring the cape. The direction of the marker strokes can add shape to the fabric. You can control the intensity of the color by going over the areas you have colored with the same marker again, building up the layers.
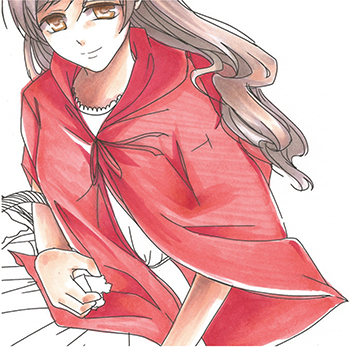
Build up the shadows in the folds by applying a darker marker, such as R46 (Strong Red).
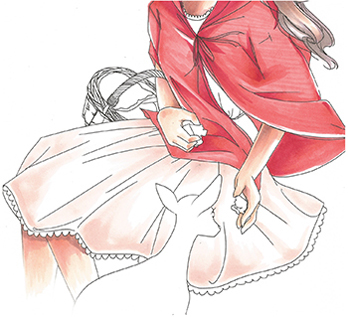
Use a pale pink marker, such as R30 (Pale Yellowish Pink), to color the dress, leaving some white spots for highlights.
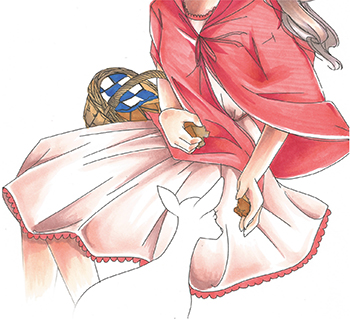
Use marker E04 (Lipstick Natural) to add shading to the folds of the dress. Next use brown E97 (Deep Orange) and then dark brown E74 (Cocoa Brown) to color the basket and apply shadows. Color the basket cloth with blue B28 (Royal Blue).

To color the deer, first use a light brown color such as E97 (Deep Orange).
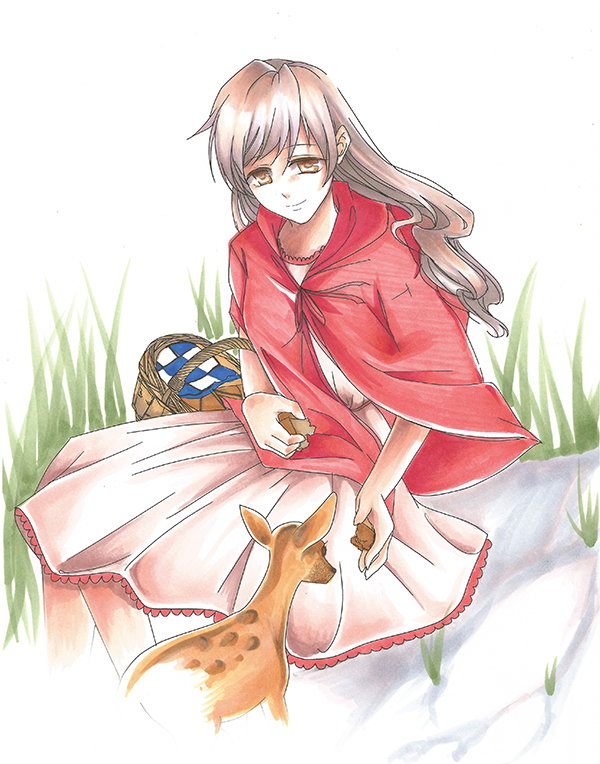
Using dark brown colors, such as E47 (Dark Brown) or E74 (Cocoa Brown), color the texture of the deer fur, adding spots and shadows.