You can also develop static pages as HTML documents, referencing other files in the same directory. Let's build a slightly more complicated page using graph.png, and also a style from application.css, as follows:
- Place graph.png and application.css into a directory.
- Create a new HTML file. Let's name it intro.html.
- Add any styles for your page to application.css.
- Upload the new HTML file and the modified CSS file.
- Create the dashboard referencing the HTML file.
Starting with the HTML from our previous example, let's make it a complete document. Move the image to a CSS style and add a class to our text, like this:
<html>
<head>
<link rel="stylesheet" type="text/css"
href="application.css" />
</head>
<body>
<table>
<tr>
<td class="graph_image"></td>
<td>
<p class="lorem">Lorem ipsum ...</p>
<p class="lorem">Nulla ut congue ...</p>
<p class="lorem">Etiam pharetra ...</p>
</td>
</tr>
</table>
</body>
</html>
Maintaining the classes for the navigation bar, add our page classes to the application CSS, like this:
.appHeaderWrapper h1 {
display: none;
}
.appLogo {
height: 43px;
width: 155px;
padding-right: 5px;
float: left;
background: url(appLogo.png) no-repeat 0 0;
}
.appHeaderWrapper {
background: #612f00;
}
.lorem {
font-style:italic;
background: #CCCCCC;
padding: 5px;
}
.graph_image {
height: 306px;
width: 235px;
background: url(graph.png) no-repeat 0 0;
}
We can now open this file in a browser. Clipped for brevity, the page looks like this:
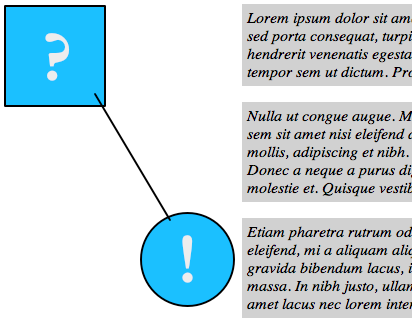
To include this external HTML document, we have to use advanced XML. We will cover advanced XML more thoroughly in Chapter 9, Building Advanced Dashboards.
First, build a minimal dashboard like this:
<view template="dashboard.html">
<label>Included</label>
<!-- chrome here -->
<module
name="ServerSideInclude"
layoutPanel="panel_row1_col1">
<param name="src">intro.html</param>
</module>
</view>
All simple XML dashboards are converted to advanced XML behind the scenes. We will take advantage of this later.
Now, we upload our files as we did earlier under the Customizing the launcher icon section. The page should render nearly identically to how the file did in the browser, with the addition of the border around the panel:
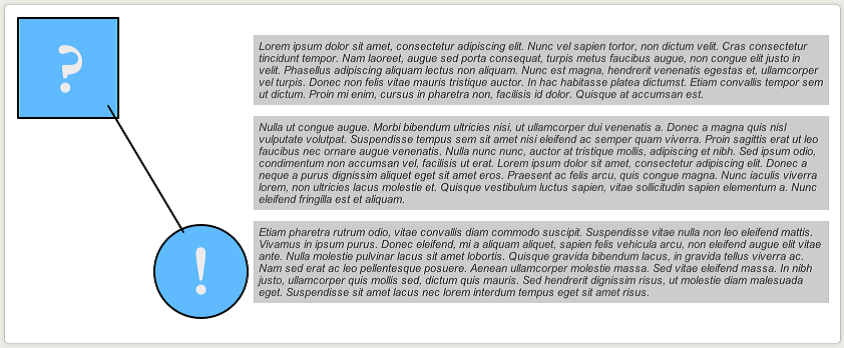
A few things to note from this overly simplified example are as follows:
- Your CSS classes may end up merging with styles included by Splunk in unexpected ways. Using the developer tools in any modern browser will help greatly.
- The navigation and dashboard title were excluded for brevity. They would normally go where we see <!-- chrome here -->. This is interesting because there are cases where you would want to exclude the navigation, something that cannot be done with simple XML.
- The static files, such as application.css, can be edited directly on the filesystem and the changes will be seen immediately. This is not true for the dashboard XML file. We will cover these locations later in the App directory structure section.