Facets
Nancy Pinke, CZT
Nancy Pinke, CZT, created this tangle in 2010, and it’s fantastic because it brings a unique illusionary look to your Zentangle practice. After you feel confident with it, you can adapt it as you wish in so many ways.
Note: The instructions I give here differ from those I’ve seen online. The final tangle is the same, but this technique was more logical to my mind. Check out the Zentangle® newsletter archives for the alternative method.
Materials
Sakura Pigma Micron pen (.01 Black)
Graphite pencil
Fabriano Tiepolo printmaking paper (31⁄2″ [8.9cm] tile)
Tip
This tangle can be a little disorienting if you are not focused, so try to concentrate and don’t put pen to tile until you’re sure you’re going in the right direction!
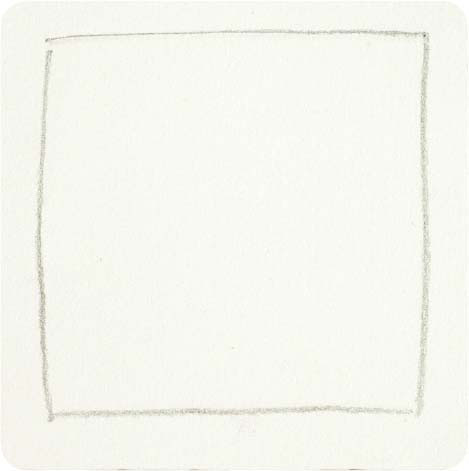
Step 1: Create your pencil border on your Zentangle tile.
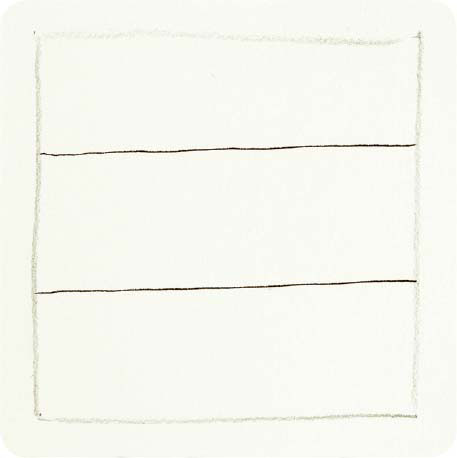
Step 2: Draw two lines at equal distance apart across your tile.
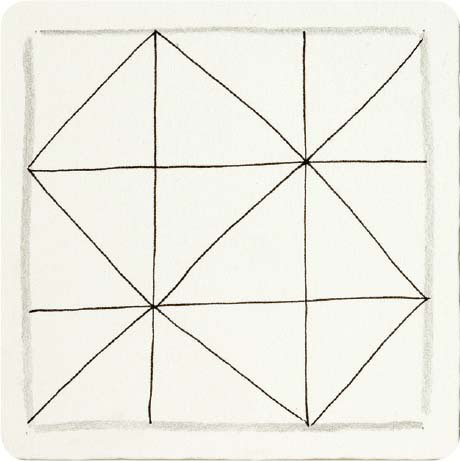
Step 3: Turn your tile 90 degrees and repeat, creating a 9-square grid on your tile.
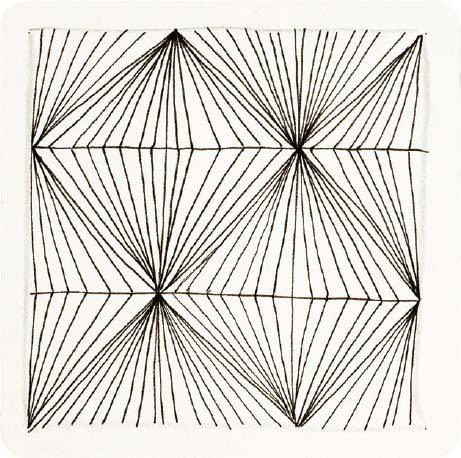
Step 4: In the first column of your grid, draw a diagonal line in a zigzag style back-and-forth across the three squares. Repeat the zigzag line in the next column, drawing the mirror image of the first row’s line. The third column should repeat the zigzag line in the first column.
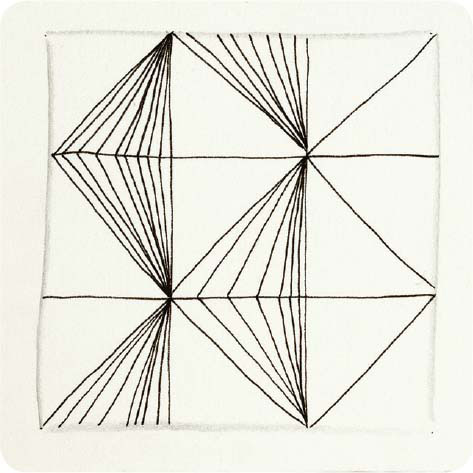
Step 5: In the left-hand column, draw lines running parallel to the diagonal line created in step 4, but converge at the lines at the top and the bottom of the diamond shape. For now, only draw your lines on the left-hand side of the diamond. Depending on how close together your lines are, you’ll probably fit 5 to 7 lines per side. Do this for all columns.
Step 6: Repeat step 5 for the right-hand side of each diamond.
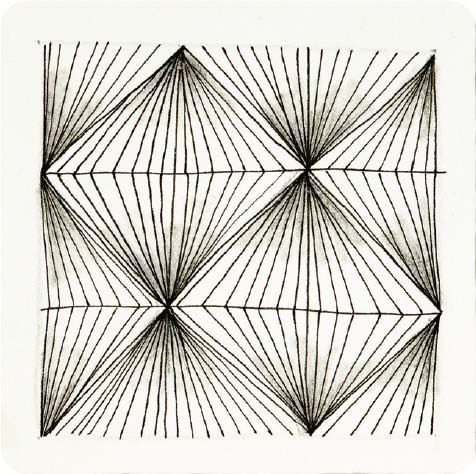
Step 7: Shade your Facets from the point of each diamond. Note: A tortillion or paper stump is ideal to shade this tangle toward the center.
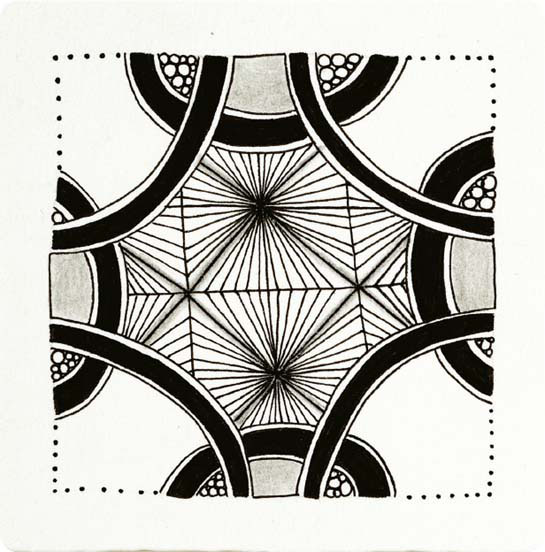
FACETS OF LIFE
Sakura Pigma Micron pen, graphite pencil