Honeycomb
Kass Hall, CZT
I designed Honeycomb when I wanted to create a background for an artwork. It took some working out, but I think it’s a fantastic tangle that can be easily adapted to create something unique in your work.
Materials
Sakura Pigma Micron pen (.01 Black)
Graphite pencil
Fabriano Tiepolo printmaking paper (31⁄2″ [8.9cm] tile)
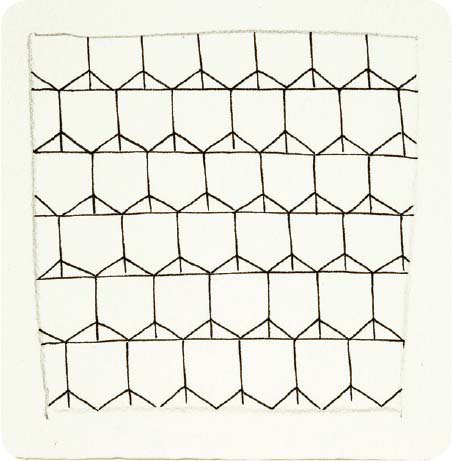
Step 1: Create your pencil border on your Zentangle tile.
Step 2: Draw evenly spaced lines across the tile—about 5 should fit nicely, but this will depend on how big you want your honeycomb to be.
Then turn your tile 90 degrees and draw lines across to give your tile a “square brick” appearance.
Step 3: Across each row, connect the bottom third of each vertical line to the corners of the square beneath it. The pattern will begin to look like roofs on houses. Do this to all of the squares.
Step 4: Turn the tile 180 degrees. Repeat step 3. You’ll see a zigzag effect take shape across your tile.
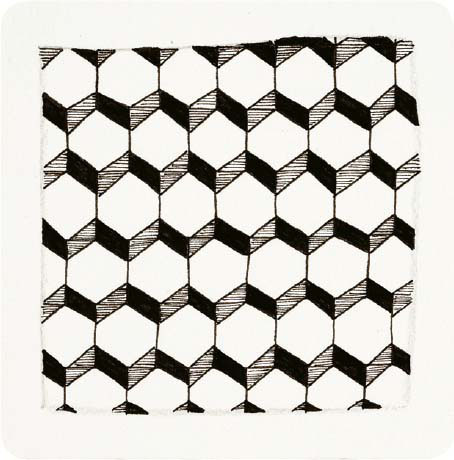
Step 5: Fill in the zigzag effect as desired. My suggestion is to solidly color one direction and put a pattern (I’ve used fine lines) in the other.
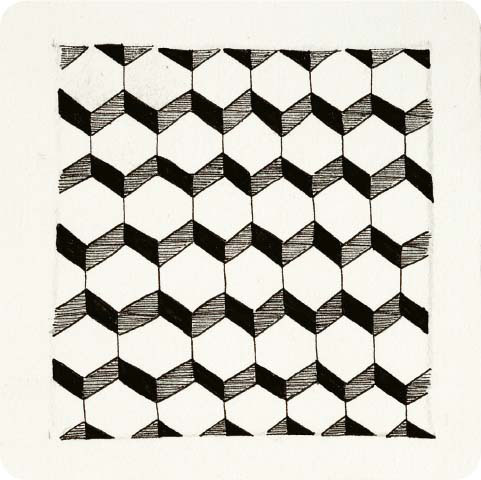
Step 6: Shade as desired. I suggest choosing one part of each shape (for example, the left-hand side) and shade that area in each hexagon.
Tip
This tangle really comes to life with shading. See more details about shading in Shading Zentangles.
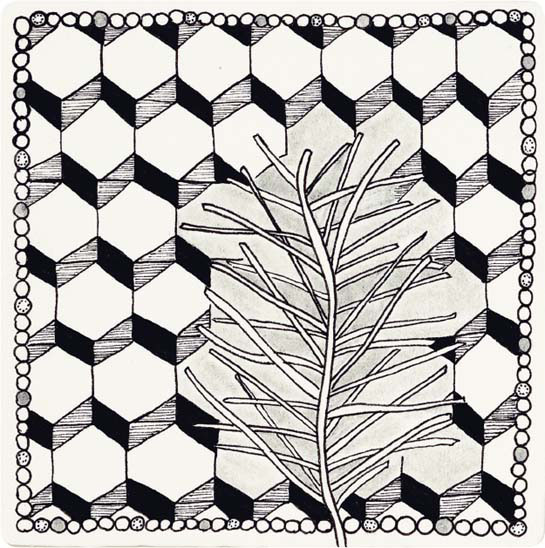
HONEYTREE
Sakura Pigma Micron pen, graphite pencil