Adding Labels to a Form
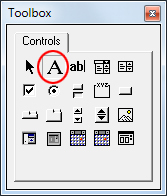
Locate the label control in the toolbox, the one circled in the image below:
Draw out the first label anywhere on your form. Now set the following properties for the label:
Caption
: File Name
Height
: 18
Width
: 54
Top
: 72
Left
: 24
Locate the Font property and click the grey button with the three dots in it:
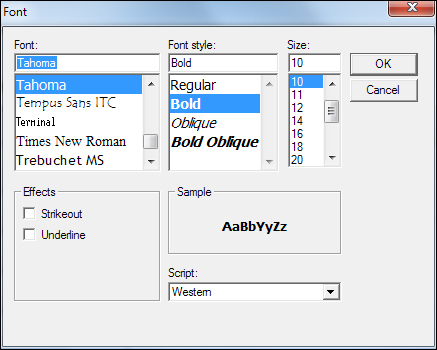
Clicking the button brings up the Font dialogue box:
Set the font to Tahoma, Bold, 10 points. Then click OK.
Instead of drawing out the other 6 labels and setting the properties, you can copy and paste the first label. The pasted labels will then have all the same properties as the copied one (except for Top and Left).
Click on your first label to highlight it, then press CTRL + C to copy it. Press CTRL + V on your keyboard to paste it. The label should appear somewhere in the middle of the form. Drag it to the left somewhere, and then paste another 5 times. You'll then have 7 labels that say File Name
.
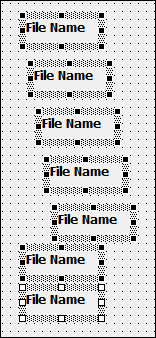
To left-align all the labels, hold down the CTRL key on your keyboard. Keep it held down and left click each label in turn until they are all selected, as in the image below:
In the properties area, locate the Left
property. Type in a value of 24 and press the enter key on your keyboard. All your labels will then left-align to the desired position.
Now set the following values for each label:
Label2
Caption
: Date Taken
Width
: 72
Top:
102
Label3
Caption
: Information
Width
: 66
Top
: 132
Label4
Caption
: Dimensions
Width
: 66
Top
: 162
Label5
Caption
: Image Size
Width
: 54
Top
: 192
Label6
Caption
: Camera
Width
: 54
Top
: 222
Label7
Caption
: Flash
Width
: 54
Top
: 258


