Adding Charts to an Excel VBA User Form
In this tutorial, you'll learn how to add a chart to a user form. What we'll do is to have a dropdown list at the top of a form. When you select an option from the list, a chart will appear based on data from a spreadsheet.
Unfortunately, you can't just embed a chart onto a form like you can with a spreadsheet. You need to create an image of the chart you want and then load it into a picture box. The first thing to do, though, is to design the User Form.
Start a new spreadsheet for this. Open up the Visual Basic Editor. From the menus at the top of the Editor, click Insert > User Form
. You should see a grey form appear. With the form selected, locate the toolbox (View > Toolbox
). Add a Command button to the top left of the form. Type Load Chart
as the Caption
property. Change the Name
property to cmdLoad
.
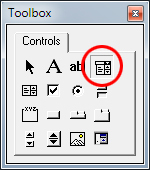
Now locate and select the Combo Box item in the Toolbox:
Draw one out in the top right of your form. Set the Text
property to Select a Chart
.
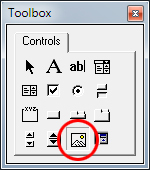
Now locate and select the Image
control:
Draw an Image Box the size of the rest of your form. The whole of your form will then look like this:
With the design of the form out of the way, let's add the data to the spreadsheet.
Return to Excel. Create a spreadsheet like the following:
The data is just some running points total for four football teams in the English premiership (season 2013 to 2014, when Cardiff and Newcastle United were in the Premiership). To save you typing all the data, you can grab the extra files for this book. You’ll need to download them from here:
There is a CSV file called football_data.csv
that comes with the download above. Open up this file and you’ll see the data. You can then import it.
To import the data, click inside cell A1 on your spreadsheet. Then click on the Data
ribbon at the top of Excel. Locate the Get External Data
panel then click the From Text
item. You'll then get a dialogue box where you can select the CSV file you downloaded above. A Text Import Wizard will appear to guide you the rest of the way. On step two of the Text Import Wizard, uncheck Tab
as the delimiter and select Comma
instead. Leave the other steps of the Wizard on the defaults. When you're done, you should have the data that you need for the rest of the tutorial.