In the previous chapter, you learned about NMAP and its capabilities. In this chapter, you’ll learn about how OpenVAS can be used to perform vulnerability assessments. Specifically, this chapter covers the following:
Introduction to OpenVAS
Setting up OpenVAS
Importing NMAP results into OpenVAS
Vulnerability scanning
Reporting
Note
The purpose of OpenVAS is limited to vulnerability scanning, unlike NMAP and Metasploit, which are capable of doing many more things. From this perspective, all the essential OpenVAS tasks are covered in this chapter. This will prepare you for the integration of OpenVAS with Metasploit in the next chapter, where the real fun starts.
Introduction to OpenVAS
In the previous chapter, you learned about NMAP. NMAP is a tool that is much more than just a port scanner. For example, you used NMAP for vulnerability detection. However, it has certain limitations. NMAP mainly detects only limited known CVEs. Hence, you certainly need a better solution for performing a vulnerability assessment. Here are a few of the popular choices:
Nessus
Nexpose
QualysGuard
OpenVAS
These products are mature and used widely in the industry. For the scope of this book, you will be learning about the OpenVAS platform. It is free for community use and offers many useful features.
OpenVAS is an abbreviation for Open Vulnerability Assessment System. It is not just a tool but a complete framework consisting of several services and tools, offering a comprehensive and powerful vulnerability scanning and vulnerability management solution.
Like an antivirus solution has signatures to detect known malwares, OpenVAS has set of network vulnerability tests (NVTs). The NVTs are conducted using plug-ins, which are developed using Nessus Attack Scripting Language (NASL) code. There are more than 50,000 NVTs in OpenVAS, and new NVTs are being added on a regular basis.
Installation
OpenVAS comes with multiple installation options, including the Docker container. It can be installed on various operating systems. However, the easiest and fastest way of getting started with OpenVAS is to download the OpenVAS virtual appliance. The OpenVAS virtual appliance ISO image can be downloaded from https://www.greenbone.net/en/install_use_gce/.
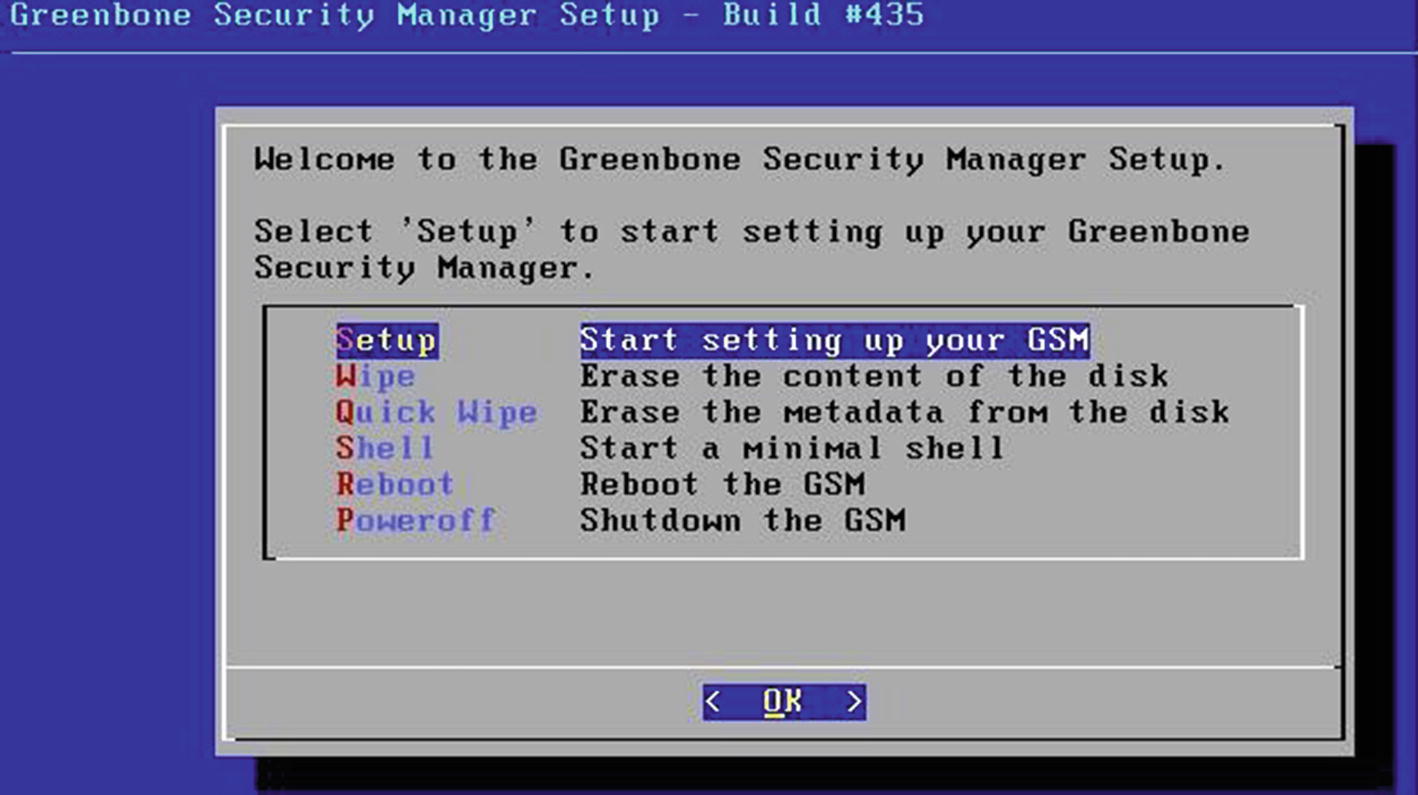
The benefit of using this virtual appliance is it already has all the dependencies in place and everything set up. All you need to do is download the ISO image, boot it in VMware/VirtualBox, and set up some basic things, and OpenVAS will be up and running in no time.
Once you boot the downloaded ISO, you can get started by selecting the Setup option, as shown in Figure 2-1.
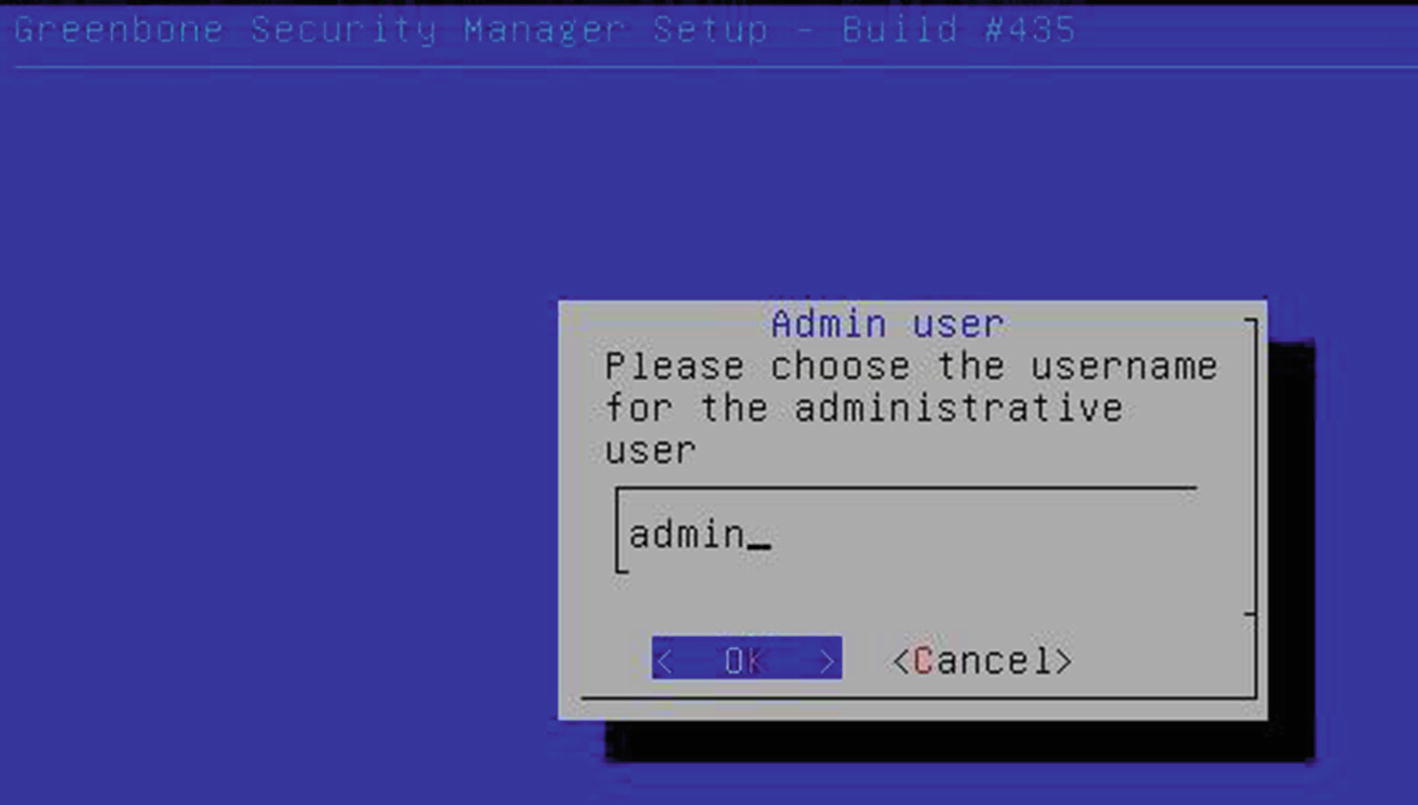
Now you need to create a new user that you will be using for administrative purposes, as shown in Figure 2-3.
Figure 2-3
Setting up a user for the OpenVAS administrator
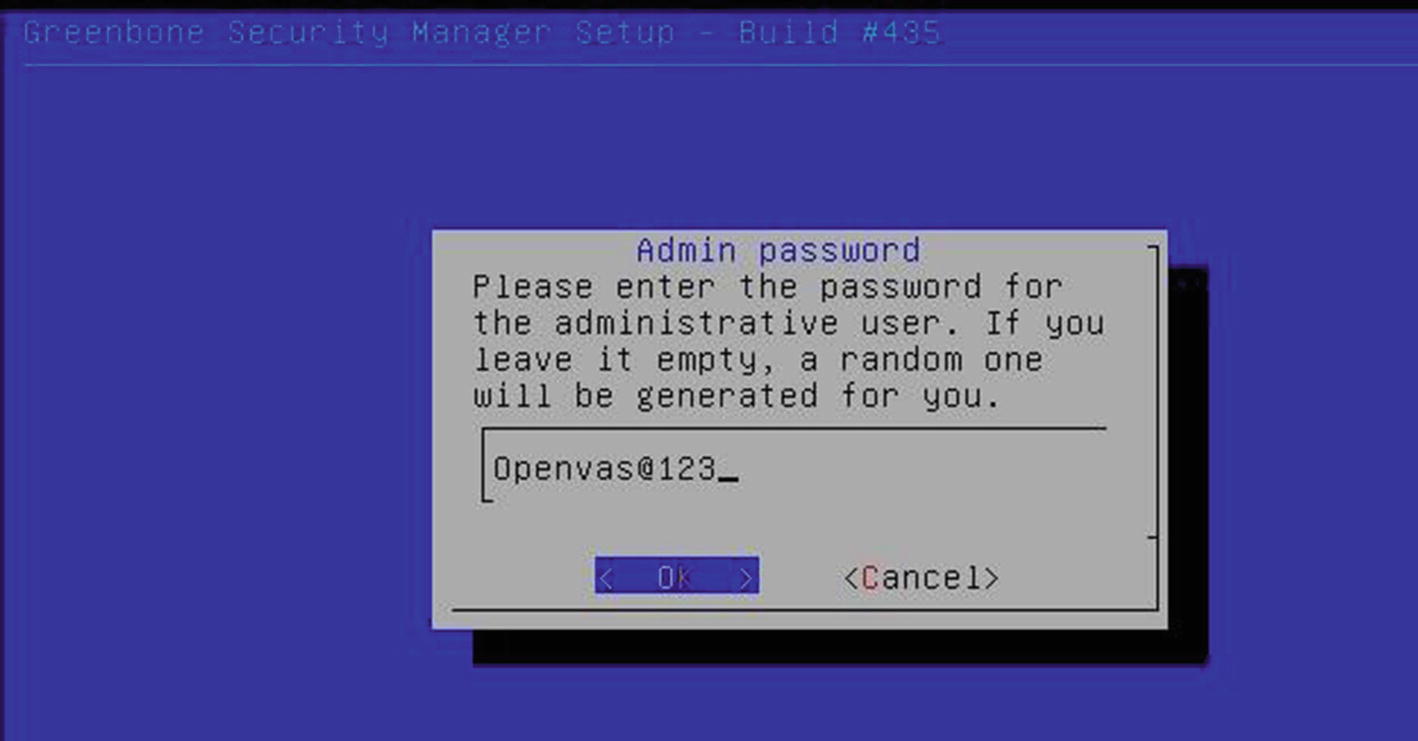
Then you set a password for the newly created user, as shown in Figure 2-4.
Figure 2-4
Setting up a password for the OpenVAS administrative user
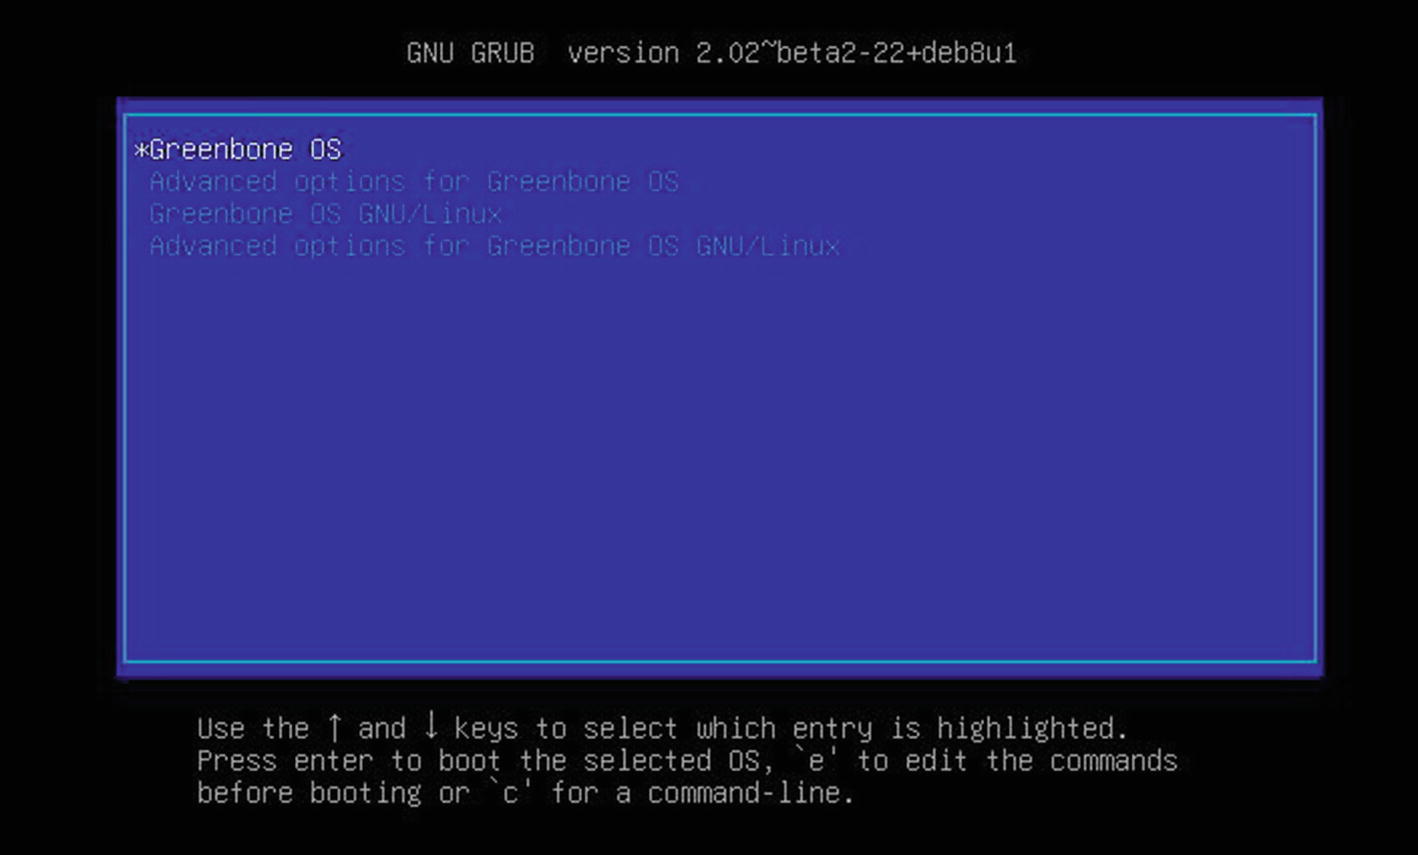
Once you have set up the administrative credentials, the installation reboots, and you are presented with the boot menu, as shown in Figure 2-5.
Figure 2-5
OpenVAS boot menu
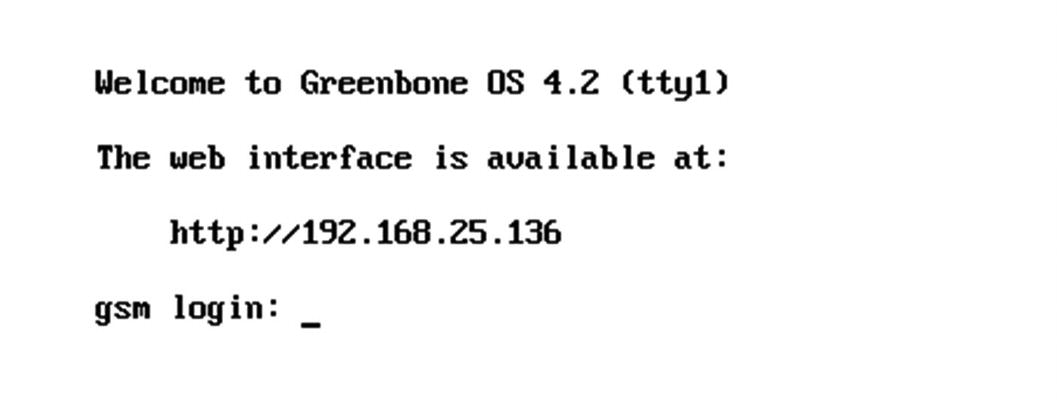
Next, you will see the command-line console, as shown in Figure 2-6, where you need to enter the previously set credentials.
Figure 2-6
OpenVAS virtual machine command-line console
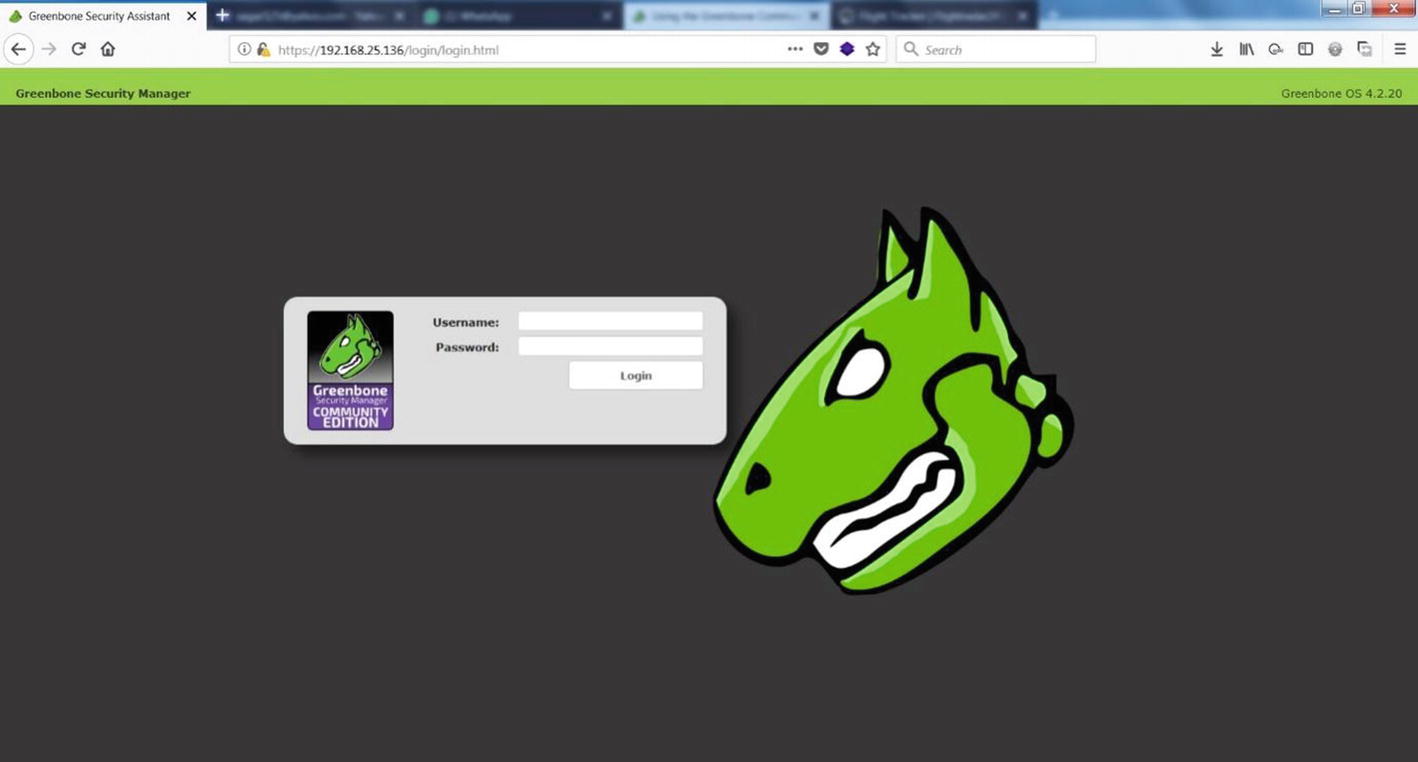
You can see that the OpenVAS setup is complete, and its web interface has been made available at http://192.168.25.136. You can try accessing the web interface, as shown in Figure 2-7.
Figure 2-7
OpenVAS web interface with login fields
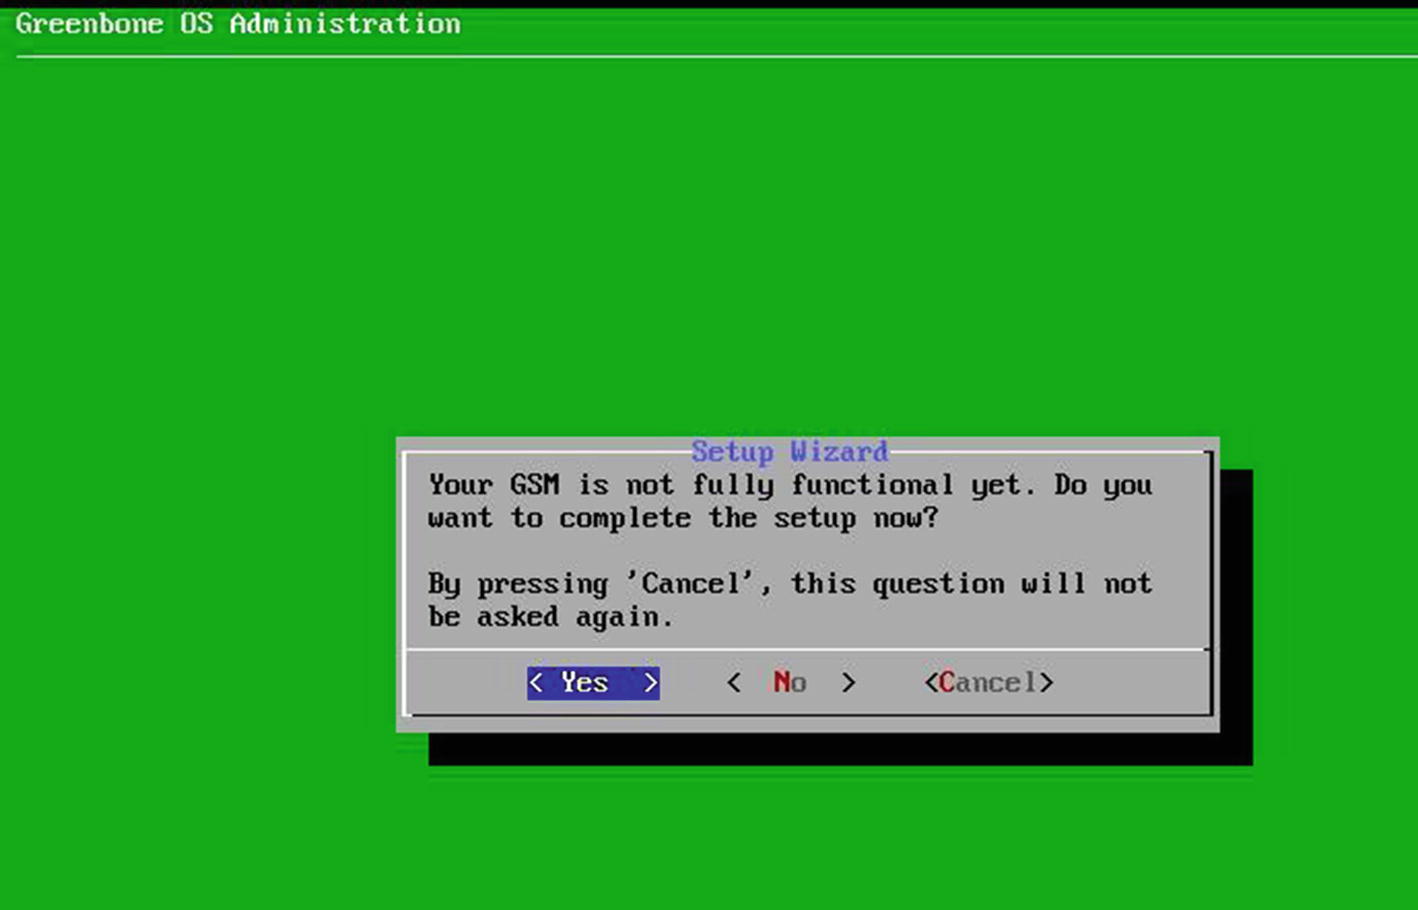
Meanwhile, you need to boot into the OS and make a few additional setting changes, as shown in Figure 2-8.
Figure 2-8
OpenVAS setup and user configuration
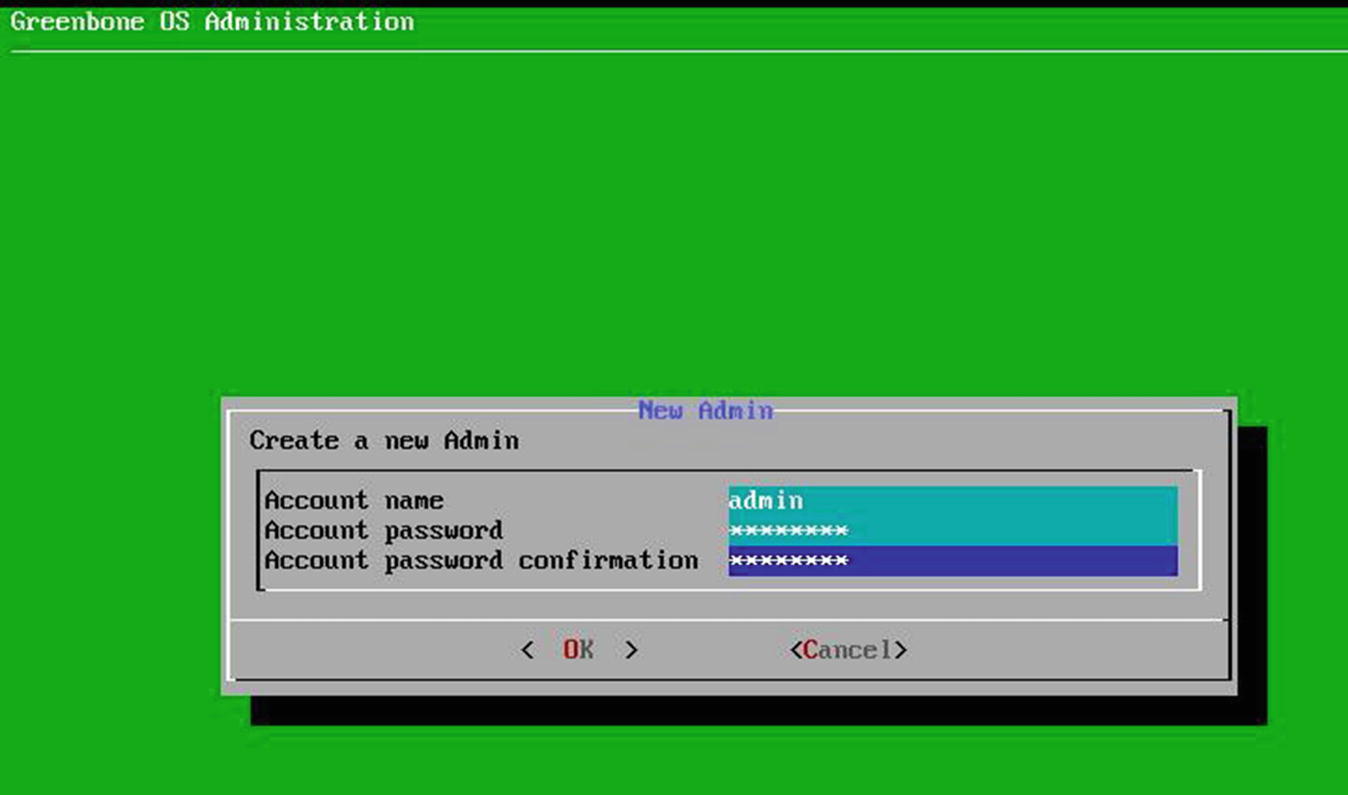
You need to create a new admin user and set the username and password, as shown in Figure 2-9.
Figure 2-9
OpenVAS virtual machine user configuration
The OpenVAS version you are using is the community edition, and it doesn’t require any key. However, if you wanted to use the commercial version, then you would need to enter the subscription key. For now, you can skip this step, as shown in Figure 2-10.
Figure 2-10
OpenVAS subscription key upload screen
OpenVAS Administration
In the previous section, you saw how to set up OpenVAS by downloading the ready-to-use virtual machine setup. Now, before you get into the actual scanning part, you need to set up a few things as part of administration.
Feed Update
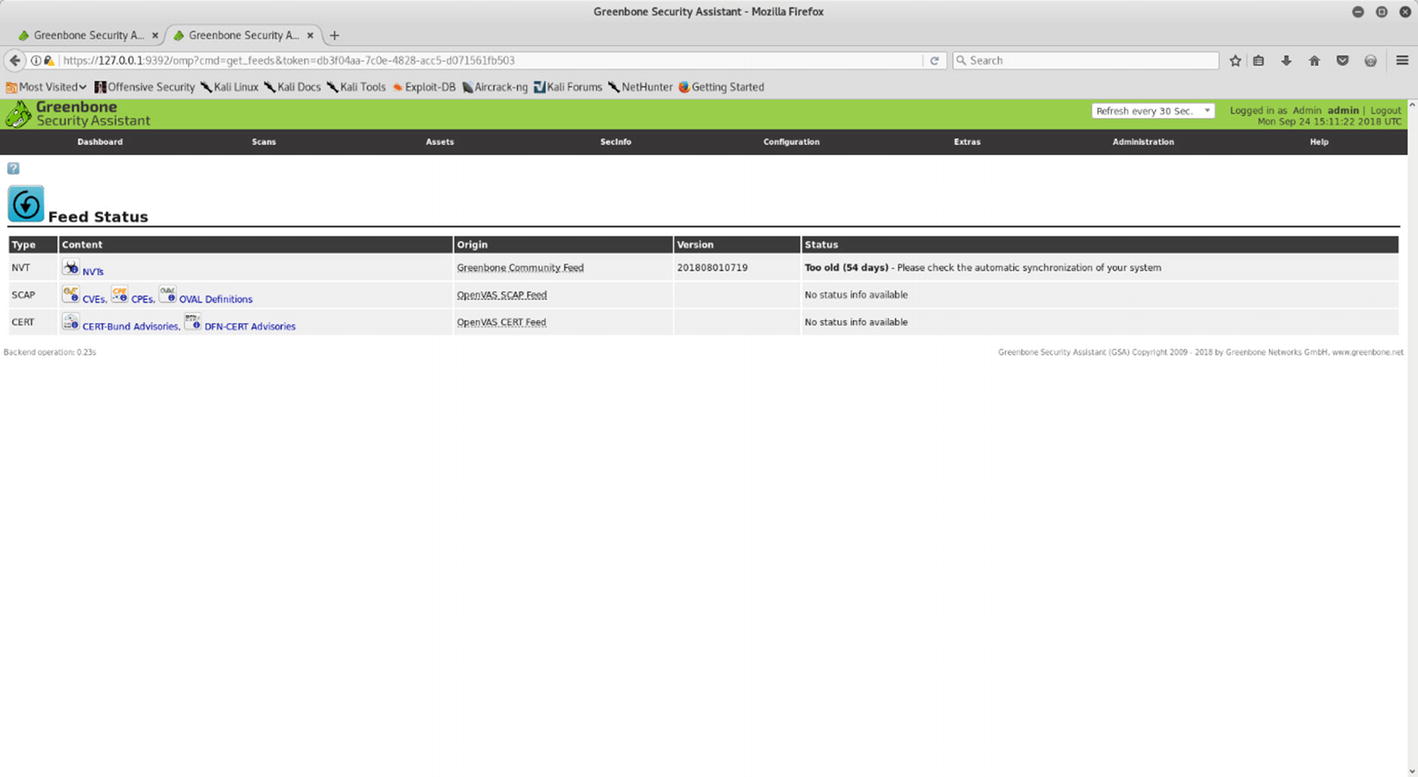
Feeds are an absolutely essential component of OpenVAS. If your OpenVAS setup has old feeds, then you may miss out on detecting the latest vulnerabilities. Hence, it’s crucial to have the latest feeds in place before you initiate any scan. To check the current feed version, go to Extras ➤ Feed Status, as shown in Figure 2-11. You can see that the feeds have not been updated for 54 days.
Figure 2-11
OpenVAS feed status, with outdated feeds
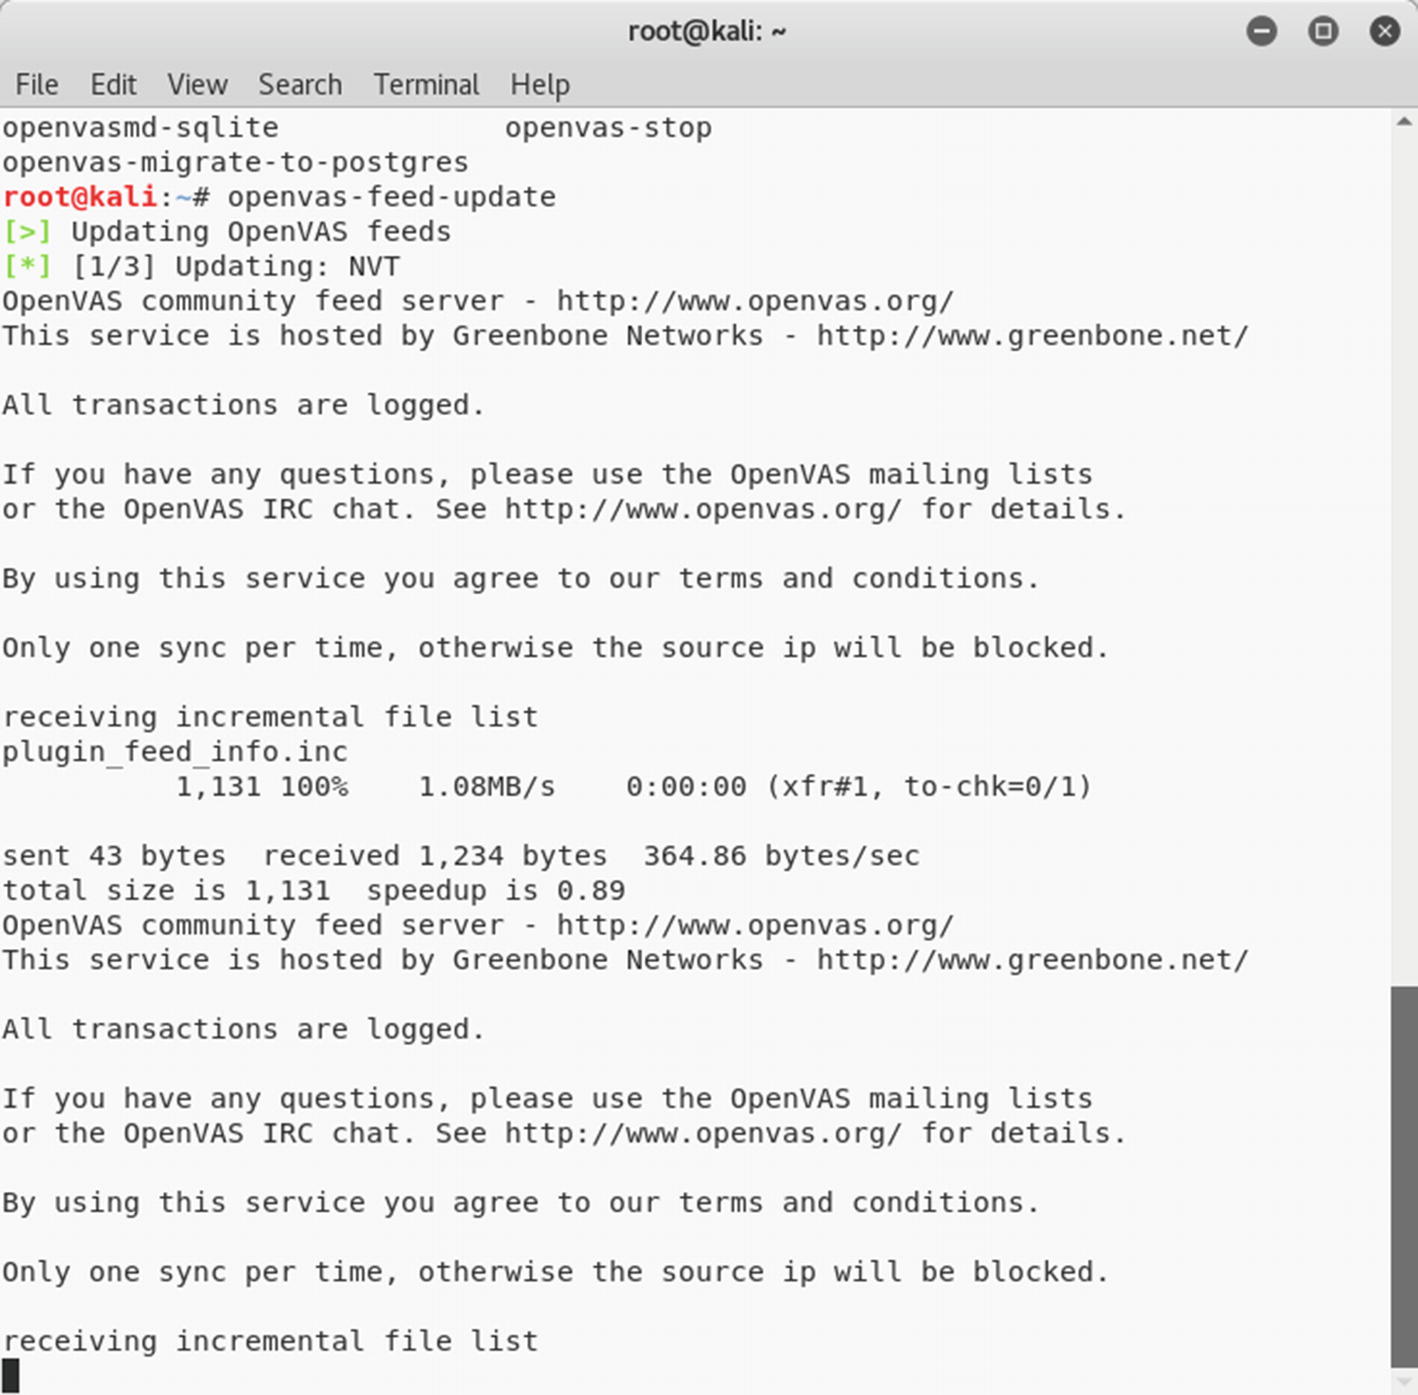
To update the feeds, you can go to the terminal and type command openvas-feed-update, as shown in Figure 2-12. Just make sure you have an active Internet connection to update the feeds.
Figure 2-12
Updating the OpenVAS vulnerability feeds
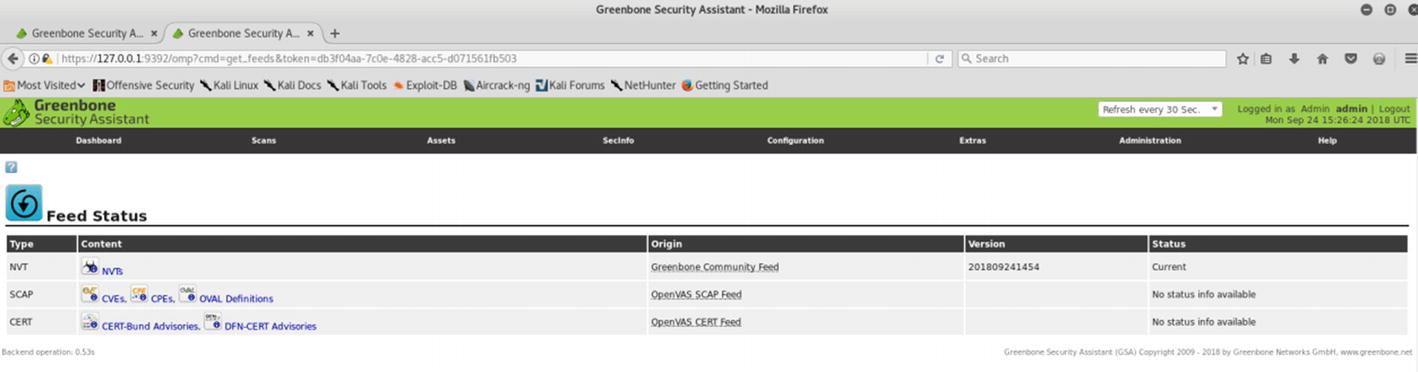
The feed update will take some time; once it’s done, you can again go to the OpenVAS web interface and check the feed status. Now you should see that the feed status is current, as shown in Figure 2-13.
Figure 2-13
OpenVAS feed status, updated
User Management
OpenVAS works in a client-server architecture, where multiple users can connect to a centralized server. Hence, it is important to create and manage users and groups. Before you create users, you need to have some user groups in place. To create new OpenVAS user groups, go to Administration ➤ Groups, as shown in Figure 2-14.
Figure 2-14
OpenVAS user management console
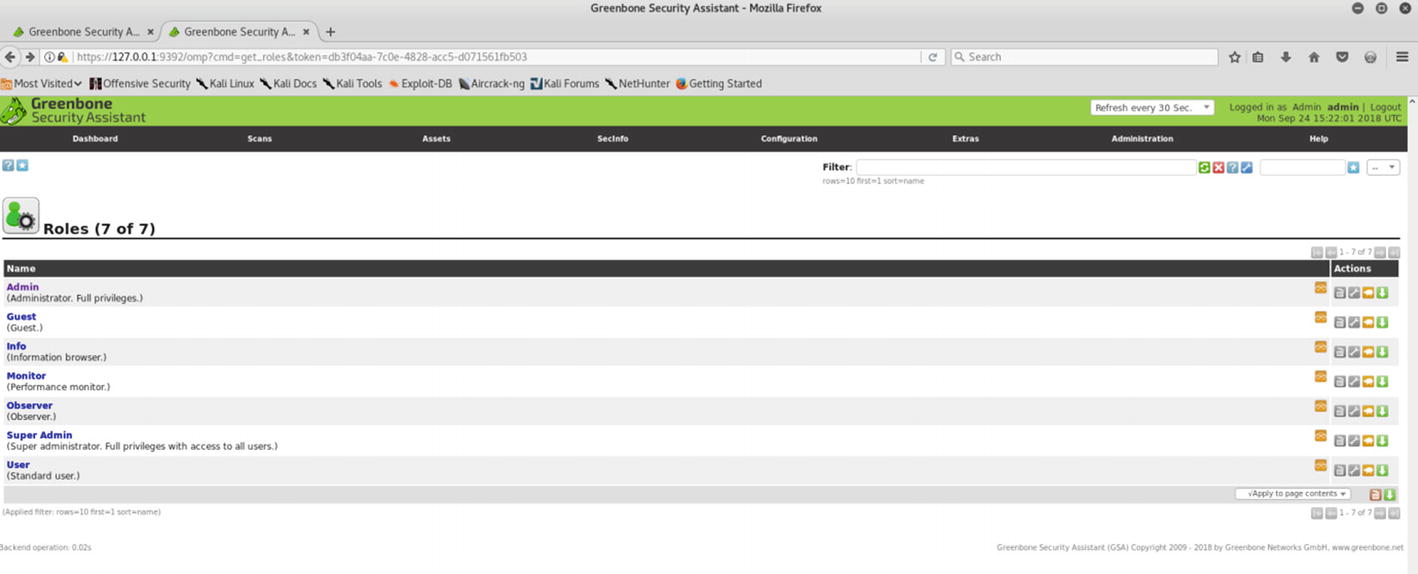
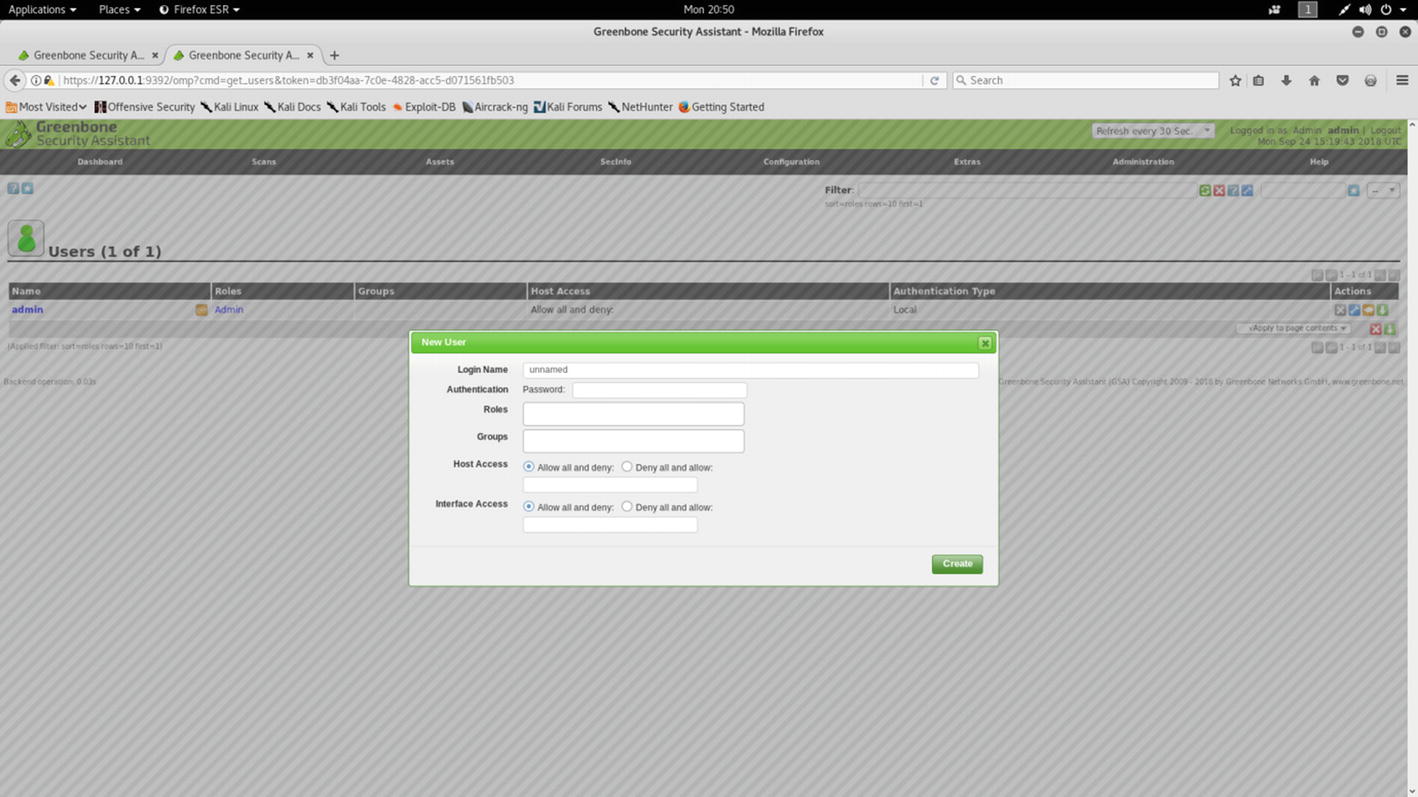
Once you have created and configured the required groups, you can create new users and assign them to specific groups based on their privilege levels. To create a new user, go to Administration ➤ Users, as shown in Figure 2-15.
Figure 2-15
Adding new users into OpenVAS
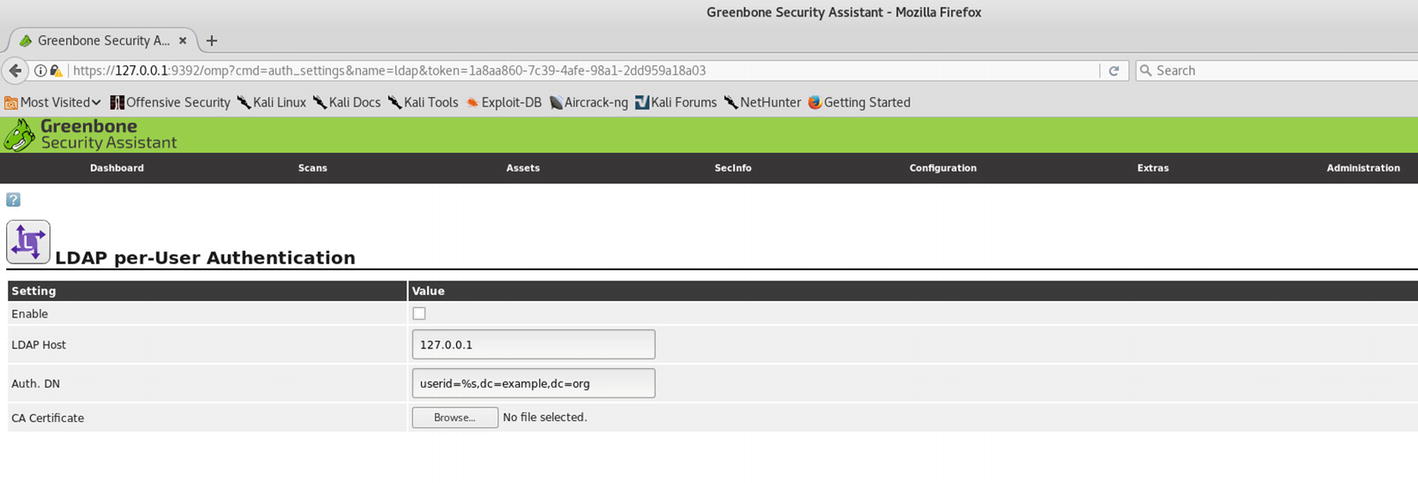
While OpenVAS allows you to create and manage users locally, it also allows you to connect with Lightweight Directory Access Protocol (LDAP) for centralized user management. It is possible to configure the LDAP settings by going to Administration ➤ LDAP, as shown in Figure 2-16.
Figure 2-16
OpenVAS configuration for LDAP authentication
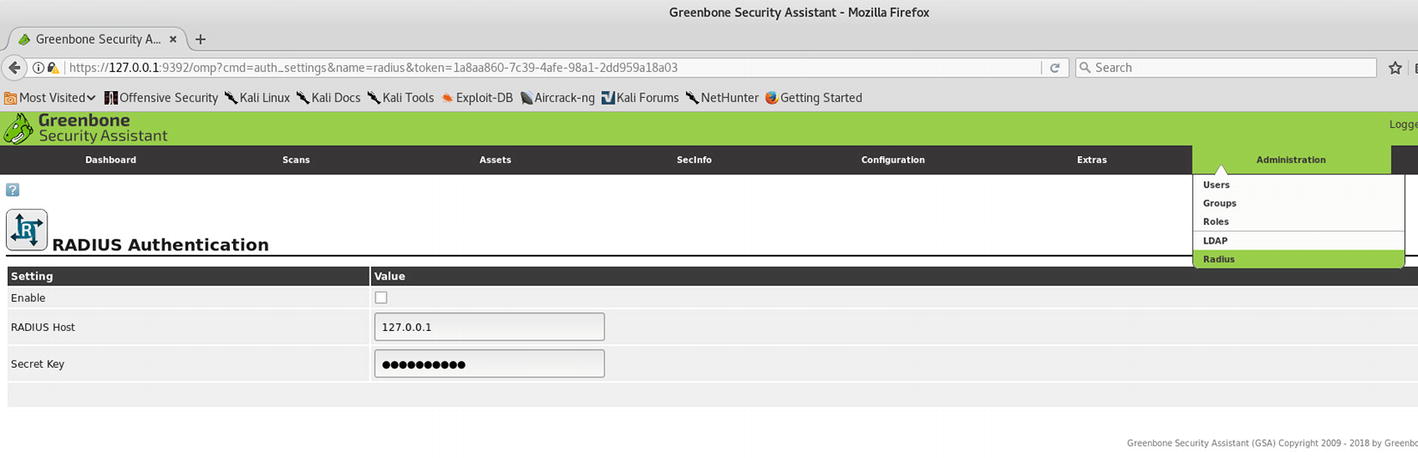
Similarly, OpenVAS can also be configured to authenticate against the RADIUS server. It can be done by configuring the RADIUS server settings at Administration ➤ RADIUS, as shown in Figure 2-17.
Figure 2-17
OpenVAS configuration for RADIUS authentication
Dashboard
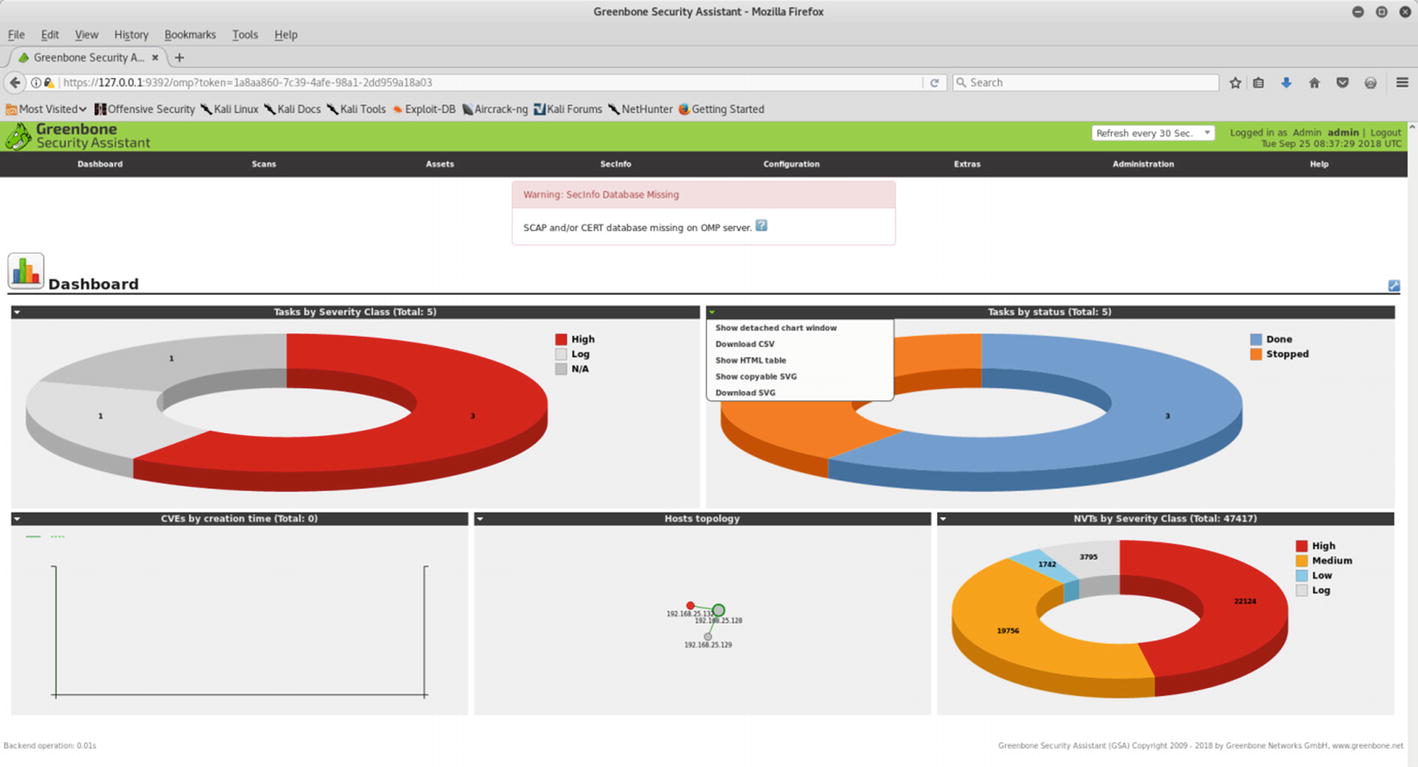
OpenVAS has a rich dashboard that is its home page by default. The dashboard offers a centralized view of tasks, hosts, NVTs, and so on, as shown in Figure 2-18. Each demographic can be exported in CSV format.
Figure 2-18
OpenVAS dashboard with demographics
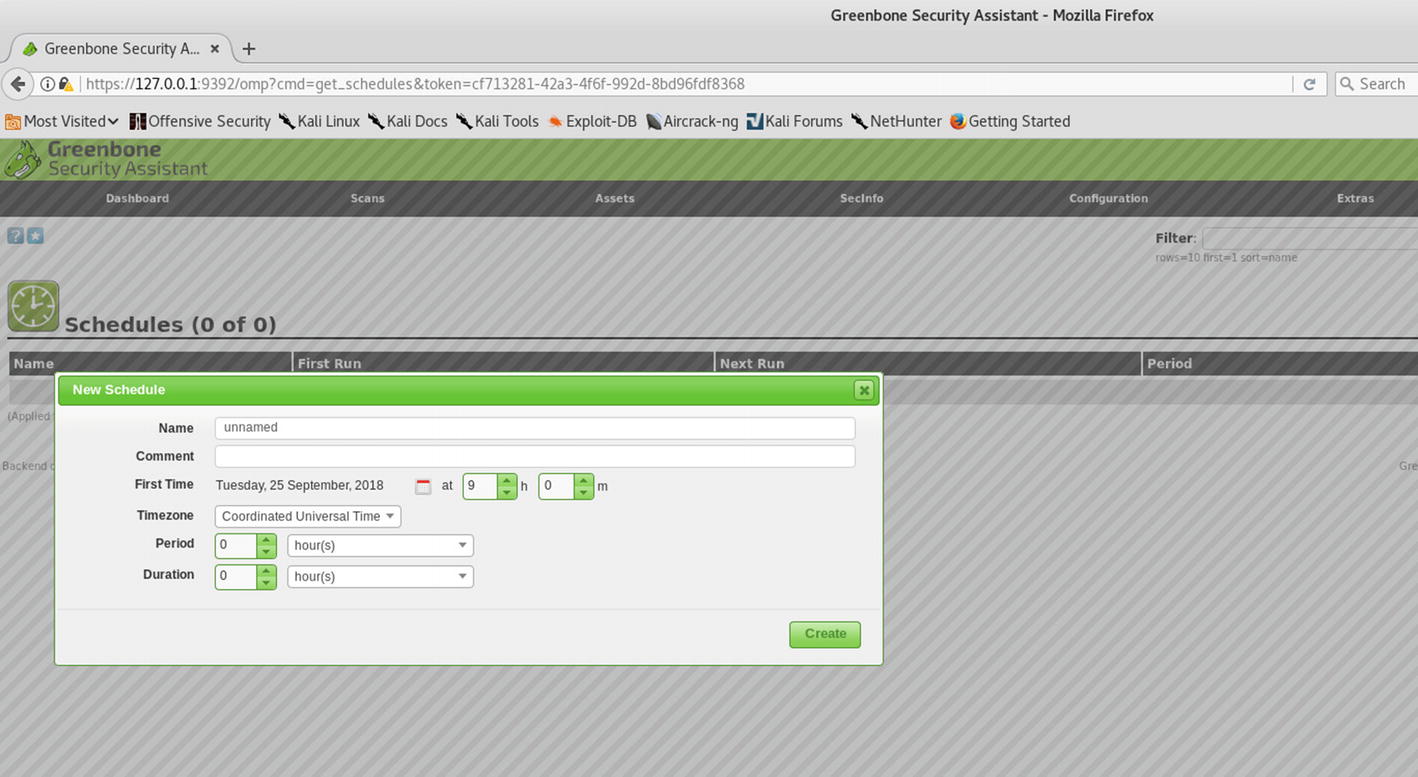
Scheduler
In an enterprise environment, it may happen that scans are required to run after business hours. In such a scenario, the OpenVAS scheduler can be handy. The scheduler can be accessed at Configuration ➤ Schedules and can be used to trigger scans at a specific time, as shown in Figure 2-19.
Figure 2-19
OpenVAS scan scheduler
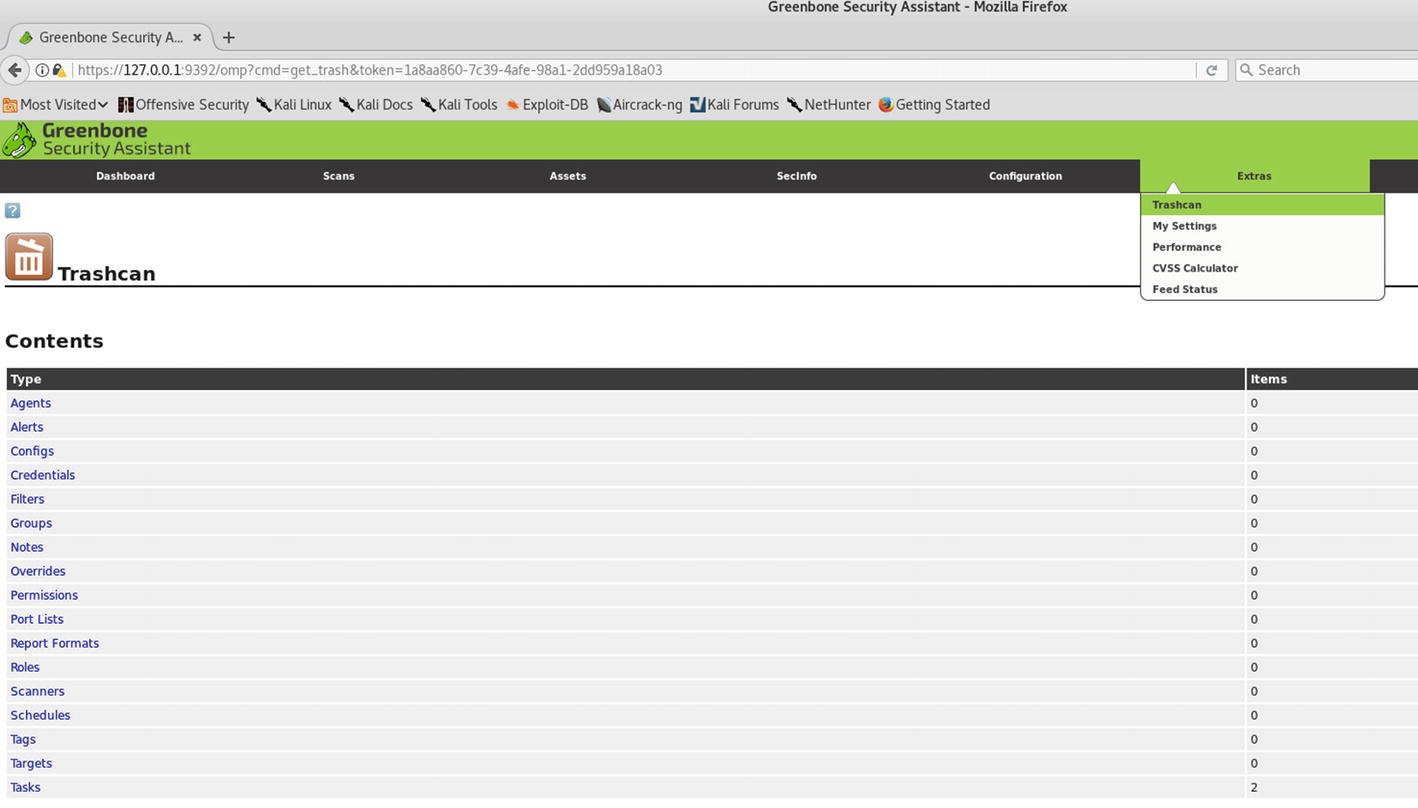
Trashcan
If you happen to delete any of the entities in OpenVAS and later need to get them back, it is possible to recover them through the trashcan. You can access it at Extras ➤ Trashcan, as shown in Figure 2-20.
Figure 2-20
OpenVAS trashcan for viewing and restoring deleted items
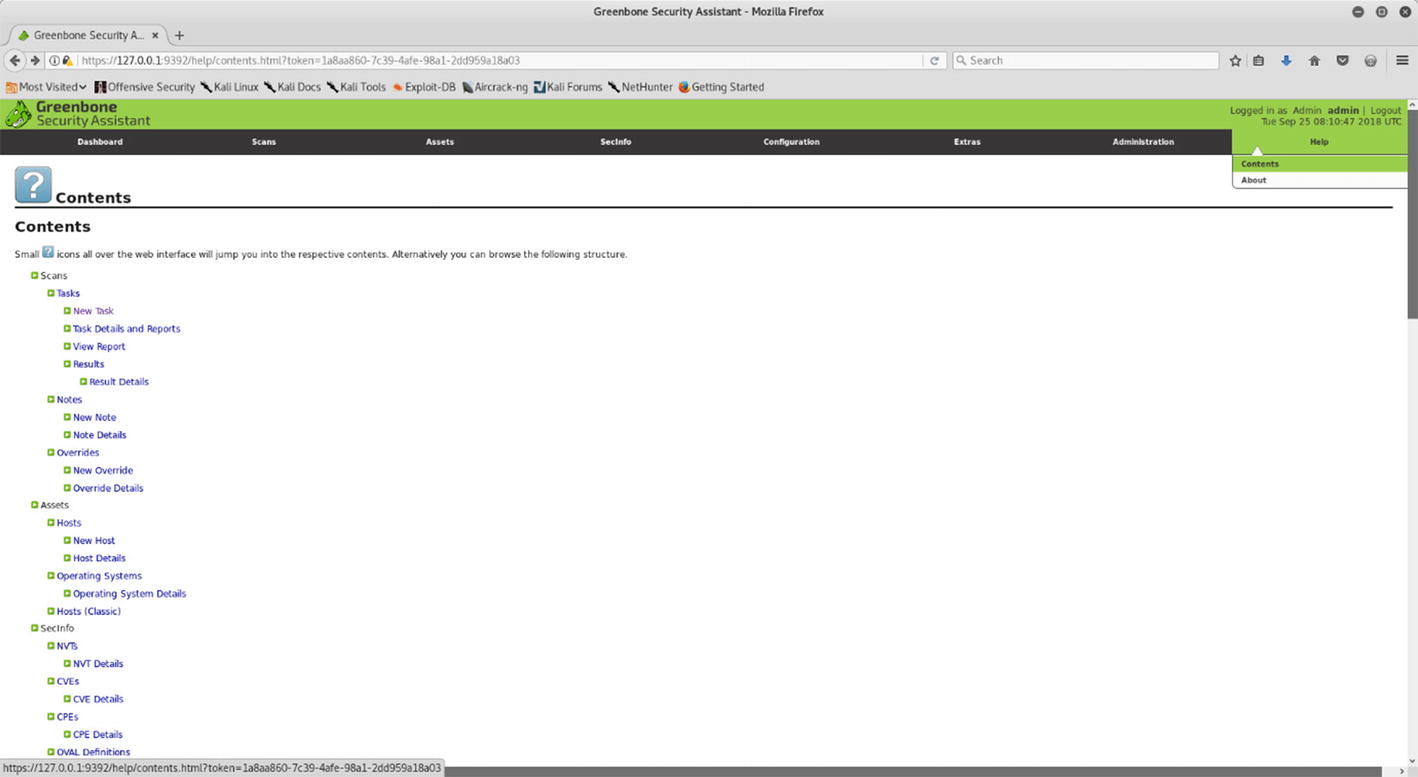
Help
Though most of the tasks in OpenVAS are simple and easy to find, it may so happen that you need some help on certain topics. OpenVAS has comprehensive help documentation that you can access at Help ➤ Contents, as shown in Figure 2-21.
Figure 2-21
OpenVAS help content
Vulnerability Scanning
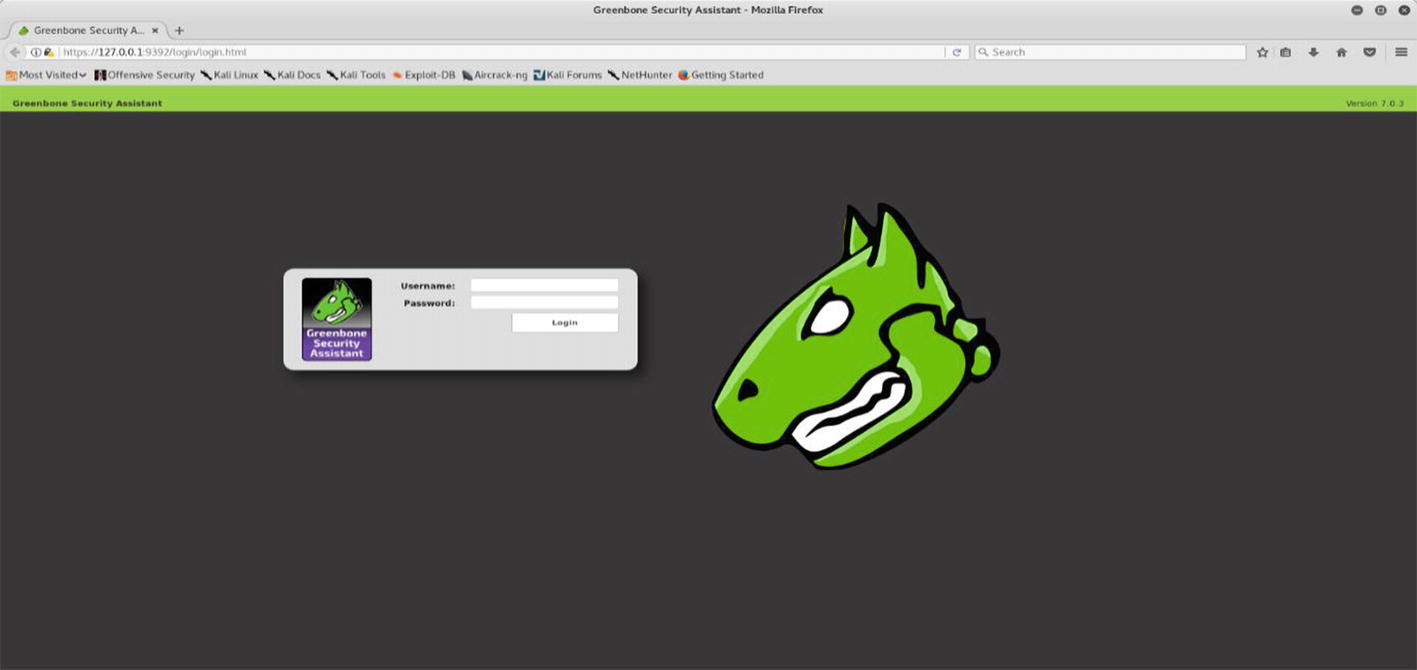
Now that you have OpenVAS set up and running with updated feeds, you can get started with scanning a live target. Here, you’ll first try to scan a Linux system. Log into the OpenVAS web interface, as shown in Figure 2-22.
Figure 2-22
OpenVAS login page
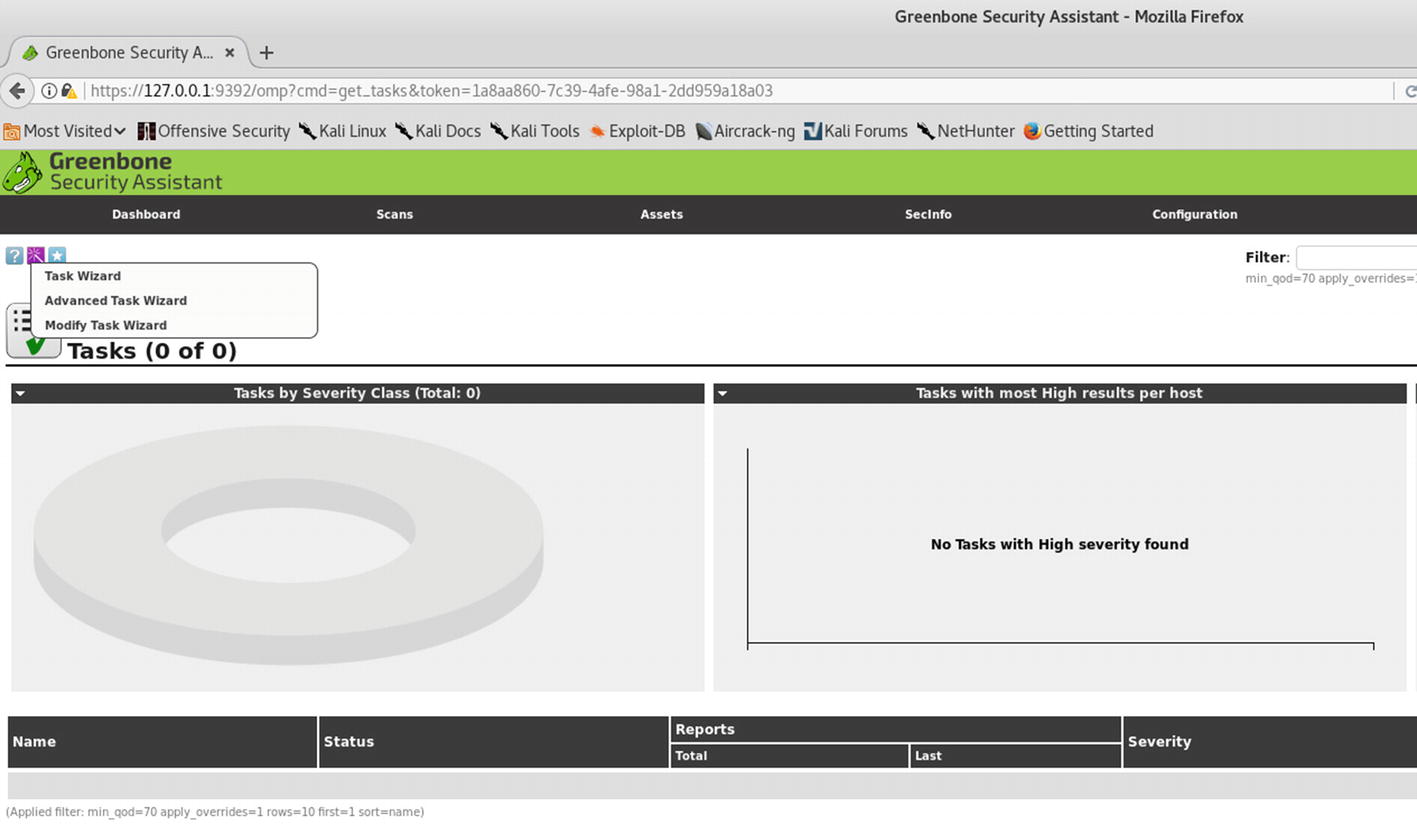
The next step is to create a new scan task. To create a new scan task, go to Scans ➤ Tasks, as shown in Figure 2-23.
Figure 2-23
OpenVAS dashboard and task wizard
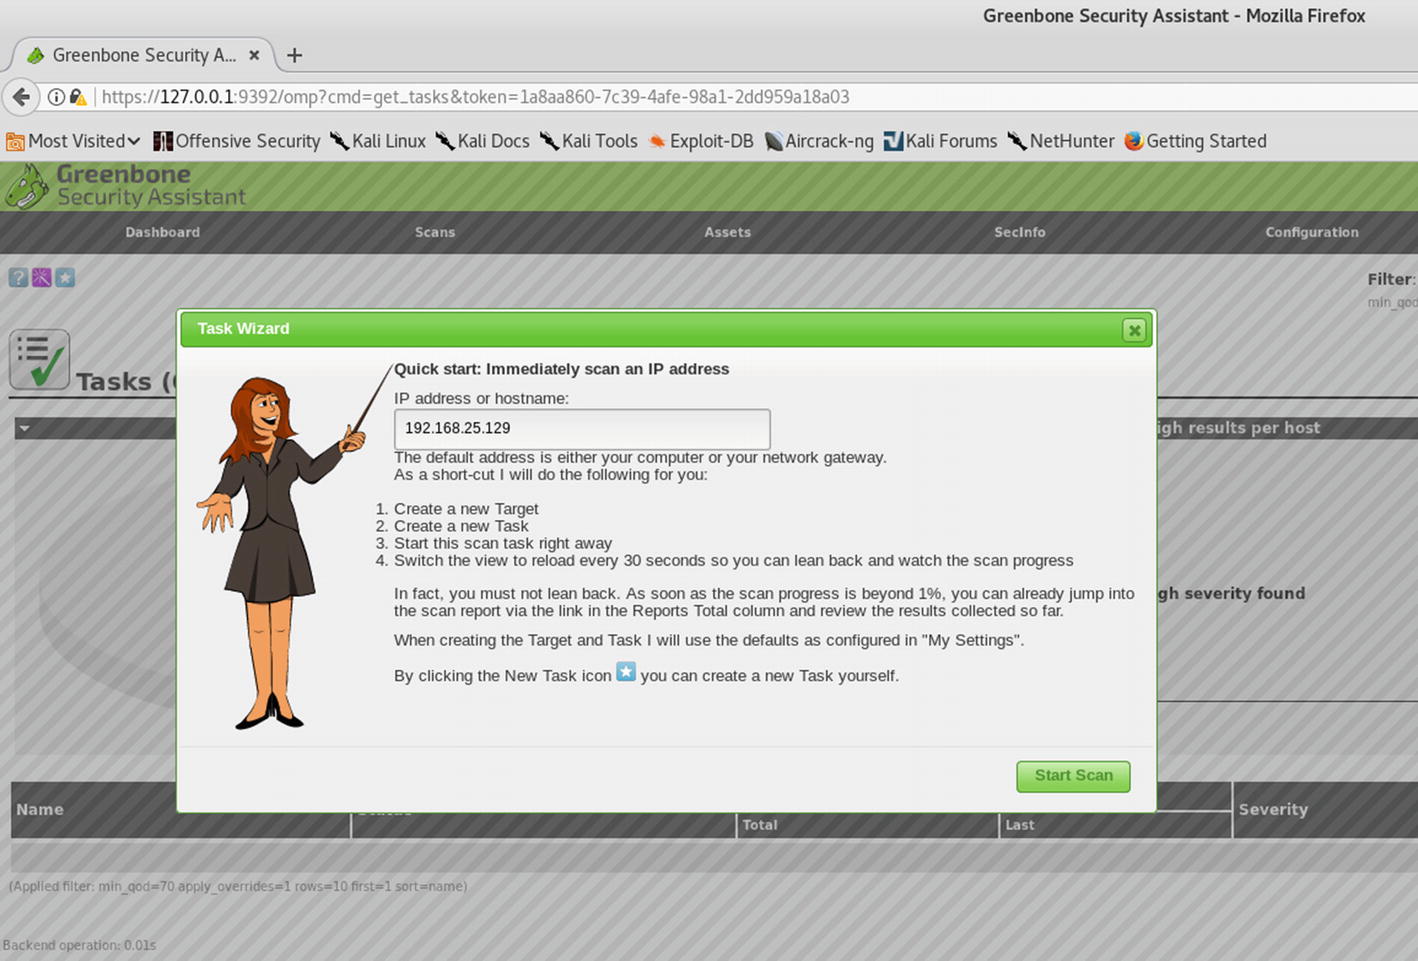
Now you can either choose to start a simple task wizard or use an advanced task wizard that offers more scan flexibility. For now, you’ll get started with the simple task wizard, as shown in Figure 2-24. All you need to do is enter the target IP address and click Start Scan.
Figure 2-24
Initiating a new vulnerability scan in OpenVAS
Note that OpenVAS has several predefined scan profiles. Depending on the specific requirement, you can choose one of the following scan profiles:
Discovery
Full and Fast
Full and Fast Ultimate
Full and Very Deep
Full and Very Deep Ultimate
Host Discovery
System Discovery
For the default scan, the Full and Fast profile is selected.
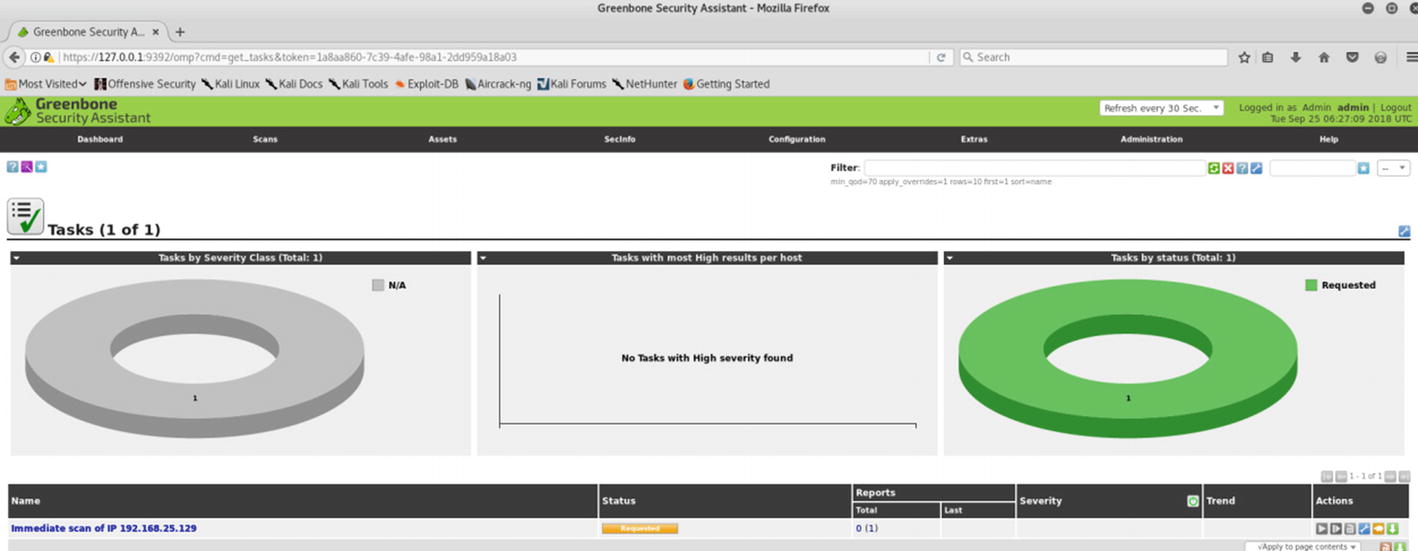
The scan gets initiated, and you can see the scan status is set to Running, as shown in Figure 2-25. The scan’s action tab provides various ways to pause and resume the scan if required.
Figure 2-25
OpenVAS task status dashboard
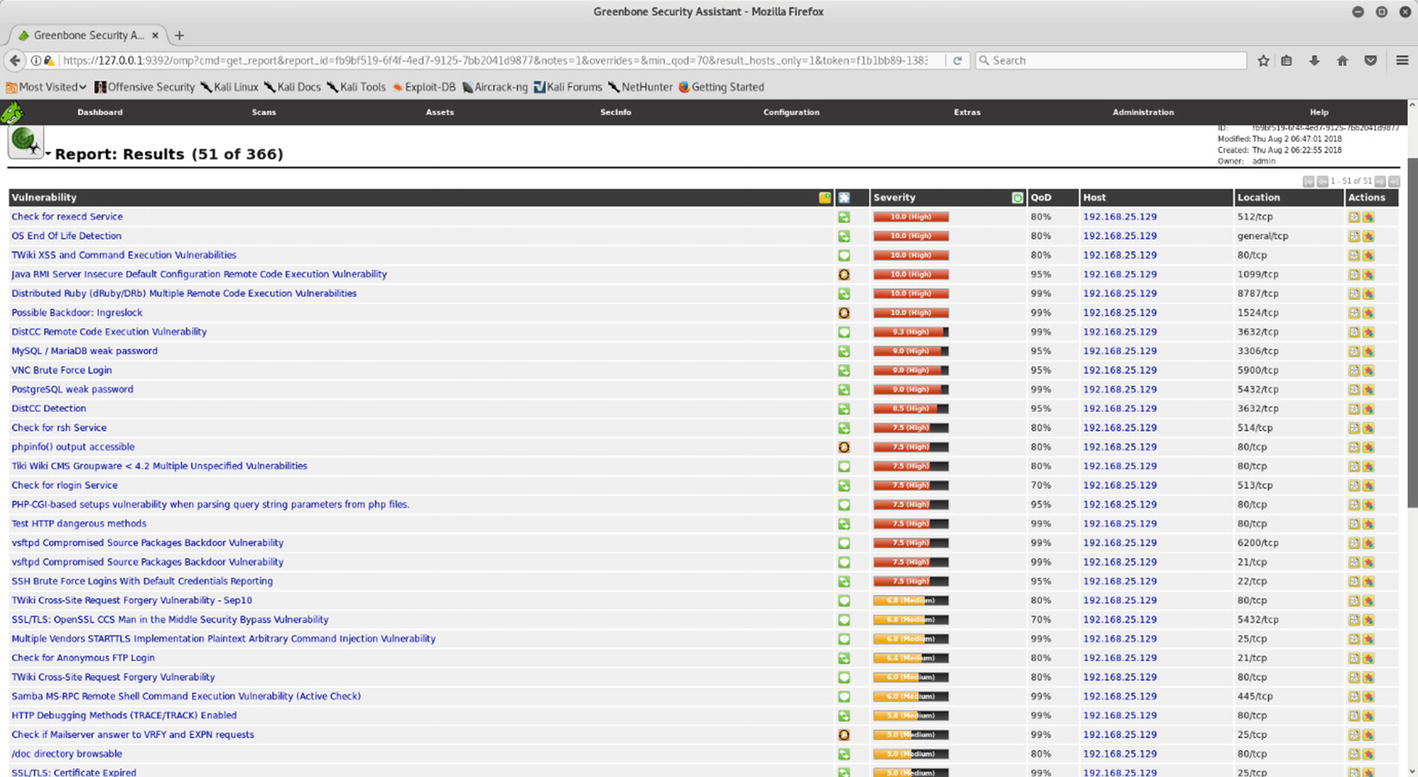
Once the scan is complete, you can go to Scans ➤ Results to view the vulnerabilities identified during the scan, as shown in Figure 2-26. Now that the scan is complete, you can simply view the scan results in the OpenVAS web console or download a comprehensive report in the format of your choice.
Figure 2-26
OpenVAS scan results
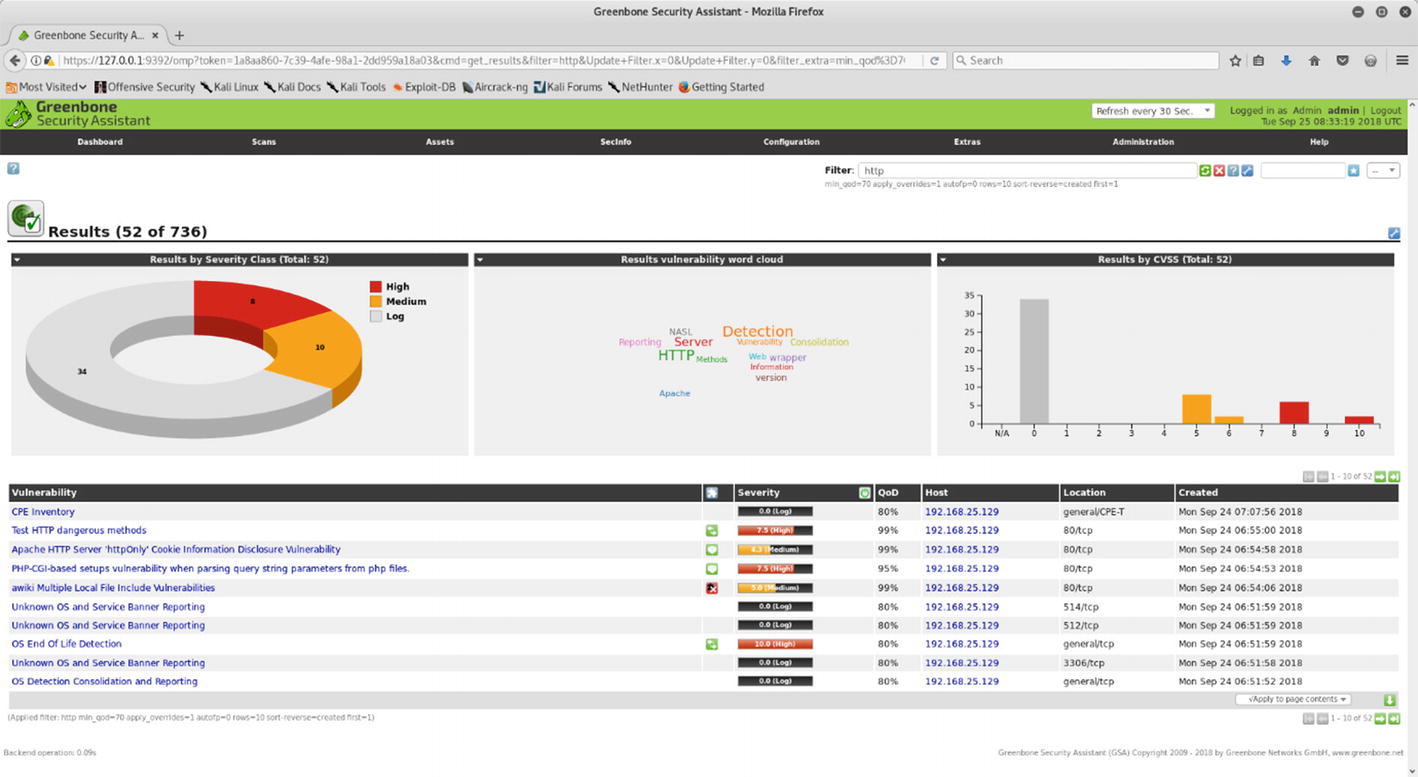
It is also possible to filter out vulnerability results. For example, you may want to see only HTTP-related vulnerabilities. Simply go to Scans ➤ Results, and on the Filter tab, enter the filter criteria, as shown in Figure 2-27.
Figure 2-27
OpenVAS scan results and filters
OpenVAS Additional Settings
So far you have seen how to set up the OpenVAS virtual machine and get started with vulnerability scanning. OpenVAS is a flexible vulnerability management system that offers a lot of customization. This section talks about some additional OpenVAS settings that you may choose to configure as per your requirements.
Performance
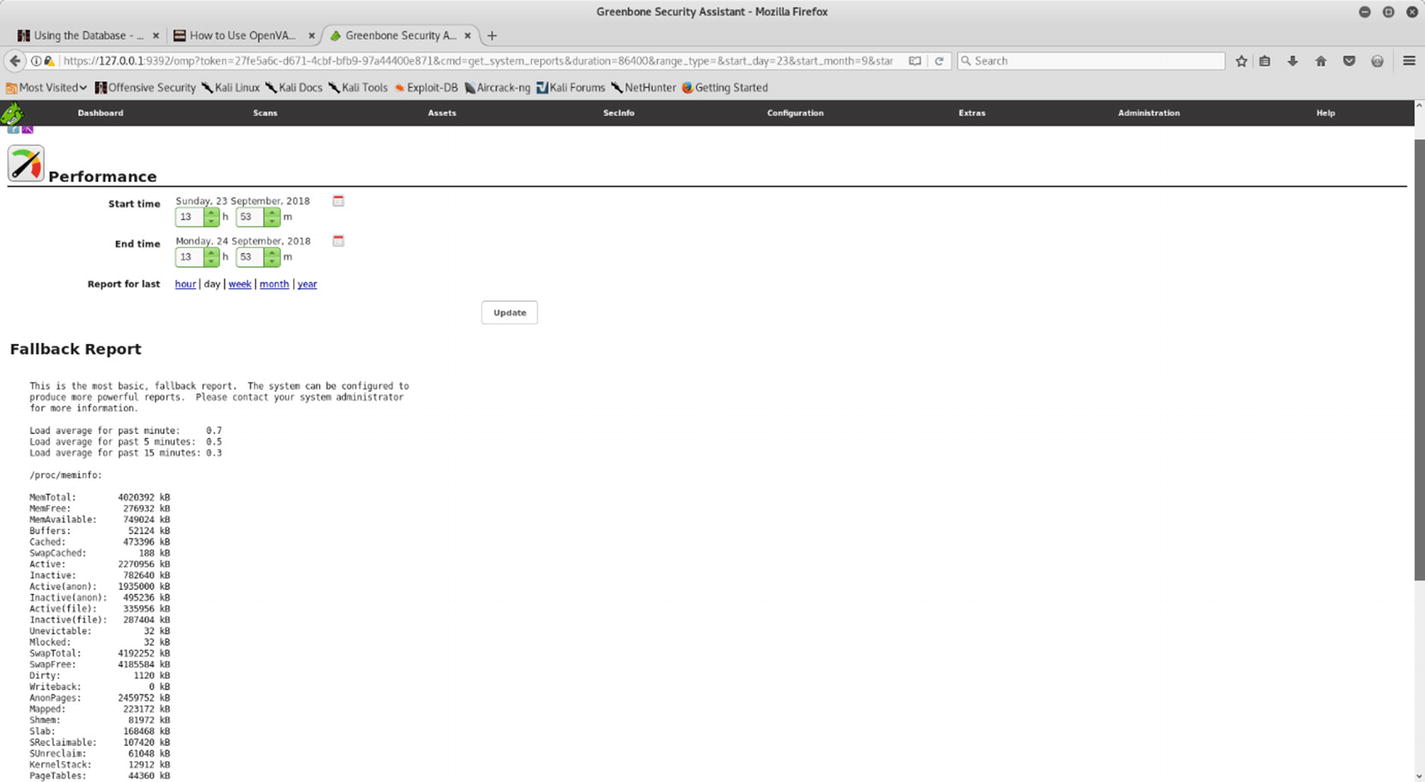
OpenVAS is certainly a resource-intensive tool. It can consume a lot of memory and CPU. Hence, while scanning a number of systems, it is worthwhile to keep an eye on its performance. To view the performance data, go to Extras ➤ Performance, as shown in Figure 2-28. You can view performance data for a custom time period by filtering the dates.
Figure 2-28
OpenVAS resource and performance management summary
CVSS Calculator
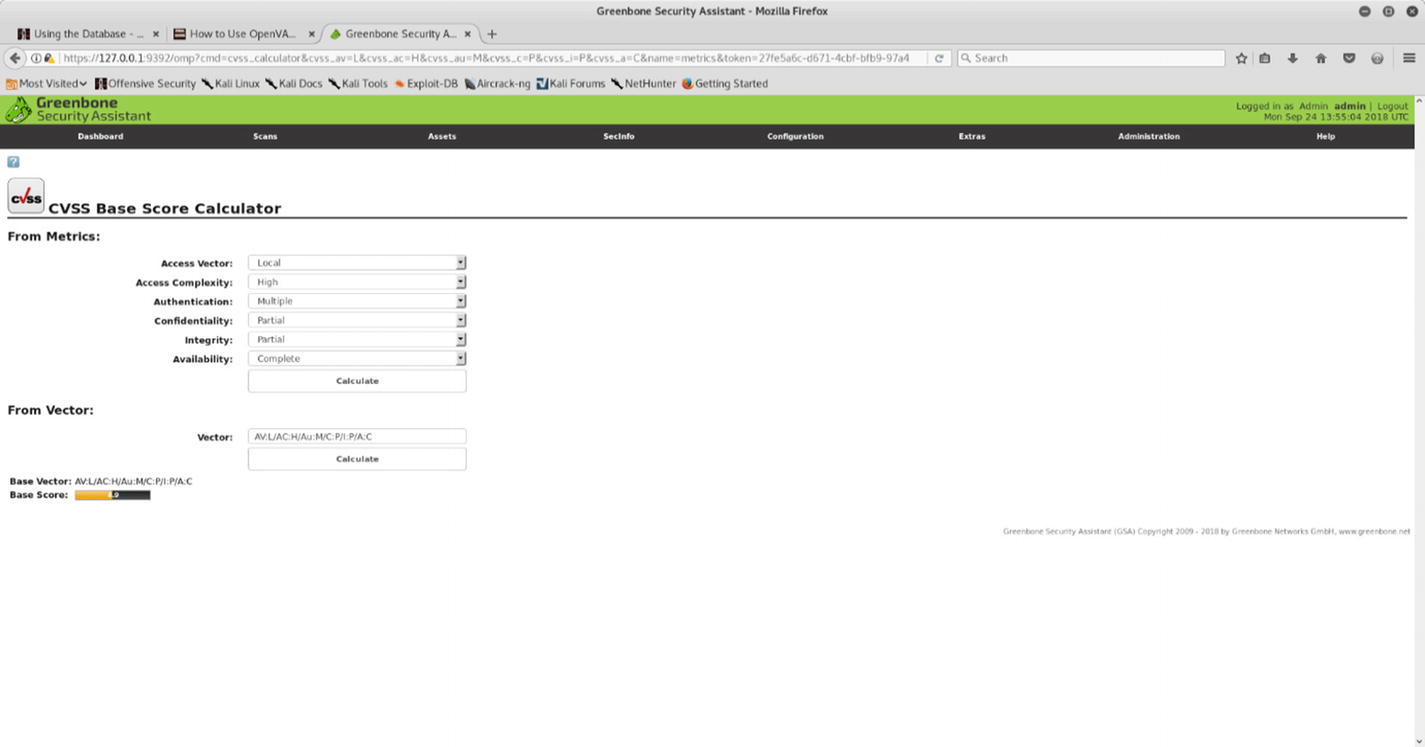
The Common Vulnerability Scoring System (CVSS) is the baseline used by many security products for calculating a vulnerability’s severity. CVSS takes into consideration multiple parameters before computing the vulnerability score. OpenVAS offers a ready-to-use CVSS calculator that you can use to calculate vulnerability scores. You can access the CVSS calculator at Extras ➤ CVSS Calculator, as shown in Figure 2-29. You can find more details about CVSS at https://www.first.org/cvss/.
Figure 2-29
OpenVAS CVSS calculator
Settings
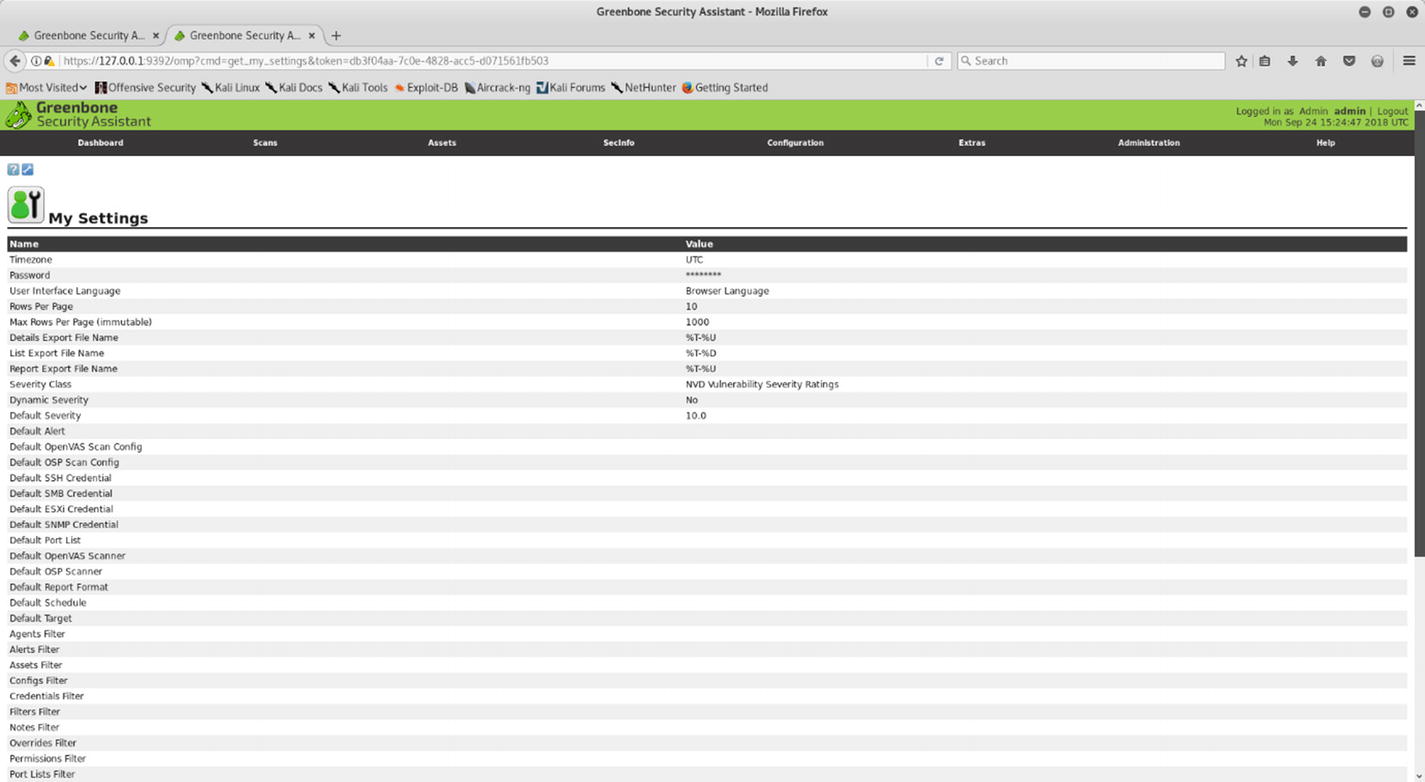
OpenVAS is a highly configurable system and has many settings. It can be really useful to get an overview of all the settings and their values in one place. You can go to Extras ➤ My Settings, as shown in Figure 2-30, to get an overview of the settings configured so far.
Figure 2-30
OpenVAS administrative settings
Reporting
So far you have learned how you can effectively use OpenVAS to scan target systems. Once the scan is complete, the next important step is to generate a detailed report. Having a comprehensive report is extremely critical because it will help administrators fix the identified vulnerabilities. OpenVAS supports multiple report formats, listed here:
Anonymous XML
ARF
CPE
CSV Hosts
CSV Results
HTML
ITG
LaTeX
NBE
PDF
Topology SVG
TXT
Verinice ISM
Verinice ITG
XML
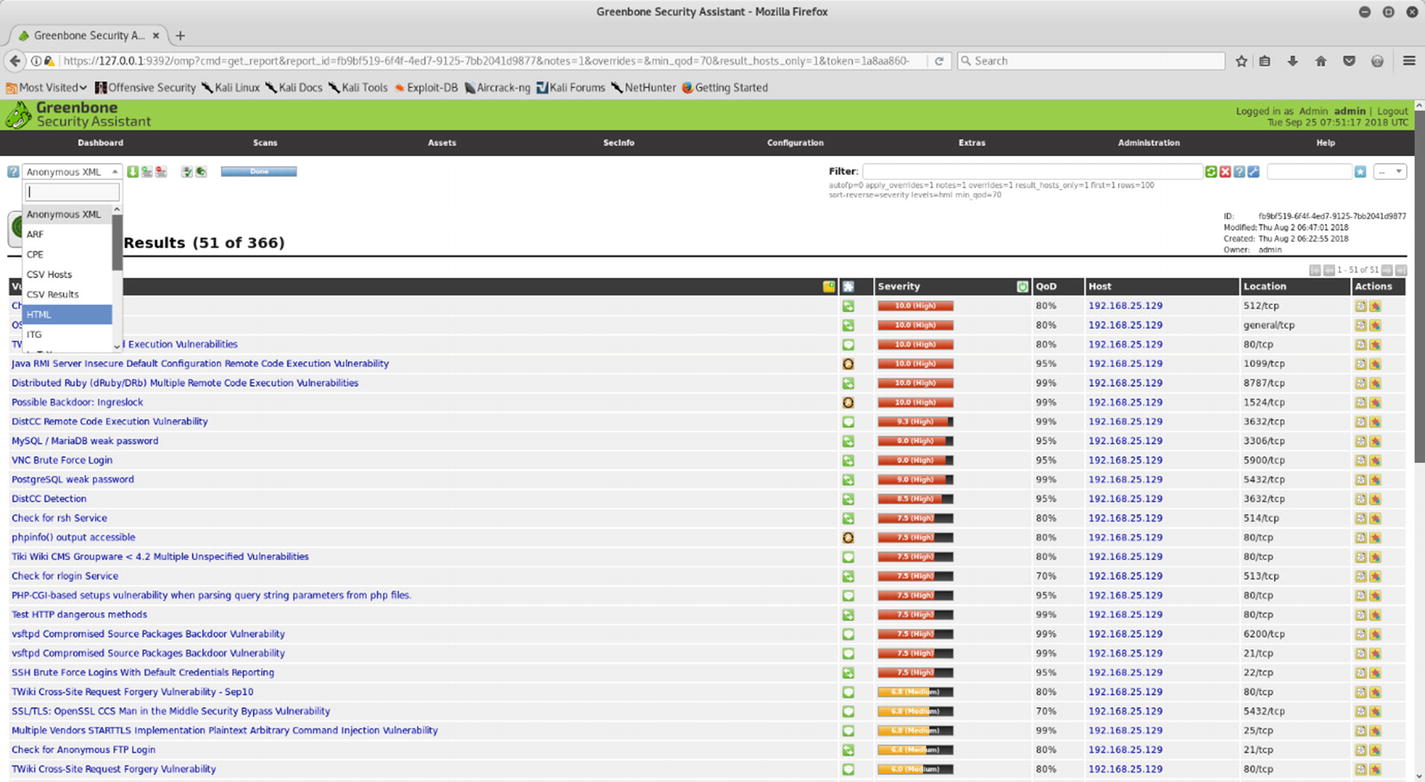
To generate a report in the required format, go to Scans ➤ Reports, select the format from the drop-down menu, and click the adjacent down arrow to download the report, as shown in Figure 2-31.
Figure 2-31
Export scan results
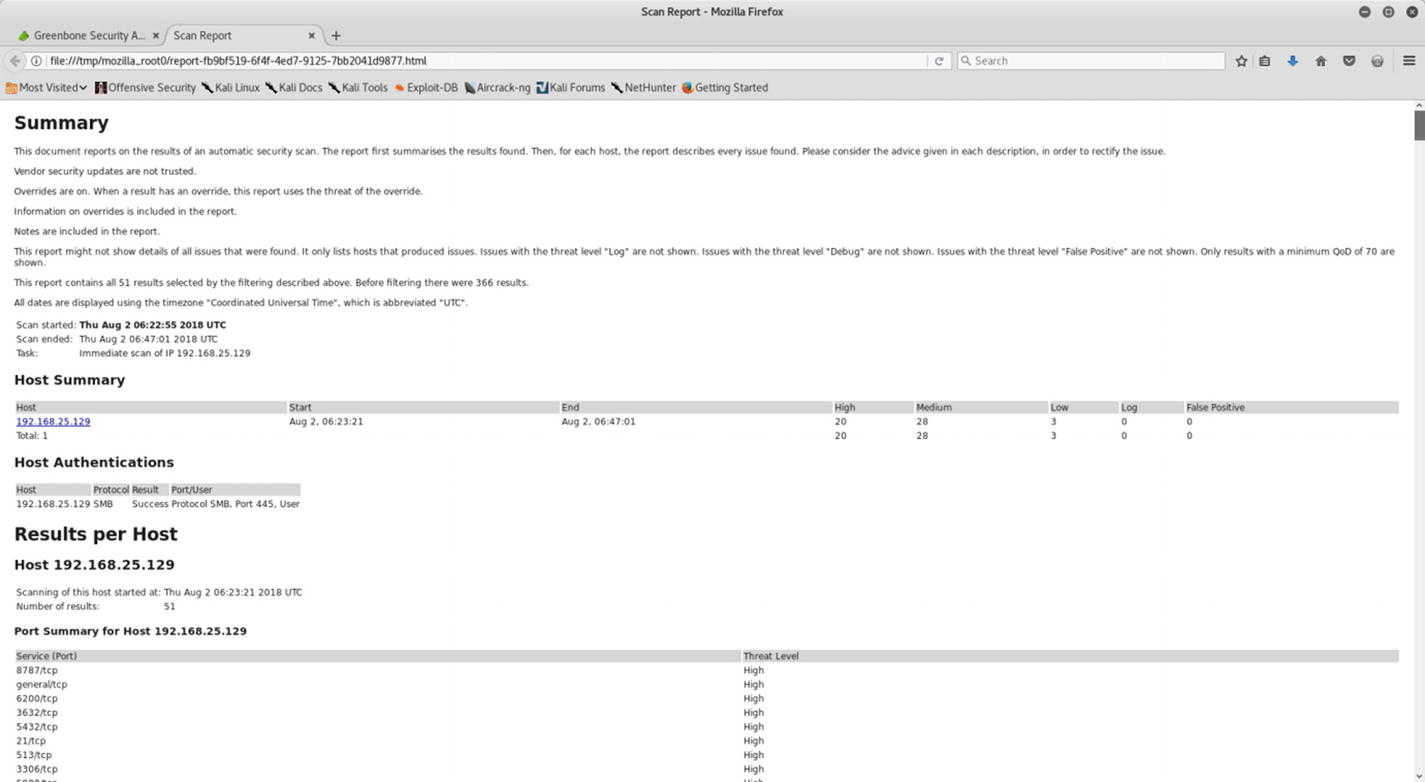
The report contains detailed vulnerability information, as shown in Figure 2-32.
Figure 2-32
OpenVAS HTML scan report
For each vulnerability identified, the report has the following details:
Summary
Vulnerability detection result
Impact
Solution
Affected software/OS
Vulnerability insight
Vulnerability detection method
Product detection result
References
Summary
This chapter gave you an essential overview of OpenVAS starting from its setup to using it to perform a vulnerability assessment. The next chapter will introduce you to the versatile Metasploit framework and help you understand how NMAP and OpenVAS can be integrated with Metasploit.
Do-It-Yourself (DIY) Exercises
Set up OpenVAS in VirtualBox or VMware.
Use OpenVAS to scan one Windows host and one Unix-based host.