Now that we have got familiar with enumeration, the next logical step is performing vulnerability assessments. This includes probing each service for possible open vulnerabilities. There are many tools, both commercial as well as open source, available for performing vulnerability assessments. Some of the most popular tools are Nessus, Nexpose, and OpenVAS.
OpenVAS is a framework consisting of several tools and services that provide an effective and powerful vulnerability management solution. More detailed information on the OpenVAS framework is available at http://www.openvas.org/.
The latest Kali Linux distribution doesn't come with OpenVAS by default. Hence, you need to manually install and set up the OpenVAS framework. Following is the set of commands that you can use to set up the OpenVAS framework on Kali Linux or any Debian-based Linux distribution:
root@kali:~#apt-get update
root@kali:~#apt-get install openvas
root@kali:~#openvas-setup
After running the preceding commands in the Terminal, the OpenVAS framework should be installed and ready for use. You can access it through the browser at the https://localhost:9392/login/login.html URL, as shown in the following screenshot:

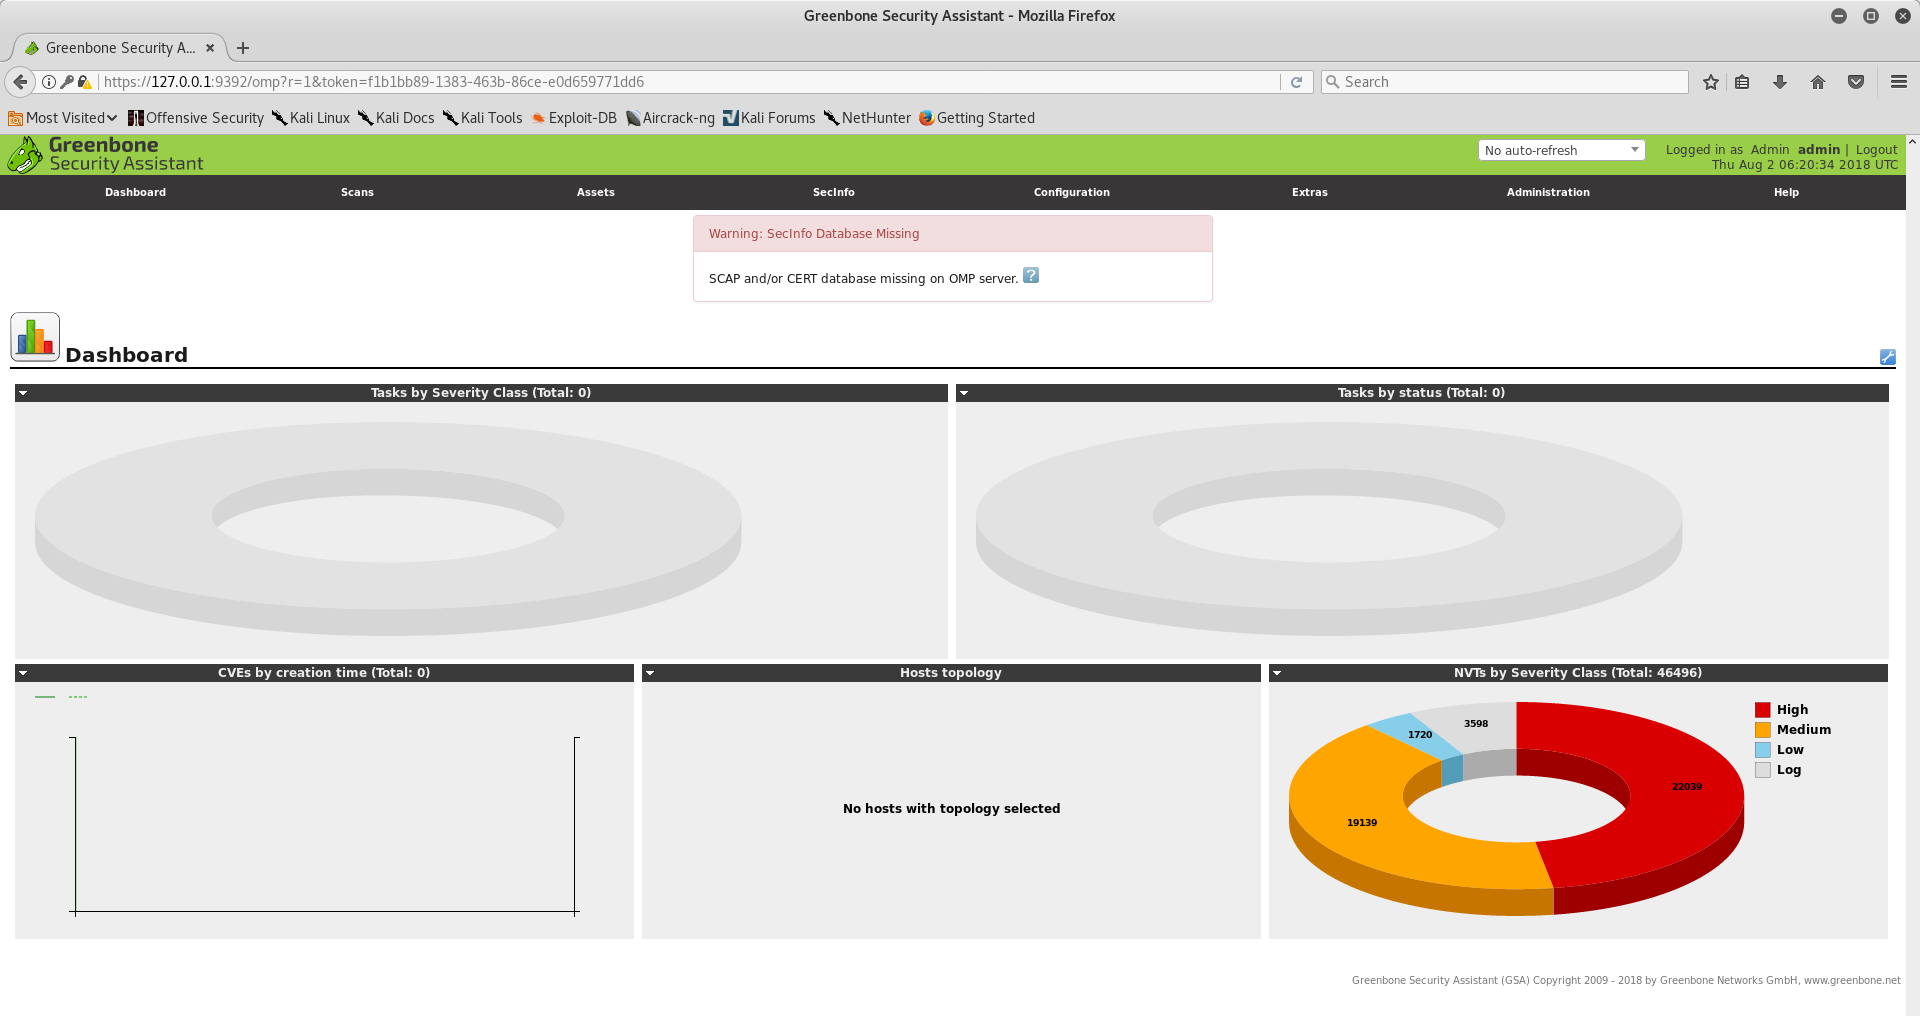
Once you enter the credentials, you can see the initial Dashboard as shown in the following screenshot:

Now it's time to get started with the first vulnerability scan. In order to initiate a vulnerability scan, open the Task Wizard, as shown in the following screenshot, and enter the IP address of the target to be scanned:

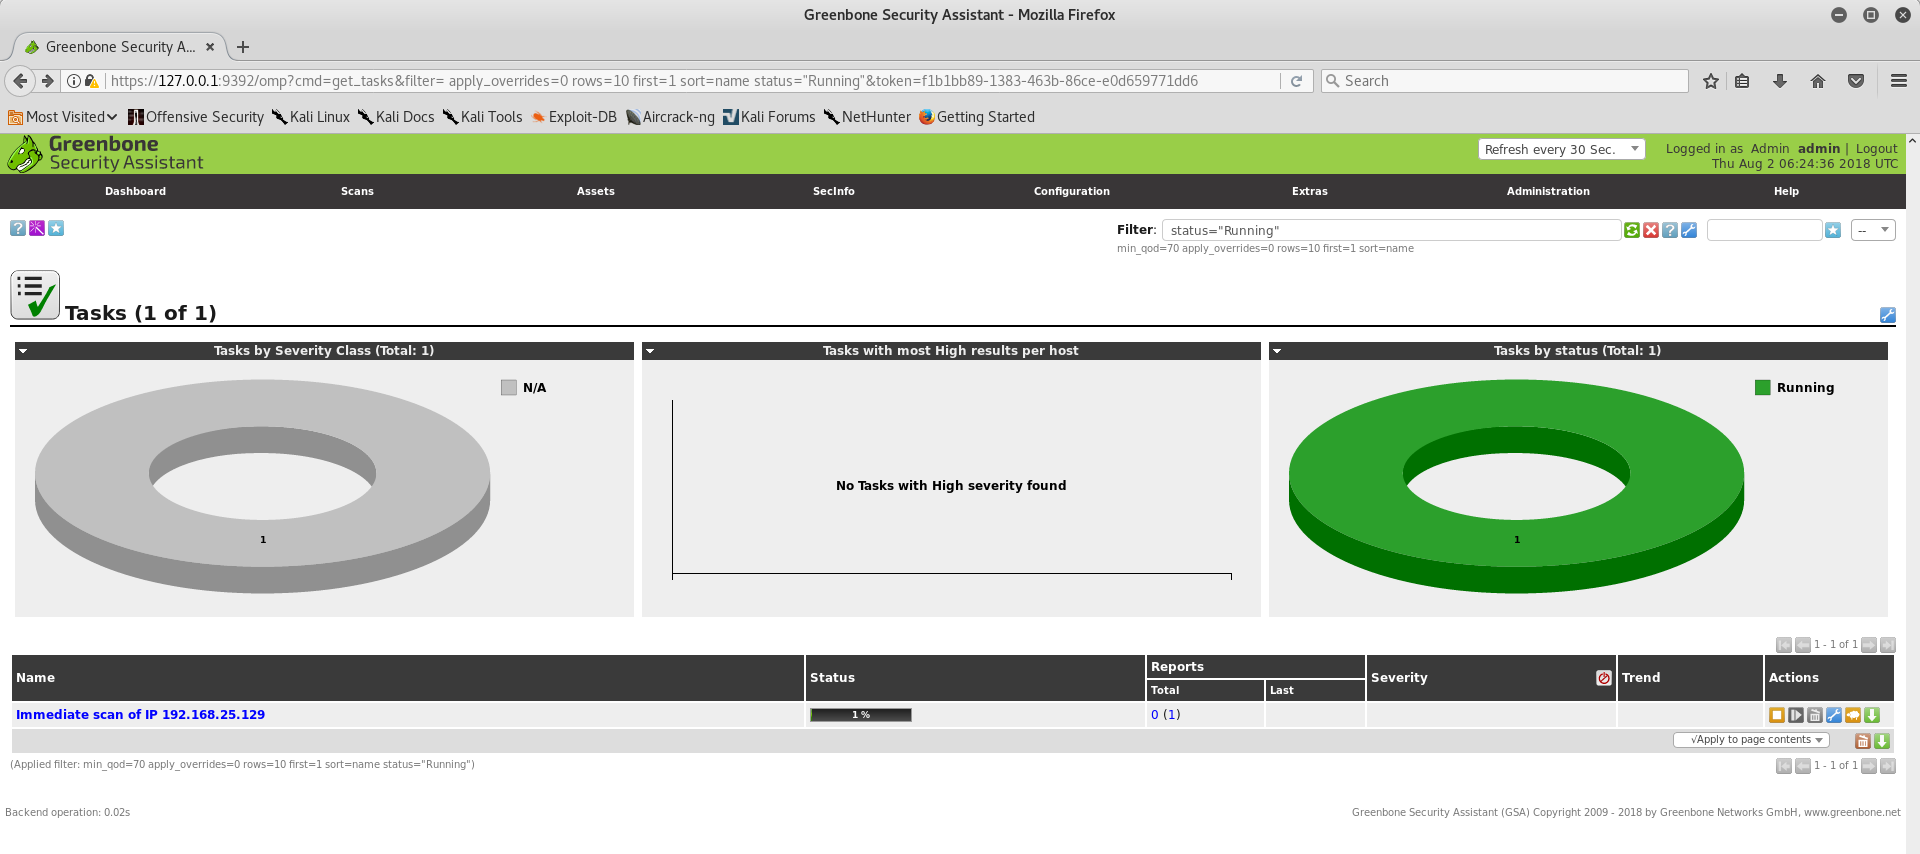
Once the target IP address is entered in the Task Wizard, the scan gets triggered and progress can be tracked as shown in the following screenshot:

While the scan is in progress, you can view the Dashboard to get a summary of vulnerabilities found during the scan as shown in the following screenshot:

Once the scan is complete, you can check the result to see all the detailed findings along with severity levels. You can individually click on each vulnerability to find out more details, as shown in the following screenshot:
