Introduction

When I started out in photography, one of the things I found most frustrating was that my camera seemed to have a totally different view of the world to me. Where I saw a glorious sunset, my camera saw an overexposed wash of pale colors; where I saw clouds floating over a beautiful landscape, my camera saw a flat white sky, or a dark foreground, or both; and backlit portraits would all end up as silhouettes. With practice, I learnt a variety of techniques that improved my photography: using exposure compensation, setting my camera to Manual, and using different metering patterns to assess a scene. In other words, I developed a better understanding of how to compensate for the various ways in which my camera’s perception of the world was more limited than my own.
At the same time, I also learnt that there are some shots that you just can’t take— at least not without using additional lighting, reflectors, neutral density graduated filters, and so on. These are the shots where the contrast is so high that some areas of the image will end up overexposed, underexposed, or both. The problem is that while our eyes can see a full range of tones in these high contrast scenes, our digital cameras cannot.
This problem isn’t a new one, and the earliest photographers looked for different ways to record high contrast, or “high dynamic range” images. In the 1850s, Gustave Le Gray produced a number of dramatic seascapes constructed from two negatives—one exposed for the sea, the other for the sky. He cut both negatives along the horizon, then used the two parts to create a single photographic print. In this way he was able to capture all of the detail in the scene, which would have been impossible with a single exposure. Motivated by the same problem, Charles Wyckoff developed a wide dynamic range film composed of three layers, each of which had a different sensitivity to light. He used this to produce photographs of nuclear explosions, which first appeared on the cover of Life Magazine in the 1940s.
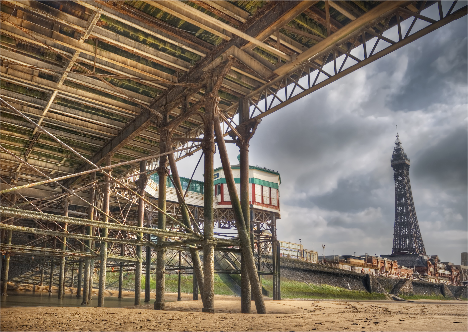
But it wasn’t until much more recently that what we now commonly refer to as High Dynamic Range, or HDR, photography began to develop. In 1985, Gregory Ward created the Radiance RGBE file format for HDR images—a format that is still in use today—while in 1993, Steve Mann reported creating a tone mapped image from a sequence of exposures of normal digital images. The idea was simple—shoot a sequence of exposures that covered the full brightness range of the image, and combine them into a single, high dynamic range picture that would contain detail in everything from the brightest highlight to the deepest, darkest shadow.
This sounds straightforward, but there are numerous issues that can make it far from easy. To start with, you need to be able to meter the scene to calculate the number of exposures to make to capture the entire dynamic range. You also need to know how to deal with any significant movement between the frames, and you have to understand how to create and “tone map” your images to create a final picture that meets your creative expectations. As you will see in this book, once you understand these issues, HDR imaging is a powerful technique that can be used to produce photographs that are simply not possible through any other means.