Saddle Stitching
There is more than one method for sewing leather, but saddle stitching is the go to method that every leatherworker depends on. This method involves using two needles and one long piece of thread to provide more friction in the stitch hole by “doubling” up on the stitches. It looks good and has the benefit of being very strong and resistant to failure.
Threading the Needle
Cut a length of thread. It needs to be one enough to thread through your leatherwork twice, so it should be at least two
and a half times as long as the piece you need stitched.
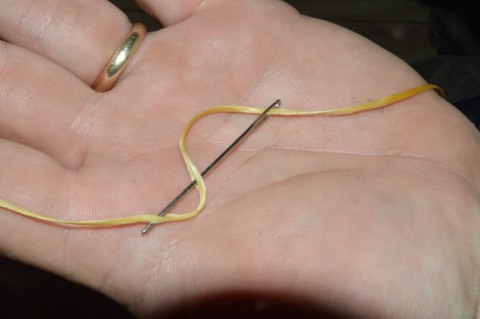
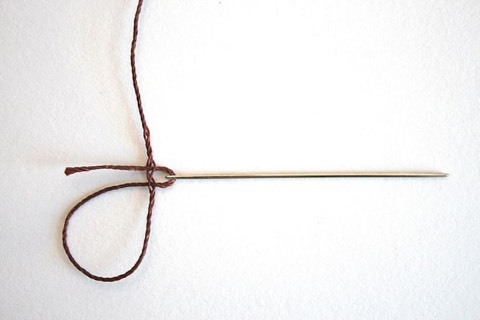
Next thread the needle with the thread and pull about 3 needle lengths of thread through the eye.
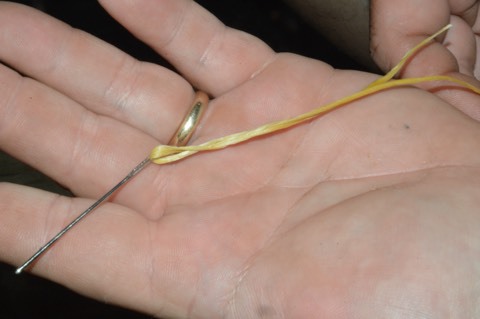
To lock the thread in place, put the end of the needle about one and a half needle lengths down the free end of thread and pierce the needle through the middle of the waxed thread.
Pull the needle through. Once the end of the thread is locked in place, twist it with the working thread.
This will make it stronger (and lessen the chances it'll come apart!).
Additionally, it will help it pass through holes a little easier.
Since you will be sewing a saddle stitch, repeat it on the other end of the thread.
Making Your Stitches
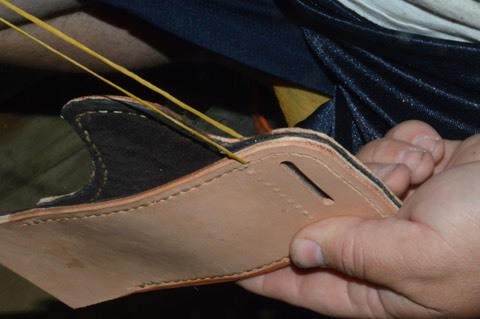
It is easiest to sew if the two pieces of leather are clamped together.
Many leatherworkers use a special clamp called a stitching pony, but it is not necessary for a beginner. Whether you have a clamp or not the most important thing about stitching is being consistent with your motions.
You will always start the next stitch with the same hand and insert the next needle in the same way.
To start, pass the needle in your right hand through the first hole, pulling it until both needles have approximately the same amount of thread, then take the needle in your left hand and push it through the next hole.
Pull the needle through and pull the thread away from you.
Now take the needle in your right hand, and push it into the second hole, behind the left thread.
Ensure consistency by always placing the second needle going through a hole behind the first thread. If you place it in front of the thread, it will make the stitches uneven and lumpy.
After every stitch pull the thread tight by pulling both needles away from the leather. This is essential in keeping the leather edges nice and close. This pulling is hard on the fingers. To help this process William learned to wrap his fingers with medical tape before sewing to give some padding against the waxed lined thread.
Continue stitching by keeping a rhythm to every stitch. You may find that left needle first, right needle second works best just make sure that the right needle always goes behind the left
thread for even stitching.
Finishing a Row
To finish your sewing row, you will need to backstitch.
Start with both threads through the last hole in your row of stitching and sew backwards at least three holes through the stitches you have already made.
To do this, take your left needle and push in into the hole behind the one it's in, and do the same with the right needle.
It can be a difficulty to pull the needles through these holes again, remember they already have two threads in the holes. I find that a pair of pliers to pull the needle through really helps, just ensure you pull in a straight line, so you don’t snap your needle.
Make sure to pull the thread very tight after every one of these backstitches. If you don’t tighten them enough your backstitches will be noticeably larger than the rest.
Cut Off the Thread
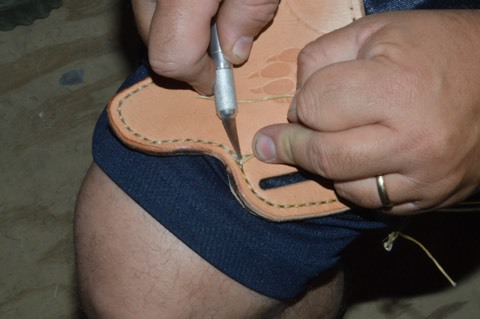
To get a clean finish take a sharp knife (like an X-Acto hobby knife) and pull the ends of the threat tight and cut the thread close to the leather. Then use your thumbs to press the tiny end bit down against the stitching.


