 CHAPTER 2
BASIC SKETCHING
Drawing from Life
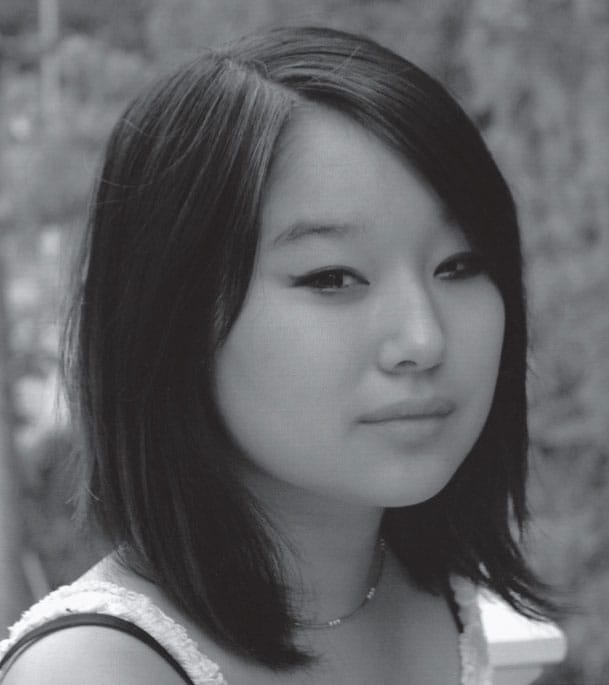
Having models pose for you as you draw—or life drawing—is an excellent way to practice rendering faces.
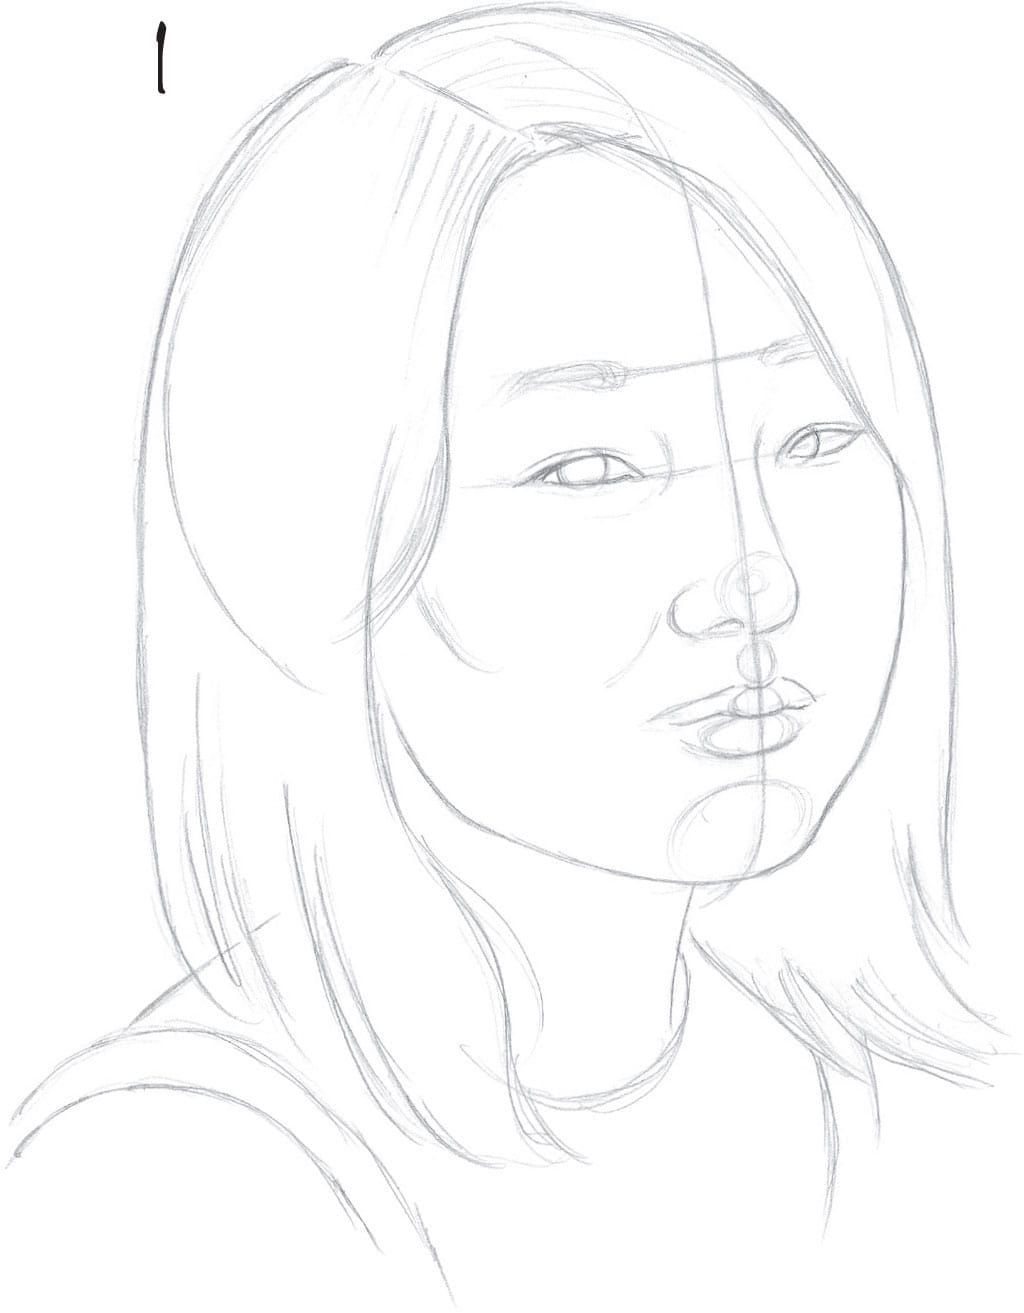
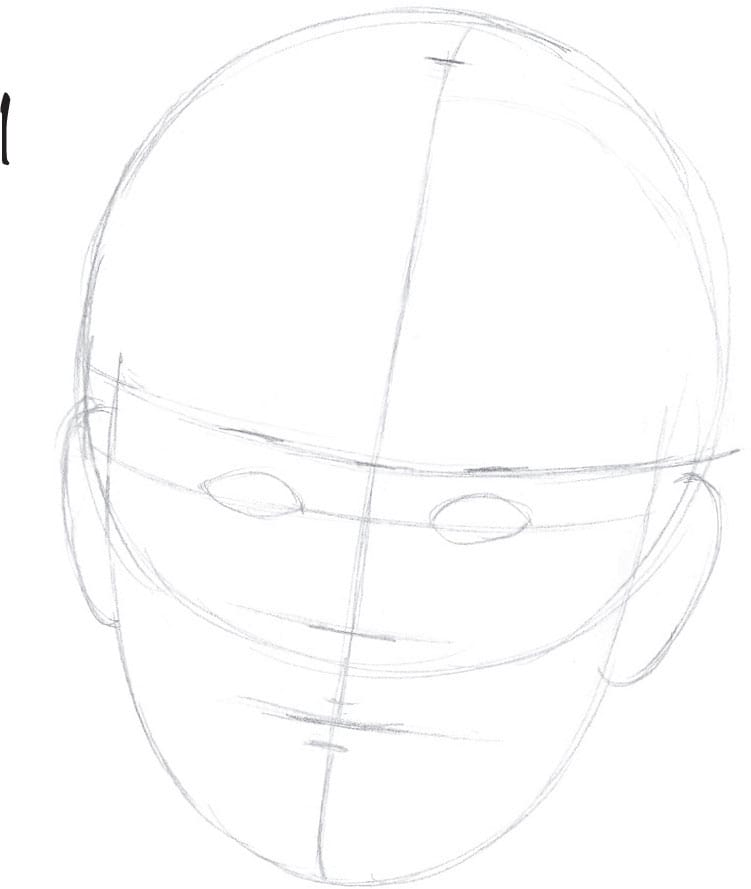
1 First, place the basic shape of the head with an HB pencil. The subject’s head is tilted at a three-quarter angle, so shift the vertical centerline to the right a bit. Foreshorten the left eye, and draw only one nostril. Make the mouth smaller on the left side.

2 Begin to develop the eyes, nose, mouth, and eyebrows.
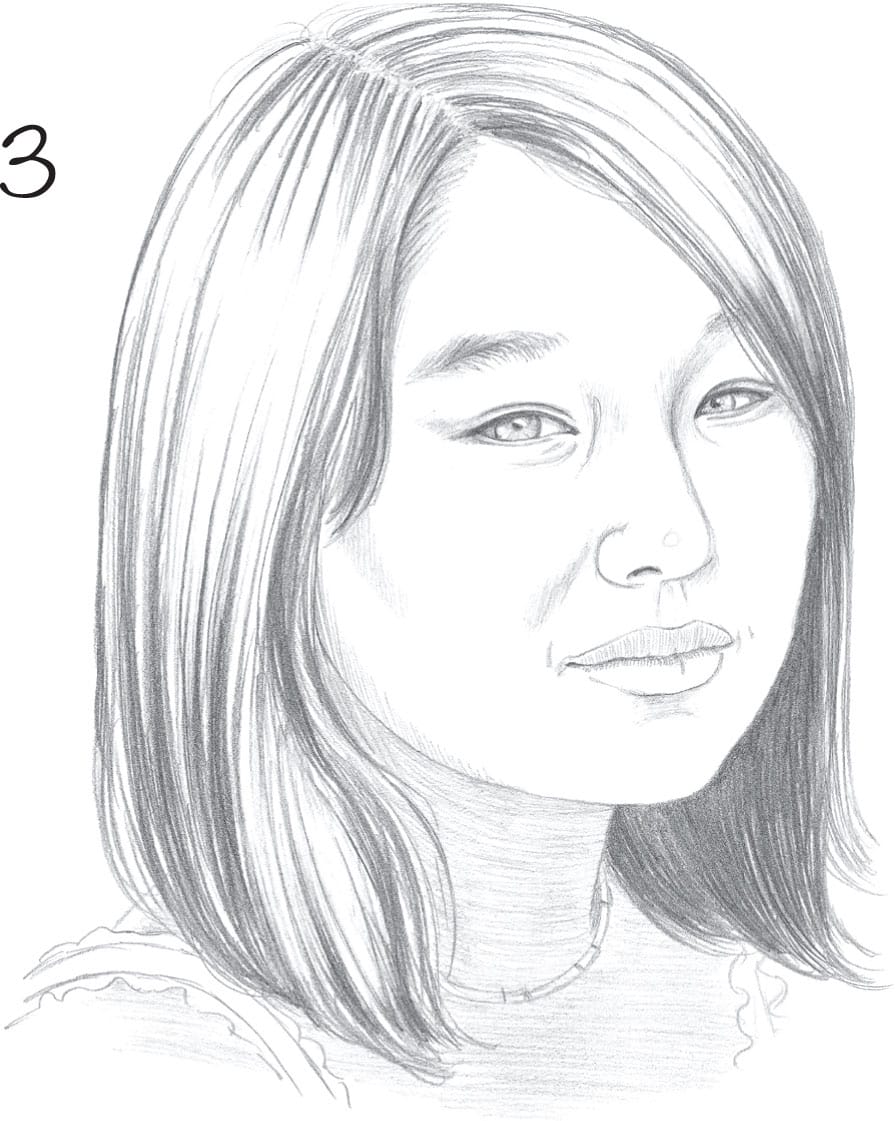
3 Start shading the face in the areas where the shadows lie. Use a 2B pencil to develop the hair, varying the length of your strokes and leaving some areas white for highlights. Then shade the neck using light, horizontal strokes.

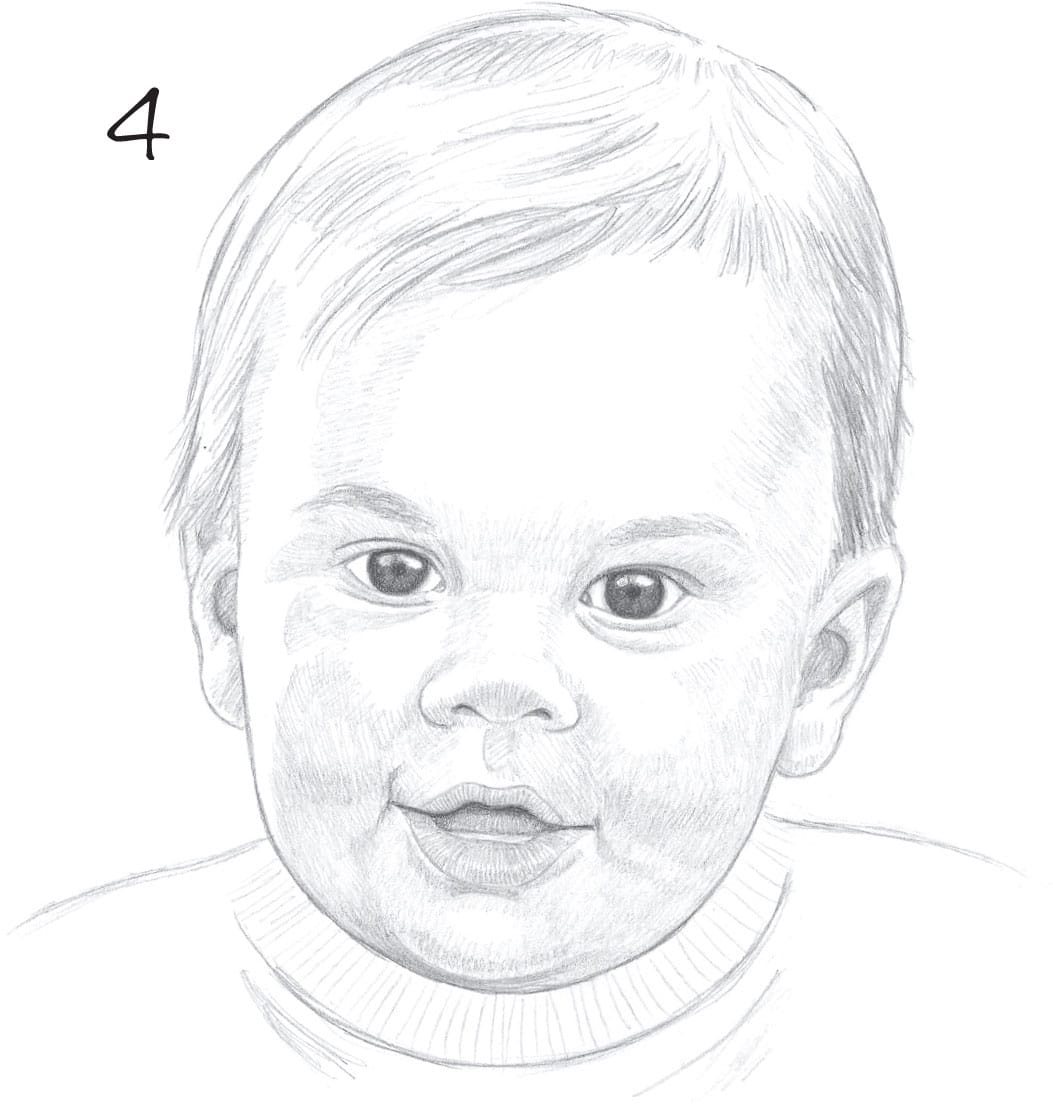
4 Use a 3B pencil to add darker values to the hair, leaving the lightest areas at the top to show the light source. Use a kneaded eraser to lift out some highlights on the face and soften any strokes that are too dark.
Drawing a Baby
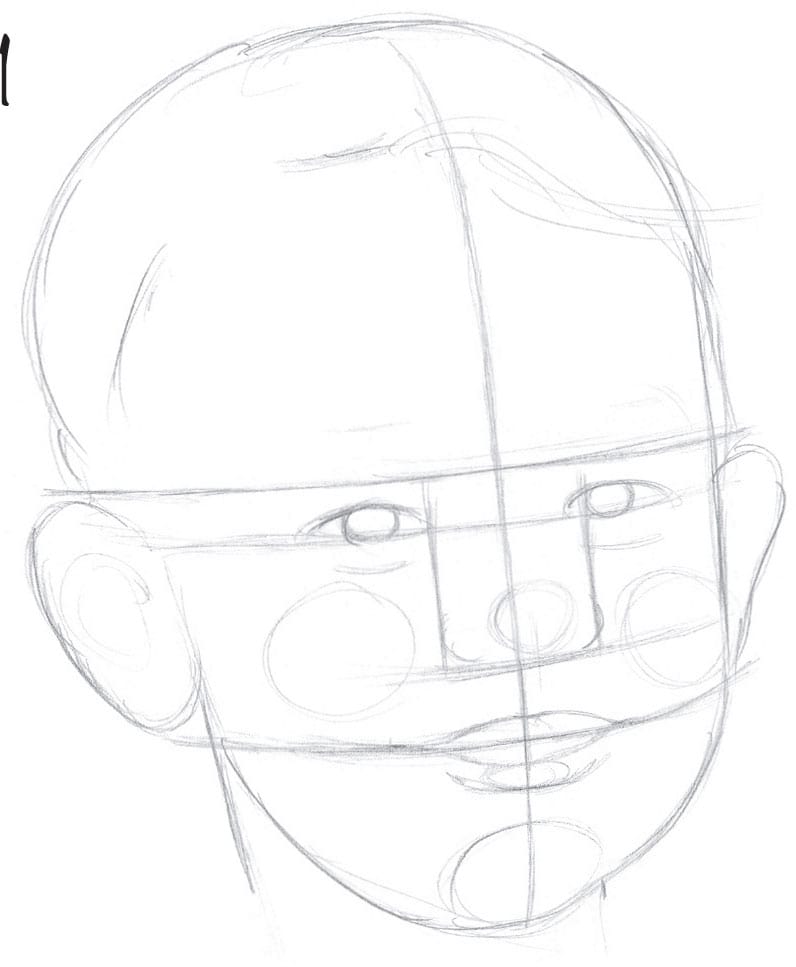
1 Using an HB pencil, block in the cranial mass and the facial guidelines. The head is tilted downward and turned slightly to the left. Place the eyebrows at the horizontal centerline and the eyes in the lower half of the face.

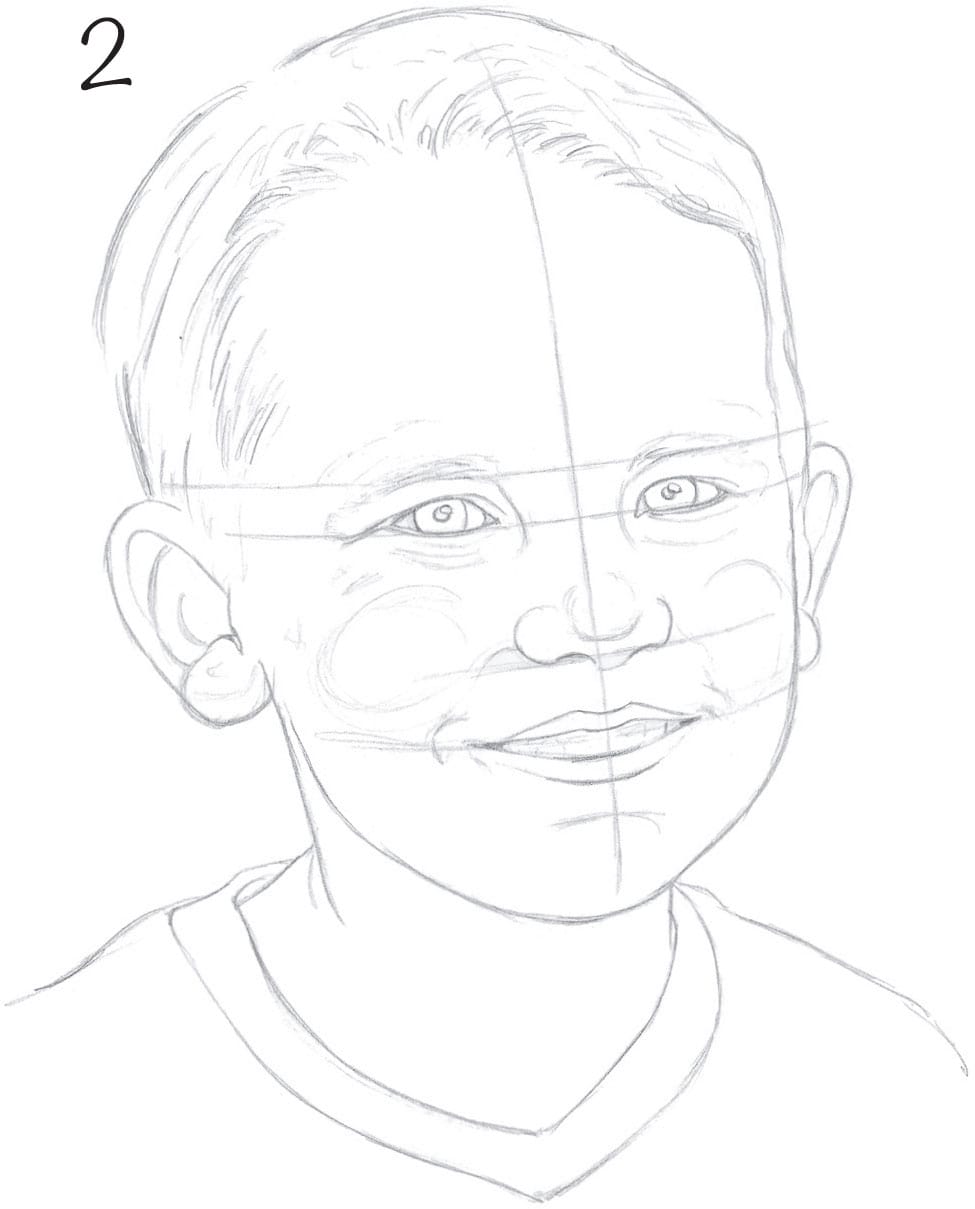
2 Add hair using soft, short strokes and a B pencil. Draw the open mouth; then add large irises and suggest the small nose. Draw a curved line under the chin to suggest chubbiness; then indicate the shoulders.

3 Add pupils and highlights to the eyes with a B pencil. Lightly sketch more of the hair and eyebrows; then shade under the chin. Shade inside the ears, refine the lips, and shade the upturned mouth.
4 With a 2B pencil, shade the irises, and then go back in and lighten the highlights with a kneaded eraser. Draw more soft strokes in the hair and eyebrows and shade the lips and face.
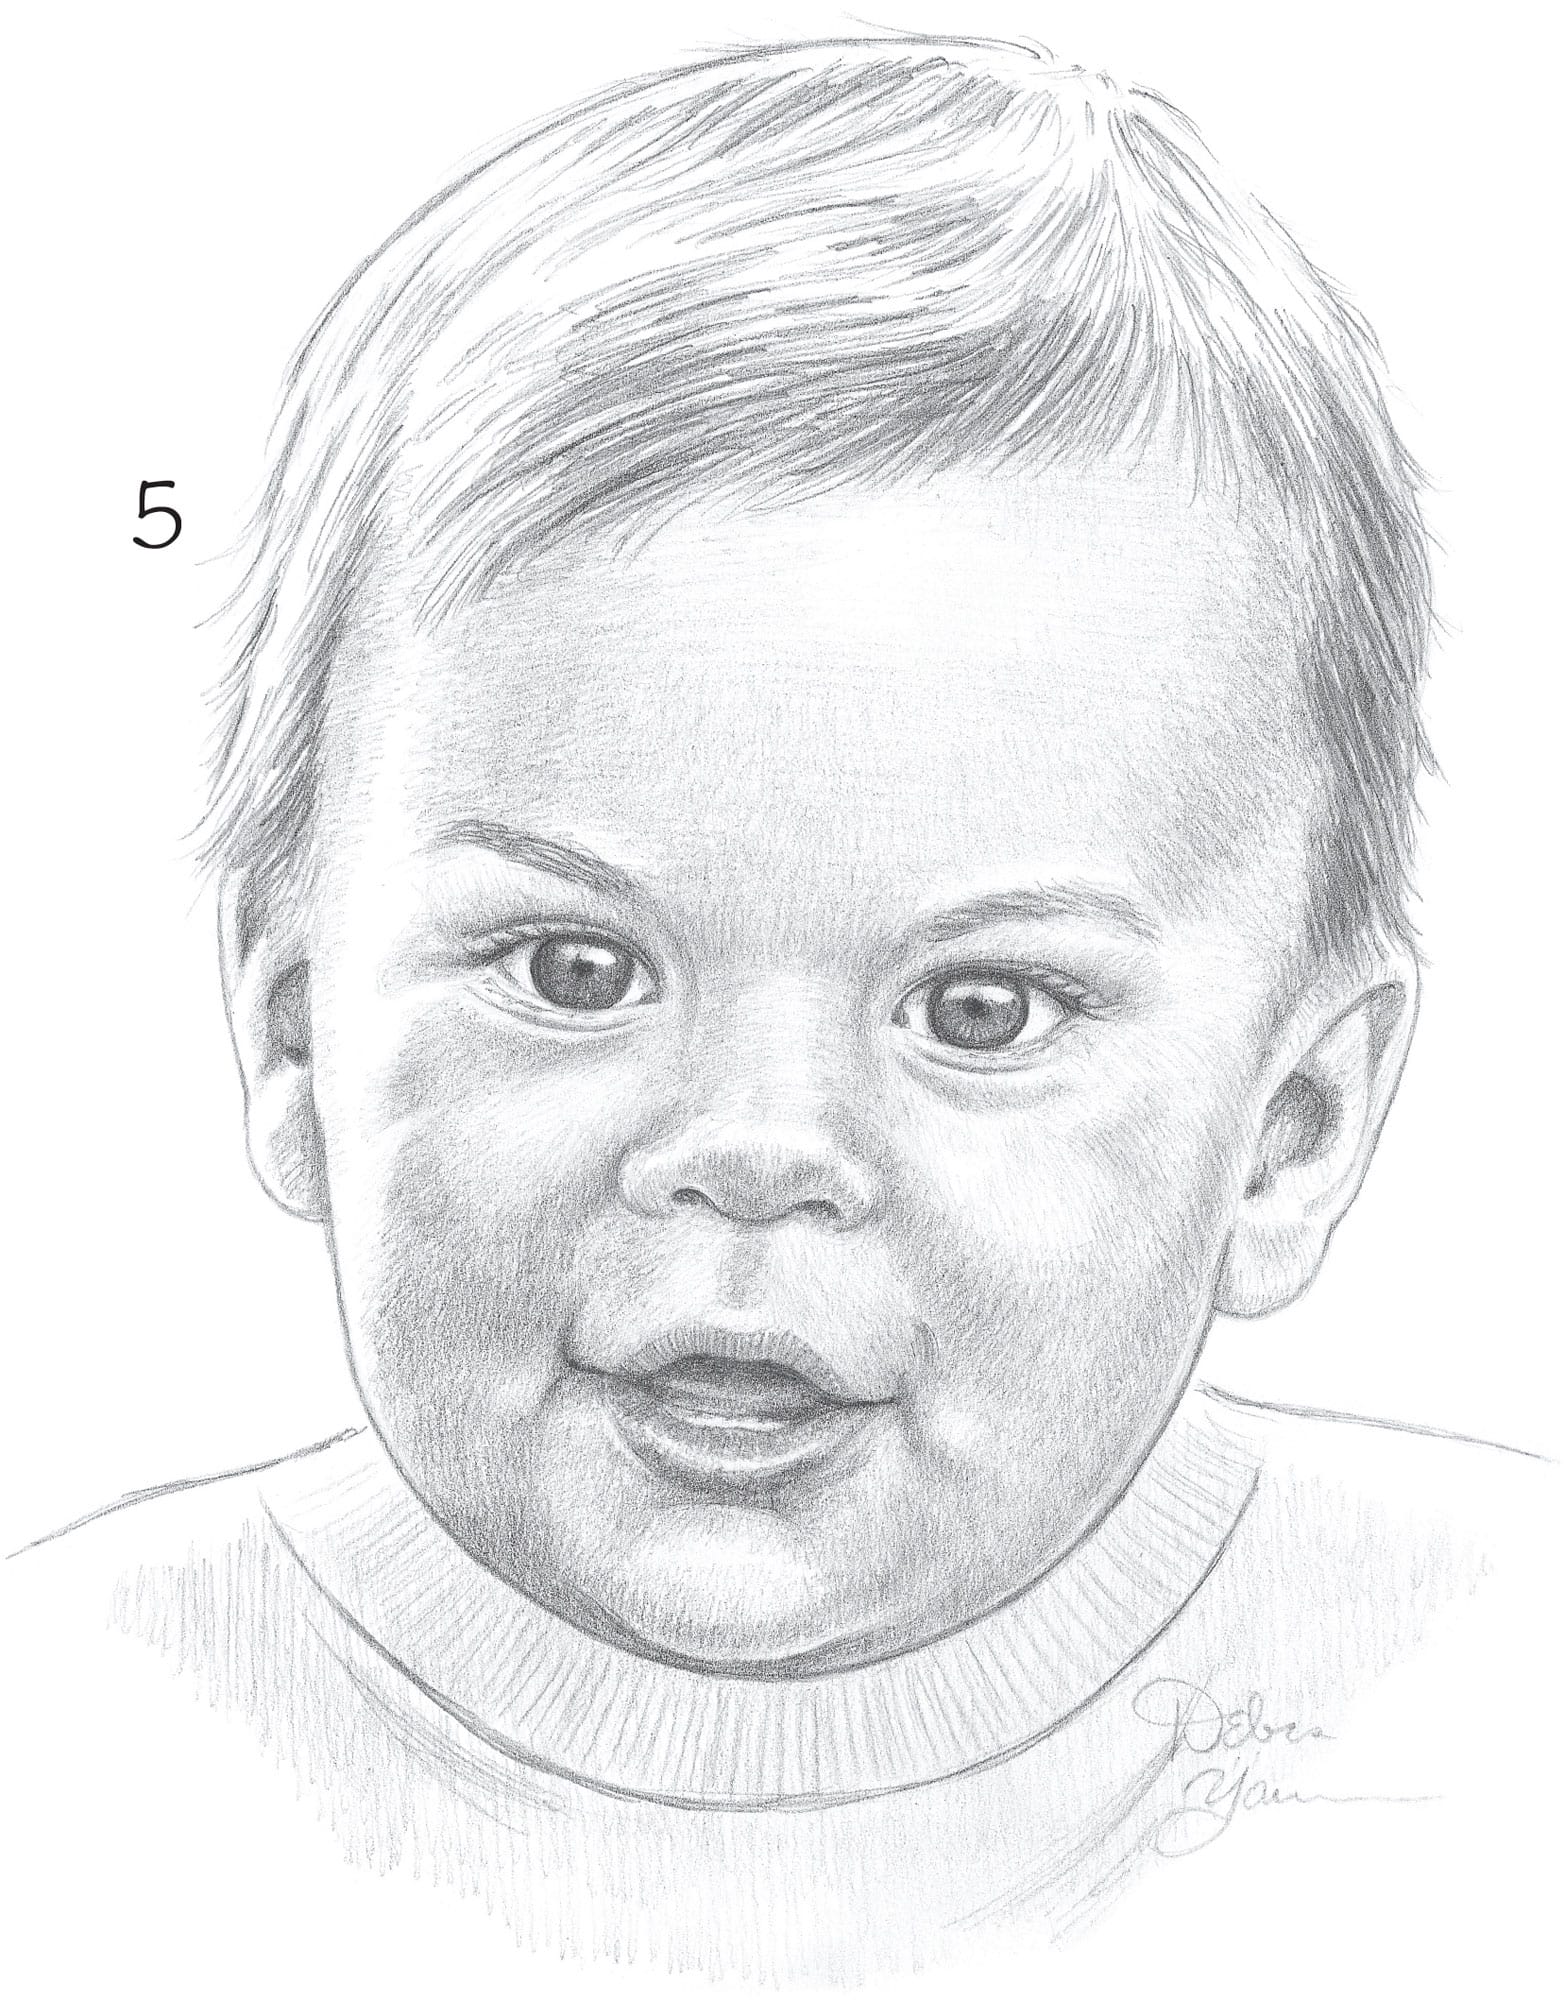
5 Continue shading the face; then add another light layer of shading to the lips. Use the end of a kneaded eraser to pull out a highlight on the bottom lip. Draw some light eyelashes. Create darker values in the hair and eyebrows and round out the outline of the face. Use a tortillon to softly blend transitions in the shading to make the complexion smooth.
Drawing a Child
1 Outline the face, adding the guidelines and blocking in the features.
2 Continue to build on the details and erase an unnecessary guidelines.
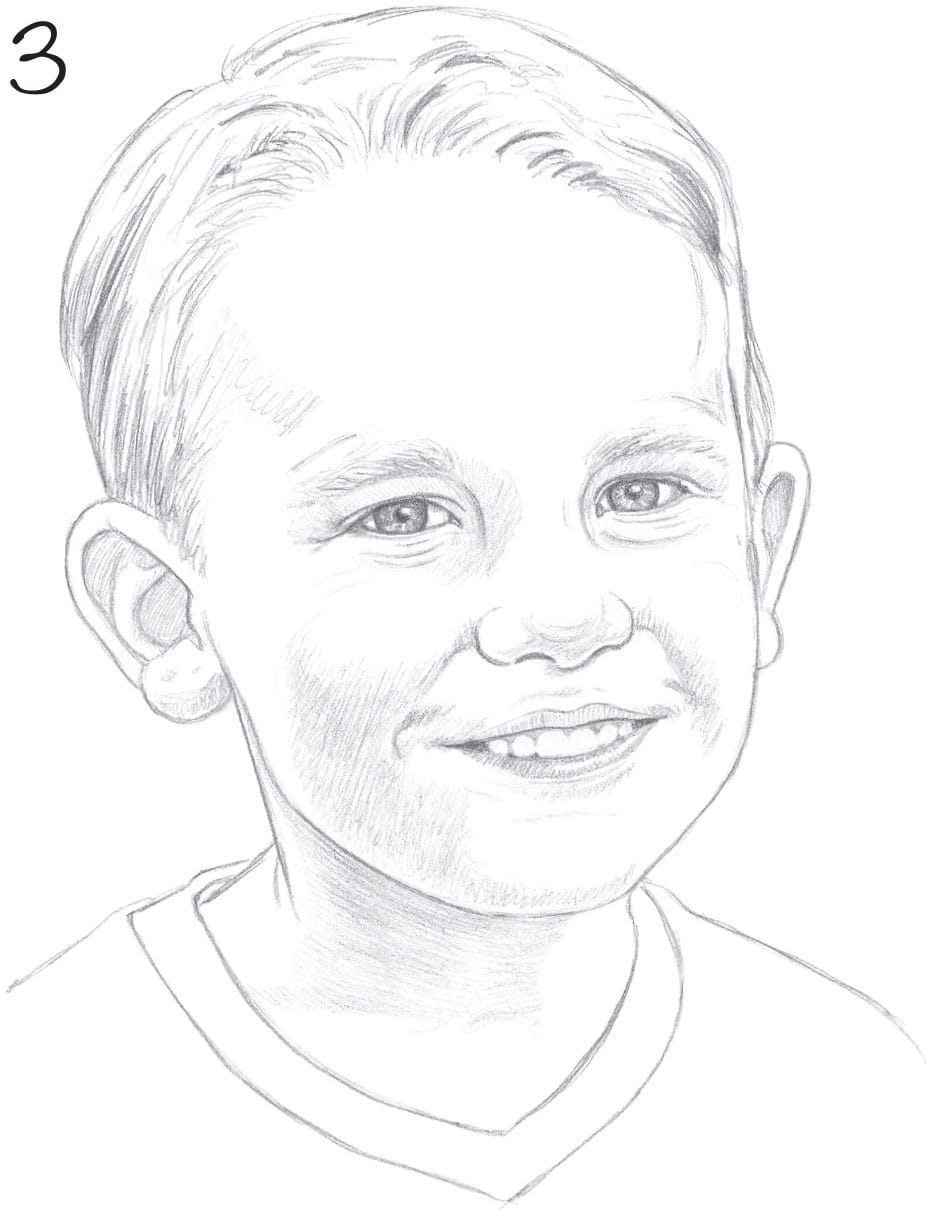
3 Use a 2B pencil to add details to the eyes and eyebrows; shade the lips and cheeks.

4 Darken the hair by shading with a 2B. Continue evenly shading the face and the neck; then add a few light freckles with the tip of your pencil. Darken the inside of the mouth to give the teeth form and add detail to the shirt.
Rendering Dark Skin Tones
When depicting dark skin tones, pay attention to the value of the skin tone and how it compares with the values of the features; for example, when the skin is dark, the lips need to be shaded more heavily.
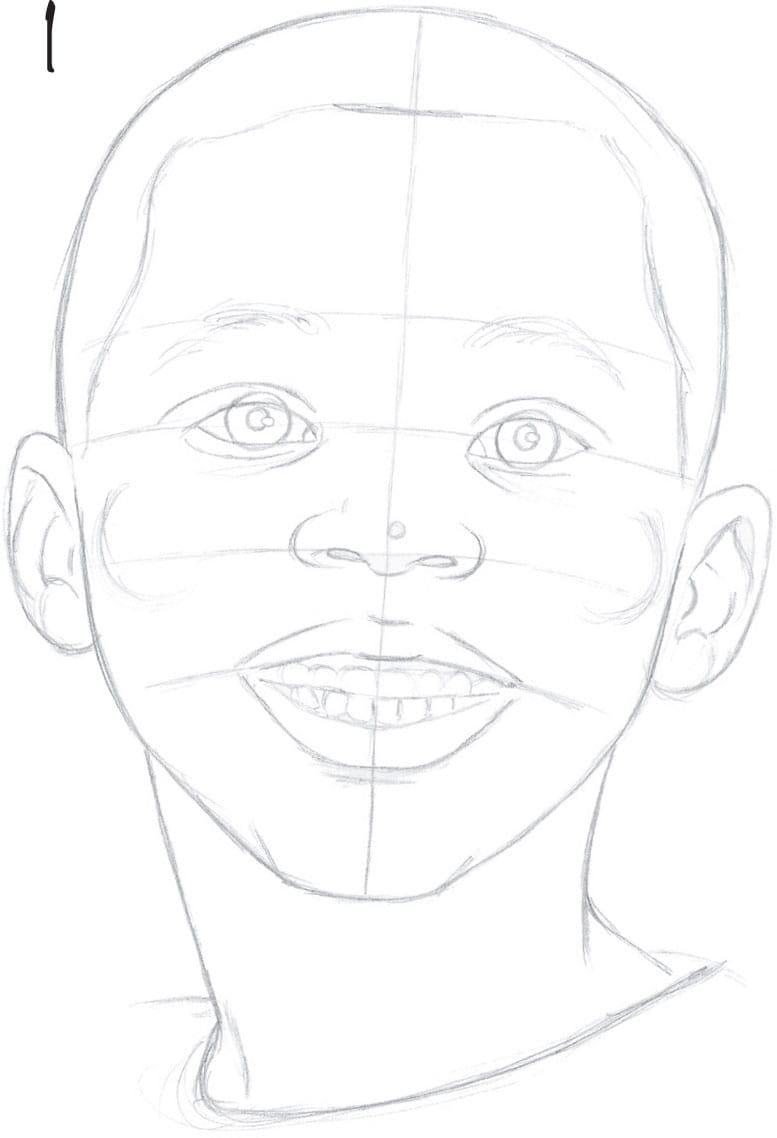
1 With a 2B pencil, block in the basic head shape and place the features; then block in the teeth and indicate the hairline, eyebrows, and ears. Sketch the curved neck and define the chin. Then develop the eyes, ears, and teeth. Block in the hairline and neck.
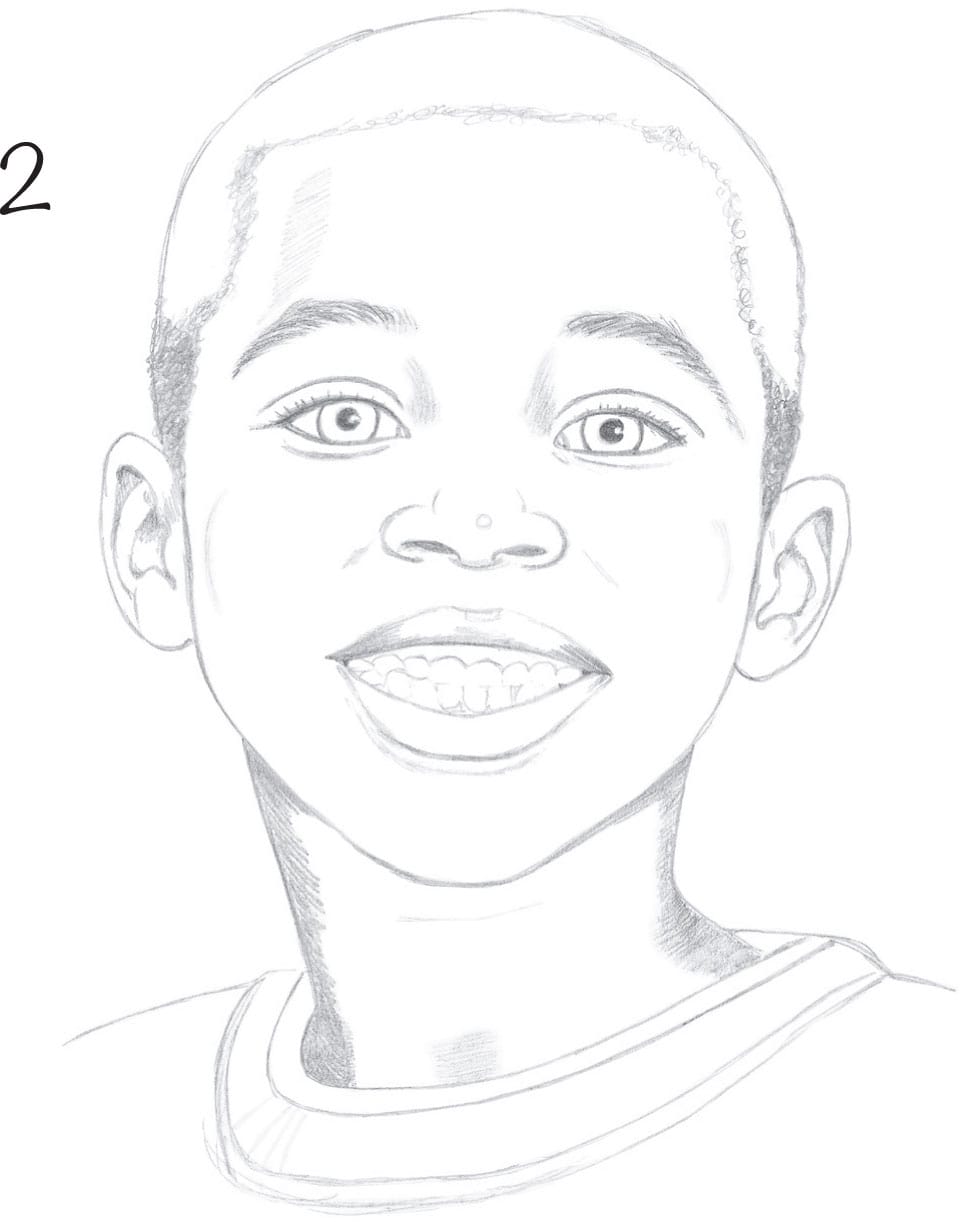
2 Shade the nose, neck, and top lip. Using quick, circular strokes, start to render the short, curly hair. Then detail the eyebrows, eyes, and neckband of the shirt.
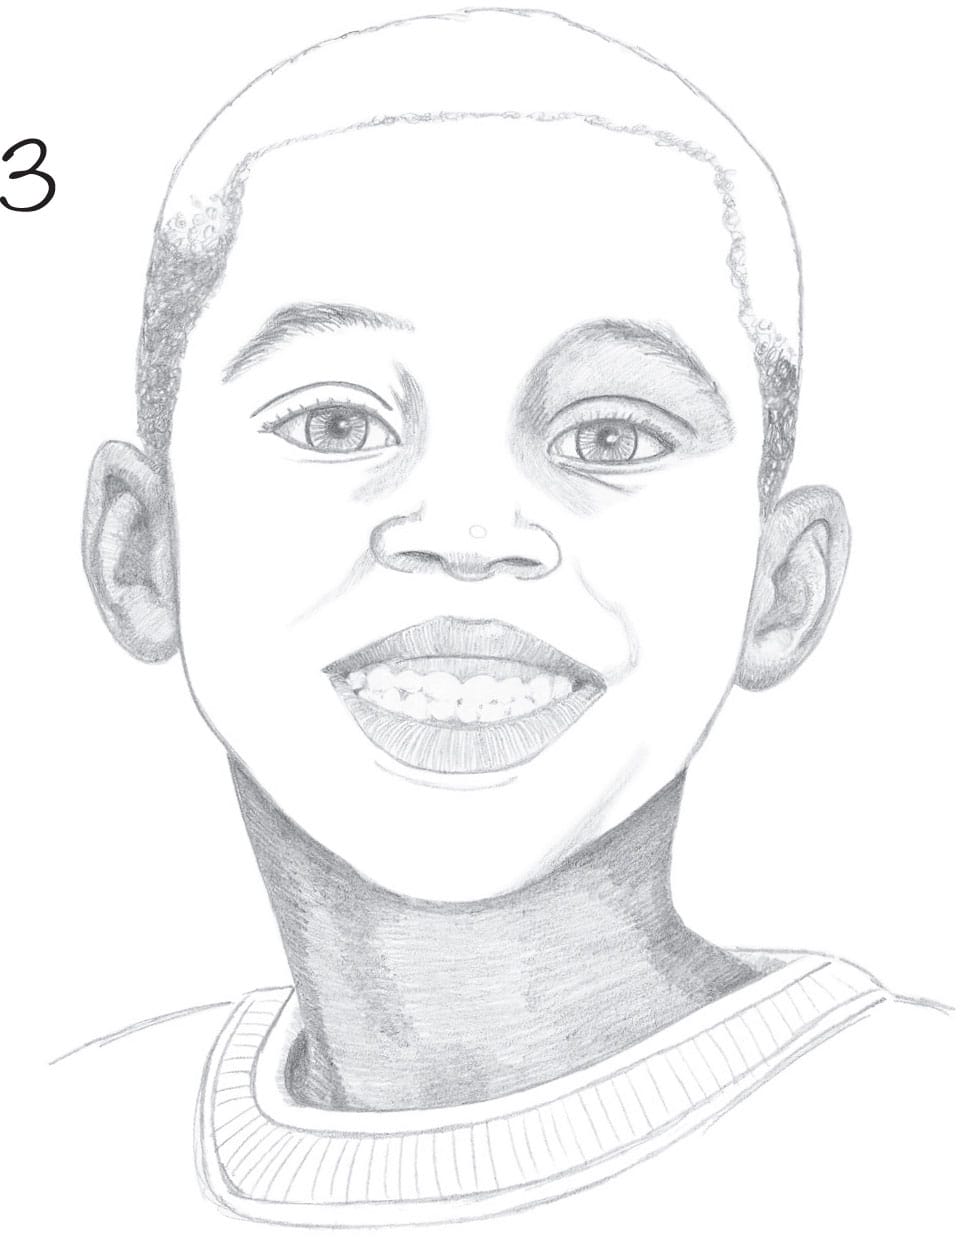
3 Continue shading the lips; then shade the gums, working around the teeth. Build up the hair with more circular strokes. Then move to the neck, using horizontal lines that curve with its shape. Notice how these lines overlap and blend into the shading.

4 Apply a light layer of shading over the entire face, always varying the direction of your strokes as necessary to follow the shapes of the different planes.

5 Continue shading the face, making the sides of the forehead a bit darker and leaving the middle area lighter to show where the light hits. Then darken the nose, leaving a highlight on the tip. Refine the shirt, curving the strokes as they go around the back of the collar. Next further shade the lips; then pull out a highlight on the top lip with a kneaded eraser. Finally go back and soften the transitions between values by very lightly blending them with a kneaded eraser.