Before you can enjoy your music, videos, eBooks, and work documents (okay, maybe not enjoy...), you have to get them onto your NOOK Tablet, and that’s what this section is all about. It’s a breeze to transfer files between your PC or Mac and your NOOK.
Once you transfer files to your NOOK, you don’t need even to know what apps on your NOOK handle each of these file types—the NOOK is smart enough to know. So when you tap one of the files, the right app automatically jumps into action and launches itself, opening the file. But if you’re curious about whether a specific file will work on the NOOK Tablet, see Table 11-1. You don’t want to waste your time transferring files that will merely sit on your NOOK, unloved and unused. This table details what kinds of files work with it.11-1.
As a general rule, EPUB files open in the main NOOK reader; Microsoft Office files open in Quickoffice (Tip); and picture, music, and video files open in the NOOK’s built-in media player.
First connect your NOOK to your PC with the micro USB cable that came with the NOOK (USB Port, Connector, and Charger). Don’t use any other cable; Barnes & Noble warns that if you use a different cable, you might damage your NOOK. Connect the micro USB plug into your NOOK, and plug the normal-sized USB plug into your computer’s USB port.
When you connect your NOOK to your PC, the NOOK puts itself into USB mode. Your screen displays a notice telling you that it’s in that mode, and that you can go ahead and transfer files. But when your NOOK is connected to your PC or Mac, you can’t do anything with it—the screen doesn’t respond to taps. At that point, it’s essentially a USB drive connected to your computer. Once you unplug it from your computer, it returns to its true NOOK identity.
Note
When you unplug your NOOK from your PC or Mac, it takes a few seconds for the SD card to be ready to use. You’ll get a notification that it’s being prepared. Also, when you unplug it, you may hear a momentary musical chime—that’s just your NOOK telling you that all is right in the world, and it’s preparing itself to do your bidding.
After you’ve connected it to your PC, launch Windows Explorer. Your NOOK now shows up as a removable disk, just like any USB drive. You can now use your NOOK as if it were any USB flash device—copying files to and from it, creating folders, and so on.
If you haven’t installed an SD card, you’ll see only one new drive, labeled MyNOOK if you have a NOOK Tablet, and MyNOOKColor, if you have a NOOK Color. If you’ve installed an SD card, you’ll also see another drive, just labeled Removable Disk.
The folder structure of MyNOOK (or MyNOOKColor) and the Removable Disk (which is the SD card) is similar in some ways. MyNOOK and MyNOOKColor has a variety of folders you don’t need to worry about, such as B&N Downloads, DCIM, and LOST.DIR, so don’t pay any attention to them. Instead, use Windows Explorer to go to the My Files folder. That’s where you’ll be placing your files.
Here are the folders you’ll find:
Books
Documents
Magazines
Music
Newspapers
Music
Photos
Videos
Wallpapers
Unless you’re a true nonconformist, you’ll put your books in the Books folder, Microsoft Office files in the Documents folder, Music files in the Music folder, and so on. (See Appendix B for details about file types.) Keep in mind that you’re not required to use this folder structure; and you can put files wherever you want, and you can even create new folders. But for simplicity’s sake and for overall good housekeeping, you’re best off staying with the folder structure that’s already there.
The NOOK uses the EPUB file format for books, so when you’re borrowing books from a library, or downloading them from the Internet, make sure to look for files in that format. After you’ve got them on your computer, just drag them over to the Books folder.
Your SD card (labeled Removable Disk when you look at it on your PC) has the same folder structure, and you’ll store files in the My Files area, just as on the NOOK itself.
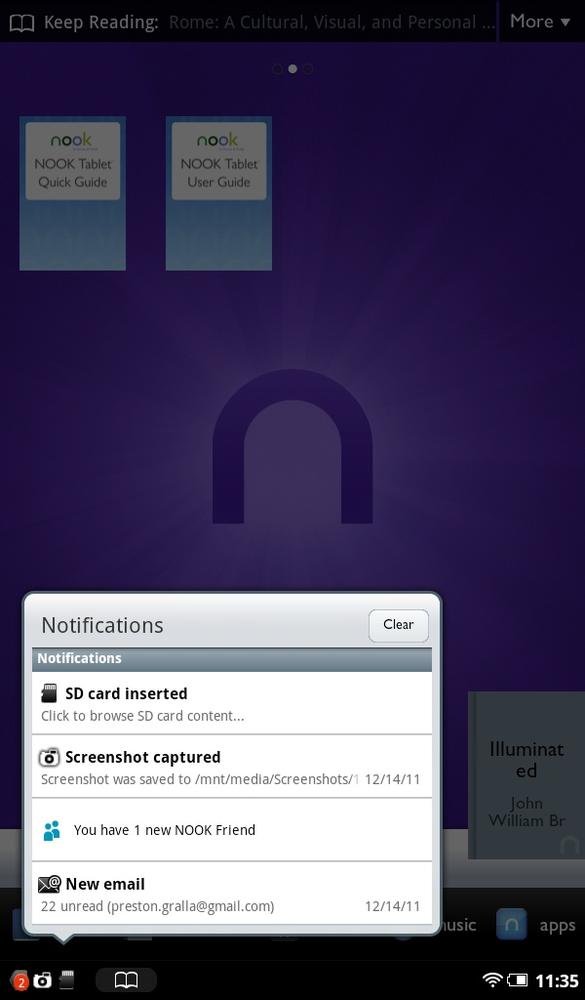
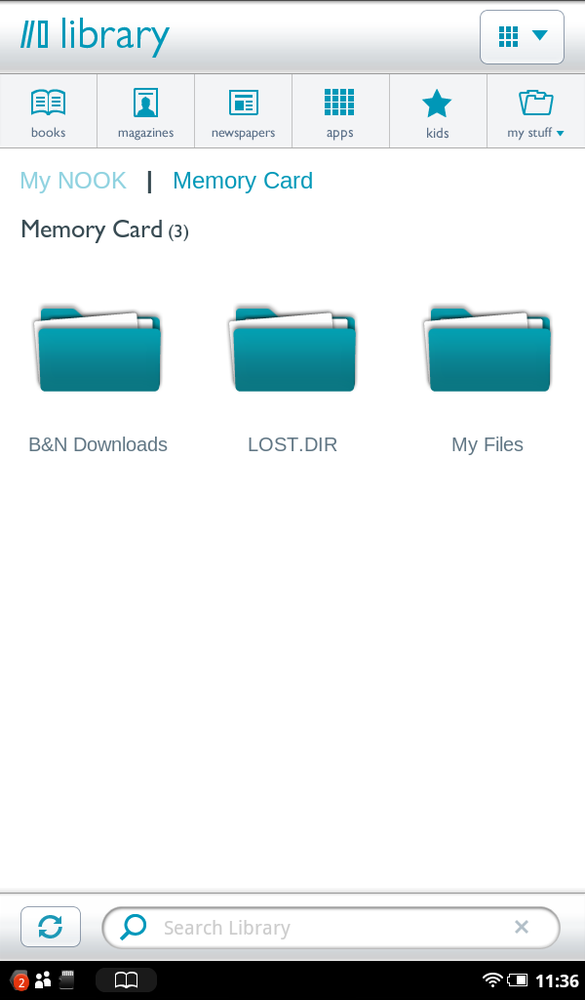
Once you’ve dragged files from your PC to your NOOK, disconnect the USB cable, and you’re ready to start using the files. When the card is inserted properly, a small icon of a card appears in the Notification area, telling you that you’ve got a card in your NOOK. Tap it and a screen pops up reading “SD card inserted. Click to browse SD card content...” Tap this notification, and you arrive at the area of your Library that lets you browse the contents of the card. You can also get to this area by heading to the Library and then tapping “My stuff”→My Files→Memory Card. For details about what you can do with the files once they’re on your card, turn to Browsing and Managing Files on your NOOK Tablet.
Just as with a PC, to transfer files to your NOOK from a Mac, connect your NOOK to your Mac using the micro USB cable that came with the NOOK. You may find that when you connect it, iPhoto immediately launches. Close it down; you won’t need it.
Instead, launch Finder. Browse it using the Finder as you would any other USB storage device to transfer files to your NOOK by dragging them.


