Right out of the box, the NOOK Tablet’s email app is set up just fine. But if you’re the kind of person who likes to fiddle and diddle with options, you’ve got plenty of ways to customize how it works. And if you have more than one email account, you can customize them on an account-by-account basis—for example, have a different signature appended to Gmail than to a personal account, or having the NOOK Tablet check one account more frequently than others.
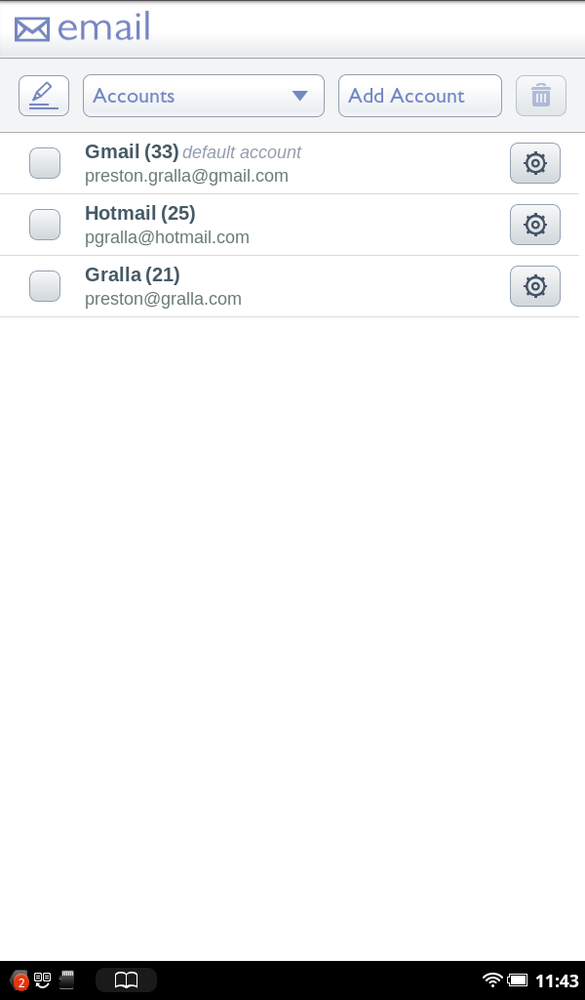
To see a list of all your accounts, tap the down arrow on the button to the right of the Create Mail icon and select Accounts. You’ll come to a screen that lists them all, including their names, the email address of each, and how much mail is in each account.
To add a new account, tap Add Account and follow the instructions. To delete an account, tap the box to its left so a checkmark appears, and then tap the Delete button.
Note
When you delete an account, you won’t delete the email in it. You’ll just remove it from the NOOK Tablet.
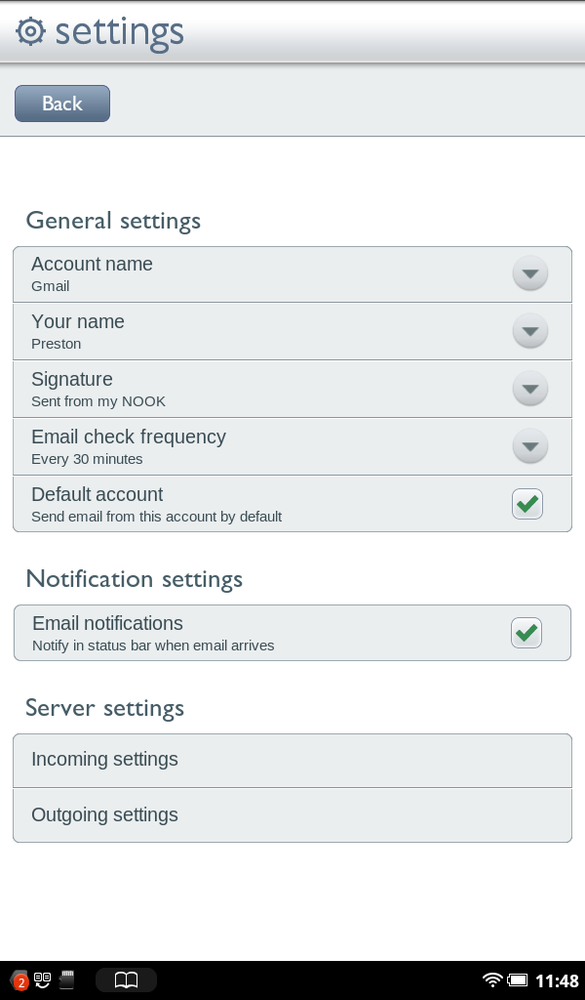
To customize the way any account works, tap the gear icon on its far right; the Settings screen appears. Tap what you want to change, fill in the form, and you’re done. Here’s what you can change, and the effect it will have on your email use:
Account Name. Changes the name that shows up in your list of accounts. So if you have a Hotmail account that you would rather have appear as Home, for example, you can change that here.
Your name. Changes the name associated with your account—not the email address, which can’t be changed. Think of it as a nickname.
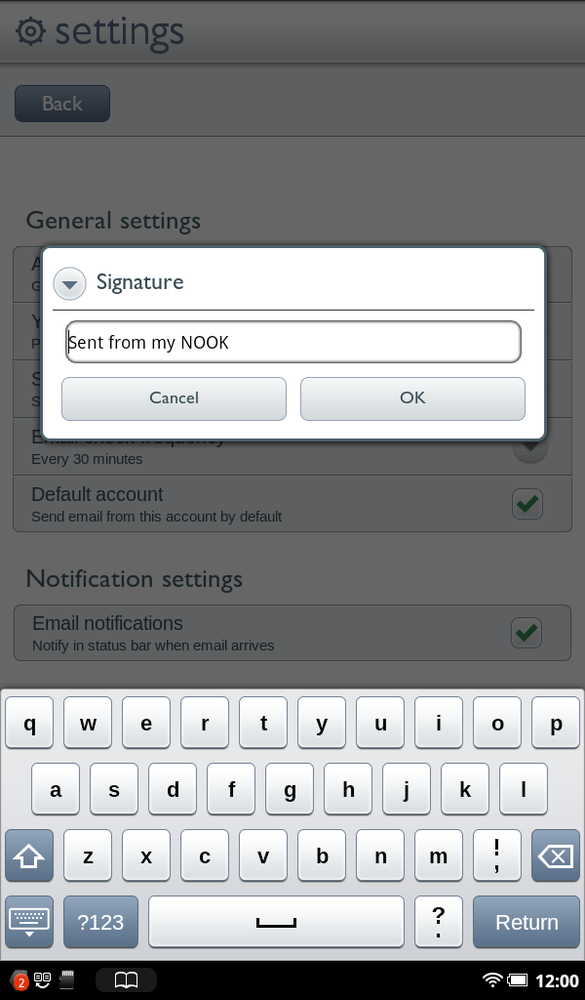
Signature. Changes the signature that’s appended to your outgoing email from that account. Tap here, type a new signature, and then tap OK. To go with no signature at all, delete the text and tap OK. You might want to have different signatures for different accounts, one work-related, one family-related, and so on.
Email check frequency. Changes how often the NOOK Tablet checks an account for email. You have it never check, or else check every 5, 10, 15, 30, or 60 minutes.
Default account. When you compose an email, from which account do you want it to be sent? Turn on the box next to any account, and that becomes the default from now on. If you previously had another account that was the default, the checkmark disappears from its Settings screen.
Email notifications. Want to have a notification appear in the Status bar every time an email comes in from the account? Make sure this is checked. If you don’t want to be bothered, uncheck it.
Incoming settings. Lets you change the settings related to getting mail from the account’s server. For details, see Tip.
Outgoing settings. Lets you change the settings related to sending mail via the account’s server. For details, see Tip.


