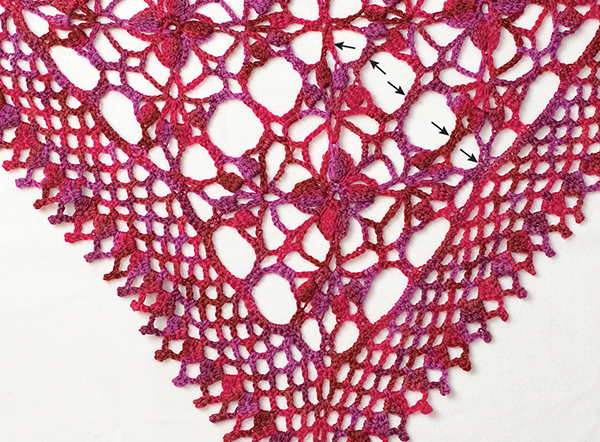
Working into a Chain Ring
Projects or motifs worked from the center out are often started by joining chains into a loop and then working stitches into that loop.
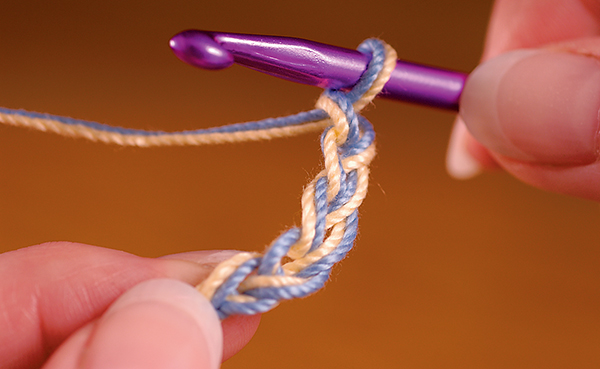
1. Work the number of chains indicated in the pattern. (Note: In this example, I am holding two yarns together and working them as one yarn.)
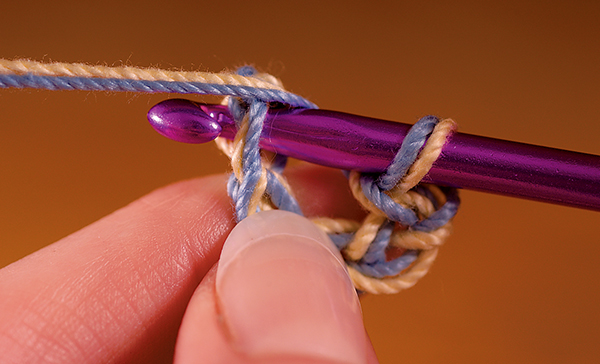
2. Insert the hook into the first chain.
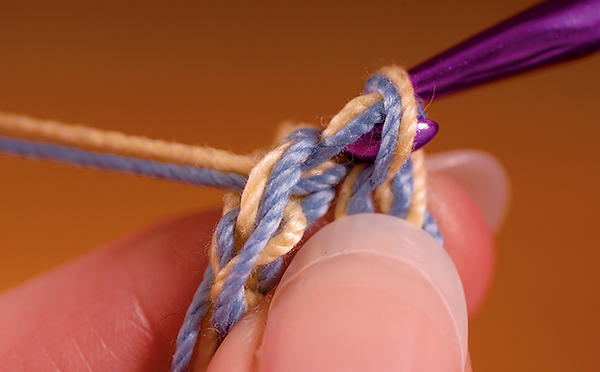
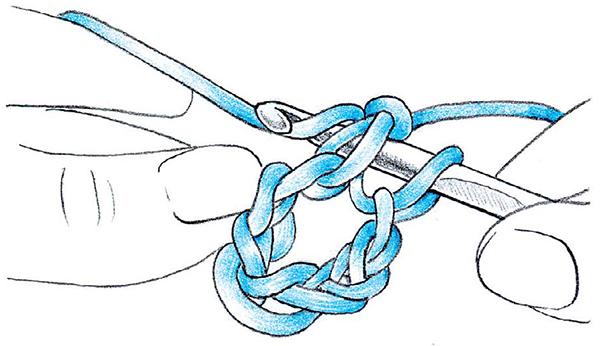
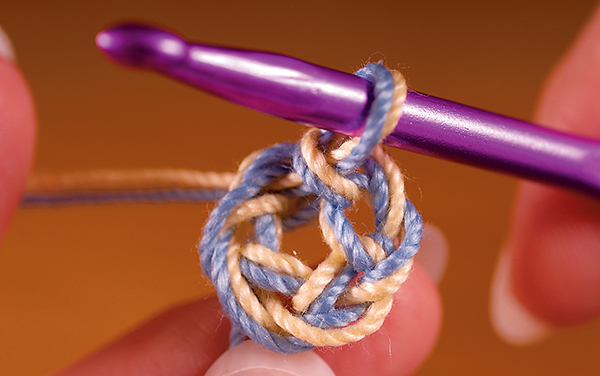
3. Wrap the yarn around the hook and pull through both loops to make a slip stitch. This creates a ring with a small hole in the middle.
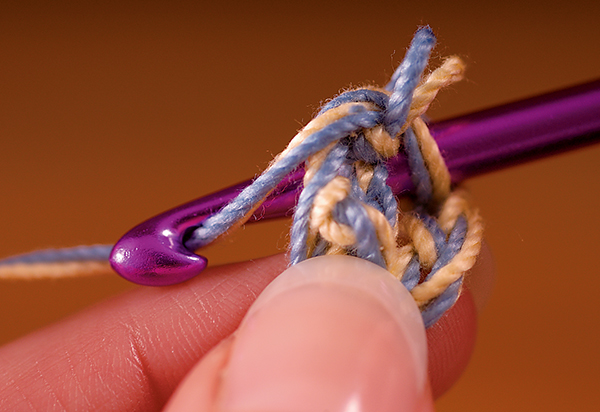
4. Begin working the first round as indicated in your pattern. In this example, we are working single crochet. Chain 1, then work the first stitch by putting the hook through the hole in the middle of the ring (not through the chain stitch) from front to back, then wrapping the yarn over to begin your single crochet. Pull up a loop, then complete the stitch (yarn over and pull through both loops).
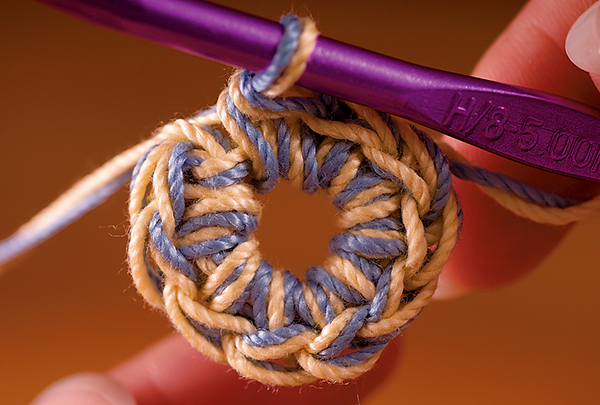
5. Continue to work around the ring, pushing the stitches together if necessary, until you have done the specified number of stitches.
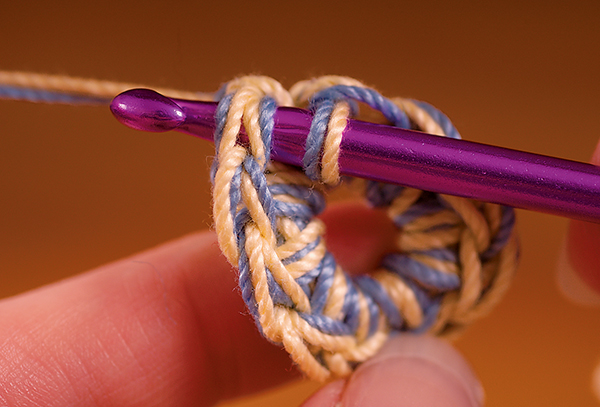
6. Join the end of the round to the beginning by putting the hook through the chain stitch you made at the beginning of the round and working a slip stitch.
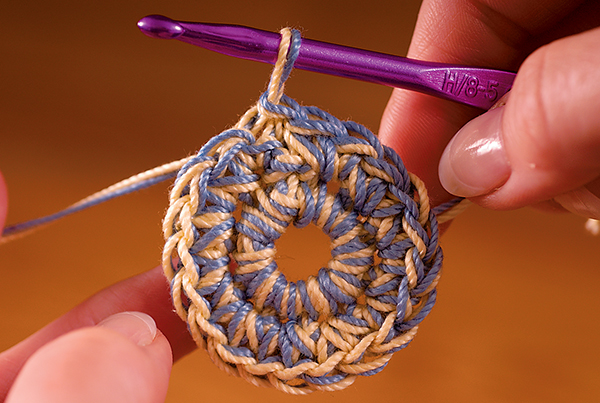
7. Work subsequent rounds in a similar fashion, but instead of putting the hook through the hole in the middle of the ring, insert it into the stitches of the previous round.
Working into an Adjustable Ring
Some projects or motifs worked from the center out are worked into an adjustable ring, also known as a magic ring or magic loop.
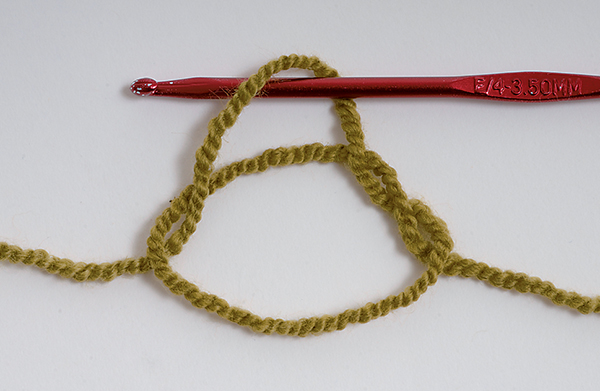
1. To make an adjustable ring, form your yarn into a ring like you are making a slip knot, leaving about a 6-inch/15-cm tail. Insert the hook into the ring. Do not pull closed; you will work your stitches into this ring.
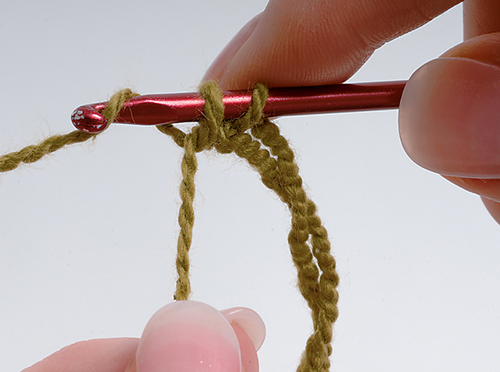
2. Make the stitches indicated in the pattern into this ring. In this example, we are working single crochet in the ring.
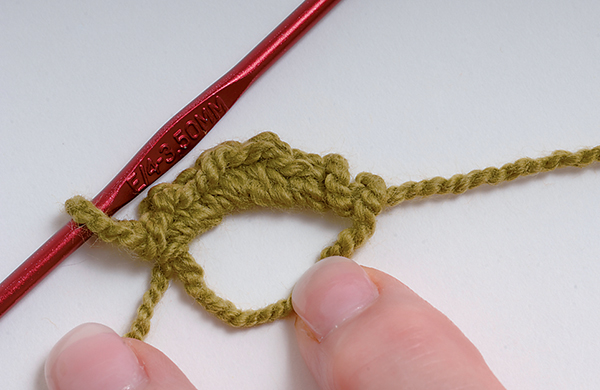
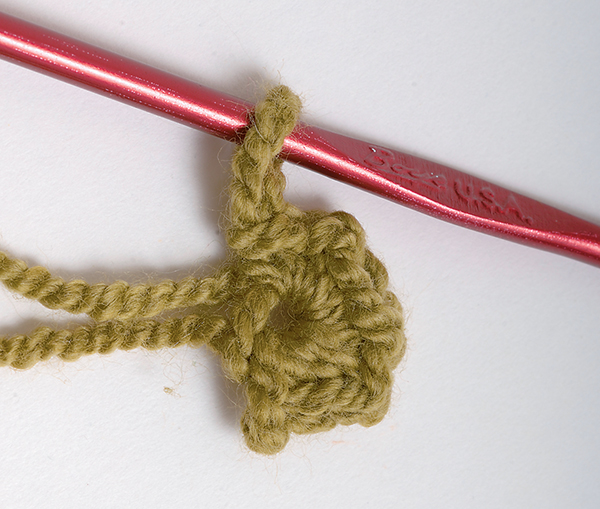
3. When the round is complete, gently pull the tail end of the yarn to tighten the ring. The hole will disappear almost completely.
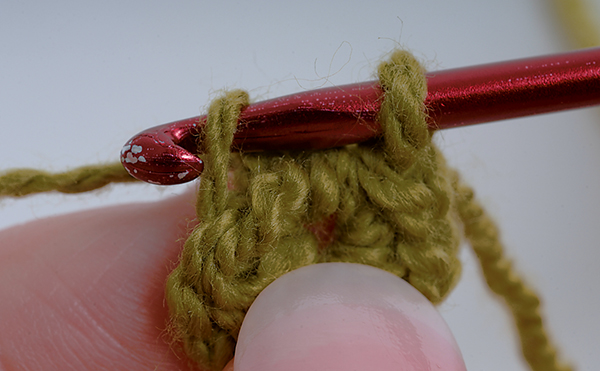
4. Join the round by making a slip stitch in the first stitch of the round.
Working into Chain Spaces
Some projects will include instructions to work into chain spaces of the row below. The woven stitch used in the Woven Shoulder Bag (page 52) uses this technique.
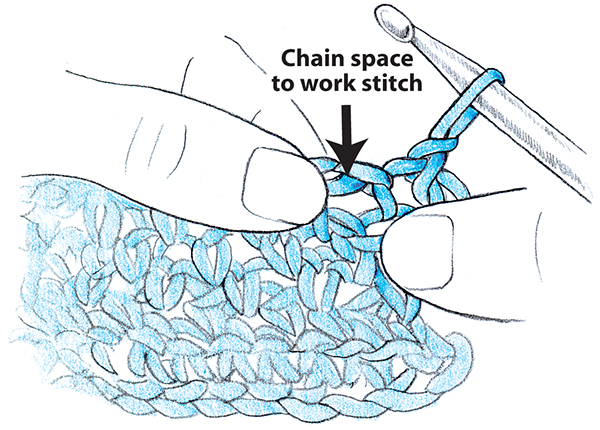
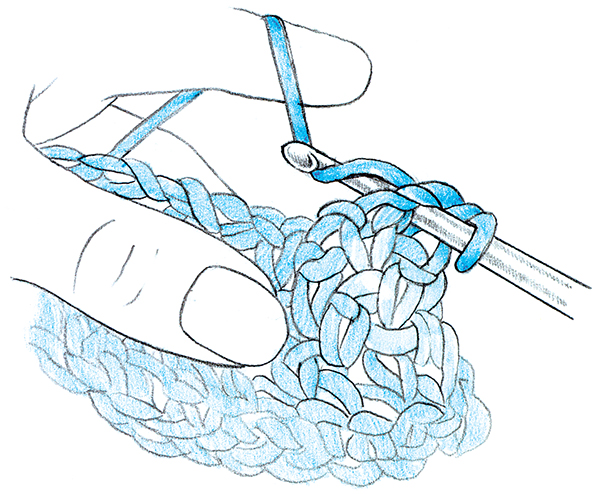
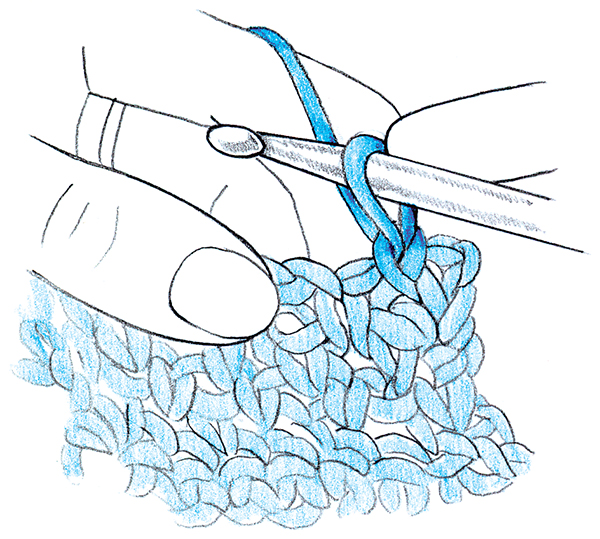
1. Work into the spaces created by chains in the previous row when instructed to work into a “ch-sp.”
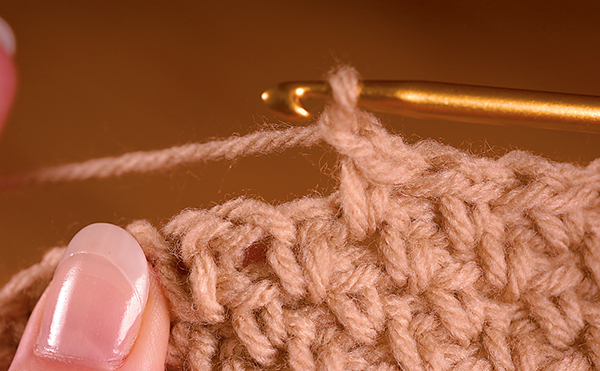
2. This photo shows the stitch pattern used in the Woven Shoulder Bag: *1 sc in ch-sp, ch 1, skip 1 sc. Repeat from *, ending with 1 sc in ch.
Working into Front Loop Only or Back Loop Only
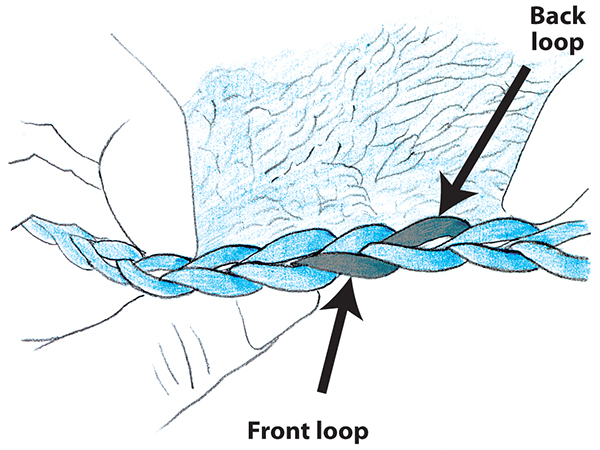
Each stitch consists of two loops. Look down at a completed row from the top. The front loop is the one closer to your thumbs. The back loop is the one closer to your fingers. Usually you put the hook under both loops, but sometimes the pattern will instruct you to work into the front loop only (FLO) or back loop only (BLO).
Working an Edging
Work an edging on a crocheted piece by attaching your yarn and working the pattern as indicated around the whole piece, treating row ends as normal stitches. In this example, we are working a single crochet edging. When you come to a corner, you will need to work extra stitches in the corner to avoid puckering.
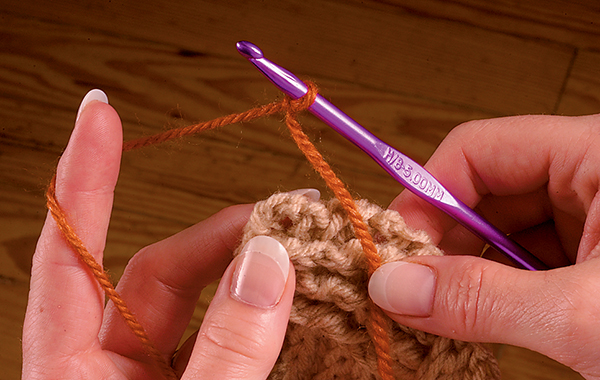
1. Attach yarn to hook with slip knot.
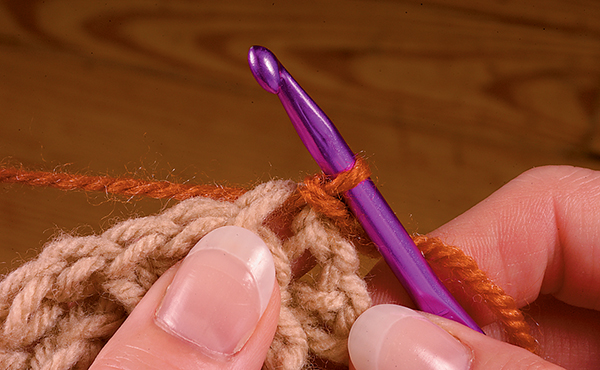
2. Attach yarn to corner of piece with slip stitch.
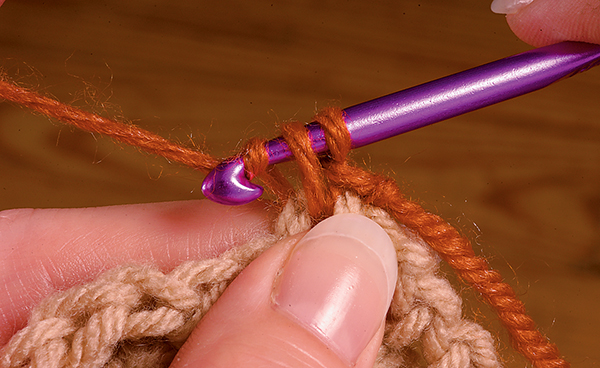
3. Chain one, then work a single crochet in the same space.
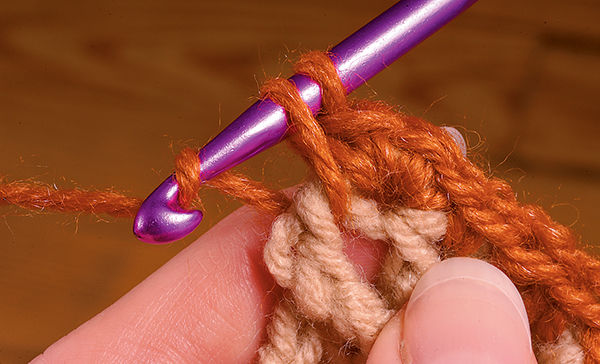
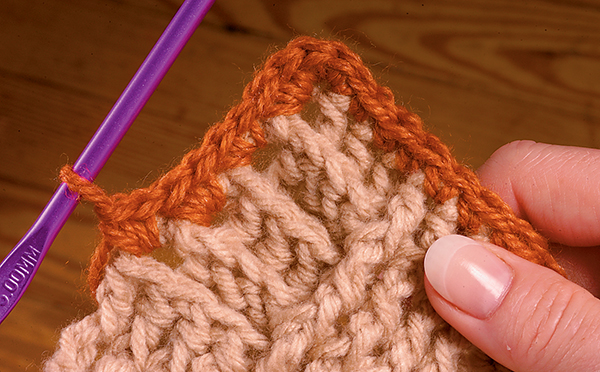
4. Continue across. Work three single crochets in the corner, then work evenly spaced single crochet stitches down the side of the piece, working in the edges of the rows, across the bottom, and back up the other side.
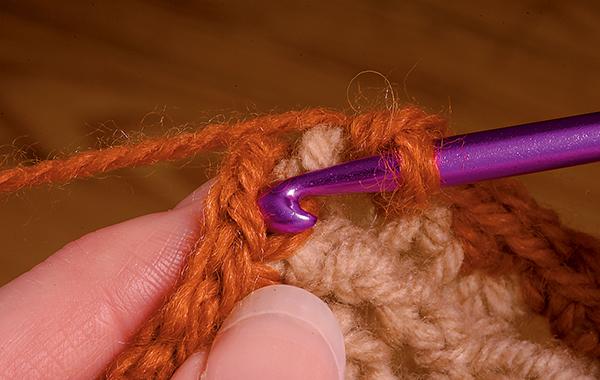
5. When you get back to the beginning, join the yarn to the initial chain with a slip stitch.
Filet Crochet
To work filet crochet, you will need to know how to alternately work openwork (alternating double crochets and chain spaces) and solid work (straight double crochets) into each other. In the example, we are working in double crochet.
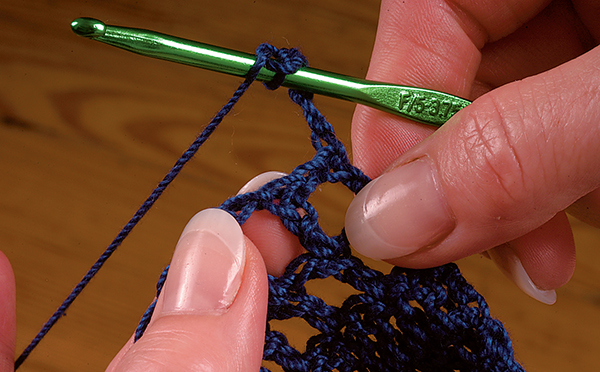
1. This shows how to work openwork over openwork. Chain four. The first three chains act as the vertical post of a double crochet; the fourth chain is the horizontal bar that makes the top of the openwork.
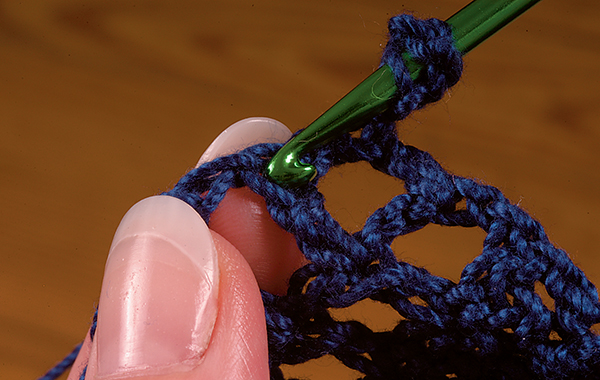
2. Work a double crochet into the top of the double crochet of the openwork row below.
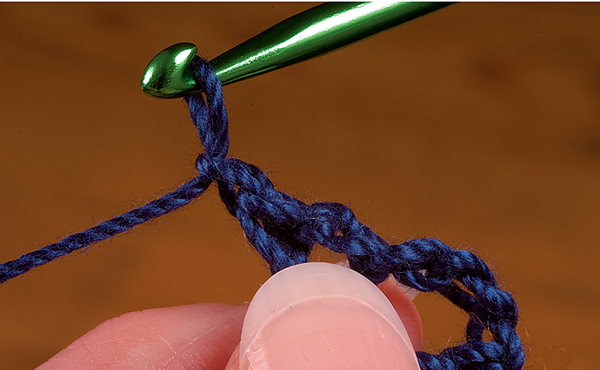
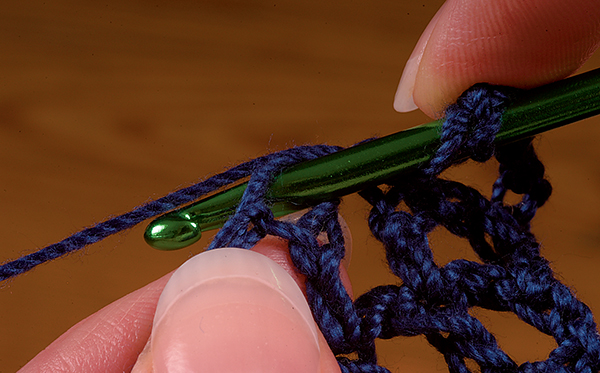
3. Chain one. Work a double crochet into the top of the next double crochet below.
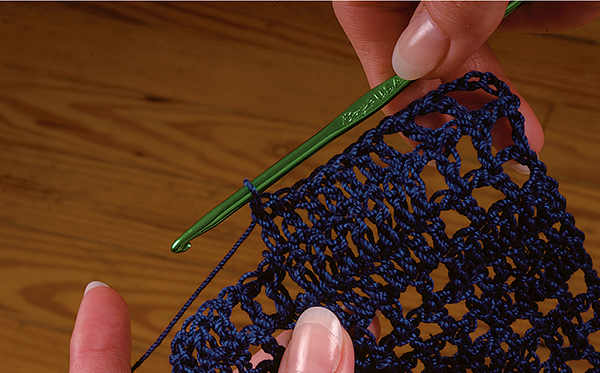
4. To work solid work into solid work, work one double crochet into the top of each double crochet of the row below.
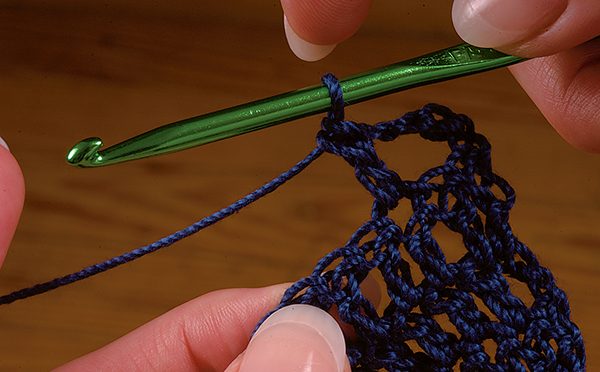
5. To work openwork over solid, chain four, skip the base of the turning chain and the next double crochet of the row below, then work one double crochet into next double crochet from below. Continue by chaining one, skipping the next double crochet of the row below, working a double crochet into the next stitch, and so on.
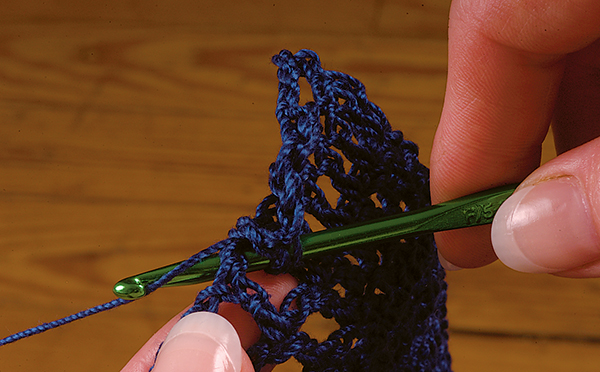
6. To work solid over openwork, work one double crochet in the chain space below, the next double crochet in the top of the double crochet below, the next double crochet in the chain space, and so on.
Joining Motifs as You Go
Joining motifs as you go along eliminates the need to sew them together after you have created them separately. Once you understand the logic behind the joins, the method will come easily no matter what shape the motifs are, or along how many sides they are joined.
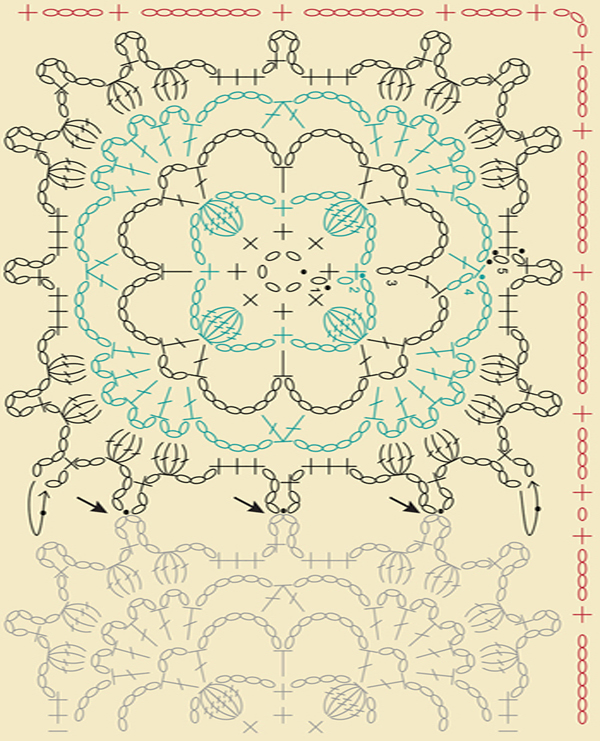
The guiding principle is to work the first motif completely and fasten off and then join a subsequent motif to it as you crochet. For example, let’s look at a square motif that has four rounds. We’ll start with a one-sided join. Work the first motif through Round 4. Work the second motif through Round 3. For Motif 2 Round 4, as you work around the motif in progress you will join it to the completed motif at the points indicated in the pattern, using the stitch the pattern specifies.
TIP» Only the joining stitch is worked into the completed motif. All other stitches are worked on the current motif.
The same principle holds if you are joining the new motif on two sides. As you work around the new motif you will join it on two sides to adjacent, complete motifs.
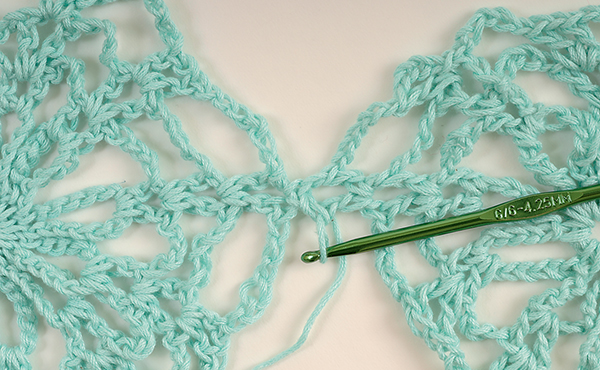
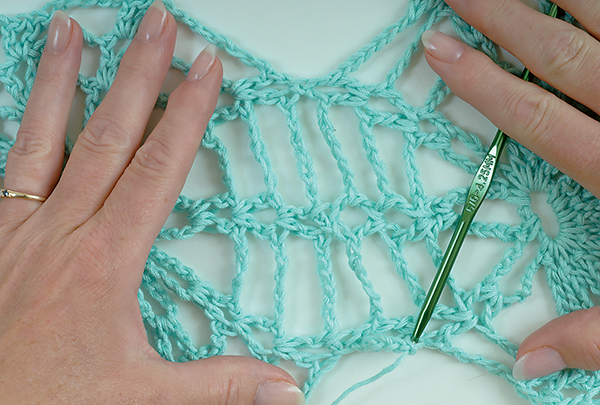
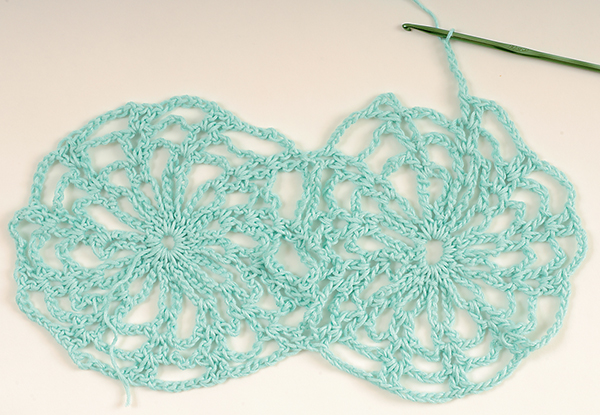
Here are some photos to show the joining process.
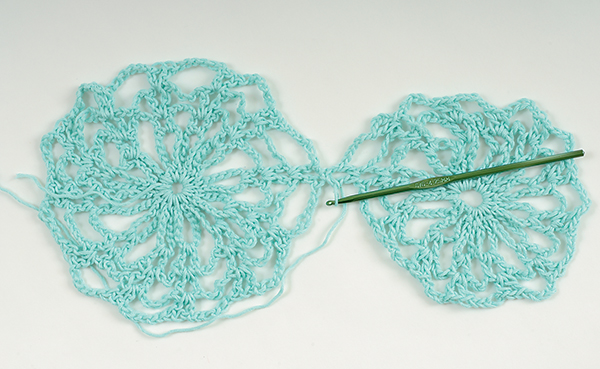
The motif on the right (the current motif) is smaller because the outermost round is not yet complete.
Here you can see the motifs joined in one spot. Work will resume on the current motif.
