Growing medicinal plants can be deeply satisfying, but when you’re able to utilize those herbs in meaningful ways, then they truly become therapeutic marvels.
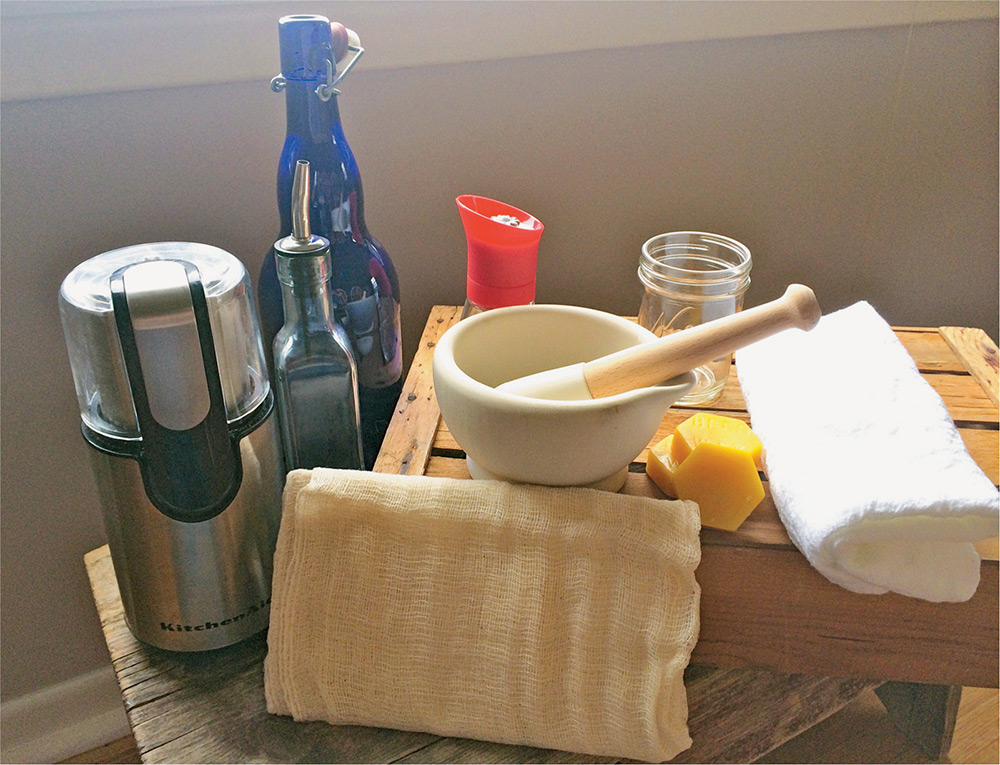
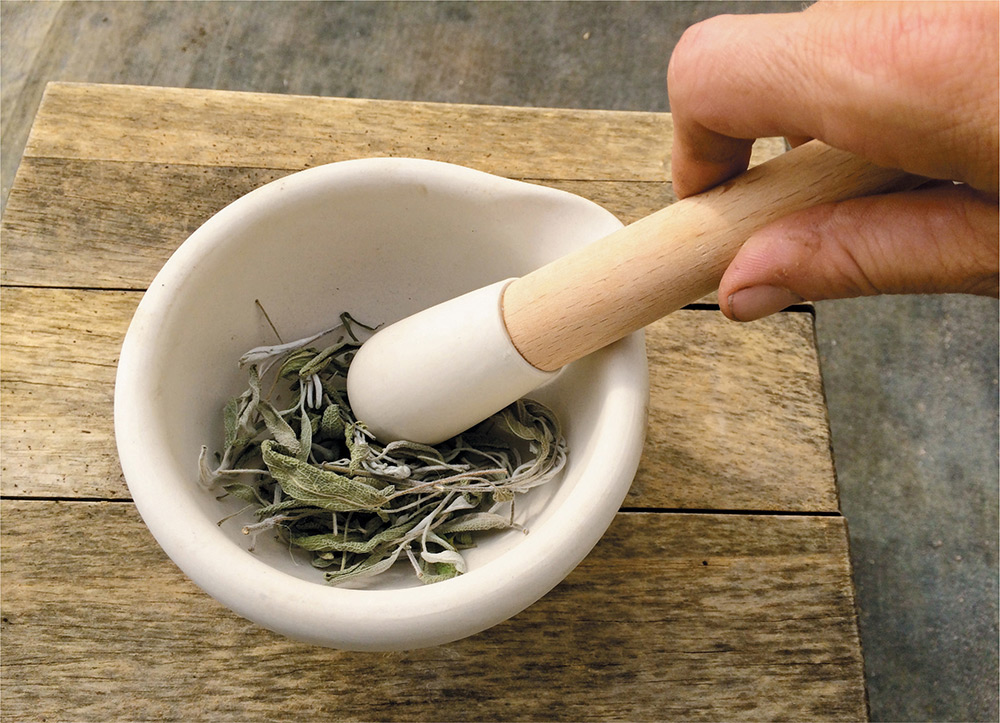
Fortunately, most preparations aren’t complex, and can be done with what you already have on hand. In other cases, a few modest purchases (such as a spice grinder and dark-colored jars) will greatly expand your homegrown medicine cabinet. Putting equipment like a mortar and pestle on the kitchen counter can be a nice reminder to make the most of a harvest.
Often, I find that preparing remedies has a therapeutic effect in itself, since many of those moments involve slowing down, collecting ingredients like honey or olive oil, and laying out plant components in front of me. Dried leaves, bits of root or bark, or a smattering of flower petals are spread out in front of me, and no matter how frantic my day has been, creating a tea or infusion is an instant downshift.
I’ve also been gratified to see how well these remedies work. Even simple ones, like sipping on a “happy tummy” tea or making a warm poultice, seem to speed healing faster than anticipated.
Much like creating a growing space, planning for remedies is the key for success. Clear off part of a counter, make room on a bookshelf, or set aside a cool dry part of a cupboard and designate that as your new medicine space.
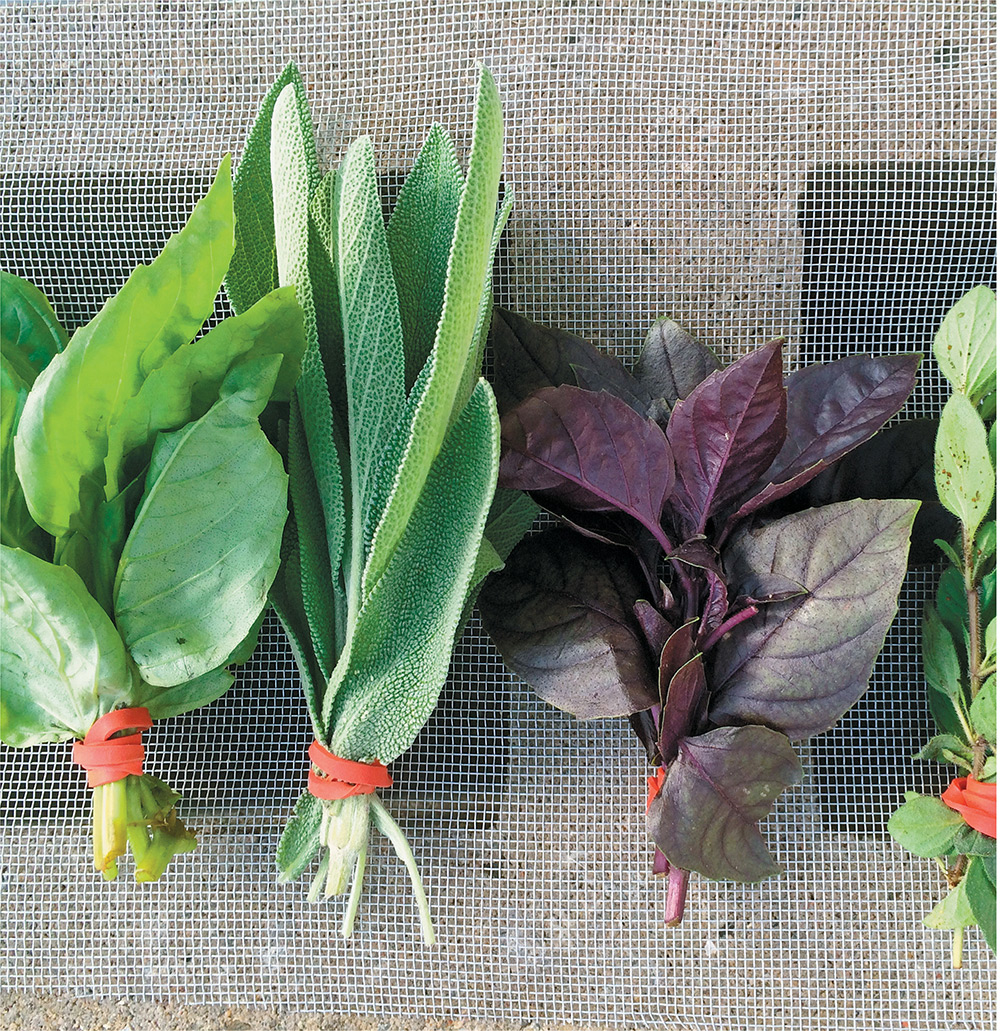
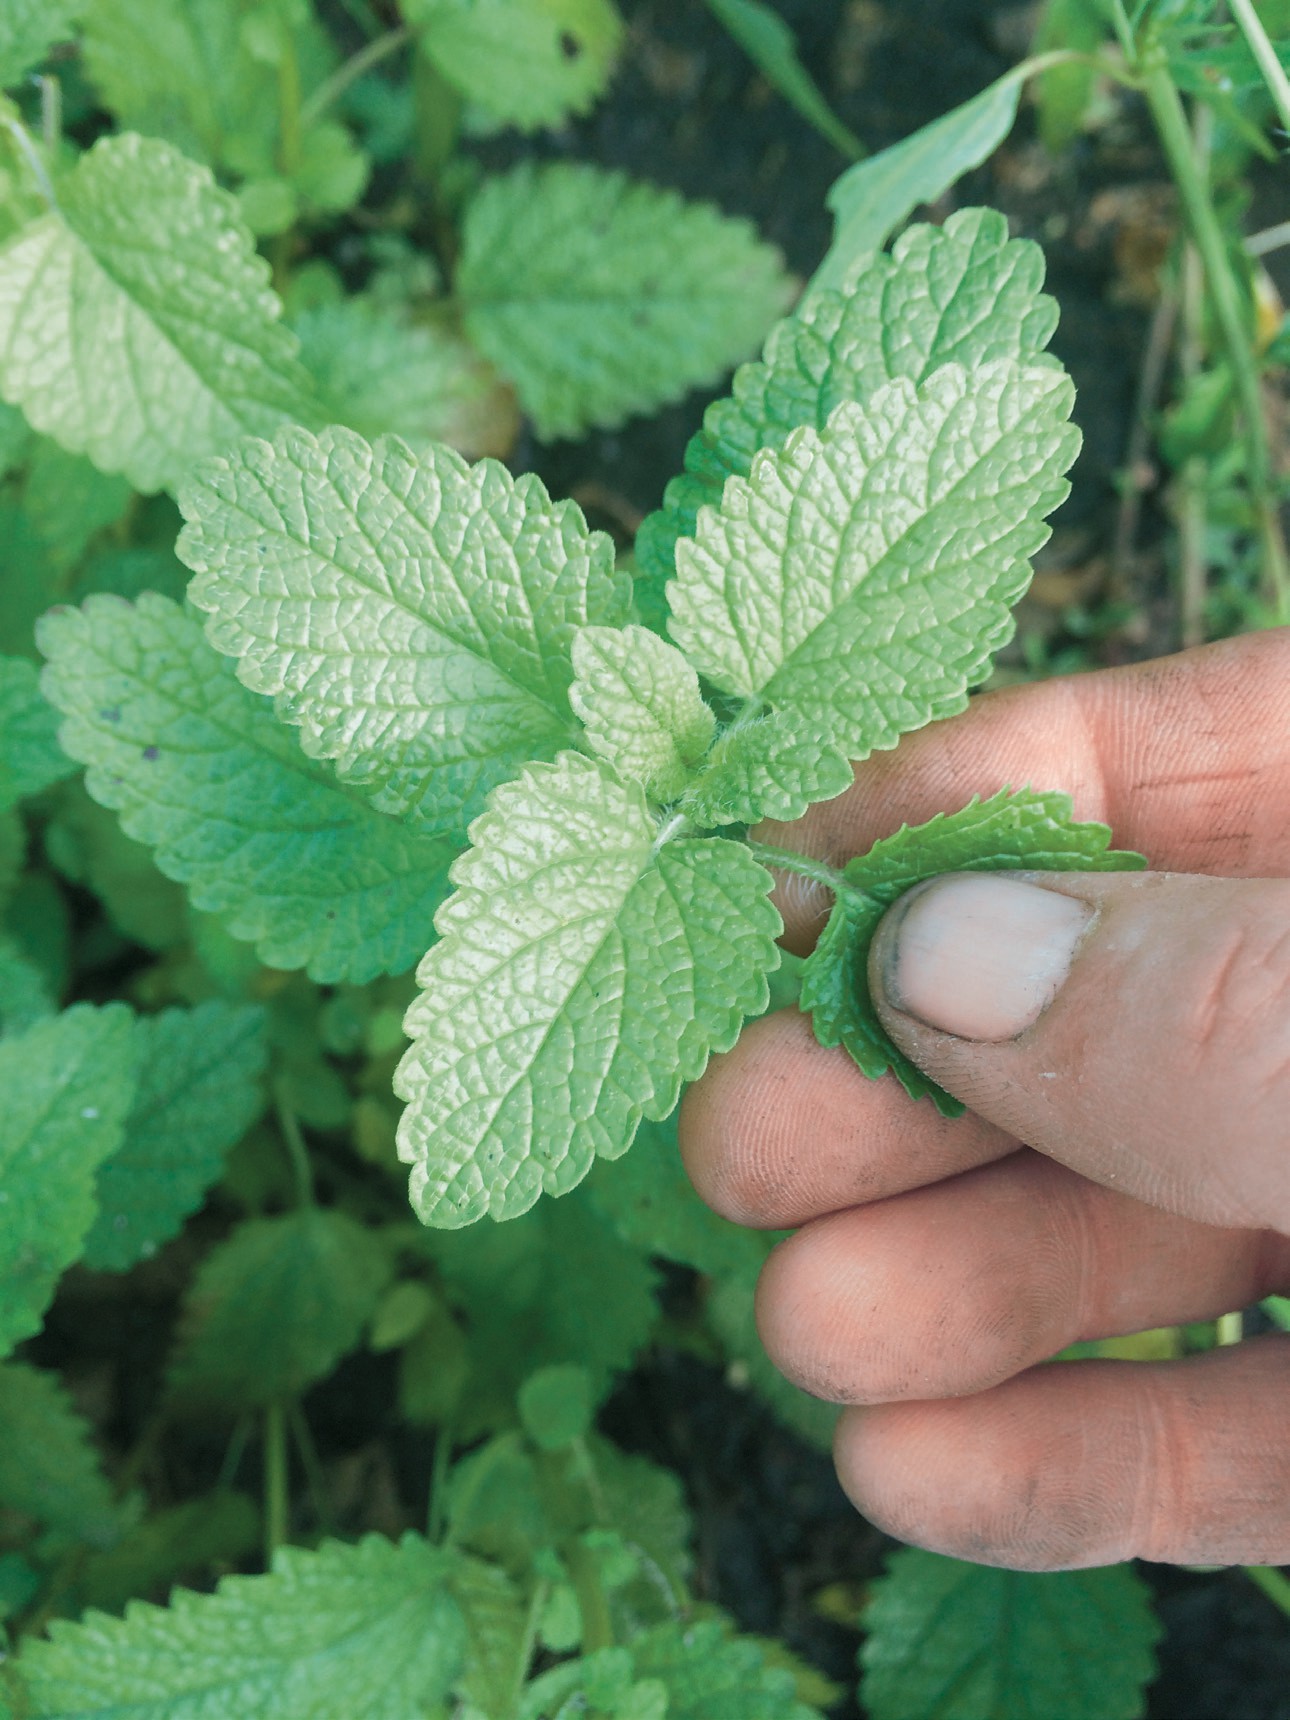
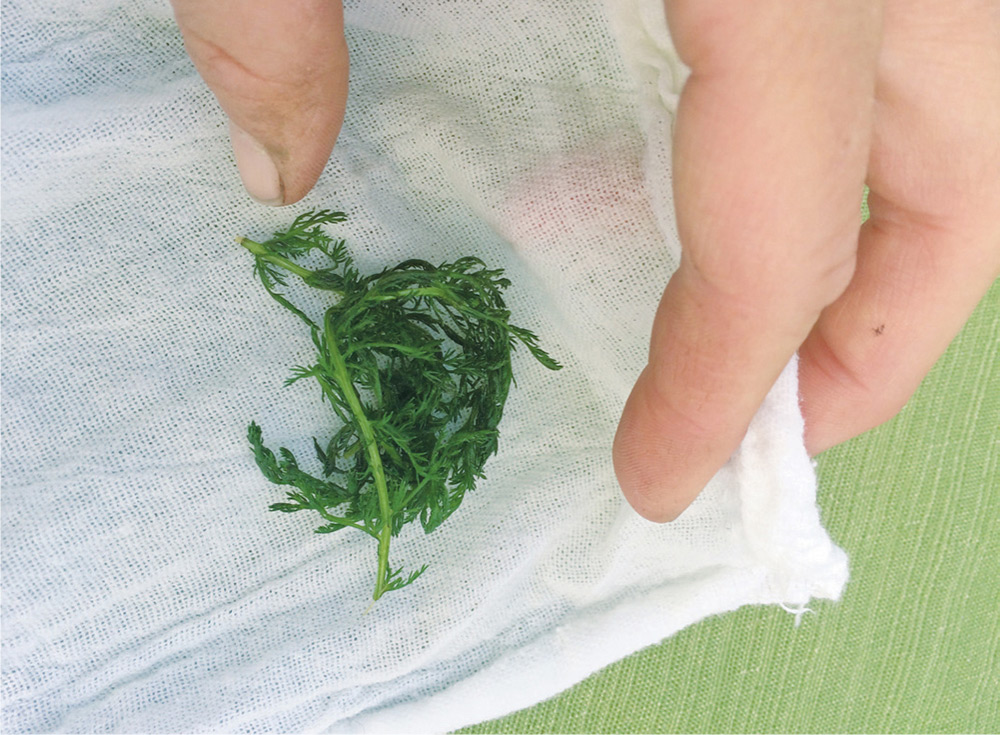
Flowers and leaves: Most of the time, harvesting is as simple as plucking a flower or leaf from the plant. When making those selections, be sure to first examine what you’re about to harvest, to doublecheck that there are no plant issues, such as white or brown spots on the leaves, whitish coating under a leaf, or a sickly looking bloom with pale coloring. Herbal remedies are at their most efficacious when a healthy plant is used, and trying to create a tea or decoction from an unhealthy plant can result in sour or bitter taste or a less-effective treatment.
When plucking leaves, make sure to choose leaves that have good color and are free of white or brown spots.
Bark: There are some plants that hold medicinal properties in the bark—well-known examples include willow bark, slippery elm, and cramp bark, but there are many others. To harvest from younger trees and plants, strip the bark off young branches in the spring, when they haven’t yet gotten tough from a long growing season. For older plants, chose a part that’s away from the central trunk or main section, since you don’t want to negatively affect the plant’s growth. Some bark can be used immediately, but in general, you’ll want to dry it so it can store for longer.
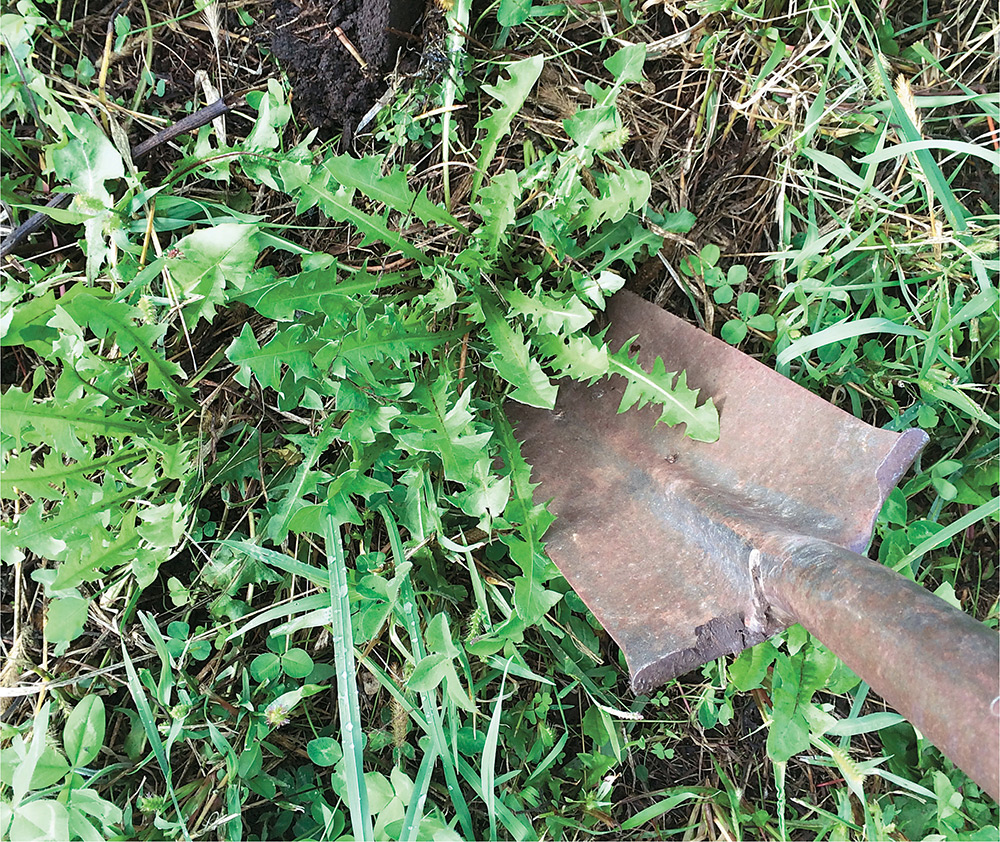
Roots: When an herbal remedy involves using a plant’s roots, it’s usually best to harvest in the fall, particularly October or November, after the ground plants have either faded or died back completely with a few frosts. This is when plants bring their energy away from the leaves, blooms, and fruit and focus instead on winter storage, which means that the roots will have more potency. There are some exceptions, such as dandelion, but in general, aim to harvest roots in the autumn and store them, dried, over the winter months. When harvesting, take only what you plan to use, leaving the majority of the roots in the ground so the plant can continue with its winter hibernation. Be sure to cover the area where you dug, otherwise the other roots may be exposed to cold, affecting a plant’s health.
Once you have your leaves, flowers, bark, or roots, there are just a couple ways you can prepare them. First, simply plan to use them fresh, and make sure to create whatever topical or internal remedy you prefer as soon as possible after harvesting, to increase potency.
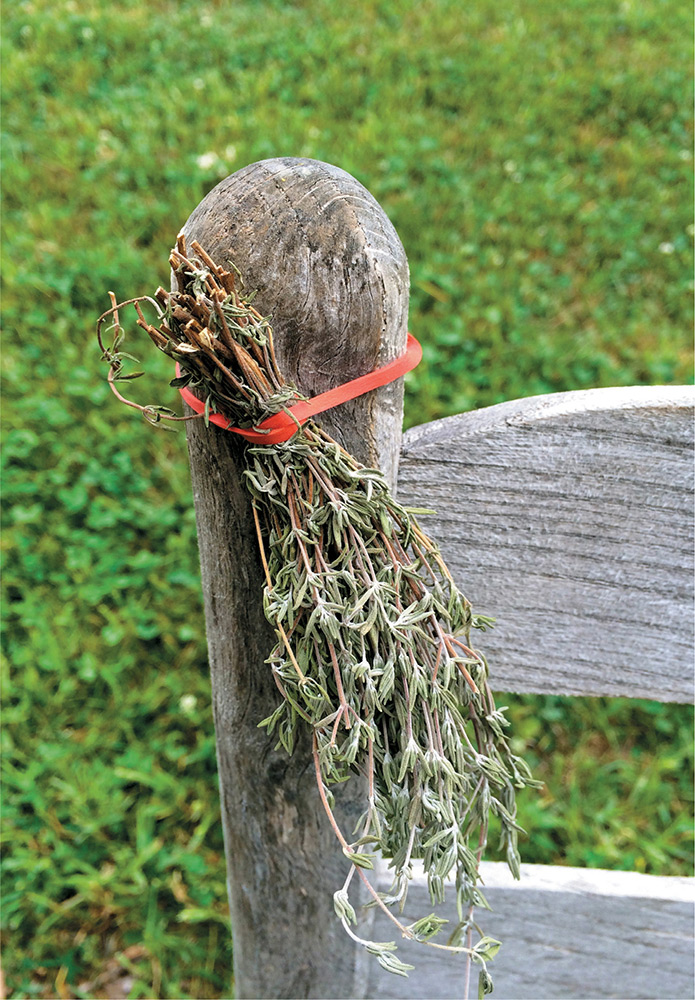
For other remedies or long-term storage, though, you’ll want to dry the plant sections. This ensures that mold doesn’t become a factor, which would thwart all your good intentions. I usually dry leaves and flowers on a clean mesh screen—plastic, coated metal, or sometimes cheesecloth stretched tight—and leave them in a dry and well-ventilated area. A garage with an open door works well, as long as it’s not dusty, or if you have a breezy attic space (particularly with rafters), that tends to be ideal as well.
Create bundles of herbs by tying the stems and hanging so the stem side is up; this concentrates the active properties downward, into the blooms and leaves. For roots and bark, leave on the mesh surface for an extended time, up to a few years for particularly slow-drying herbs, and test for “doneness” by breaking a section off. It should snap easily, like a dried twig for kindling. If it bends instead, extend the drying process.
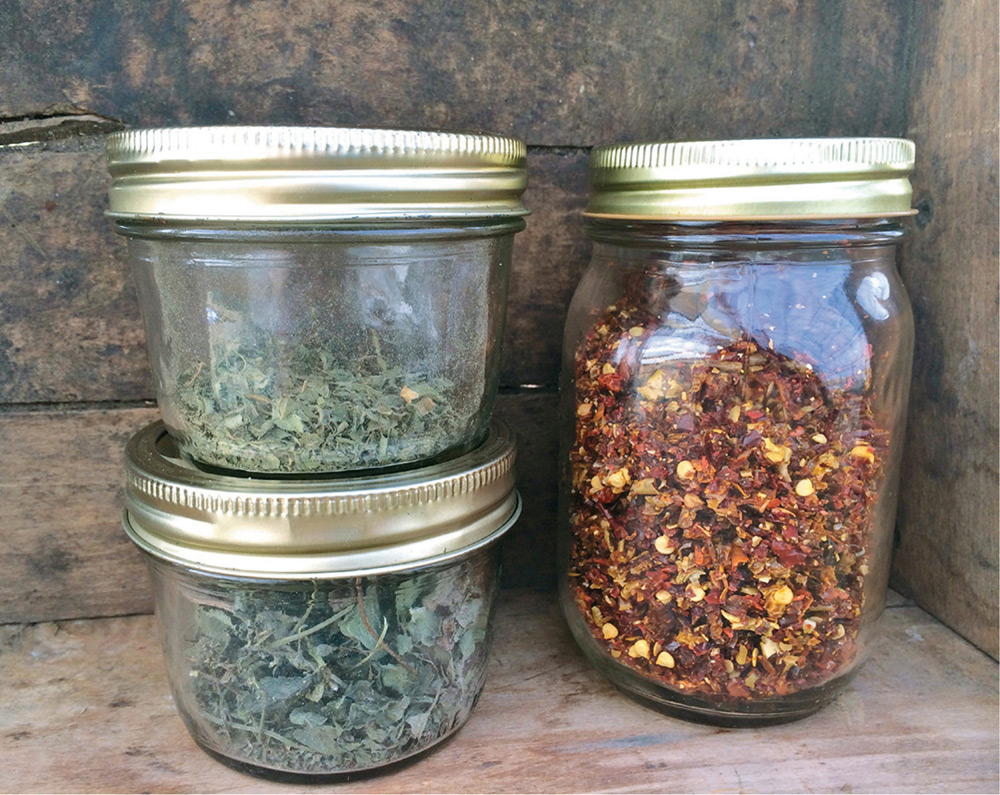
When the components are dry, store them in airtight jars, and ideally in colored jars. You can often find dark brown or blue jars, and these are best since they prevent any light from affecting the herbs inside. Put the jars inside a cupboard or closet where they won’t be too humid; usually a basement space works well.
When using medicinal plants for maladies like gastrointestinal distress, insomnia, menstrual issues, or colds, you have the option of using fresh leaves and flowers, or utilizing the dried components you’ve been storing. With culinary preparations, I usually prefer fresh plants if they’re available, since I love the pop of flavor that comes with throwing some just-harvested basil or lemon balm on a dish, but that technique doesn’t work well in a Minnesota winter. Instead, I employ these strategies:
Tea or infusion: This tends to be the go-to method, because it’s easy and quick. Simply take dried or fresh leaves and flowers, put in a cup or bowl, and pour just-boiled water over the plant parts.
Steeping (which means letting the plant components sit in the water) time depends on the herbal preparation. For example, I’ve found that mint gets bitter if steeped for too long, but chamomile can withstand a longer steep time of up to 10 minutes. To use, just strain the liquid and drink.
Decoction: For tougher plant parts, such as roots and bark, you’ll need a more intense method of extracting the vital components, and a decoction works well for that. Put plant parts in a pot (ideally enamel, since metal can make herbs go wonky), bring to a boil, and then reduce to a simmer.
Cook for an hour so the liquid reduces. Then strain it through cheesecloth or a fine-meshed sieve into a heatproof jar or bowl, like a Mason jar or Pyrex container, and allow it to cool before using.
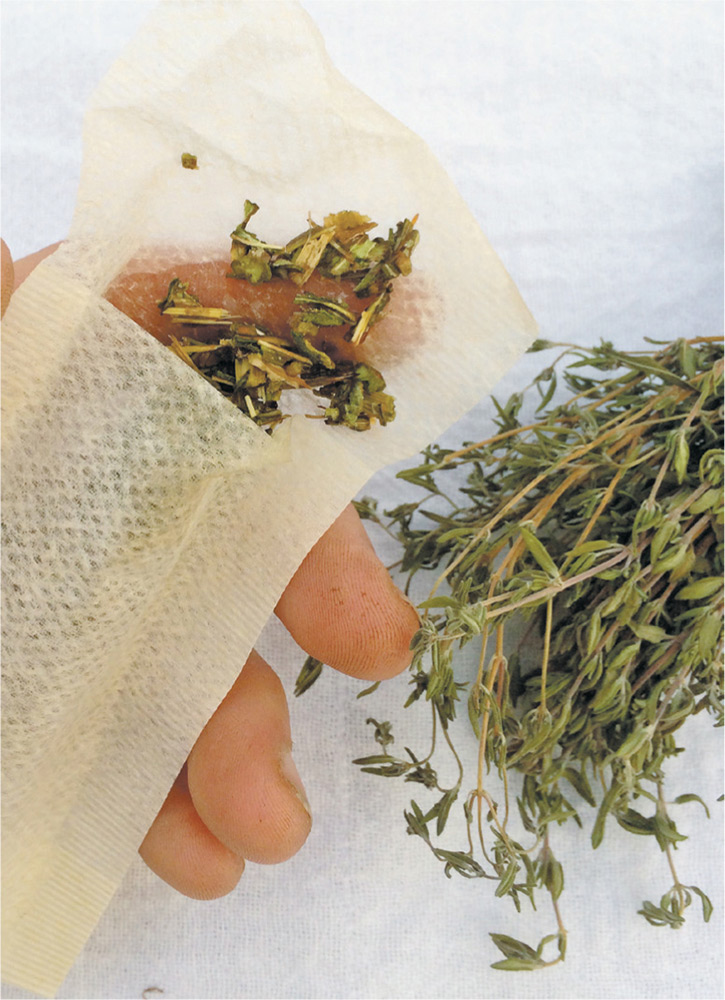
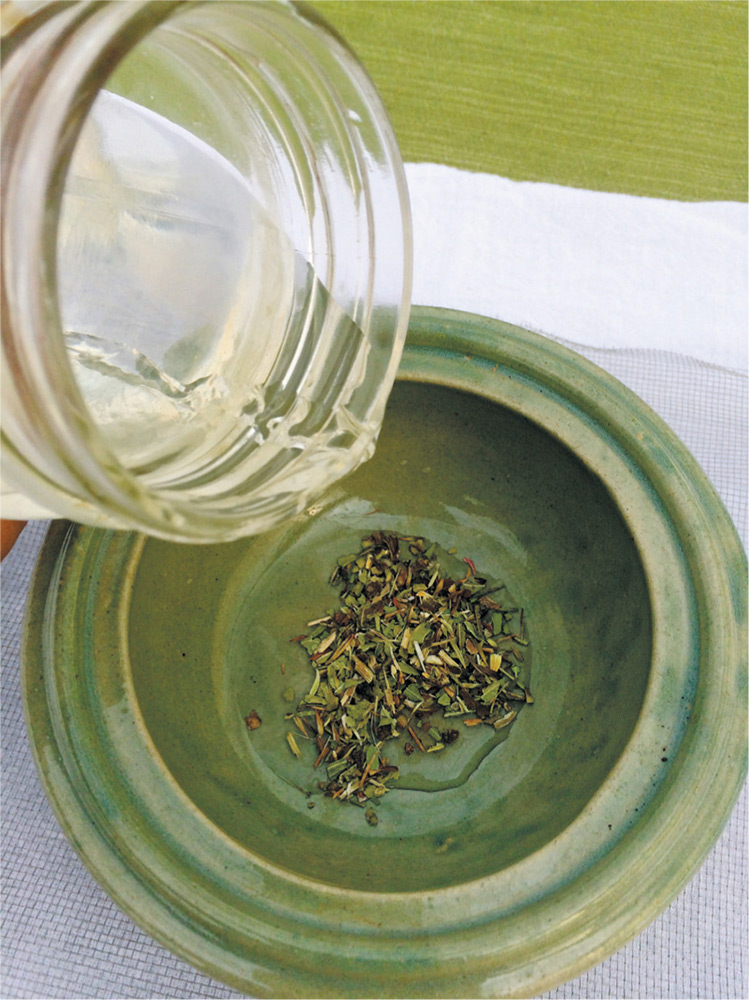
Tincture: A stellar preparation method, tinctures involve steeping a plant part in alcohol, usually vodka since it contains the least impurities. You place fresh or dried leaves, flowers, or roots into a clean jar and add a mix of two-thirds vodka to one-third water. In terms of quantity, you want the parts to be able to move freely when shaking the jar, but you can still put in a significant amount.
For two weeks of a tincture, shake the jar gently every day, and store in a cool, dark place. After a couple weeks, strain the liquid through cheesecloth or muslin into a new, clean bottle, preferably one that’s brown or blue colored, so the properties aren’t affected by light. You can store the resulting liquid for a few years.
In some cases, you can simply leave the plant parts in the vodka indefinitely. I have a jar of Solomon’s seal roots that has served me well through several farm seasons, since I use only a few drops on sore muscles.
Essential oil creation: Concentrating the medicinal properties of a plant, essential oils are what you usually find in any co-op or natural foods store. In their little brown bottles, complete with droppers that allow for precise dosages, the oils are highly useful, but not very easy to make at home unless you build or buy a still. If you’re up for the project—which tends to feel like making moonshine—then embark on that journey, but I much prefer simple strategies that don’t require a few hundred dollars in upfront costs.
You can also use a solvent, such as hexane, to extract the oil and employ another solvent, usually ethyl alcohol, to create the oil, but distillation is still involved. In this book, we focus on modest-scale medicinal plant growing, so we’ll be skipping homegrown distillation in favor of simple remedy creation. But hey, if you’re already making moonshine, then visit www.essential-oil-mama.com and follow her helpful advice for essential oil creation. However, even she admits that distillation is an art, and homemade essential oils tend to be less useful than professionally produced, therapeutic-grade essential oils.
Keeping some supplies on hand—like a spice grinder, mortar and pestle, and cheesecloth—can be very useful.
Tea bags can be found in several sizes and are easy to reuse.
Pouring alcohol into your herbs or dried plant parts can keep them potent for years.
Over the past few years, I’ve come to rely on herbs almost exclusively for any kind of external issue—dry skin, chapped lips, bruises, minor scrapes, splinters, insect bites, bee stings, rashes, and other irritations. Preparations for these don’t take long, and they often produce immediate relief. Also, utilizing a tactic like a poultice or a compress is relaxing, because who doesn’t like a touch of spa-level treatment? Try these:
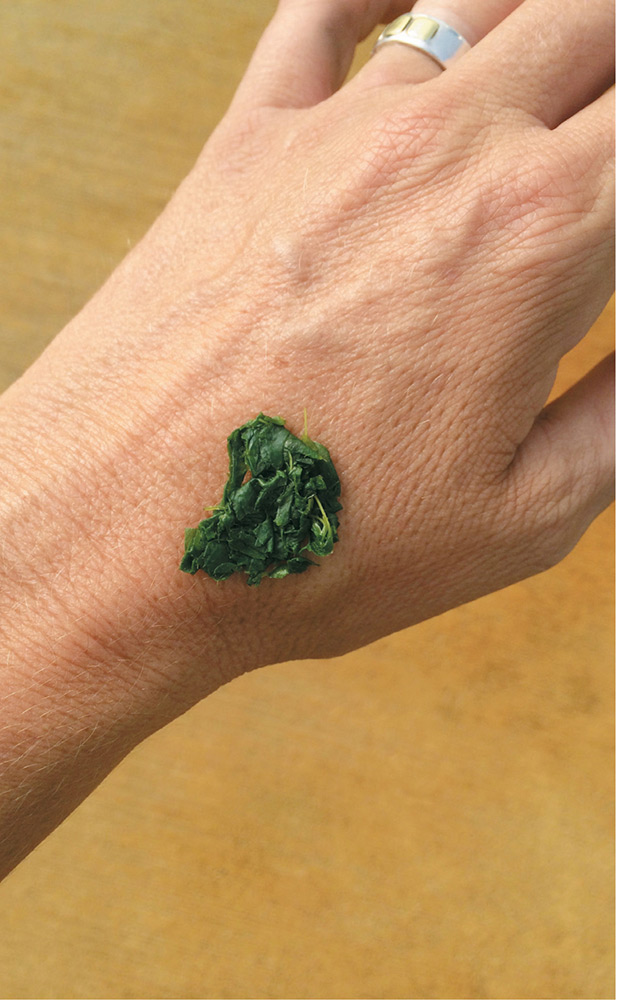
Poultice: Blend fresh or dried leaves or flowers with a small amount of just-boiled water, only enough to dampen the plant components. This should create a thick paste that can be spread directly on the skin while it’s still warm. Wrap clean gauze over the paste and leave for a few hours, then repeat if necessary.
Compress: Often considered less messy than a poultice, a compress still has the same general idea of putting herbs on the skin and using heat to release their properties. For a compress, first make an infusion or decoction of a the plant parts, then soak a piece of clean gauze or cloth in the liquid. Squeeze out any excess liquid, and then place the compress against the skin. Usually, I place a warm towel over the compress to make the treatment more soothing, but it’s not mandatory for deriving benefits from the plants.
Putting dried plant parts together with olive oil, for cooking or medicinal preparations.
Chewed plantain leaves placed directly on an insect bite reduces itching and swelling.
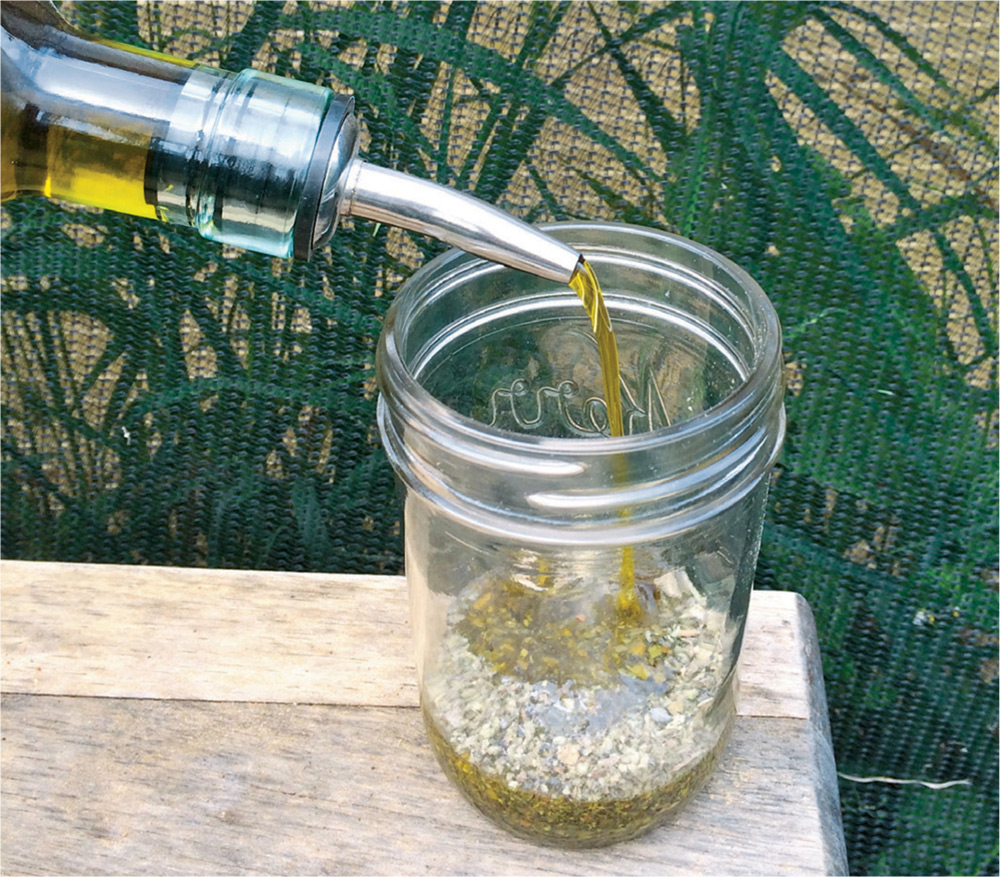
Infused oil: There are a couple methods for making infused oil, but the easiest is to place dried or fresh plant parts (usually leaves or flowers) into a jar and fill with olive oil to about 1 inch from the top of whatever jar or bottle you’re using. Seal the container and place in a sunny, warm window so the sunlight can work some magic to break down the plant parts.
Shake the jar at least once per day to keep all the components from settling on the bottom, and after a few weeks, strain the mixture and bottle into a new container. Infused oil can also be used for cooking, and imparts quite a bit of flavor to dishes with just a light drizzle.
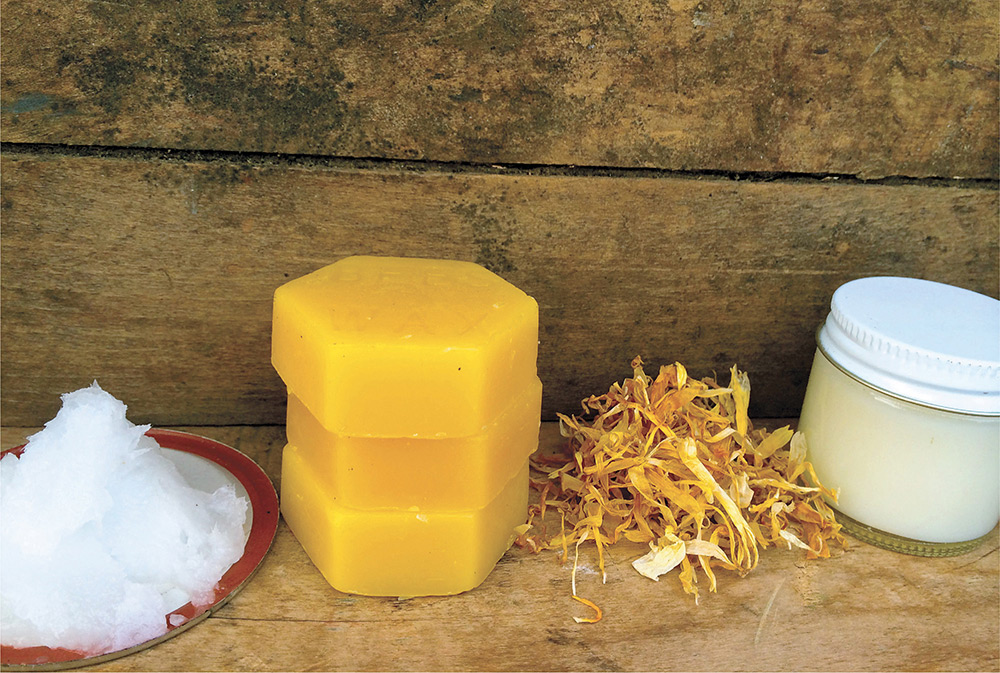
Salve: The least messy of all, a salve can be very helpful for using medicinal treatments while moisturizing and nourishing the skin. Just take your infused oil and choose a base for the salve—usually beeswax or coconut oil—and essential oils like lavender if you want the mix to have a pleasant fragrance. Put about 1 ounce of your base and 8 ounces of infused oil into a double boiler to prevent scorching and gently warm over low heat until they all fuse together. Be sure to keep the heat very low and definitely don’t boil, which can cause the olive oil to oxidize.
When it’s still warm, pour into small tins or glass jars, and let cool completely before storing in a cool place. Although the salves will be in a solid state, they melt easily with body heat. Medicinals that work particularly well for salves include calendula, arnica, burdock root, and comfrey. If you’re dealing with sore muscles, a cayenne pepper salve can be a nice choice, similar to over-the-counter treatments that warm the skin on contact.
Finally, a note about awareness: although medicinal plants have been used successfully for thousands of years, helping millions of people, that certainly doesn’t mean every plant is safe for any condition. Some medicinals conflict in significant ways with prescription medicine, and even with one another.
For instance, the interactions with medications and St. John’s wort have been so profound that France has banned all use of products containing the herb. Damiana, used to treat depression, sexual problems, and low energy, has been shown to decrease blood sugar, which is usually a great thing, unless you’re taking diabetes medicine that also lowers blood sugar levels. There are numerous other examples of interactions that could put people at risk, including use of yarrow (see “Harvest & Store” section of the yarrow profile), wormwood, ginko, and black cohosh.
In addition to interactions, some herbs have simply been proven to have negative effects after several studies were undertaken. Most notably, comfrey used to be recommended as a tea—I own one herbal guide from 1983 that recommends drinking three cups of it per day—but research has shown such a high level of toxicity to the liver that herbalists now warn that you shouldn’t even use it on scrapes because it can get into your system that way.
So, even with history and ancient healing as our guide, I believe that scientific research certainly has a place in contemporary herbal medicine. That’s why I’ve included research study citations in each chapter, to indicate a plant’s efficacy, and to encourage you to do your own research when it comes to preparations. If you’re taking prescriptions or regularly use over-the-counter medication, investigate whether there have been any warnings in terms of interactions with specific plants that you’re interested in trying.
If your medical doctor is open to talking to about herbal complements to any maladies, have a discussion about potential effects, and consult with your holistic physician about interactions with vitamins and supplements. Most of all, listen to your gut (sometimes literally). If a medicinal isn’t working for you, or makes you feel off in any way, discontinue use immediately. As much as we all love optimism and good intentions, they shouldn’t override someone’s instincts about what feels healthy and what doesn’t.
With all of the caveats about drug-and-herb interactions aside, the fact is that medicinal plants can be a stellar addition to your health and wellness plan. They’re incredibly fun to grow, and when your hands smell like cilantro and calendula after a day of harvesting, the stress tends to melt away on its own.
So, make your growing and preparation into an adventure instead of into more to-do list items that seem to expand like weeds. With very simple, one-ingredient remedies, it’s easy to get started with using a few plants at a time, and thanks to tasty favorites like basil and mint, you can find yourself mixing up your own spice blends like a culinary school valedictorian. Plus, you’ll have a cabinet full of medicinal options when it comes to common maladies, thanks to your genius with salves, decoctions, tinctures, and teas.