In order to run our first neural network, we will have to bring in the data that we will be using, if you are using IBM SPSS Modeler you can follow these steps:
- Get the data using the Var. File node, and bring it up to the canvas:

- Attach the dataset to the source node:
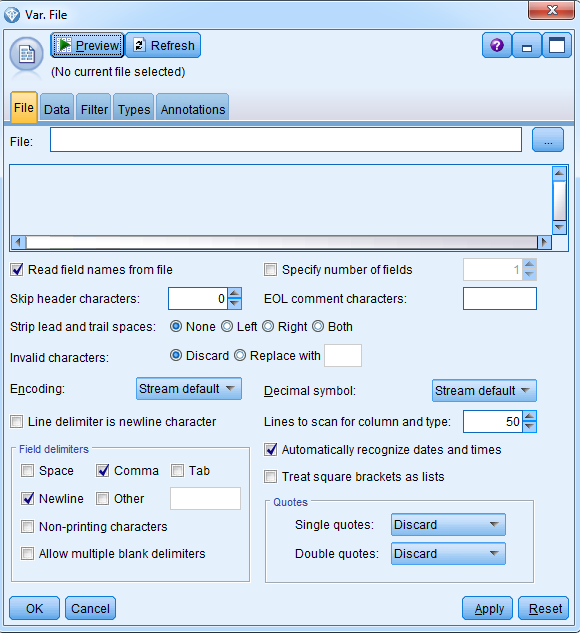
Click on the triple dot box on the right side of file box and navigate to your data; we are using Electronics_Data here:

Click Open.
- Go on to the Types tab to check whether the data was read correctly:
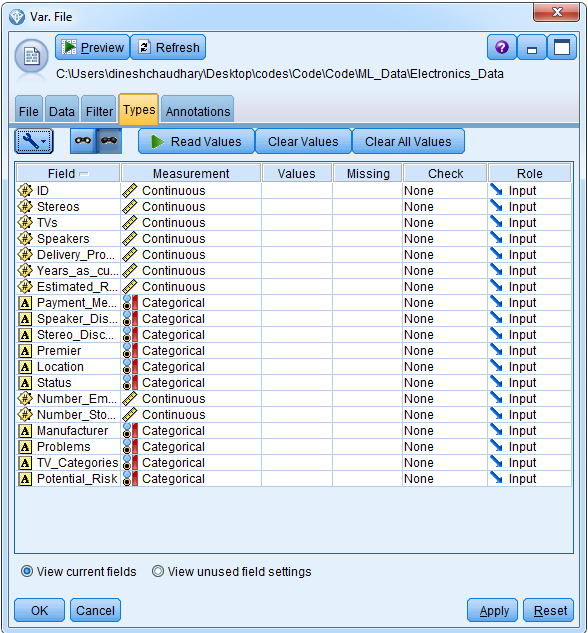
Click on the Read Values button; click OK on the prompt that pops up next, and you will see this:

It looks like the data was read correctly.
- We will not use the first variable, ID, and hence we will set its measurement to Typeless:

- Let's now specify our Status target variable and set its Role to Target:

Now Modeler knows that the Status is the variable that it will be predicting. It will use the other fields to predict the outcome variable.
- Take a look at the data that you have added; for this, go to the Output palette at the bottom of the canvas:

Connect the source node, Electronics_Data, to the Output Table node:

- Run the stream by clicking the Run Selection (pentagon icon) button, beside the Play icon, located above the canvas:
You will see the following data:

Hence, we have a table with 19 fields and 5,003 records, and this means that we have 17 predictors in this dataset if we eliminate the target field and the ID field that we aren't using. We are going to predict the status field to check whether we have lost or retained a customer, based on the amount of items people have purchased, the total revenue, whether they have used discounts, the way in which they paid for the goods, the location, and other additional customer characteristics. Close this window to move ahead.
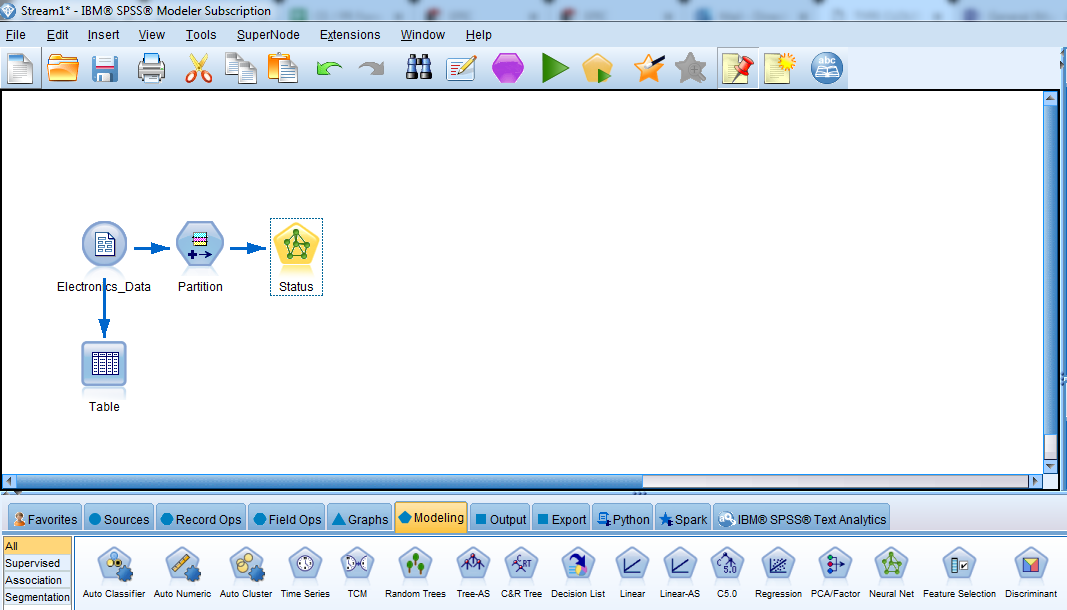
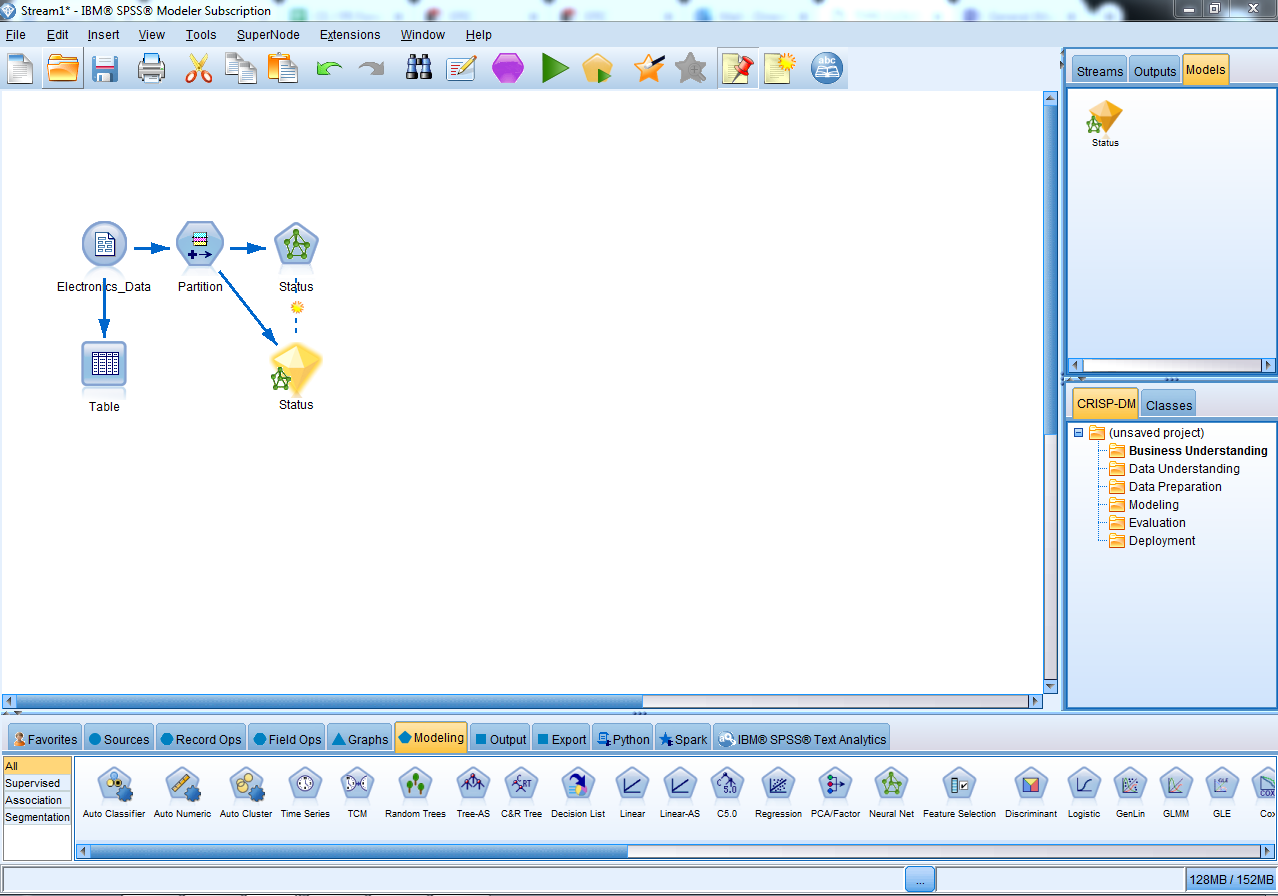
- Before moving on to building any model, make sure to split your dataset into a Training and Testing dataset just to replicate your results and to verify the consistency in the model that we are building. For doing this, go to the Field Ops panel and connect the source node to the Partition node:

This Partition node will create two versions of the dataset:

Hence, 50 of the data will be training and the other 50 of the dataset will be testing the dataset, respectively. Click OK.
- We will now build our model. For this, go on to the Modeling panel and connect the Partition node to the Neural Net model by clicking once on both of them:
Hence, you can see that Status, the variable to be predicted by the neural network, is already captured and a neural network will be built for it.
- Click on the Neural Net stat node to see the details of the neural network:
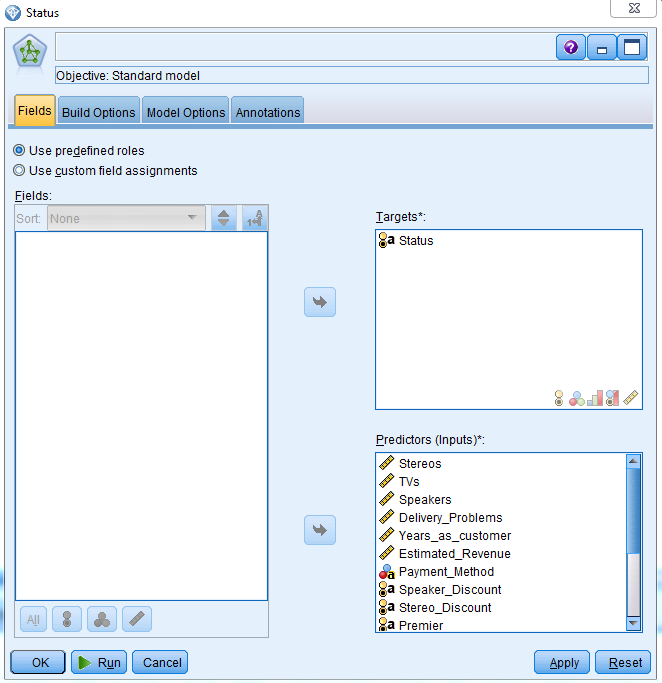
You can see that there is a target variable, and our 17 Predictors are specified by the neural network. The Predictors can be of any field type: continuous, categorical, or any other type. You can also decide to not include some of these Predictors.
- Click on the Build Options tab:

- These questions are to know what you want to do with the model, whether you want to build a new model or continue training an existing one. You can select any objective here; we will be creating a standard model for our example, and we will discuss other options in later chapters.
- You can see the type of model that you wish to build by clicking on the Basics tab under Build Options:
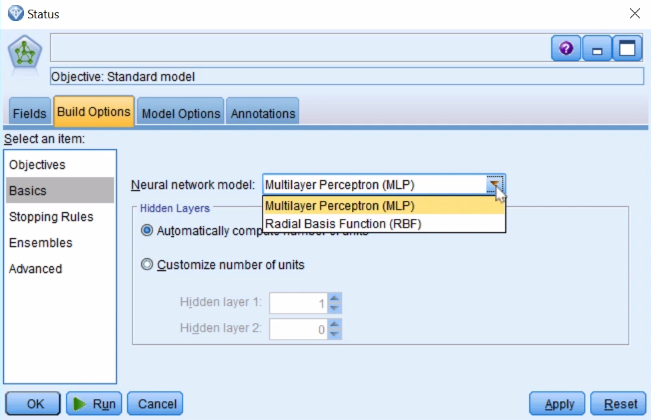
As you can see, we have two options, the Multilayer Perceptron (MLP) model, which we saw in this chapter earlier, and the Radial Basis Function (RBF) model. RBFs are preferred when you have things such as clustered predictors, but for our example the multilayer perceptron model is the best choice. The Hidden layers option allows you specify the number of Hidden layers you need in your model. Currently, we will select Automatically compute number of units. Hence, the model will automatically compute the number of hidden layers for us.
- Go on to the Shopping Rules tab:

Our model will run through many iterations and it will stop when it's no longer improving; however, it can stop for other reasons as well. For example, it can stop after a certain amount of time has passed and the default, as you can see in the screenshot, is set to 15 minutes, but you can change this. You could also have the model stop after it's gone through a certain number of iterations, or you could tell the model to stop once it's reached a certain level of accuracy. Hence, these are some other ways in which you can stop running the model.
- Click on the Ensembles tab:
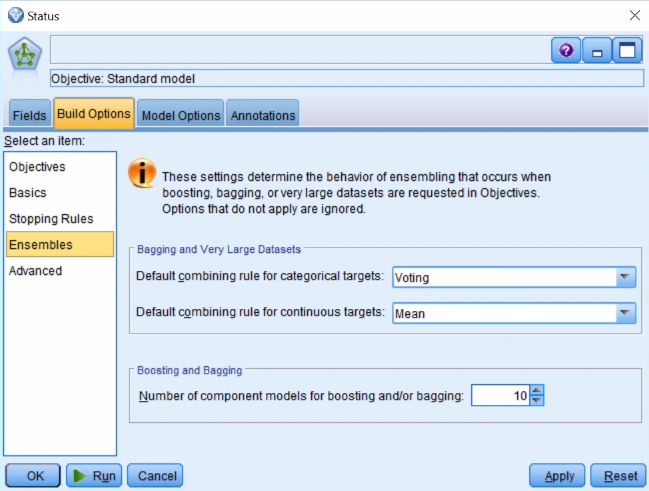
This option enables us to build multiple versions of a model; let's keep this at the default values.
- Go on to the Advanced tab:

We know that neural nets will eventually learn the patterns in the data if you let them run for long enough. This can be an undesirable feature because we don't want to capitalize on chance, therefore we want hold some data back, and we can set the value of data to hold for each iteration using this option—in this case, of the training dataset is 30.0 is held back from the training dataset in every iteration.
Regarding the random seed, as we know, we will be running our model multiple times (the that we find the global solution and not get stuck on a sub-optimal solution), and we can generate the random seed. Each time you click on the Generate button, you will get a different random seed (or starting point).
Also, neural nets do not run with missing values; they need complete data, and you can select what needs to be done with the missing values using the Advanced tab Missing values in Predictors option:
-
- Delete listwise: If there is missing information on any one of the variables, that whole case will be eliminated from the model.
- Impute missing values: In this case, there are missing values, these will be replaced by the model defaults so you won't have any control over what Modeler does with them. Hence, my suggestion is to replace the missing values even before you start building a model.
- Go to the Model Options tab:
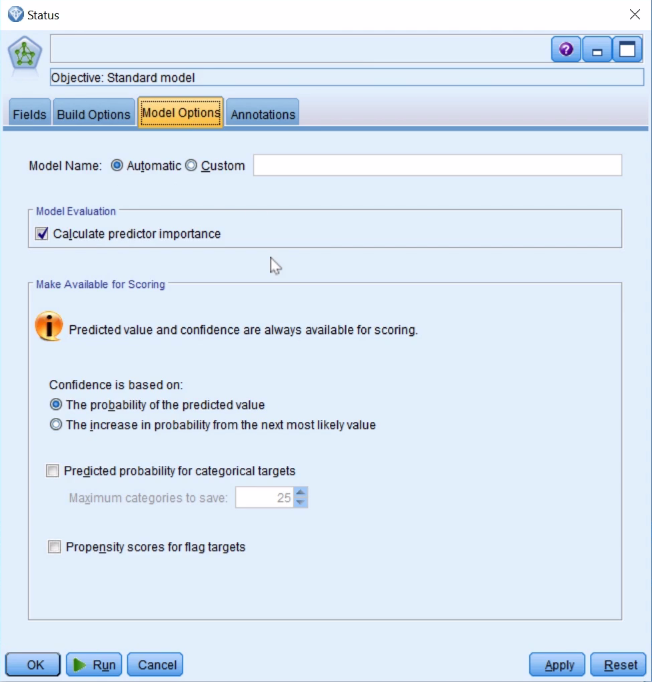
The model is automatically going to give you or calculate the predictor importance. It'll let you know which fields are the most important in the model. In terms of what the model is going to provide, it's going to provide a prediction, and it's also going to provide a confidence in that prediction score. Typically, you should see the probability of a predicted value; that's the most useful.
You can also ask instead to get the increase in probability from the category that was predicted from the next-most-likely outcome. You can get predicted probabilities for the categorical targets for all the different categories if you like, as well.
The propensity scores end up being extremely useful, and we'll discuss them later.
- Click on Run to run the model. Now the model has been built:
Let's see what we have found.