EVERYDAY LIFE
Many of the functional objects you use every day can be turned into perfect drawing subjects. No matter where you work or spend your time, there will be an abundance of objects within easy reach, just waiting for you to pick them up and study. This section explores some of these common items and encourages you to take a closer look at your everyday life.

Creative Prompt
PENCIL CASE
As a child, one of the things I loved most about starting a new school year was organizing my pencil case. I’ve always been obsessed with stationery, and I’d spend hours choosing new pencils, pens, and erasers. Selecting a pencil case to house them all in was a very important part of the process!
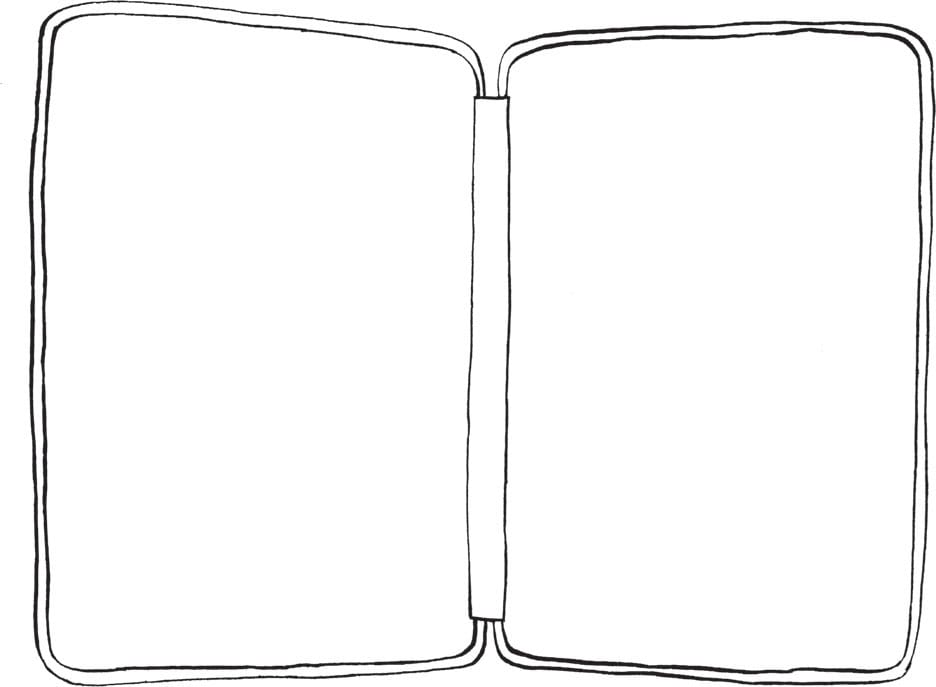
Outline the pencil case.
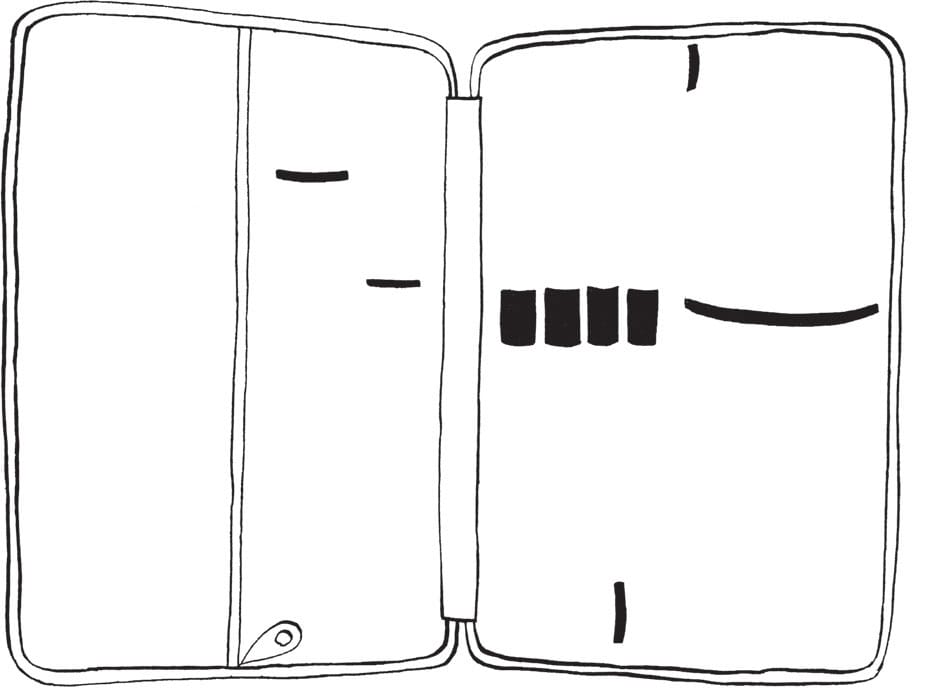
Add a vertical line down one side and a zipper at the bottom; then draw elastic holders for the contents as shown.
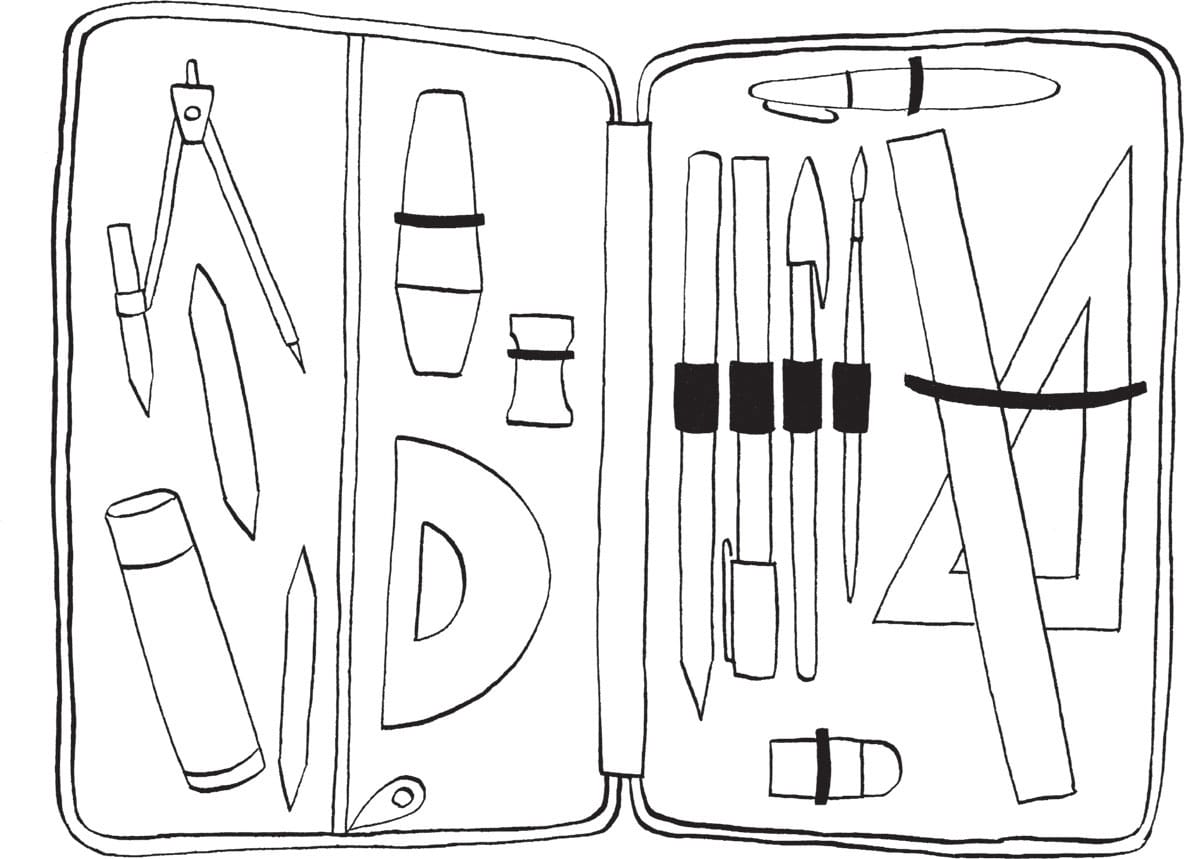
Outline the contents of the pencil case, fitting the pens and pencils into the smaller elastic holders and the bigger items, such as the rulers, into the larger holders.

Add details to the items in the pencil case, such as lines on the pencils, stitching down the center of the case, and a pattern on the glue stick.
Creative Prompt
LAMPS
Floor lamps, table lamps, vintage, modern, small, large, decorative, minimalistic… There are so many lamps to choose from! What lamps do you have in your home? Let’s sketch them using a size 00 brush and black gouache paint. This method creates natural-looking drawings with interesting results; simply let the brush flow where you want to create fluid lines and decorative details.
Desk Lamp
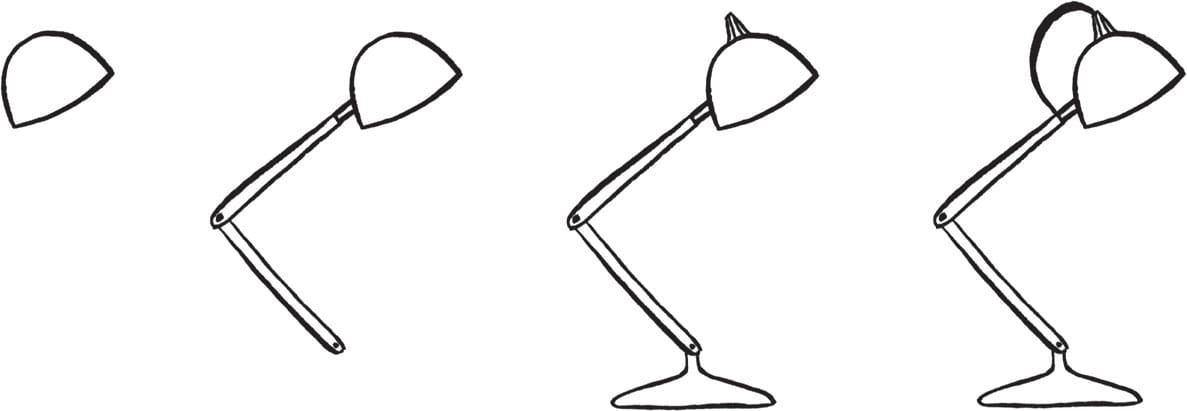
Begin with the dome-shaped shade; then add the stand and base.
Scalloped Lampshade

Draw an oval as your starting point and then work down, adding detail to the shade and base.
Patterned Lampshade

Start with an oval, and then draw the shade. Add a pattern and details to the base.
Hanging Pendant Lamp

Draw the round bulb and work up, adding the hanging cord and then the filament inside the light bulb.

Now practice drawing a wide variety of lamps. As with all of the prompts in this book, you can choose to trace the ones here until you’ve perfected the proportions.
Exercise
DESK
Many of us spend the majority of the day working at a desk; why not look there for inspiration for your next drawing exercise?
1
Do a quick sketch of your desk using an HB mechanical pencil, balancing the objects around the sketch to avoid a busy look. Plants add contrast to the man-made items, and a rug underneath the desk grounds the design and offers an opportunity for a large splash of color.
Then transfer the sketch onto watercolor paper using a light box or a window.

2
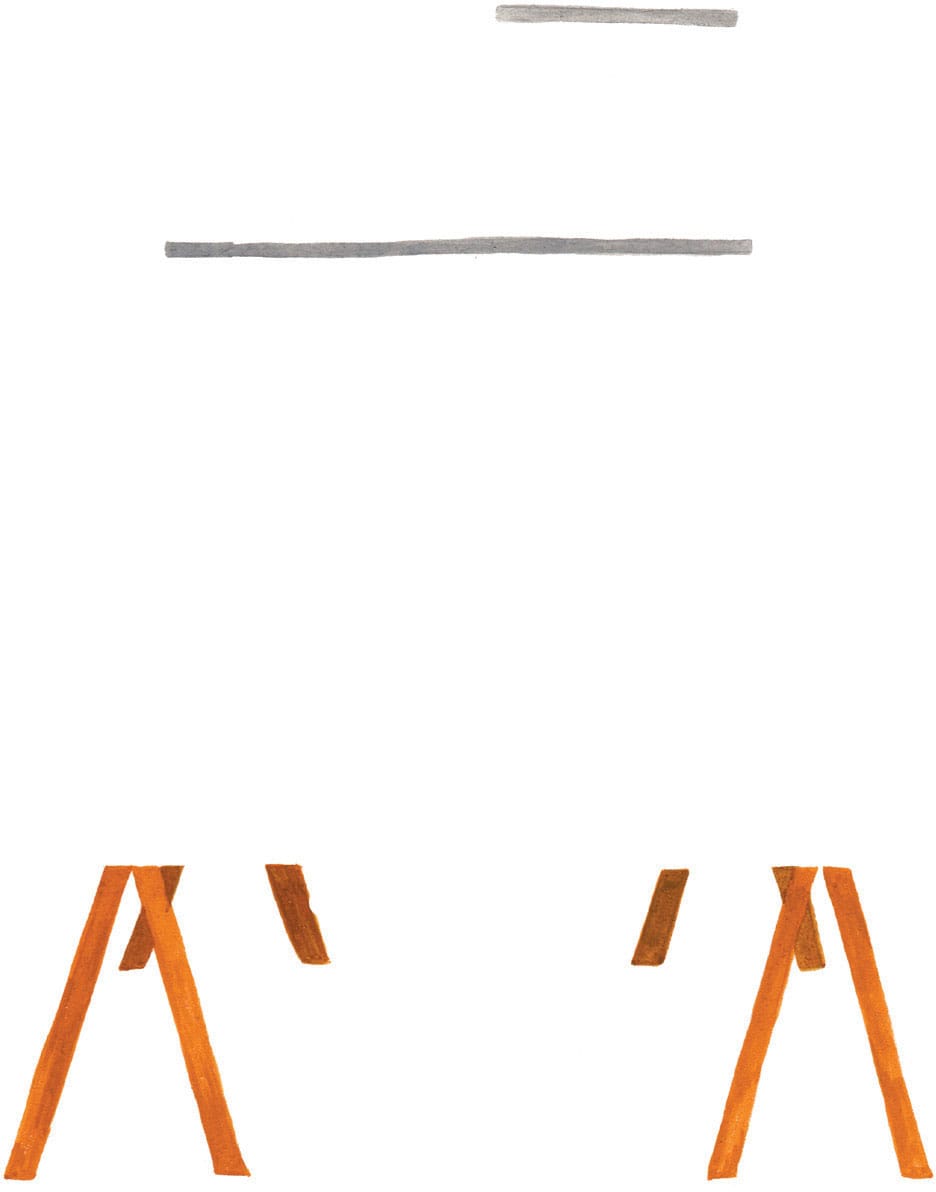
Working on watercolor paper, paint the legs of the desk and the shelves above using gouache.
3
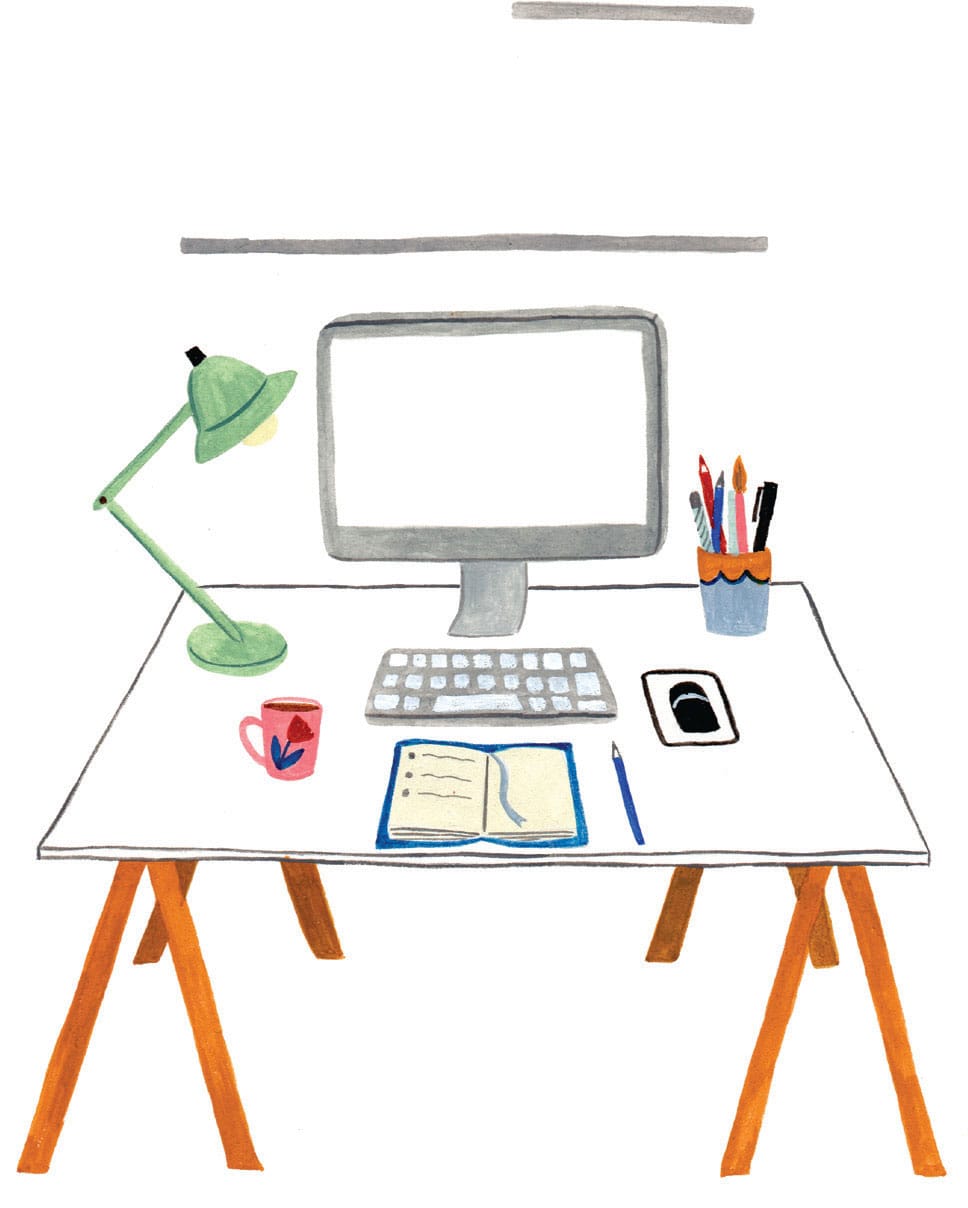
Add objects on the desk, taking the time to add details, such as the pattern on the mug and colorful pens in the cup. Use the tip of your paintbrush to paint the outline of the desk.
4
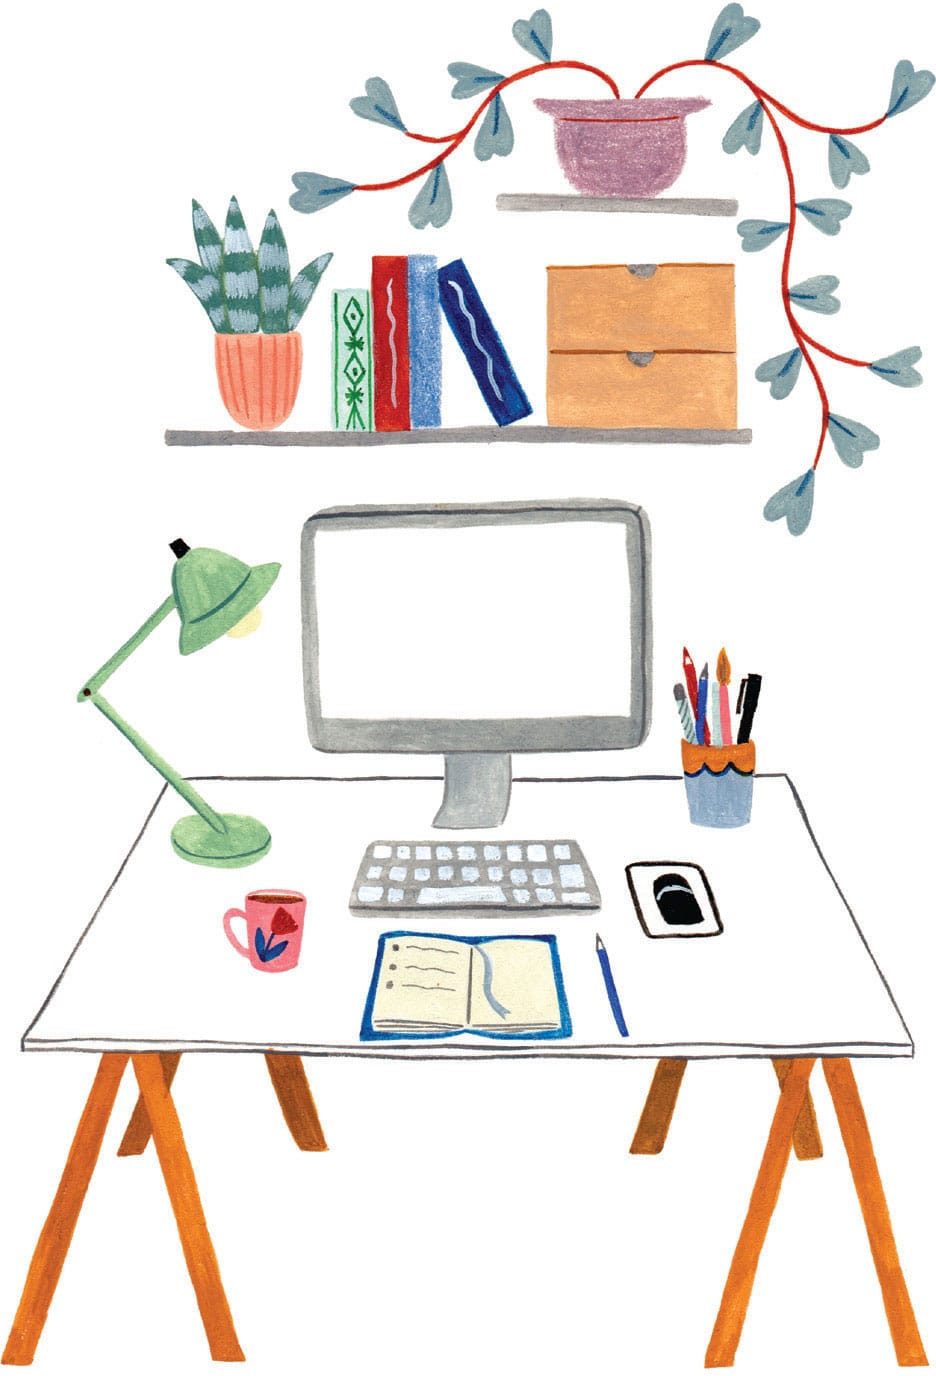
Fill in the objects on the shelves. Have fun with the plants: Mix up the colors of the stems and leaves, and use colored pencils for the plant pot!
5
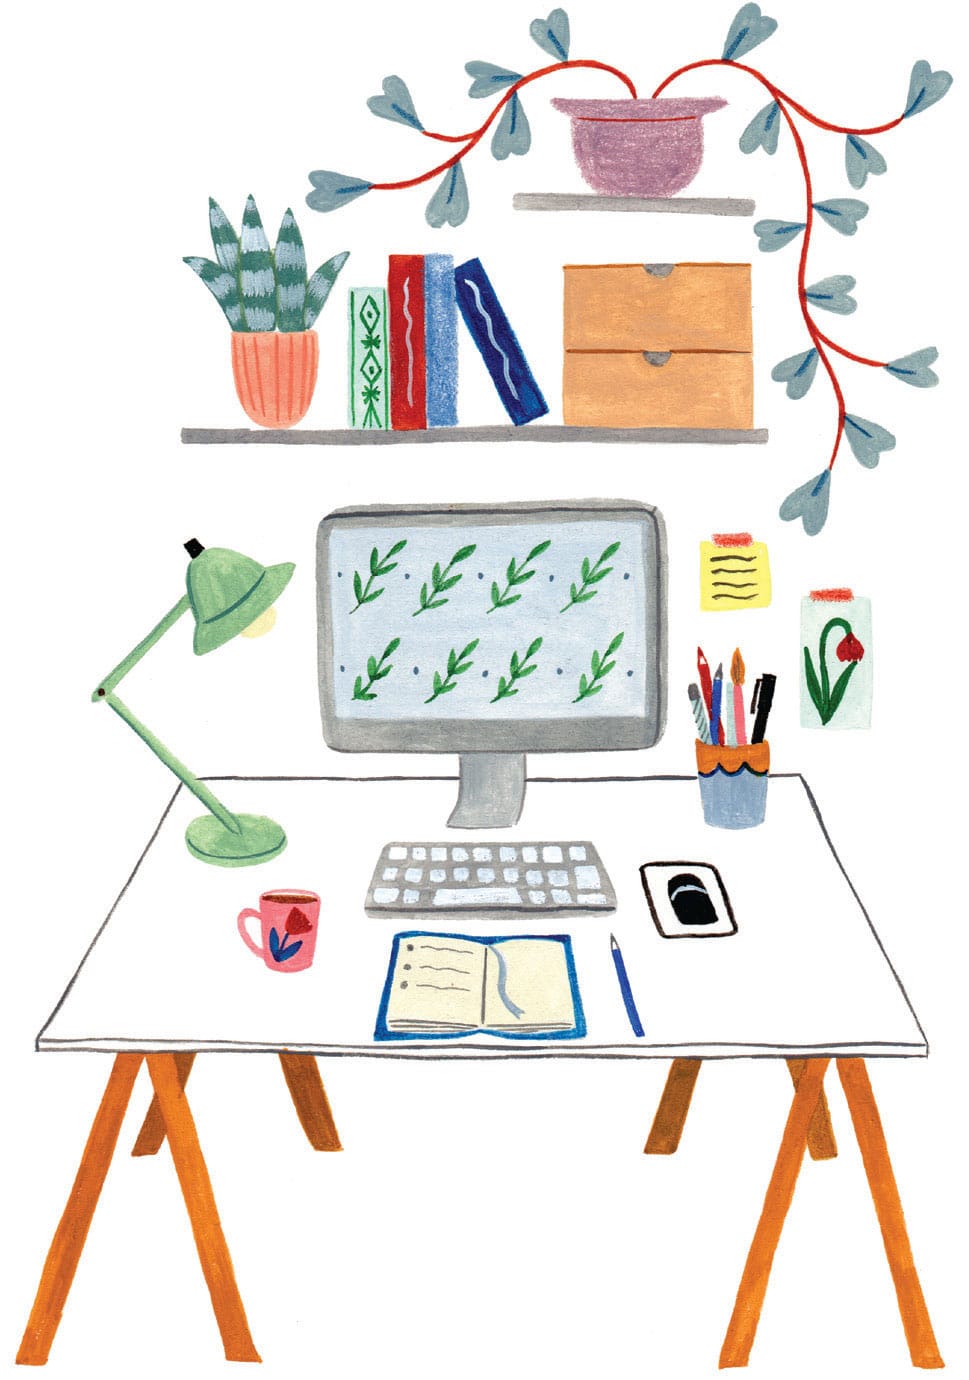
With the main elements in place, give the computer a screen saver, such as this gentle leaf pattern. Don’t forget to add details to the notes on the wall!
6
Lastly, add the rug, carefully painting around the desk legs. Using a darker tone, add lines, dots, and tassels to tie everything together.

Exercise
OFFICE SUPPLIES
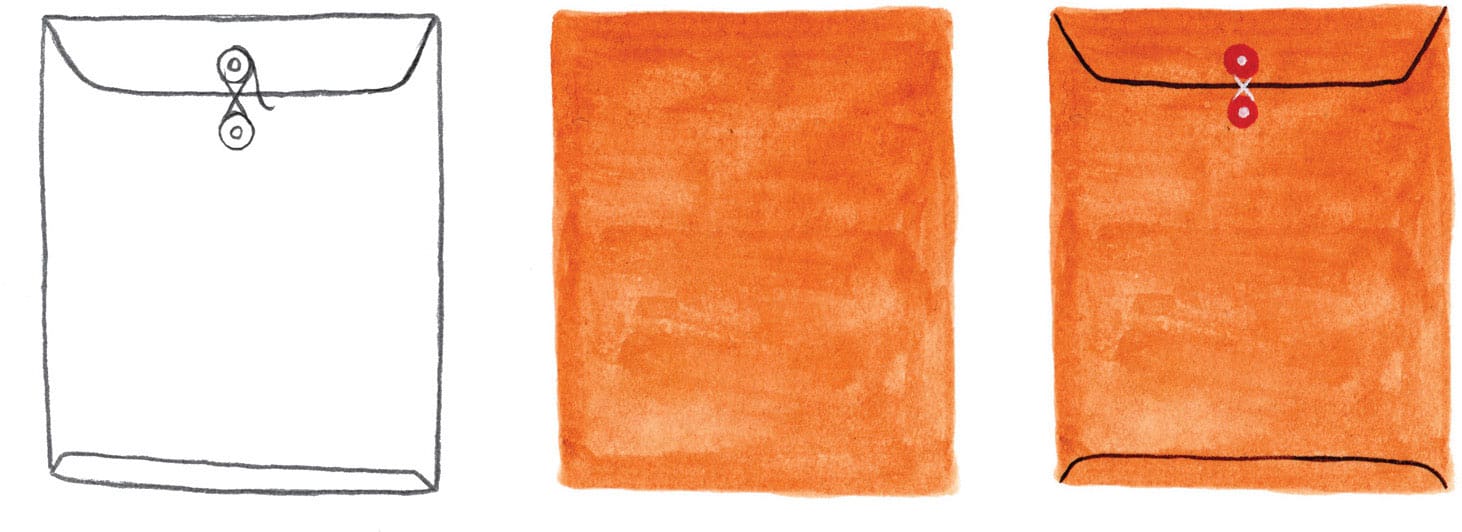
Look around your desk at work or at home, and you’re bound to find plenty of interesting shapes just waiting to be drawn. What’s hiding in your drawers or on your shelves? Draw objects you normally wouldn’t, such as a stapler or a pair of scissors.


Now, let’s build on those drawings and create a whole collection of office supplies. This work would make a sweet piece of art to hang in your own office!
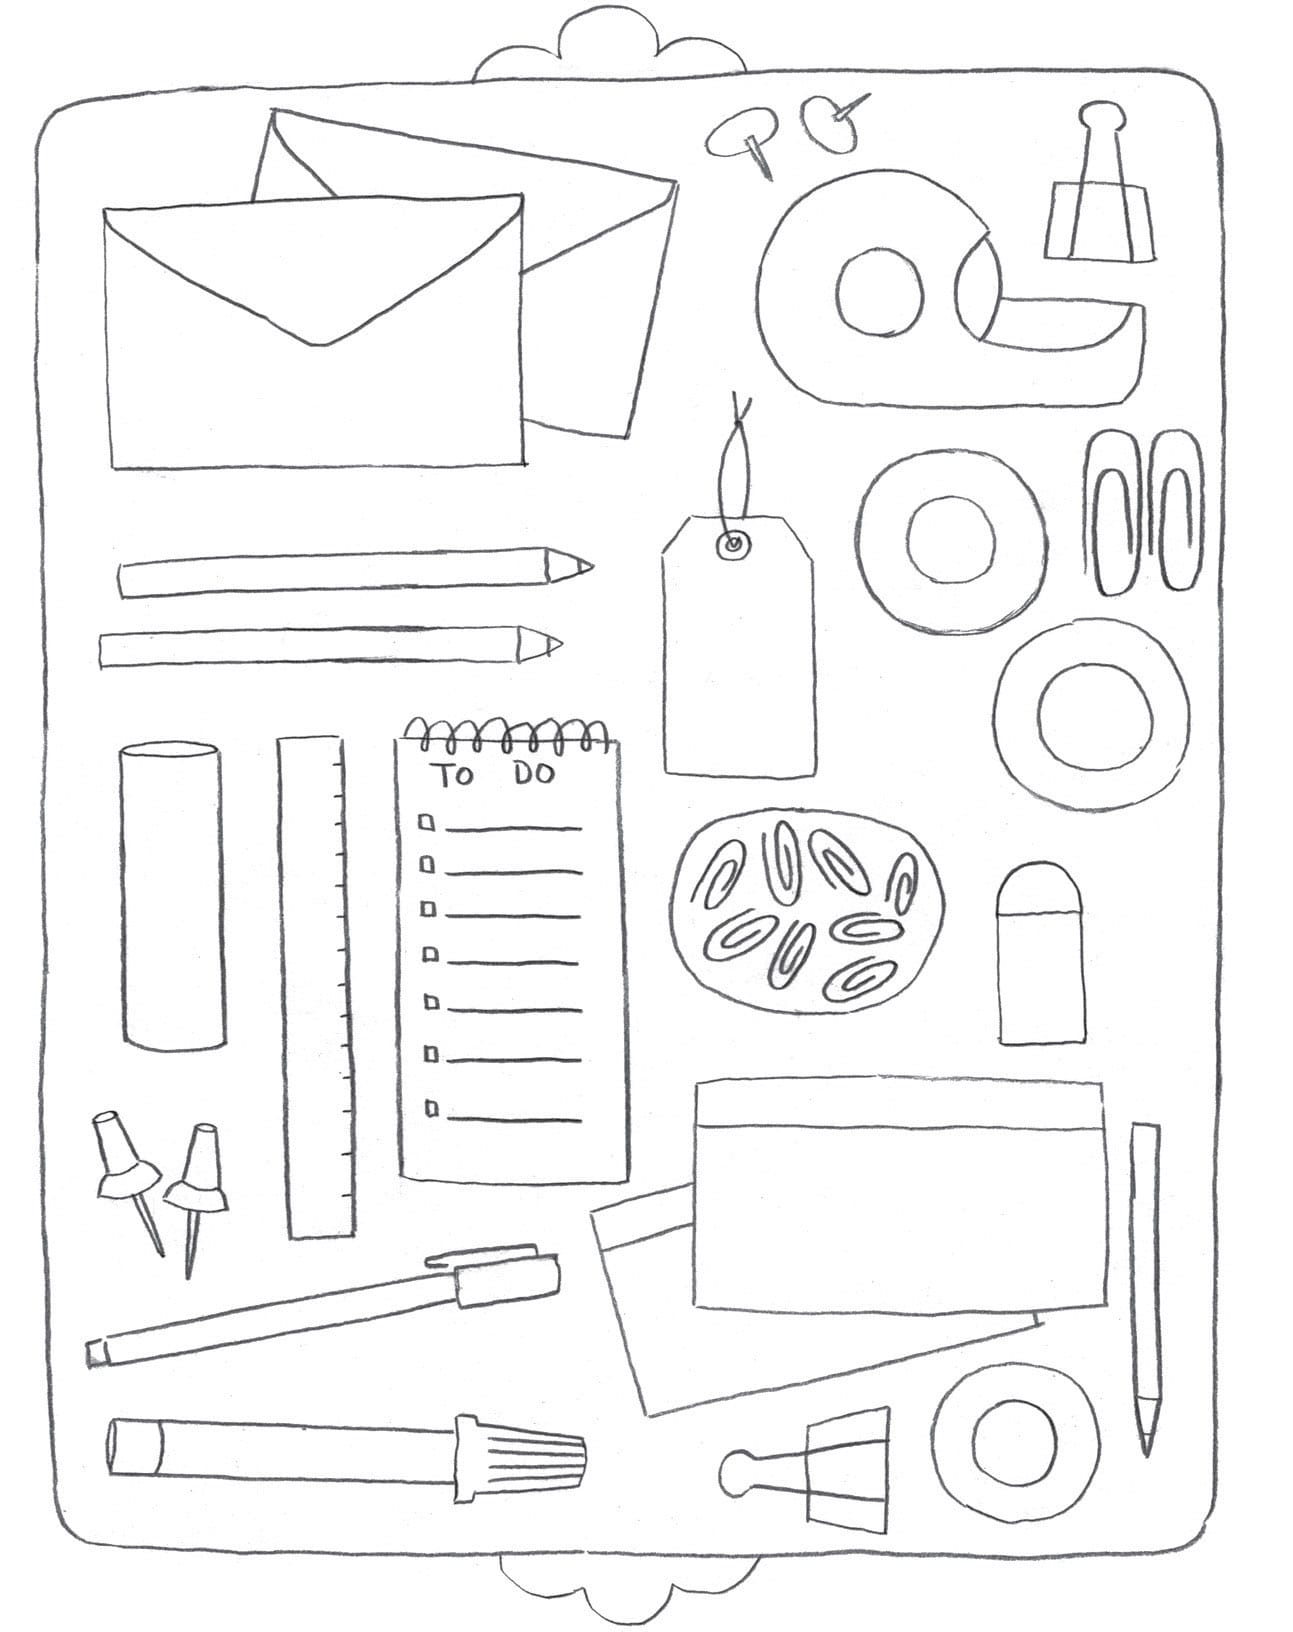
1
With an HB pencil, sketch your objects onto a sheet of printer paper. Then, using a light box or window, lightly trace your design onto watercolor paper.
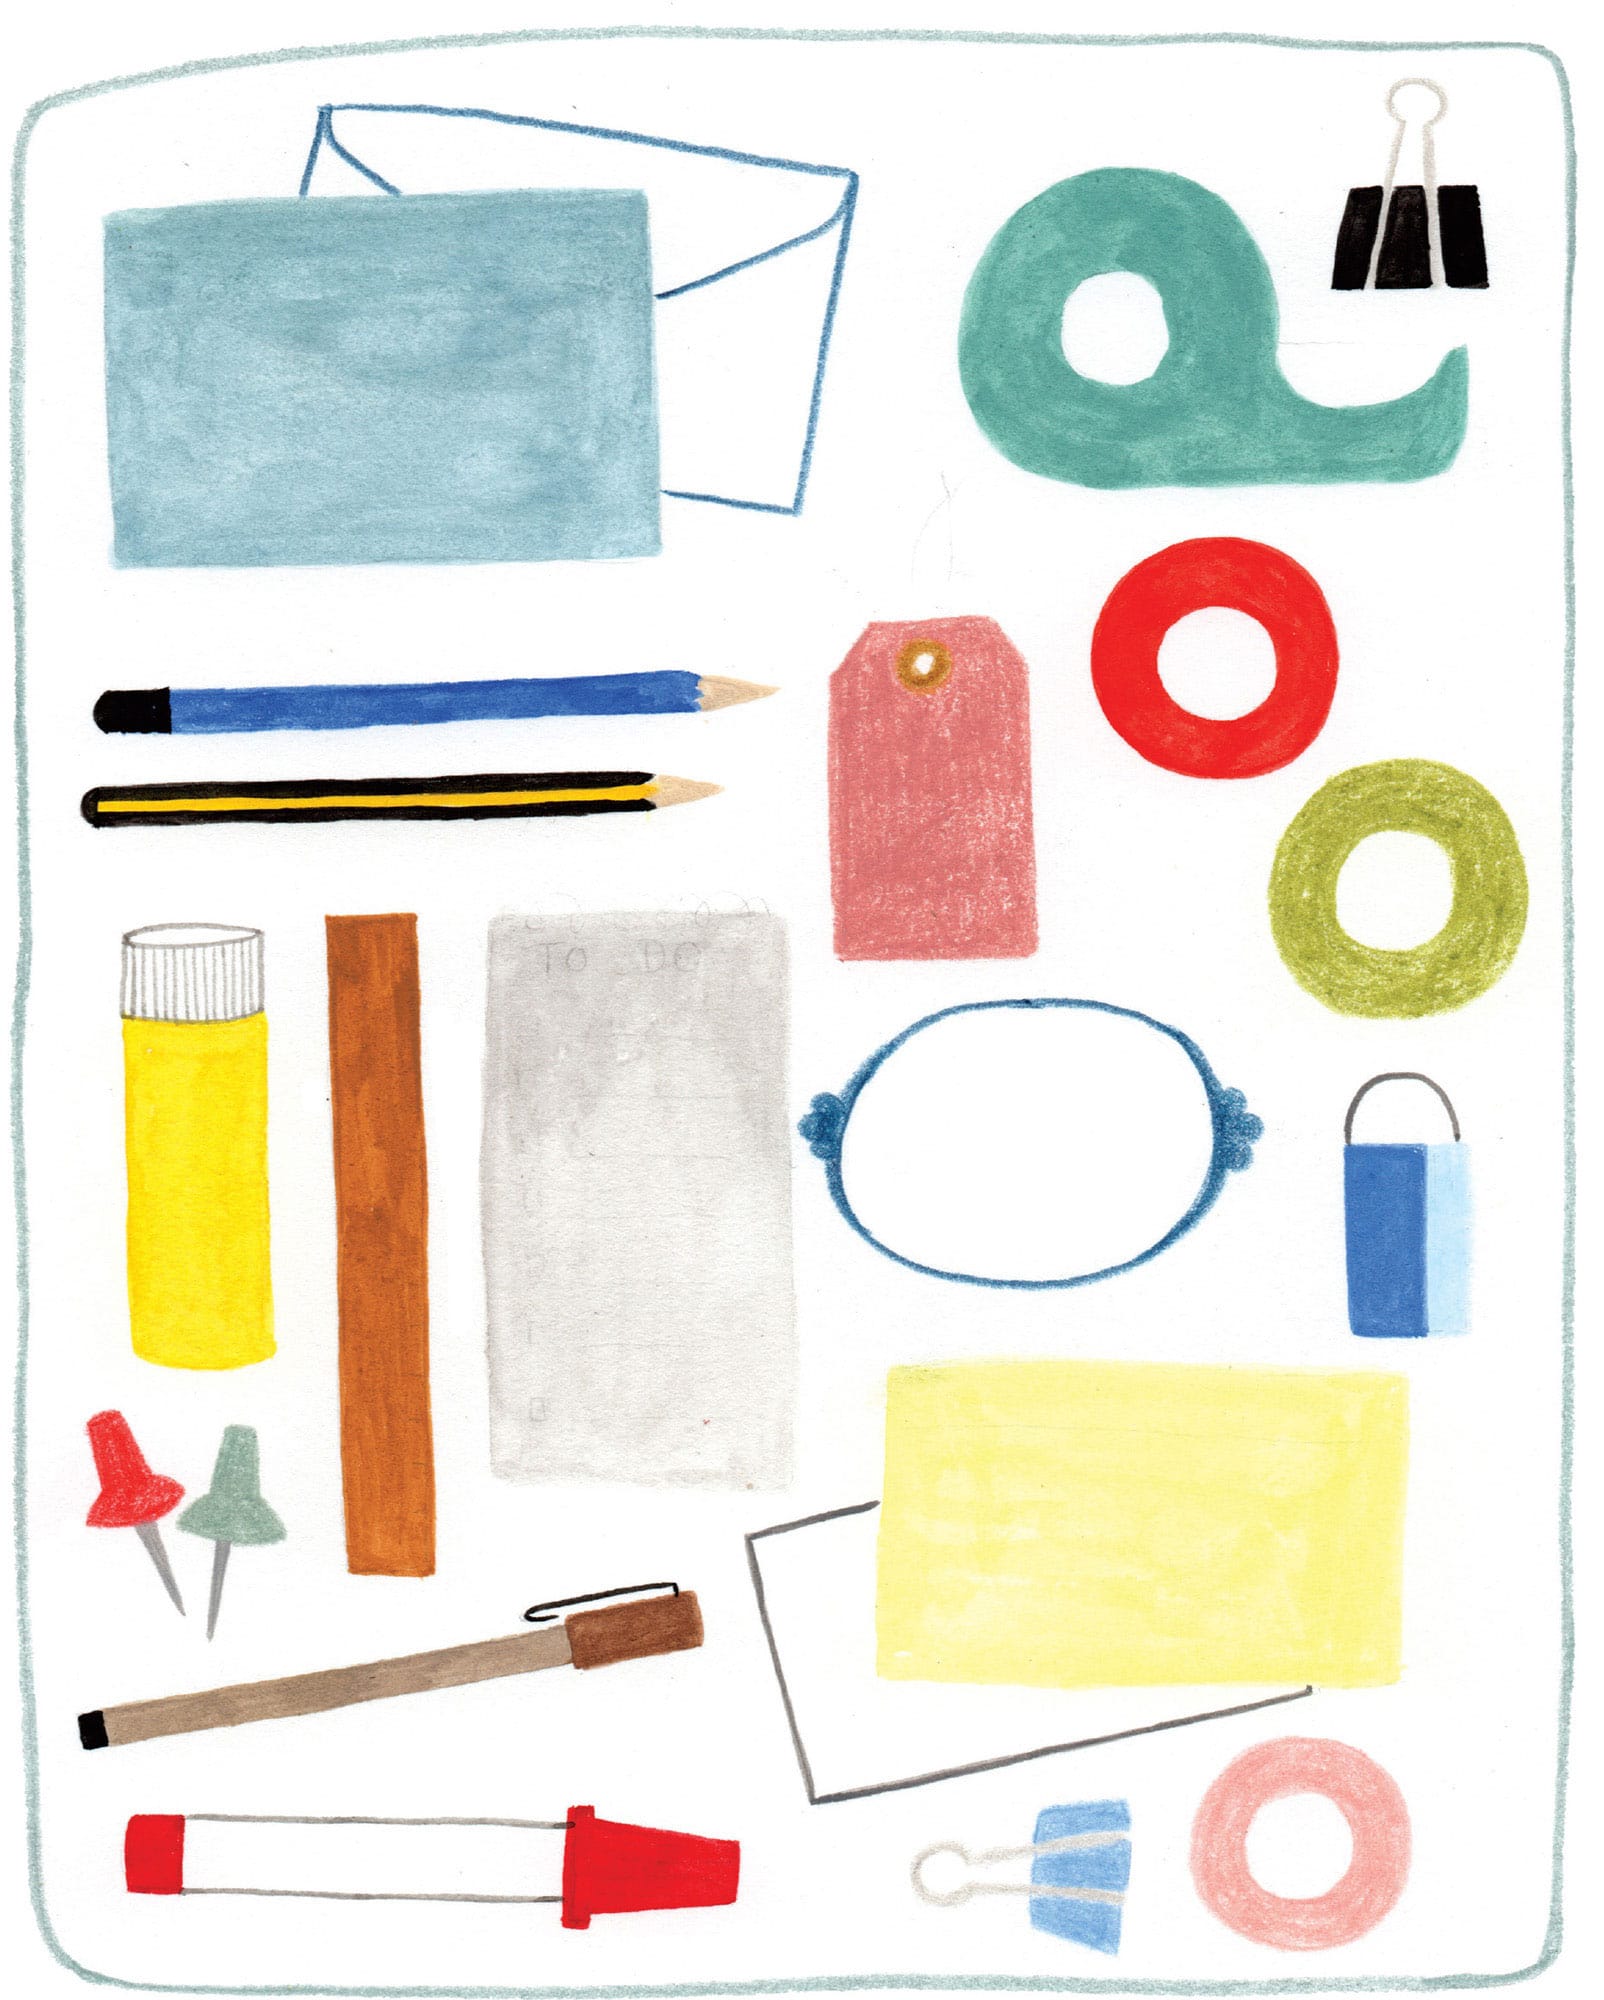
2
Using gouache paint and colored pencils, add flat color to the objects, and draw a rectangular frame around them.
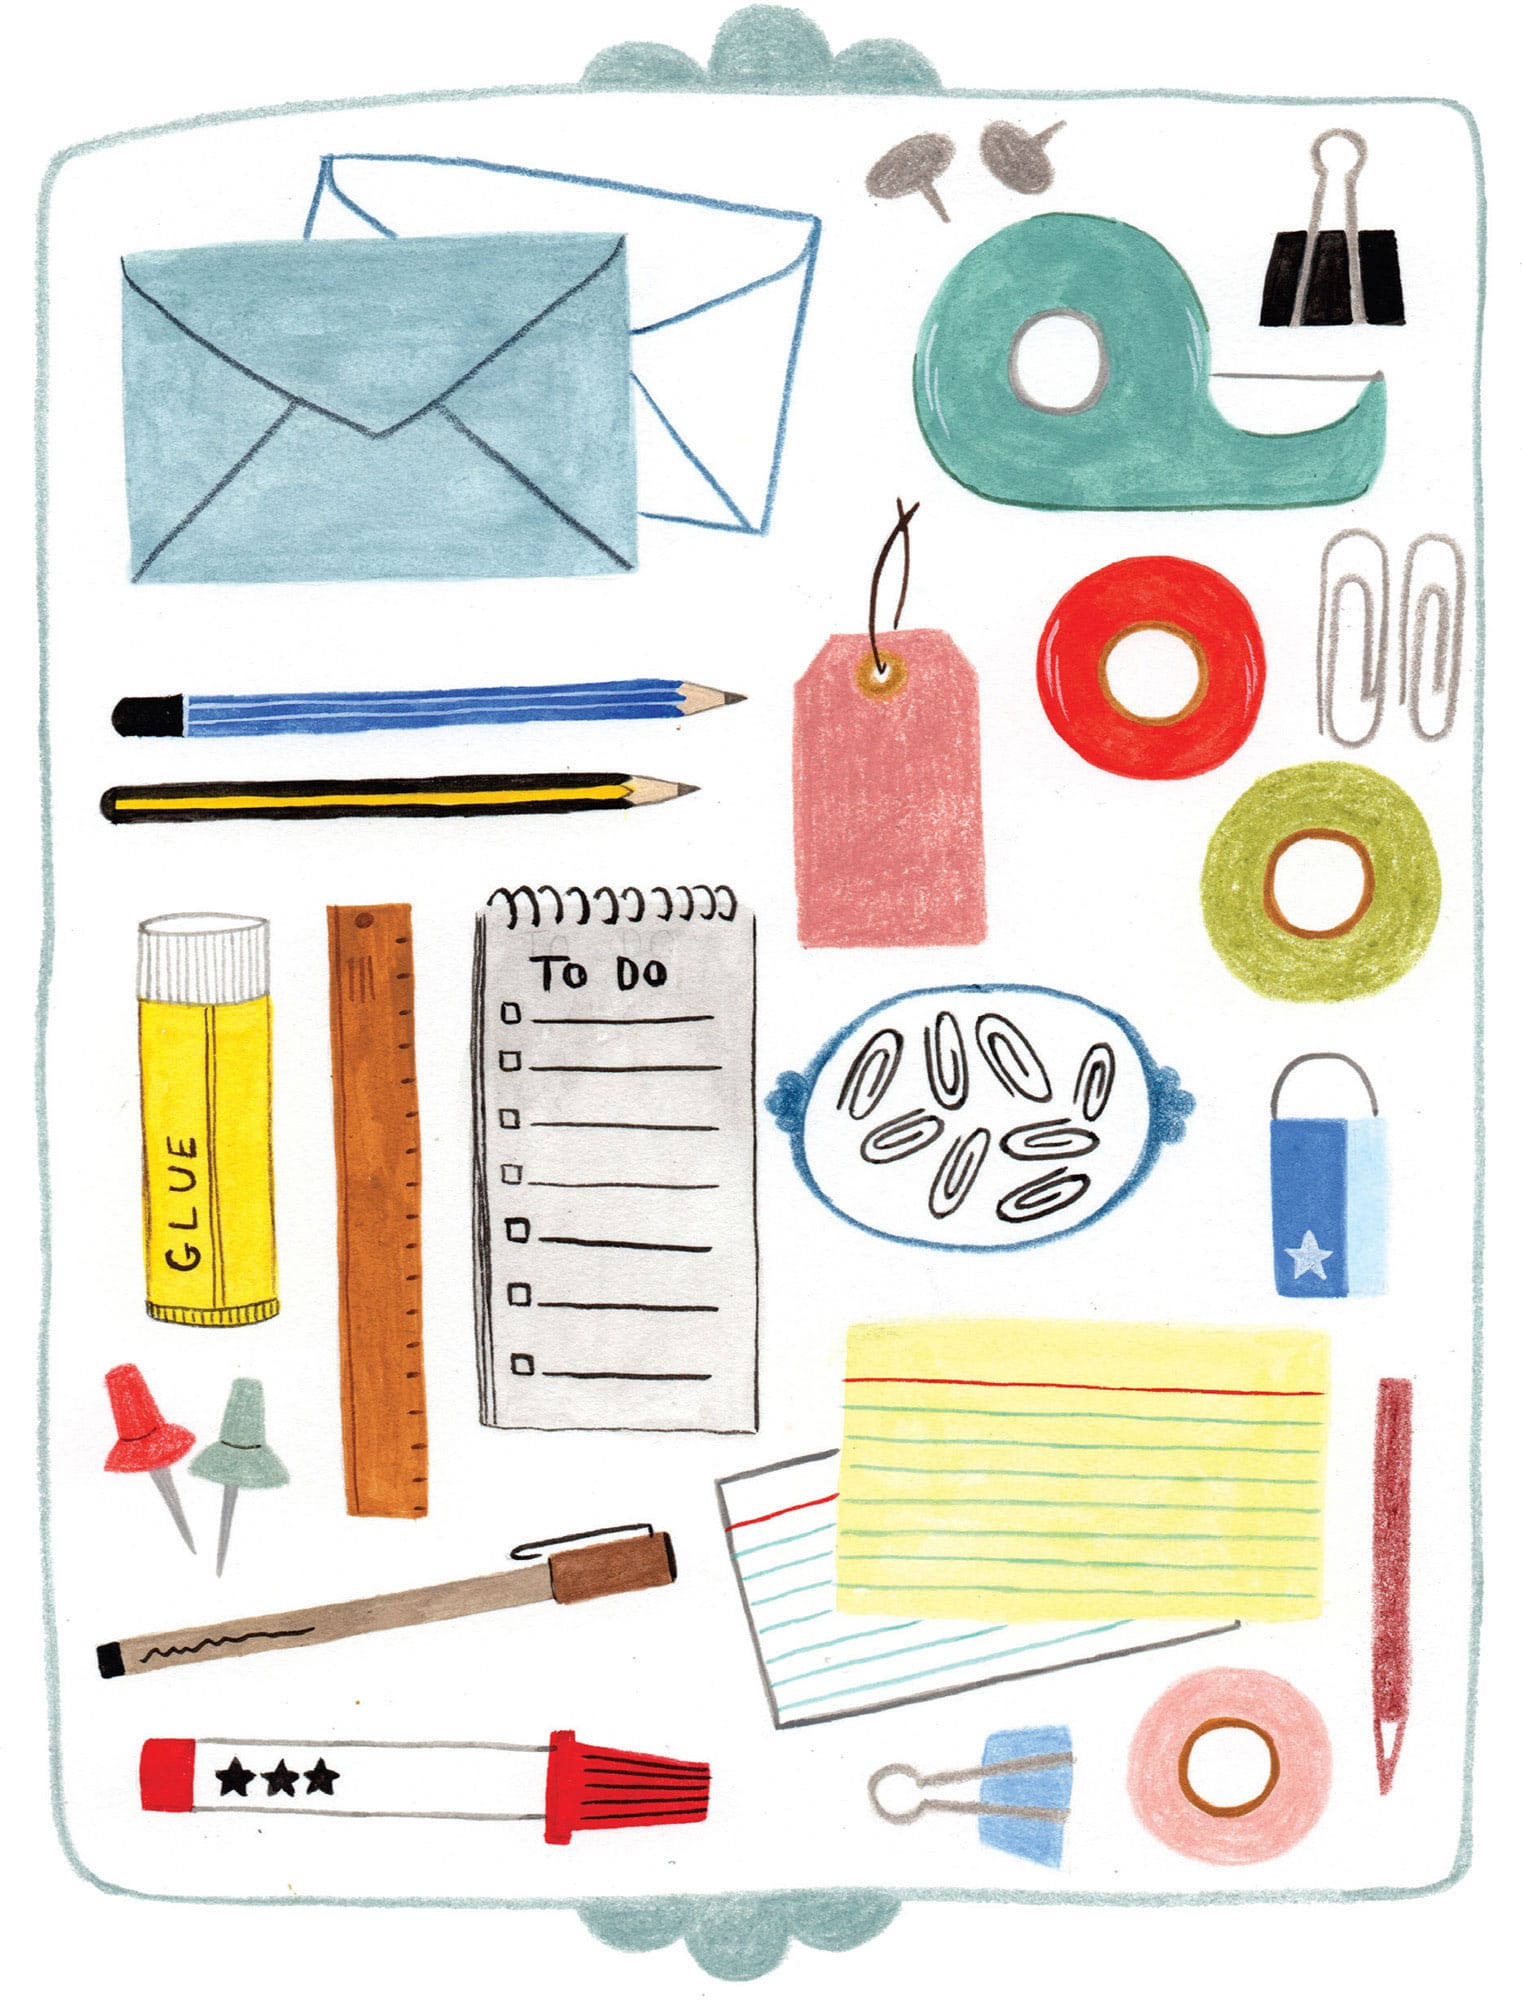
3
Use a size 00 brush or a very sharp colored pencil to add fine details to each object. Add decorative elements to the frame, and you’ve created a fun piece of art to hang on the wall!
Exercise
SEWING MACHINE
I grew up sewing with my mother and grandmother—it’s still one of my favorite things to do when I’m not illustrating. My mother owned a vintage sewing machine with a foot pedal, and it’s always struck me as more aesthetically pleasing than the modern electric kind!
1
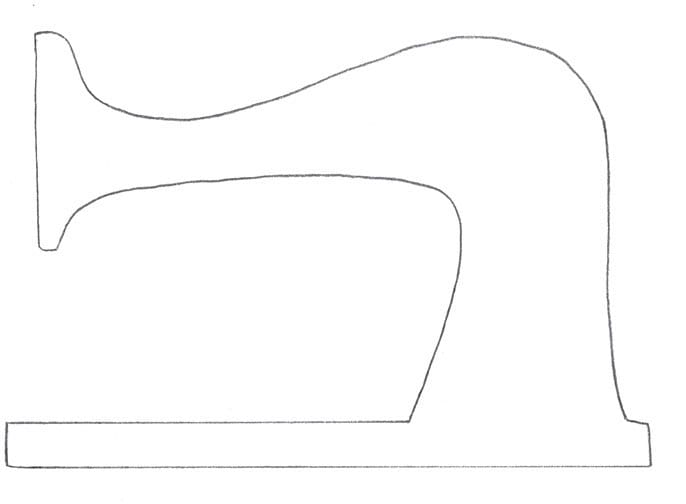
Sketch the outline of a sewing machine using an HB pencil.
2
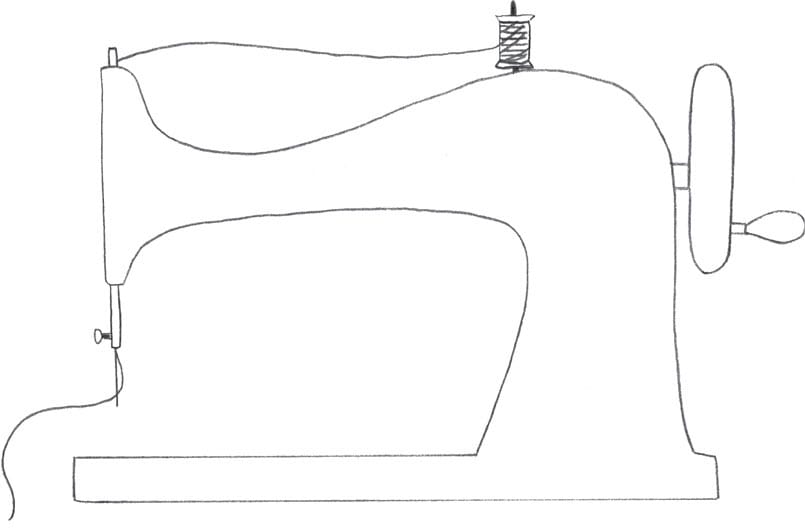
Add the spool of thread, the handwheel, and the needle. Also draw a line of thread from the spool to the needle.
3
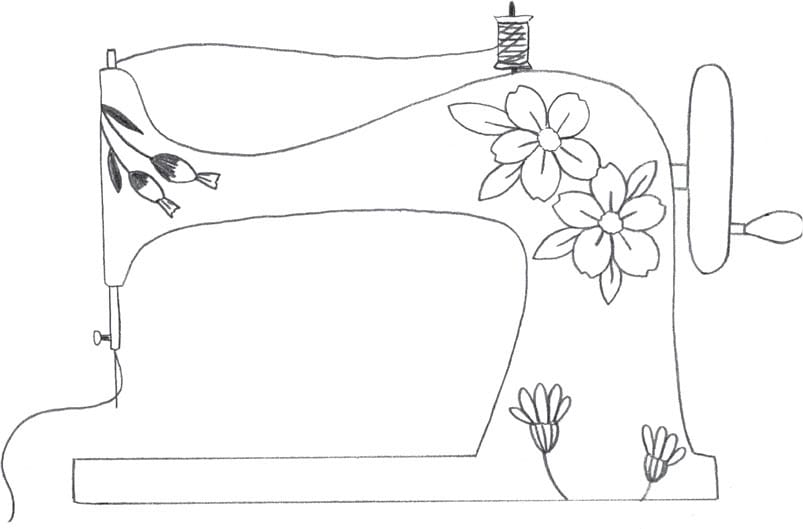
Now you can add decorative elements to the body of the sewing machine. Draw flowers, leaves, and smaller blooms.
4
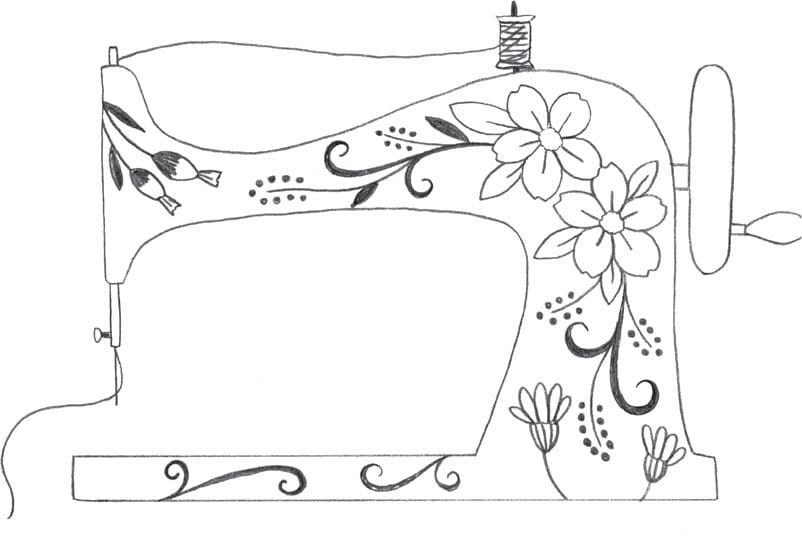
Add swirls and smaller plants with dots and berries.
5
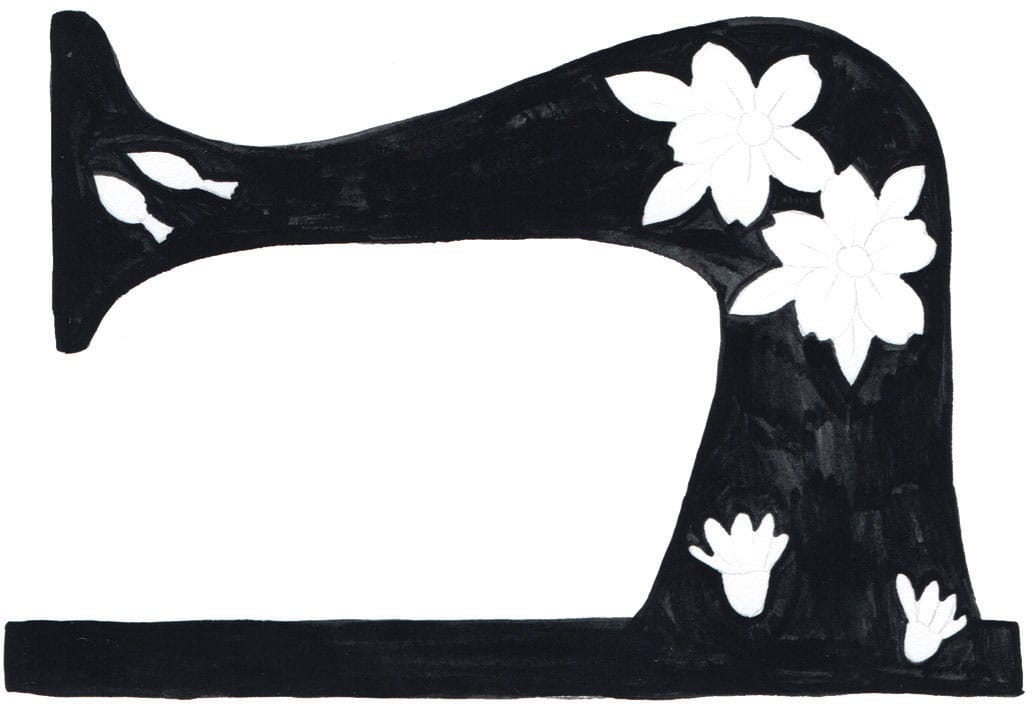
Use a light box or window and a 0.3mm HB pencil to lightly transfer your design onto watercolor paper. There’s no need to include the swirly lines or plant stalks; they will be added later using your original sketch as a reference.
Then paint the sewing machine using black acrylic gouache, carefully painting around the flowers.
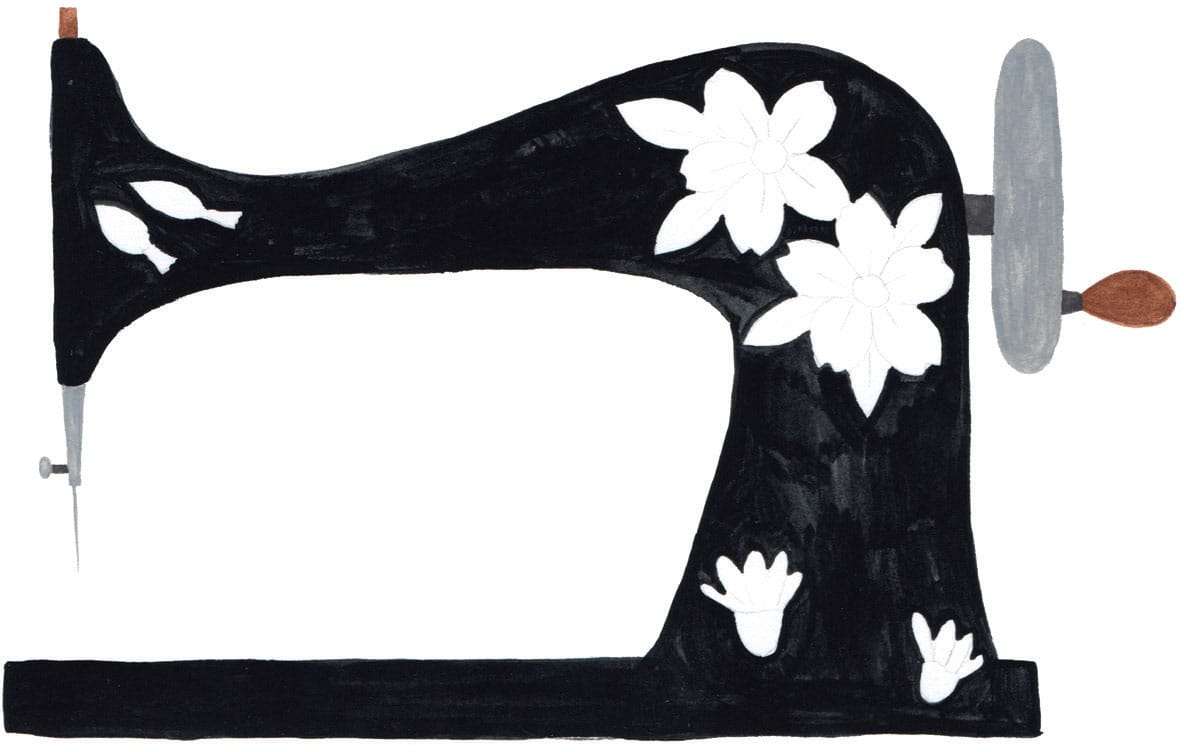
6
Add color to the handwheel and needle.
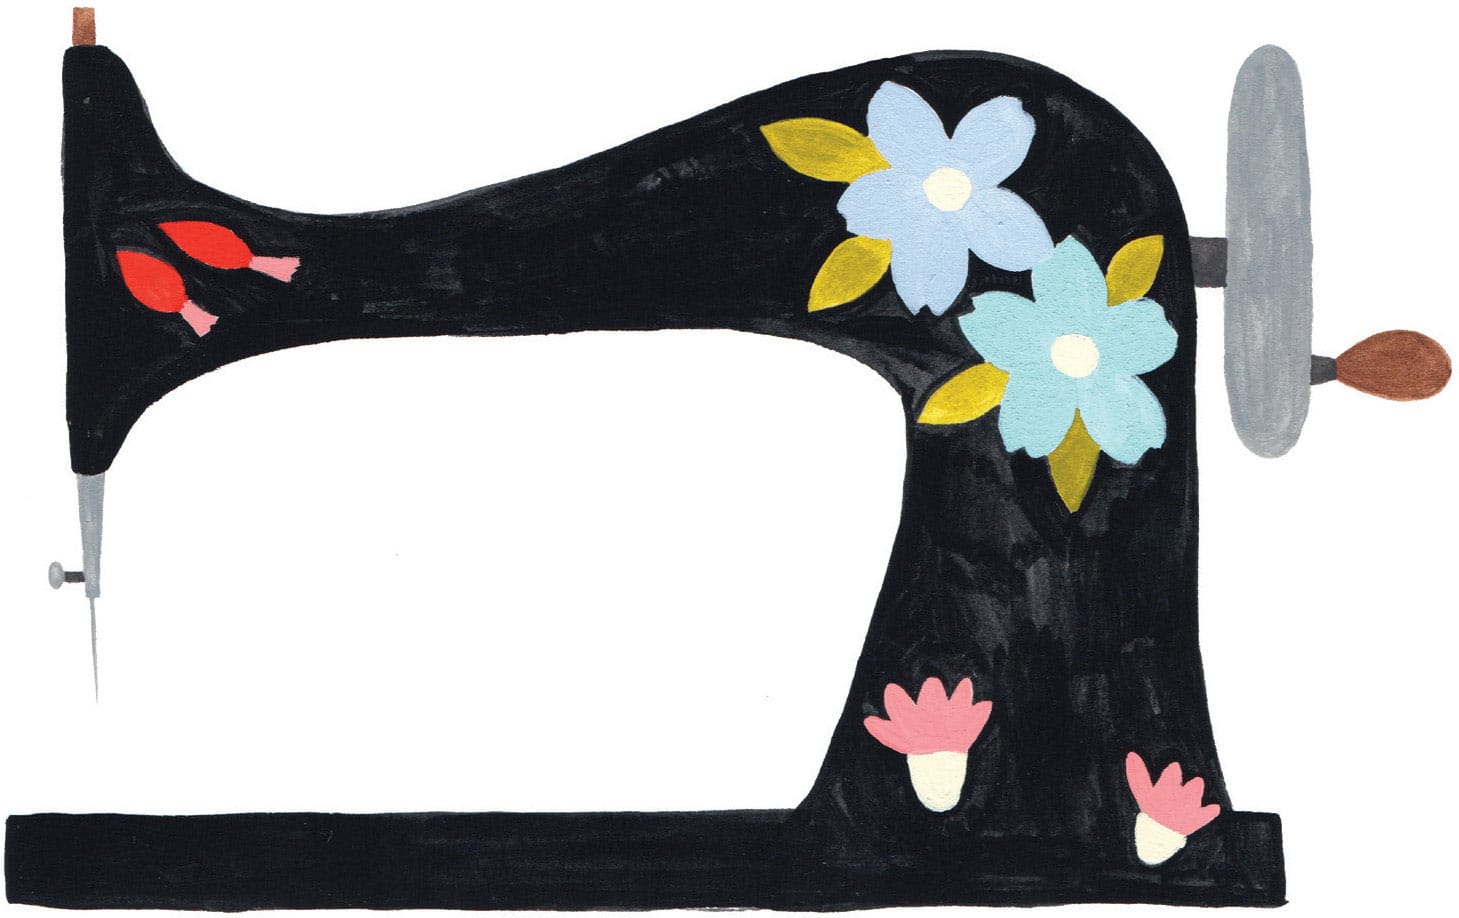
7
Paint the flowers.
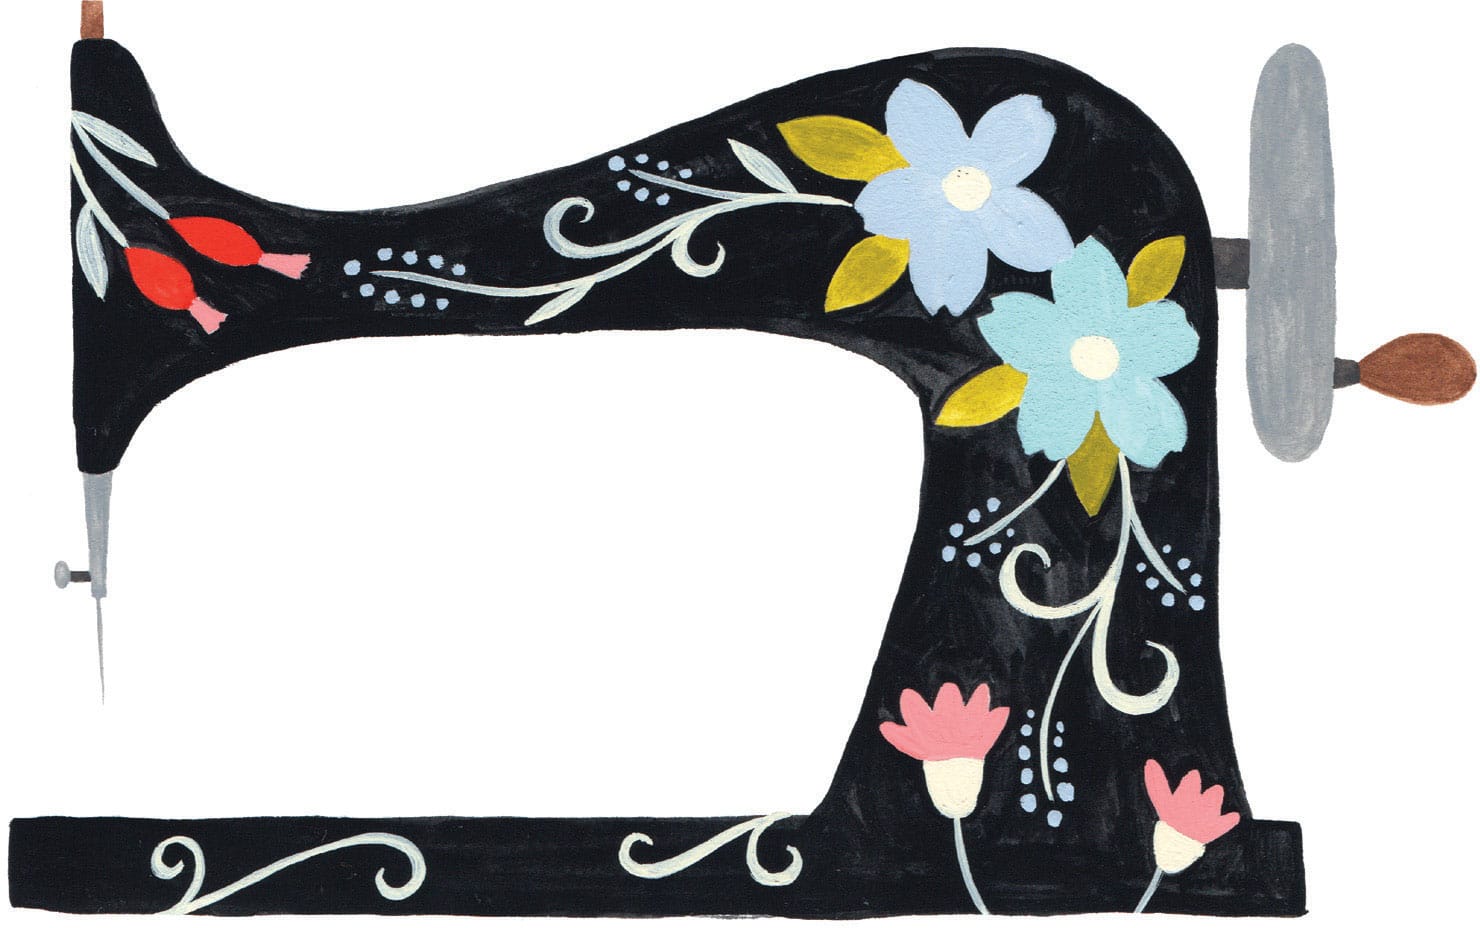
8
Using your sketch as a reference, paint swirly lines, small dots, stems, and leaves on top of the now-dry black paint. Because acrylic gouache isn’t water-soluble once dry, painting on top of it won’t cause smudging, which allows you to paint clean lines using a lighter color without the risk of murky paint colors.
9
This is my favorite part! Refine the design by adding small details to the flowers and leaves with a size 0 brush. Add leaves to fill in any open spaces on the sewing machine.

10
Lastly, add the spool of thread on top of the machine and bring the thread down through the needle. Save this step until the end so that you can choose the color that best suits your design!
