CRAFTING PROJECTS
CONCERTINA BOOK
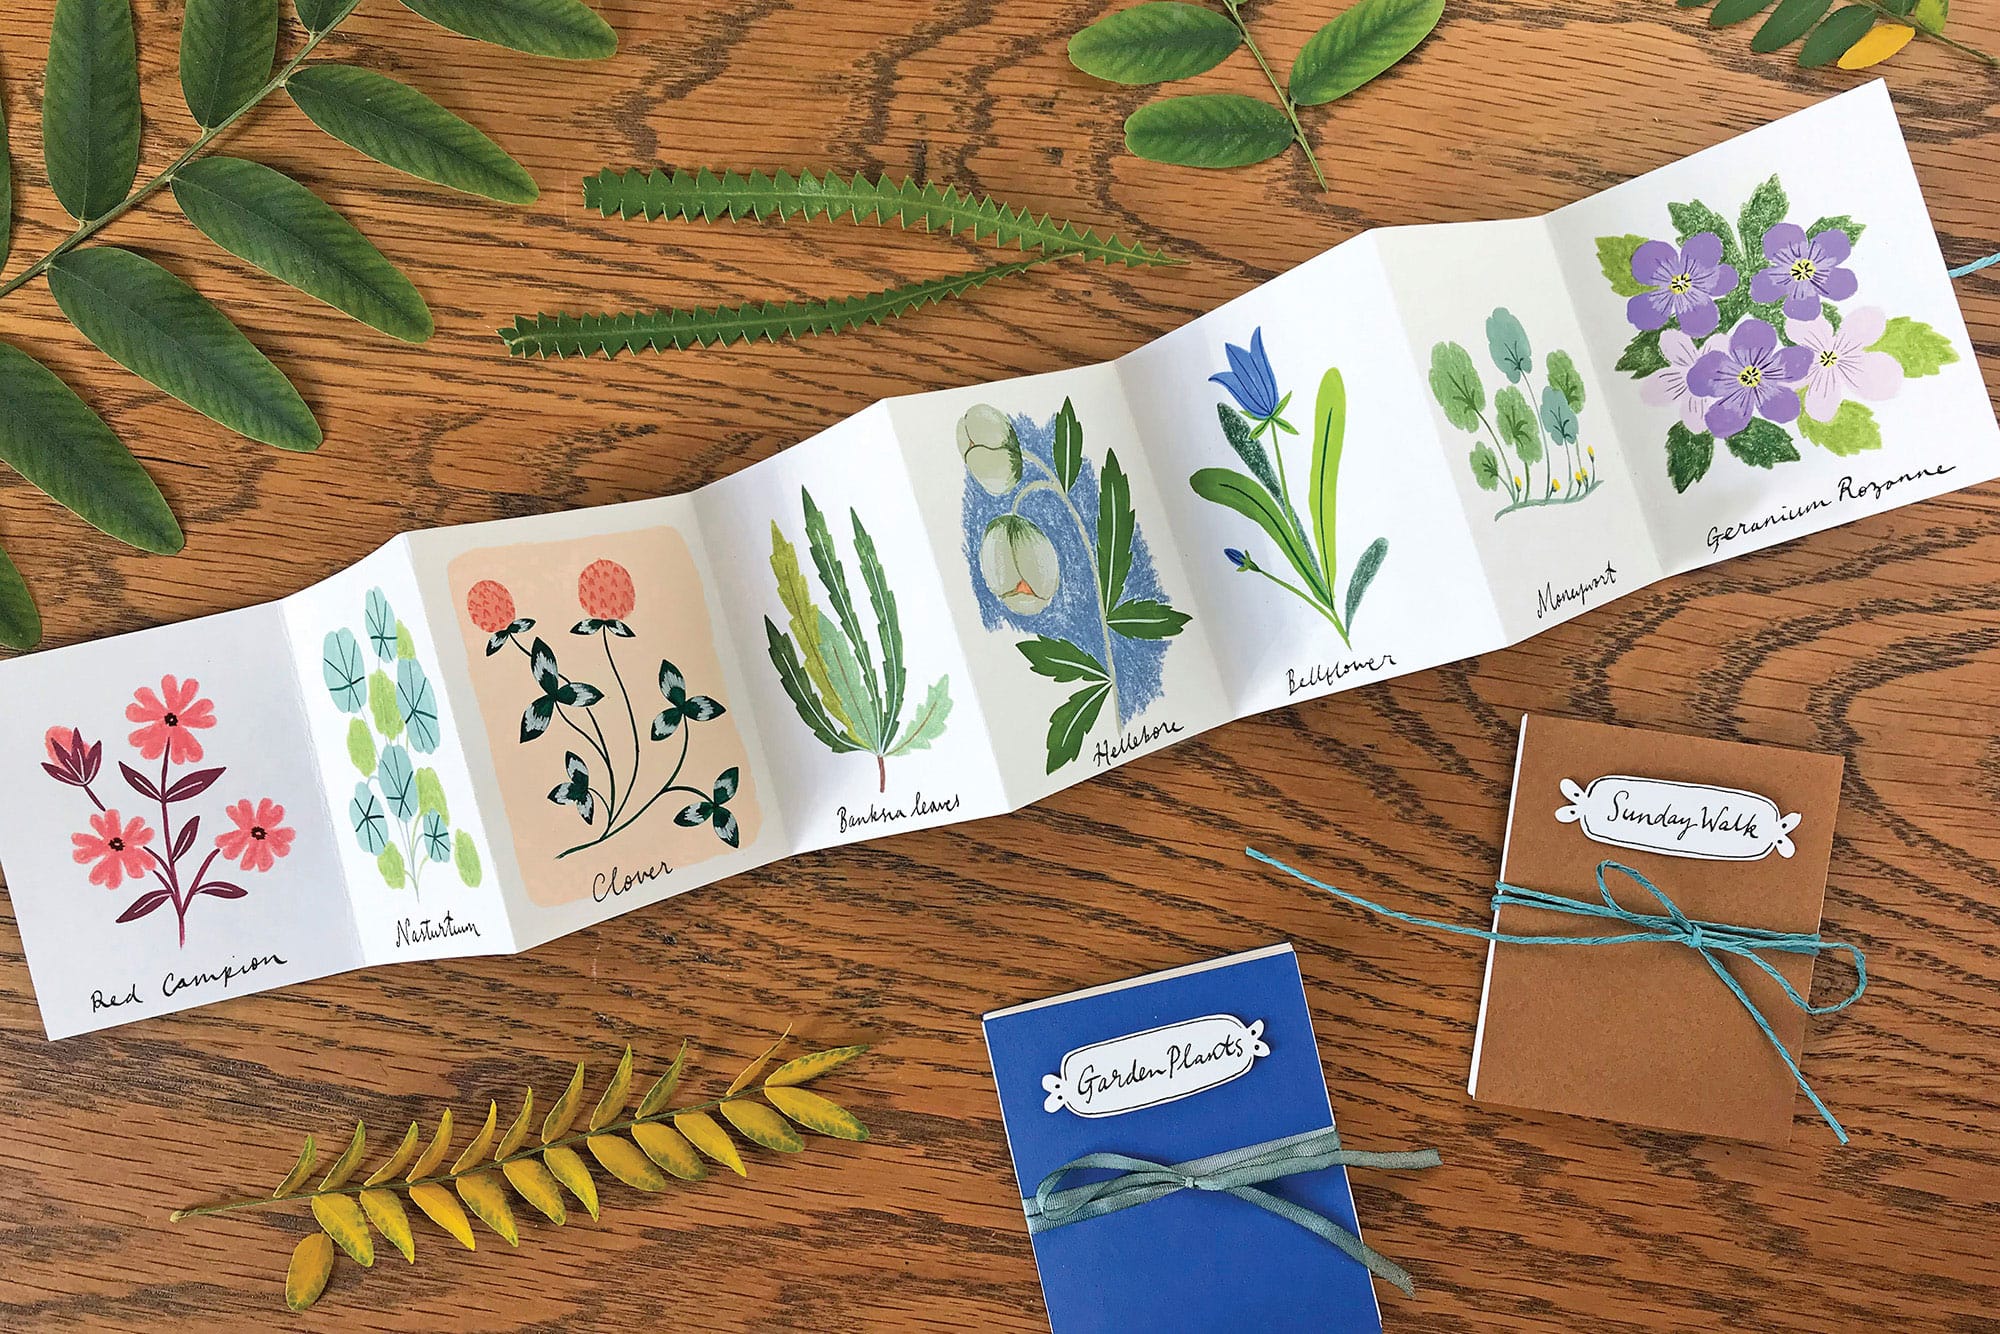
This little concertina book is a terrific way to store visual memories of the plants you encounter. Whether you include something you saw on a walk in the forest or while relaxing in your garden, your concertina book will become a special keepsake to treasure or gift to a loved one.
1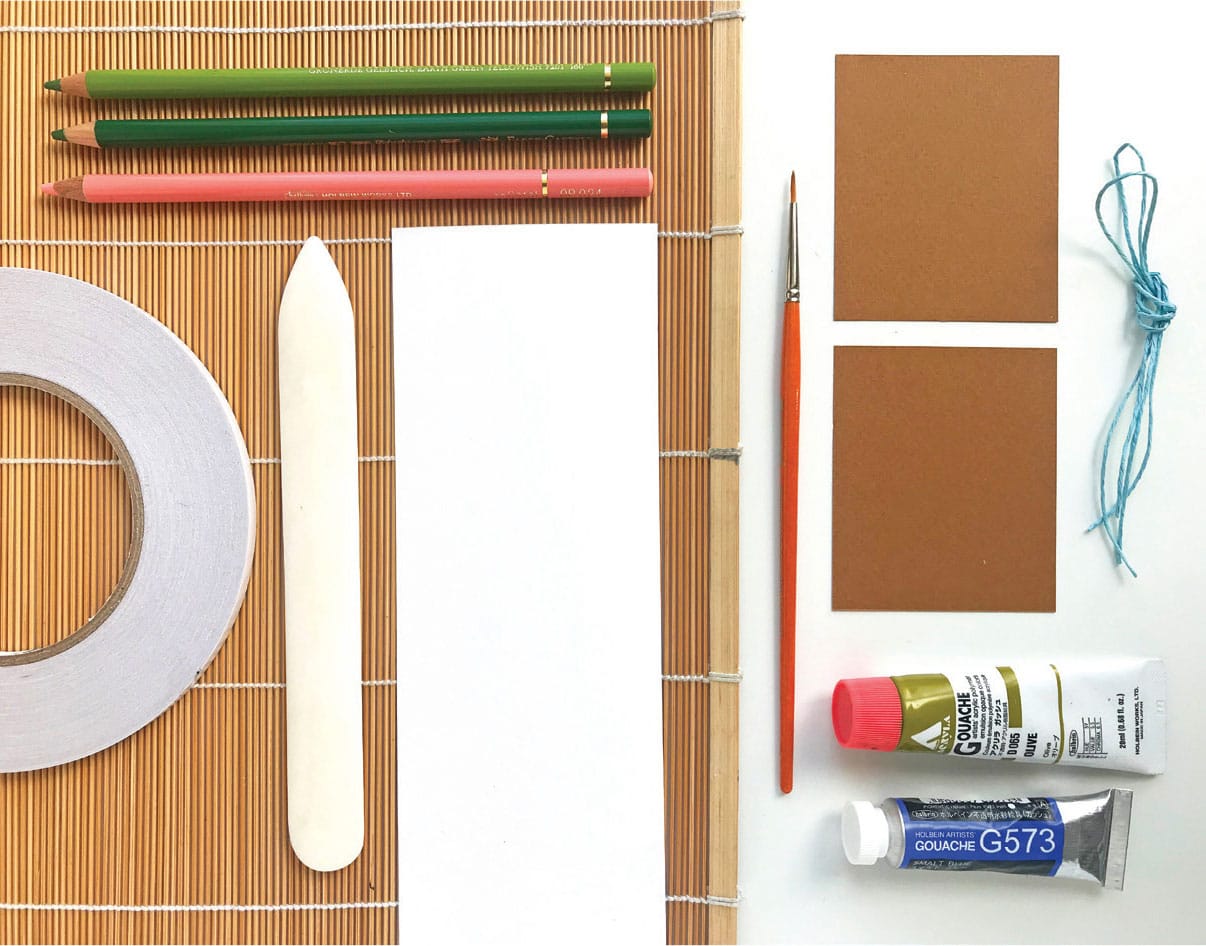
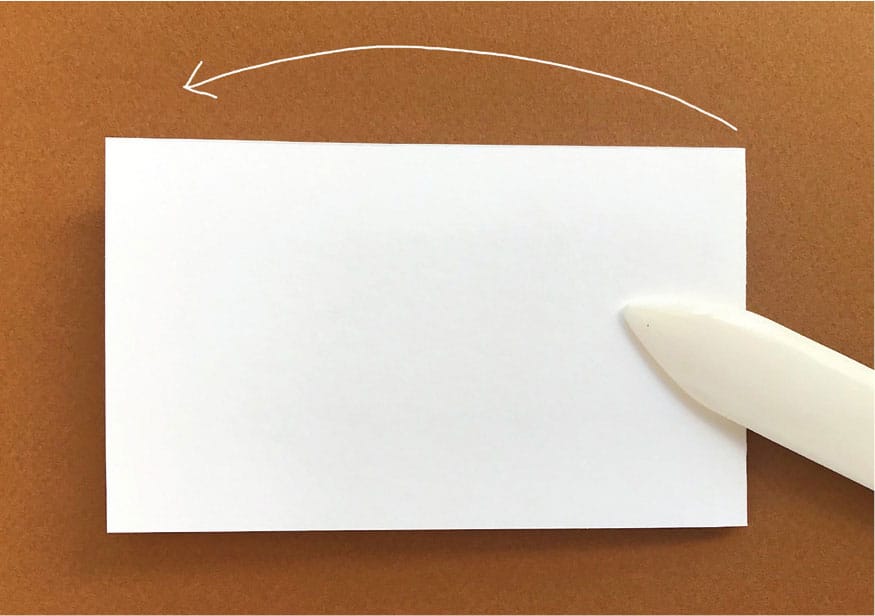
Fold the white card stock in half and use the bone folder tool to make a neat, crisp crease.
2
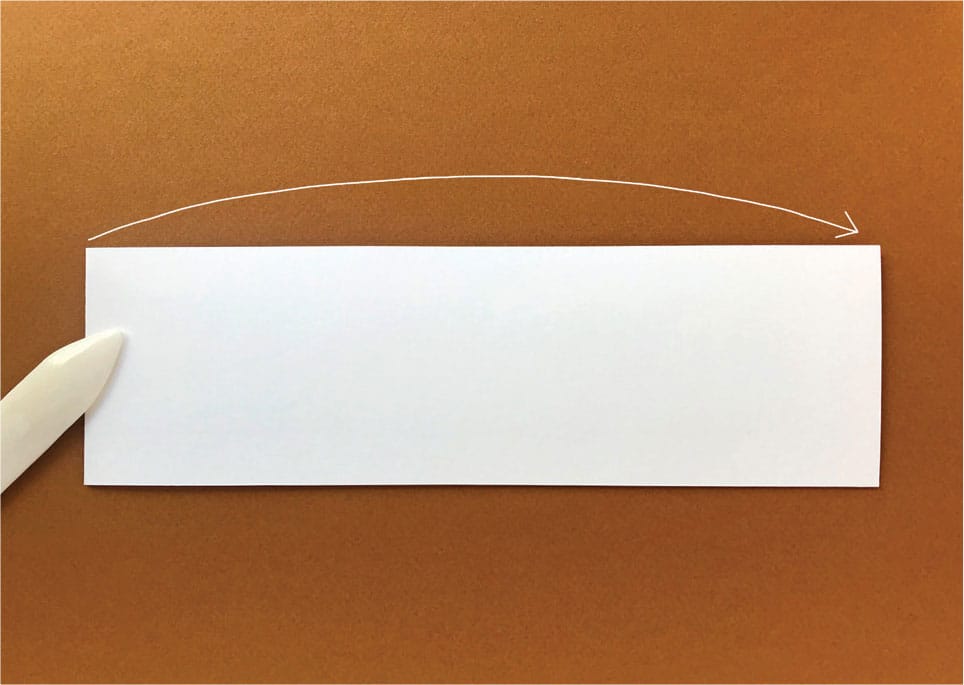
Fold the paper in half again.
3
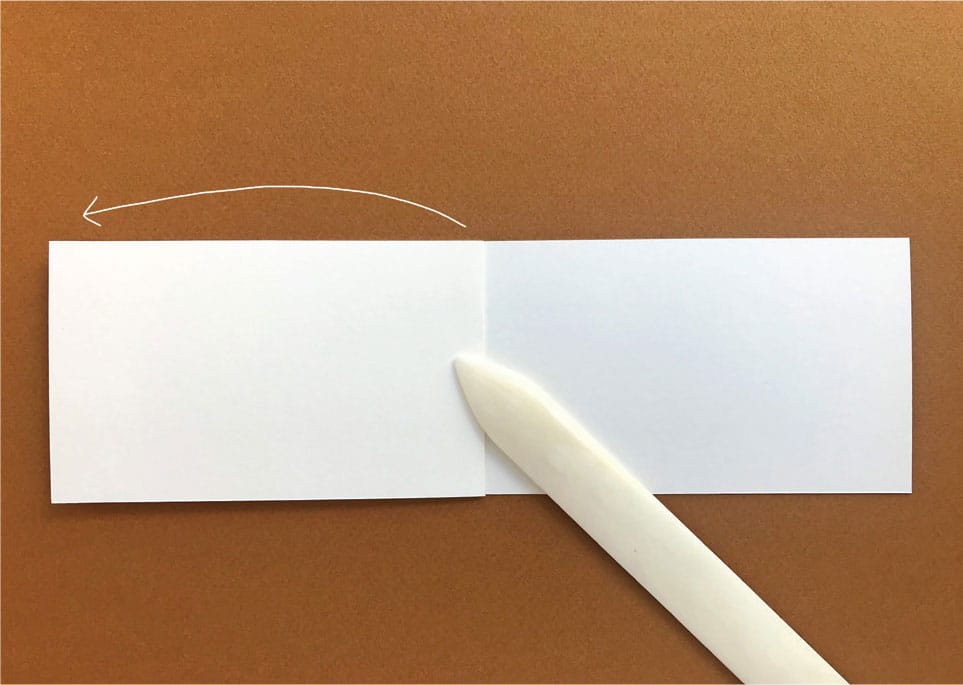
Flip the paper over and make another fold.
4
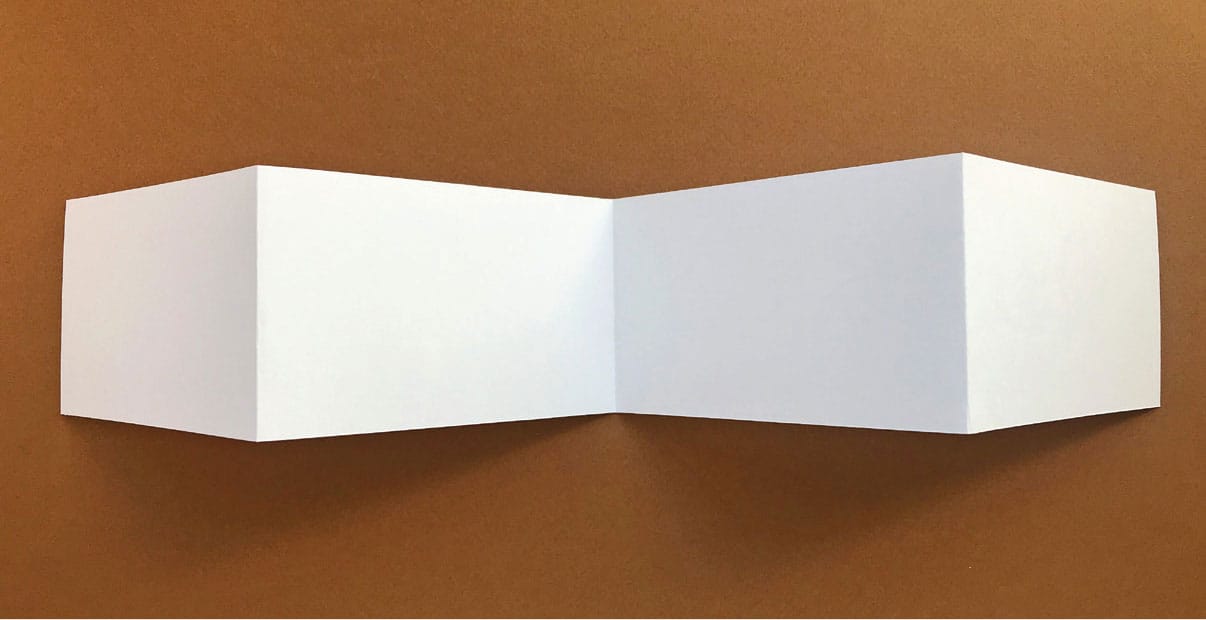
Unfold the paper to display four separate panels.
5
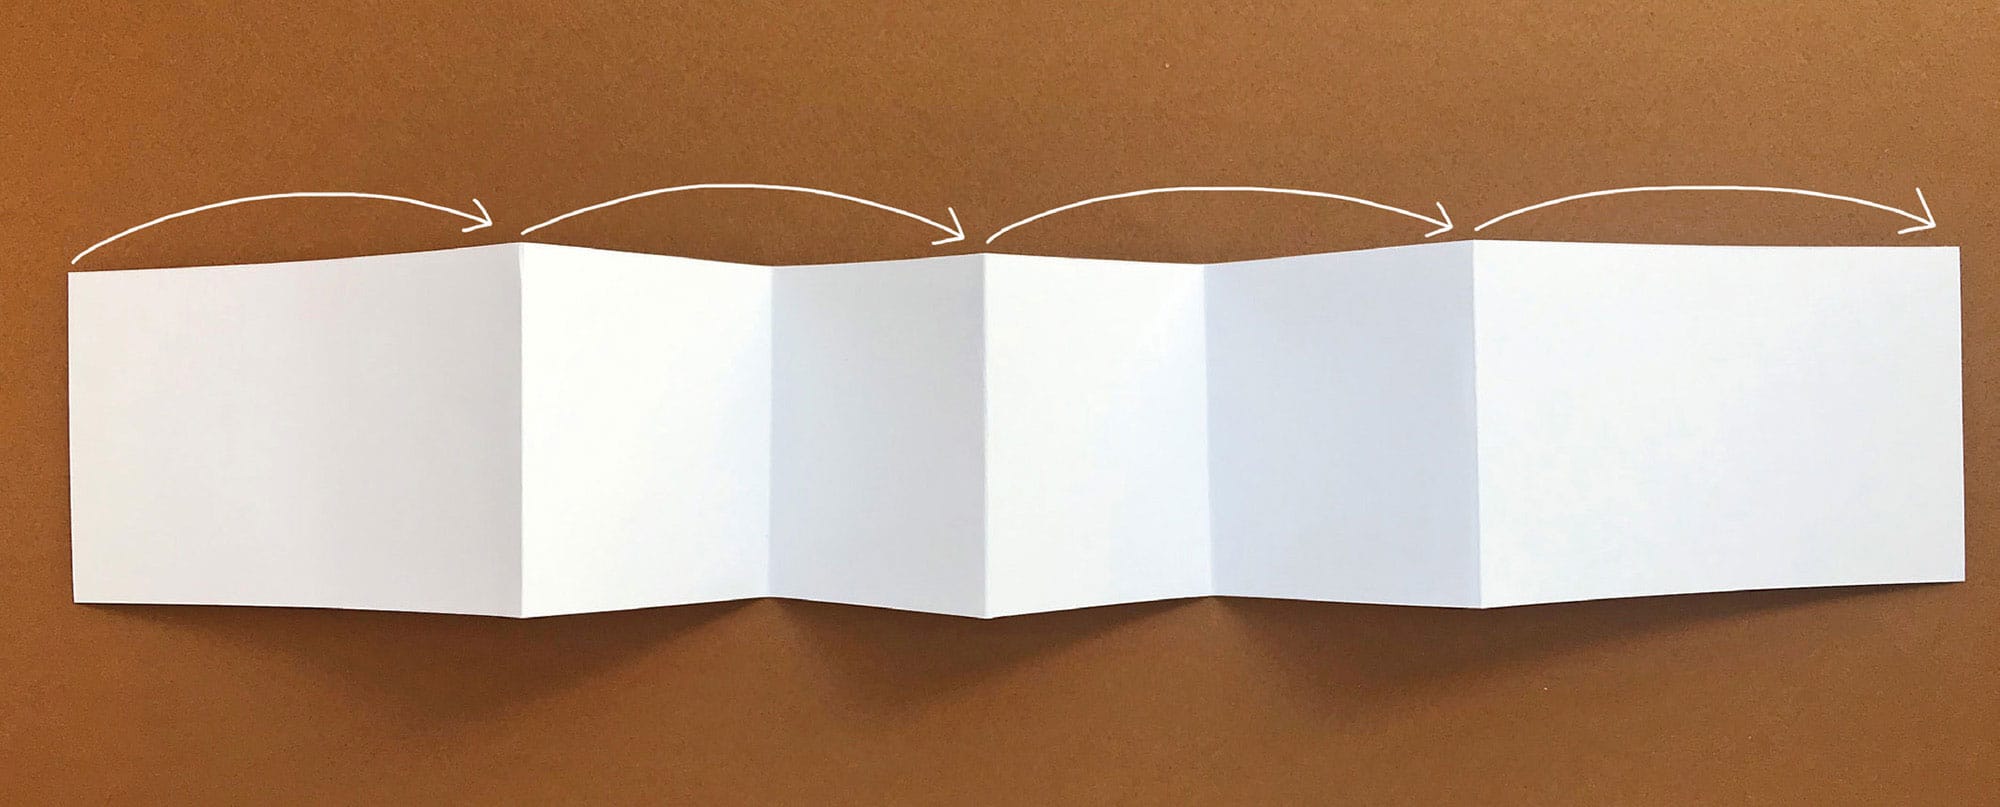
Fold each panel in half one by one to double the number of panels. Use the arrows in this photo as a guide.
6
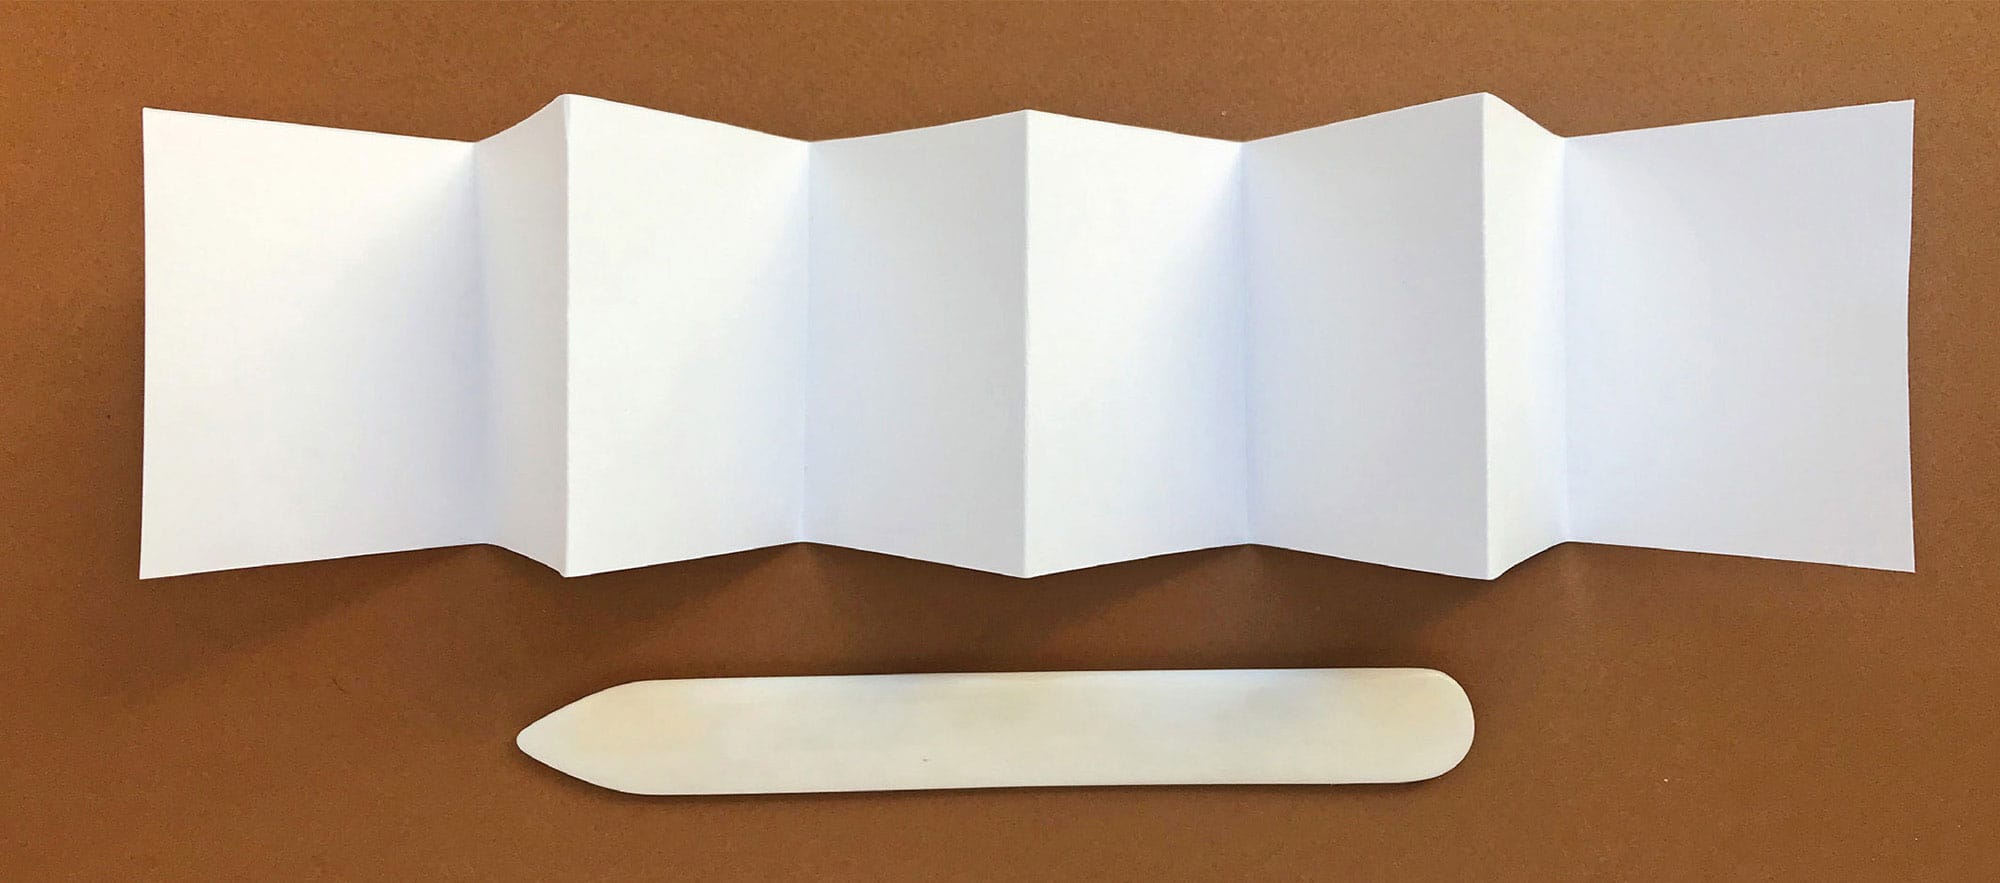
Now your folds are complete!
7
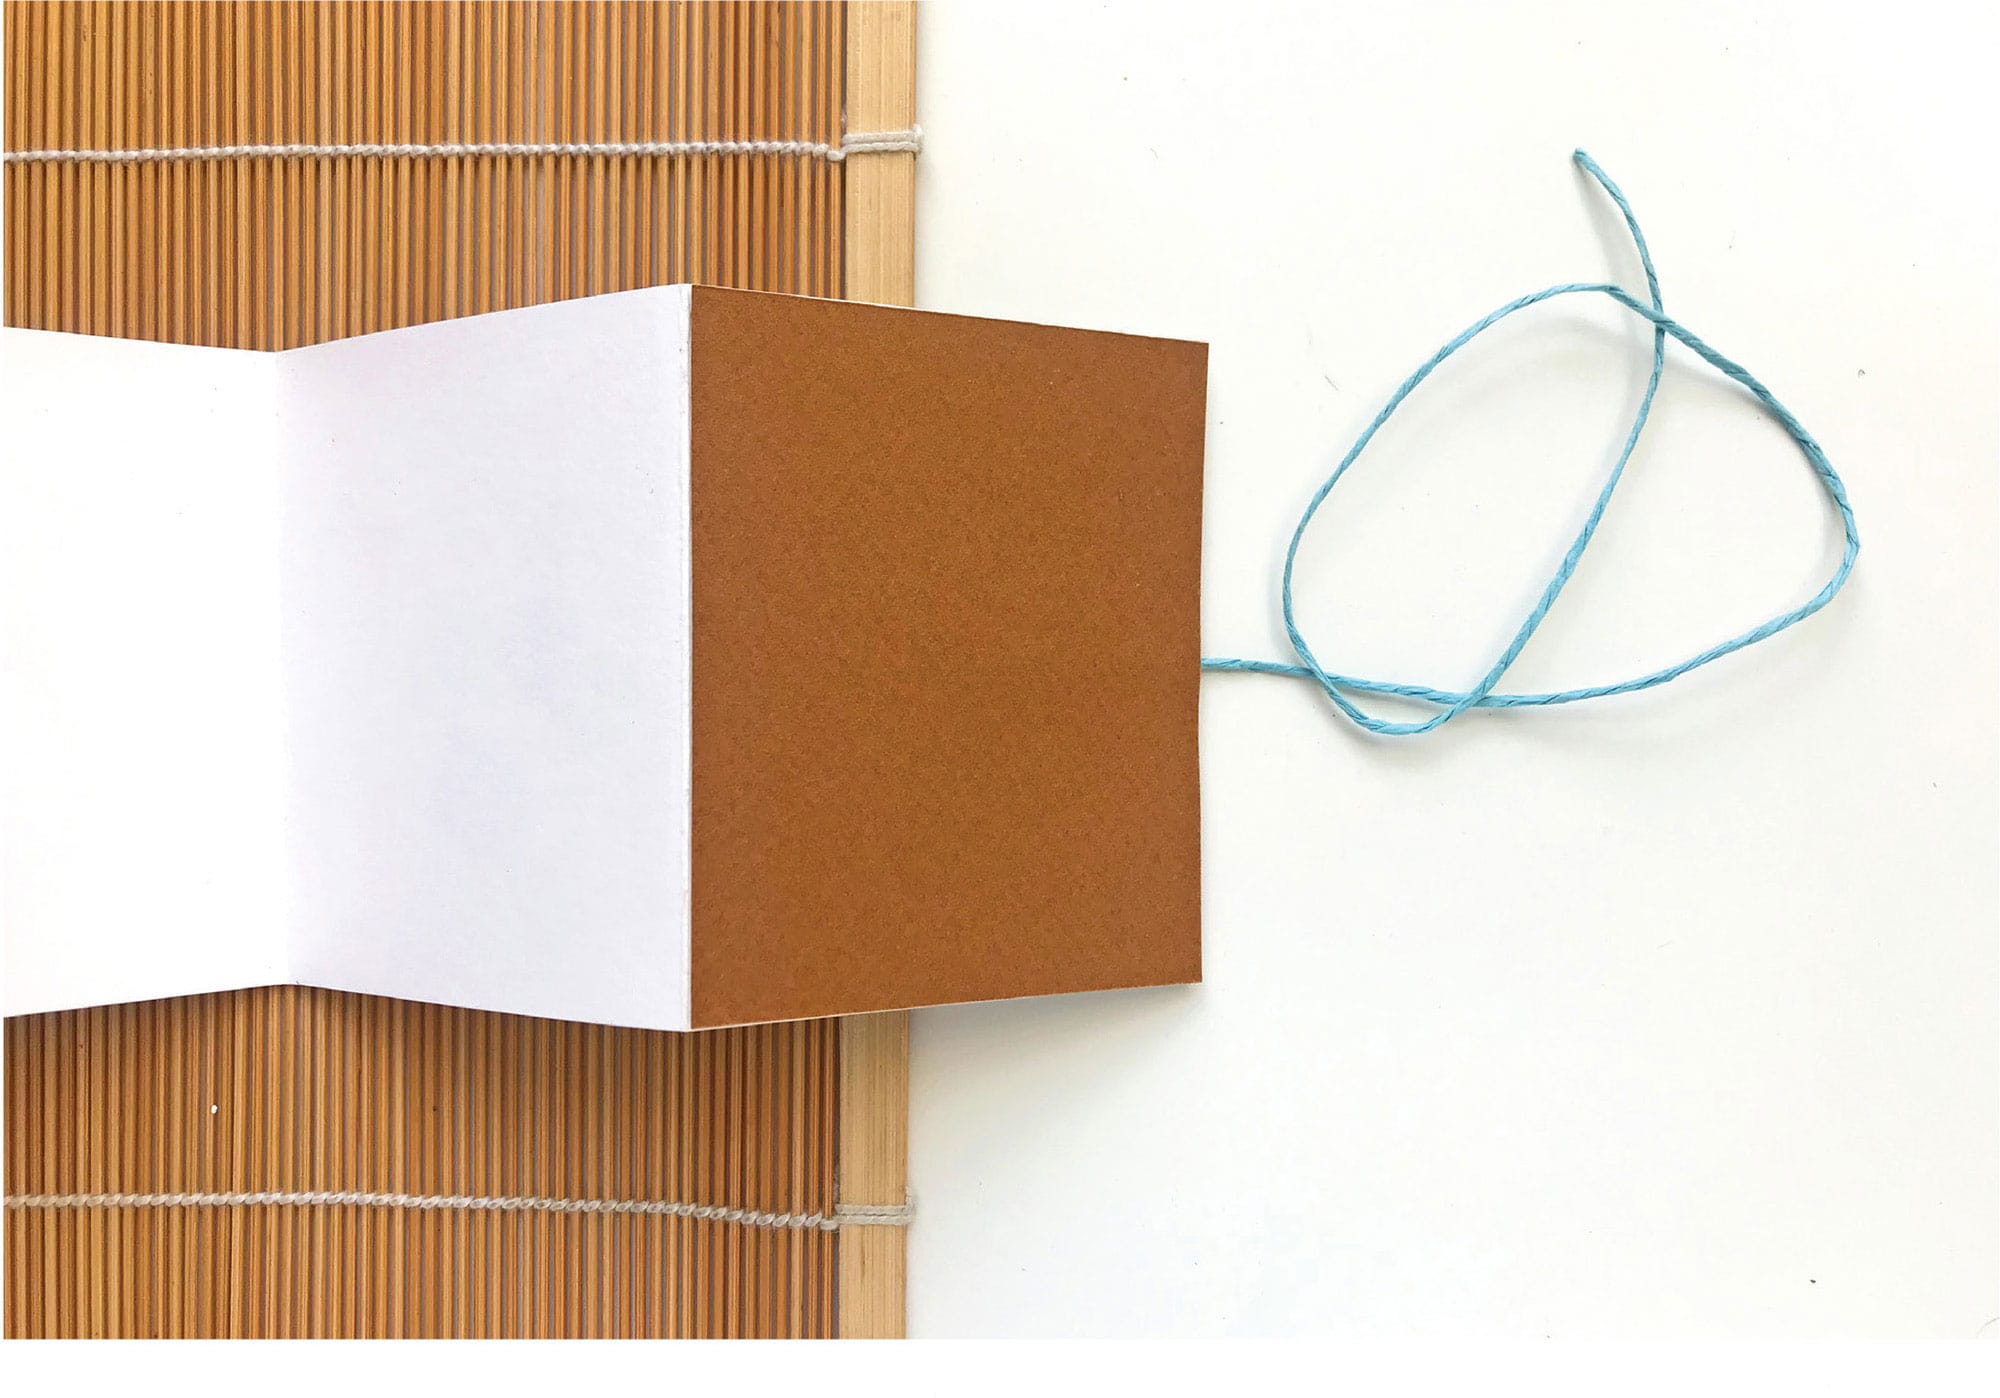
Place double-sided tape on the front panel and peel away the backing. Sandwich the edge of the twine or ribbon between the panel and a sheet of colored paper, and tape it down. This will become the book’s front cover. Then flip it over and repeat on the back cover.
8
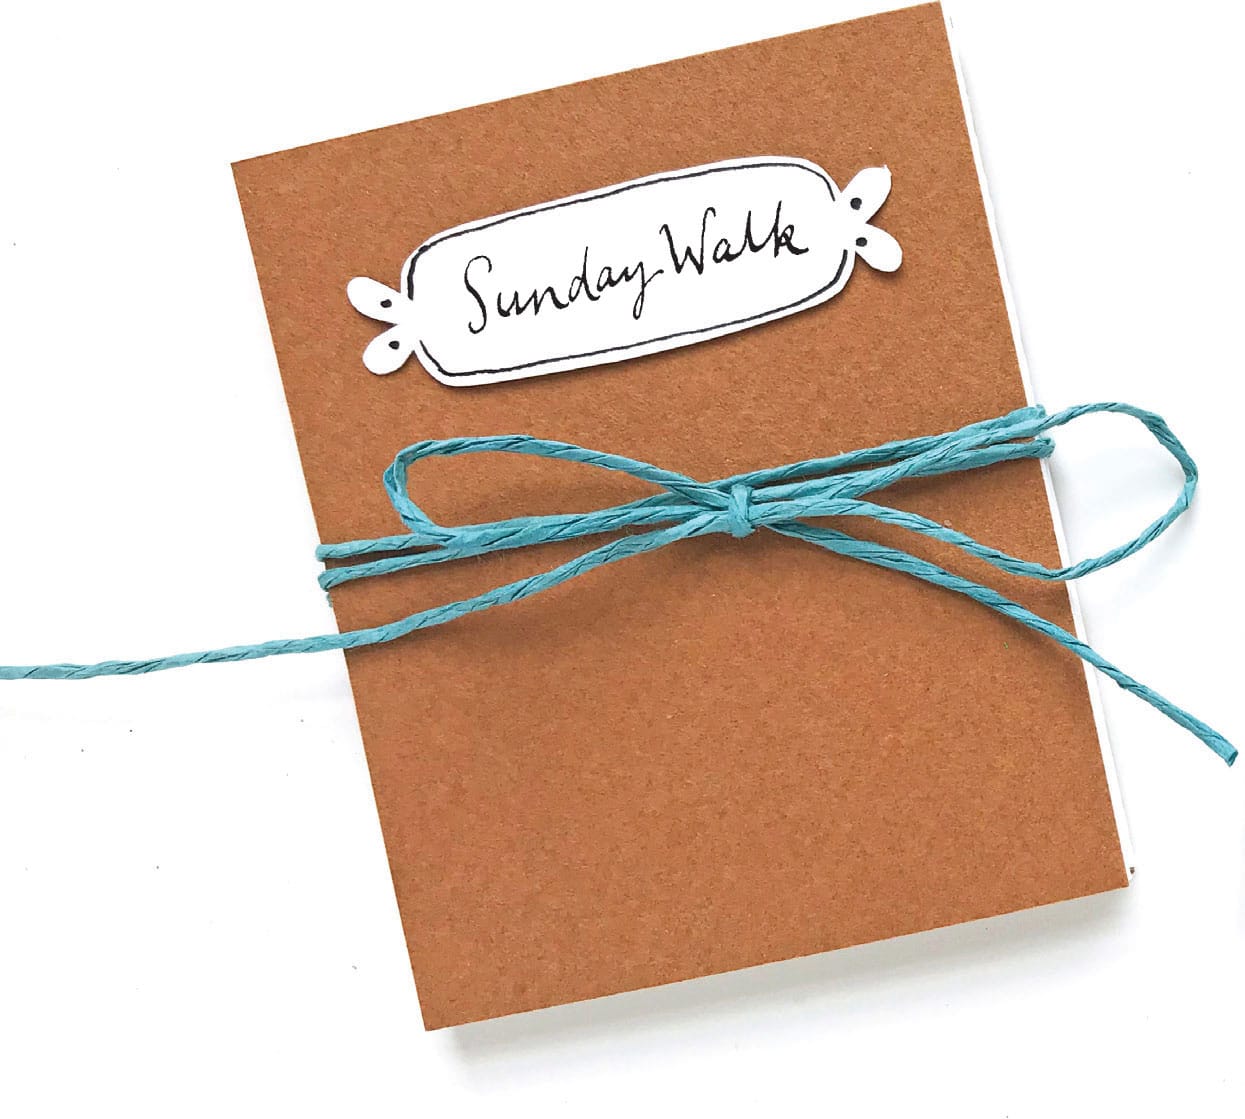
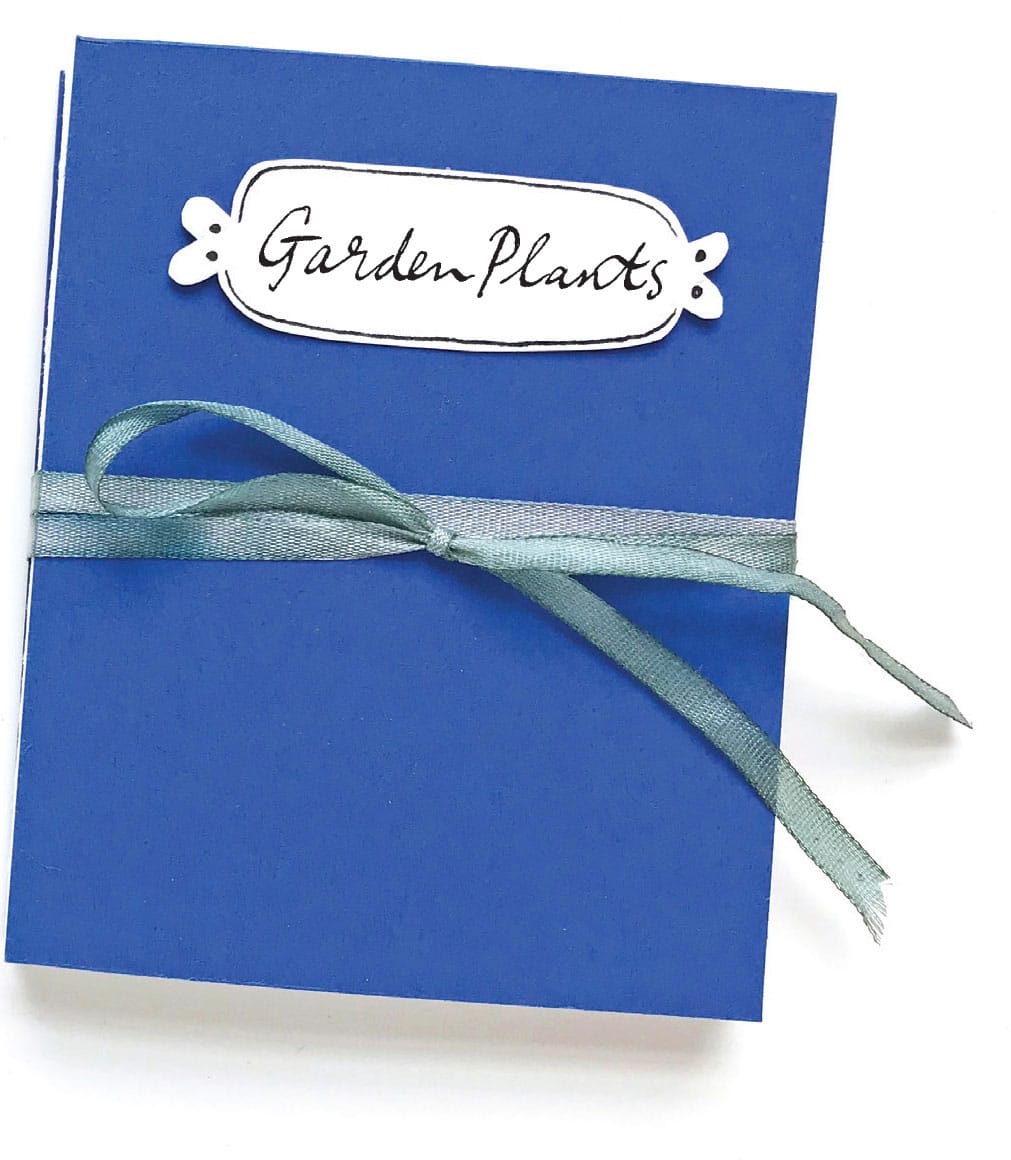
Make a title panel for your book using a small piece of card stock; then hand letter the title.
9
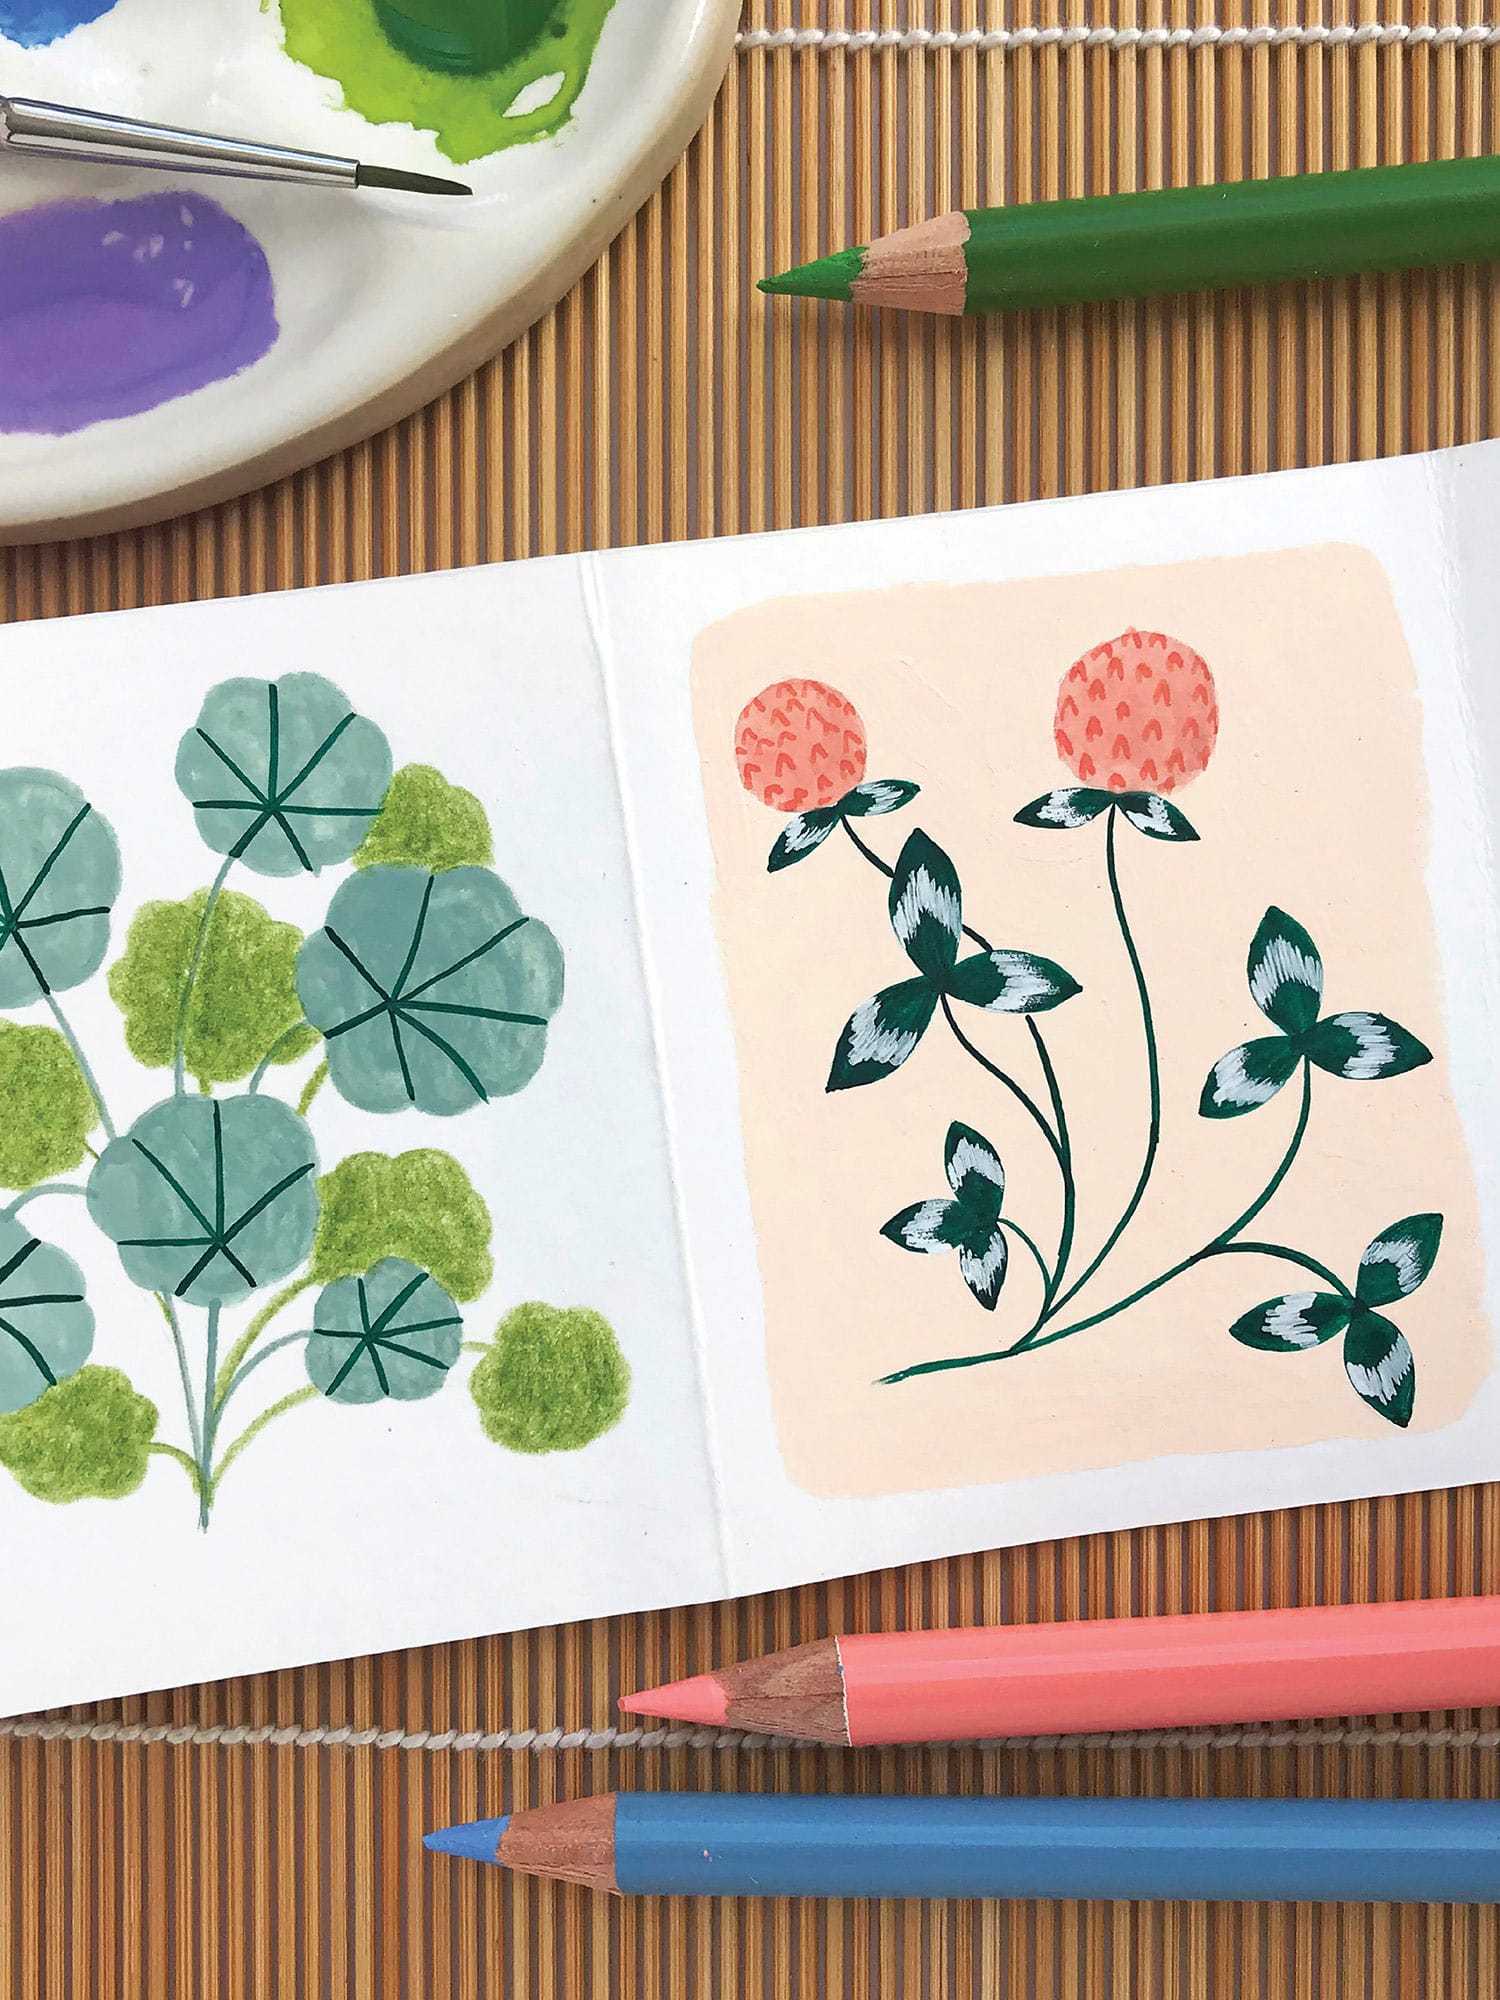
(Opposite) Fill in the panels of your concertina book. Draw or paint one plant per panel using your chosen medium.
10
Underneath each plant, you can write details, such as the plant’s name, the date you saw it, or other personal notes. And now your concertina book is complete!
CARD & ENVELOPE
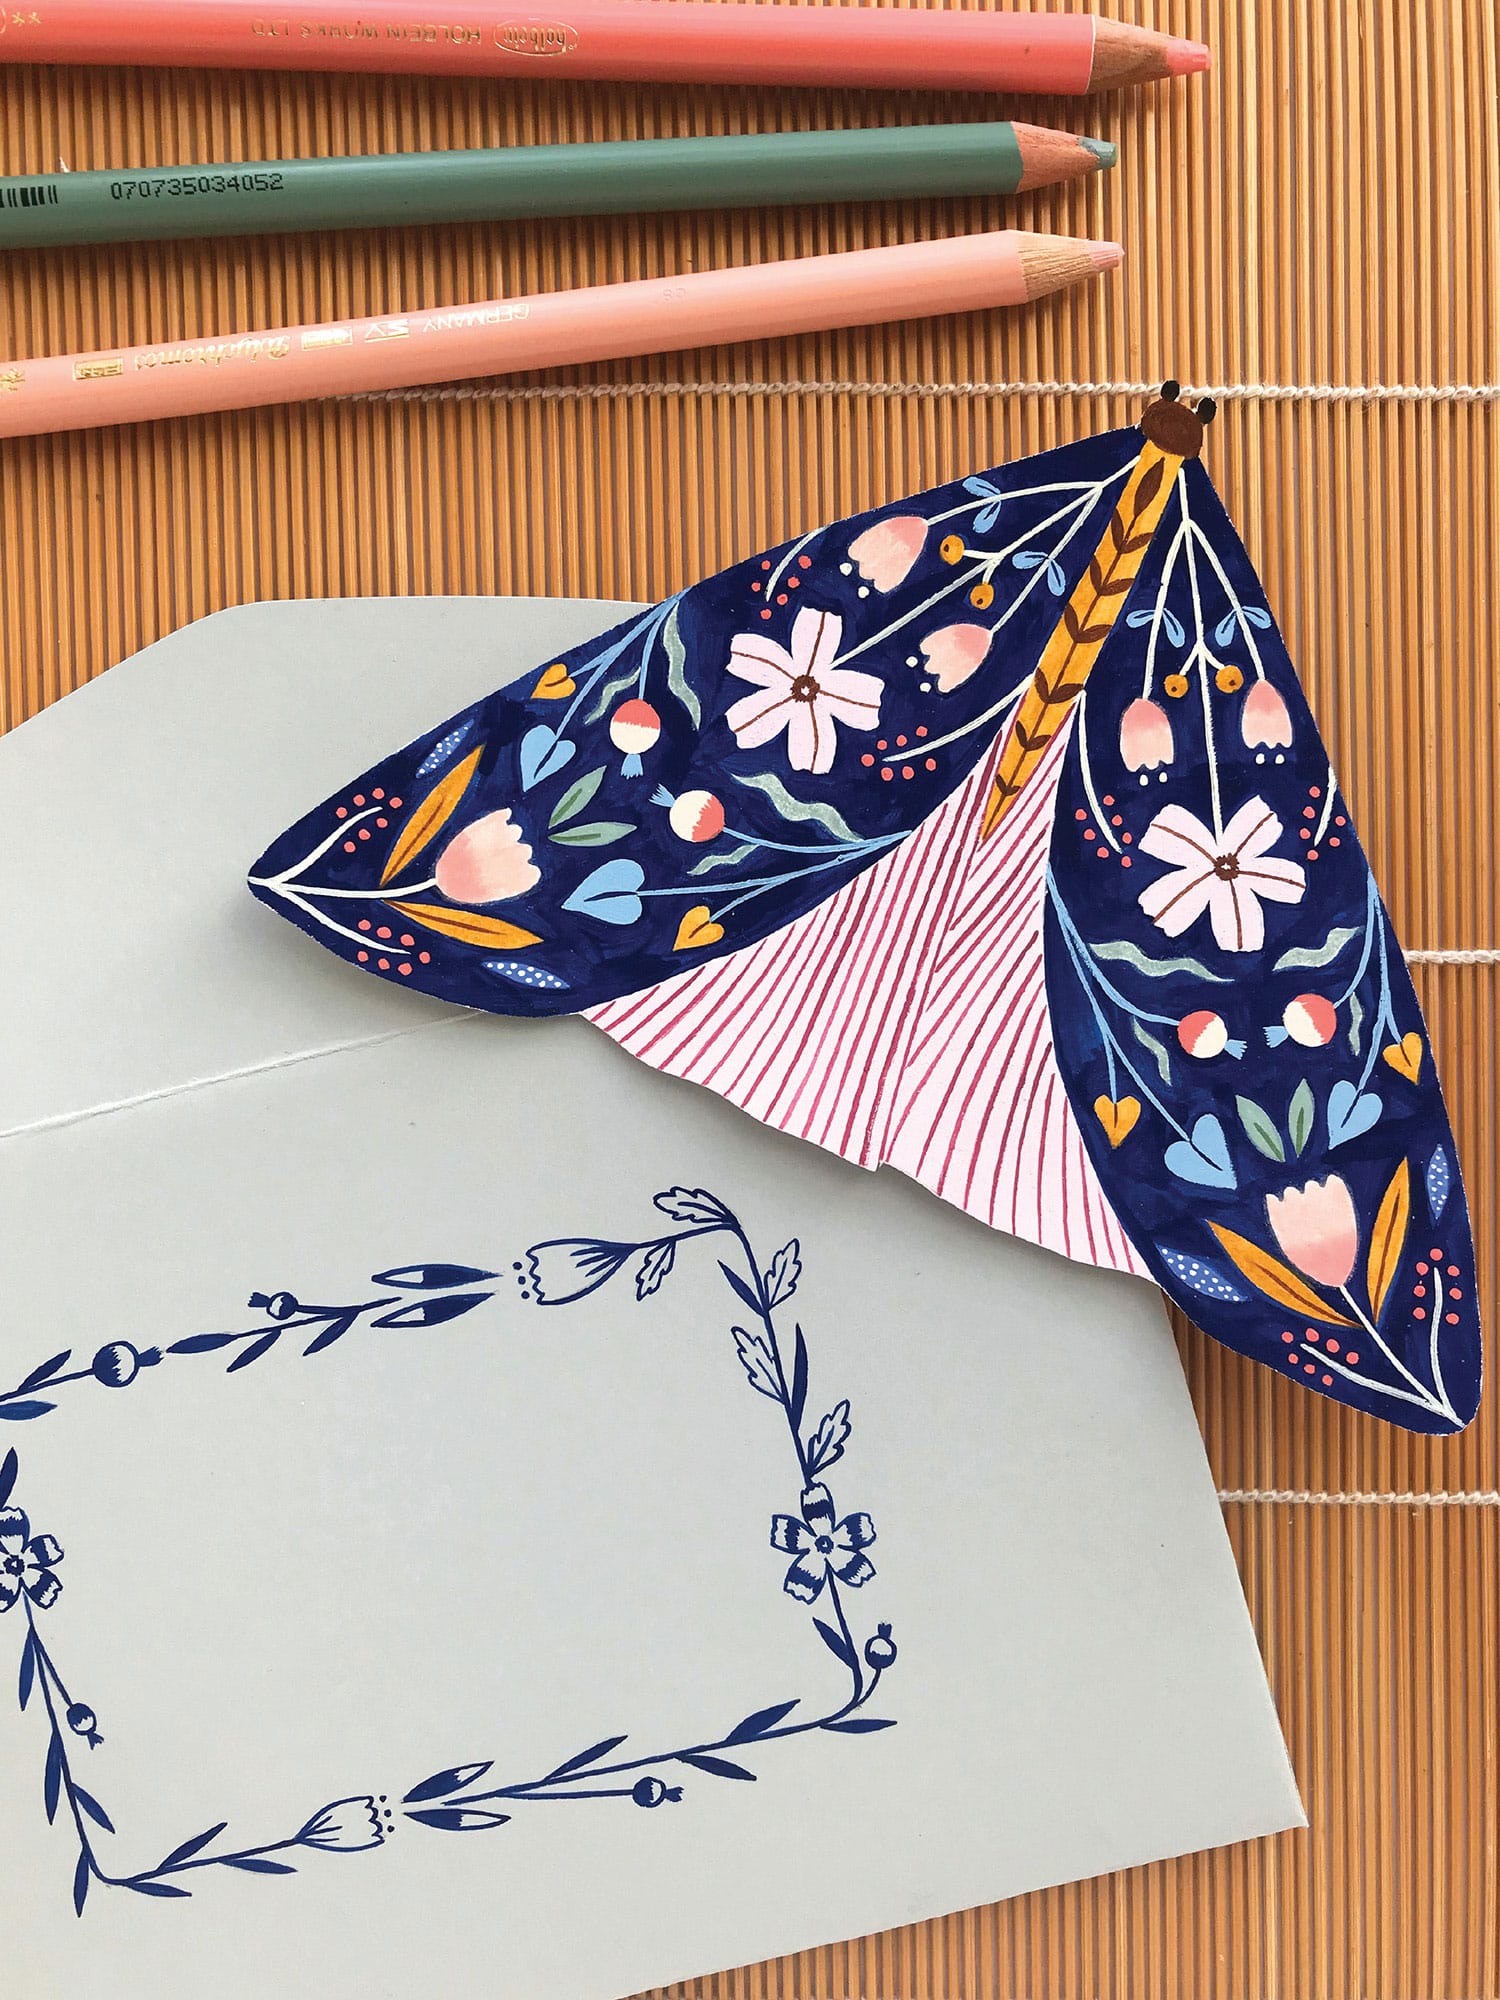
Using some of the moths you practiced drawing for the exercises in this book (see here and here), let’s make a sweet card to give to a friend or relative. Complement it with a decorative handmade envelope for a personal touch!
1
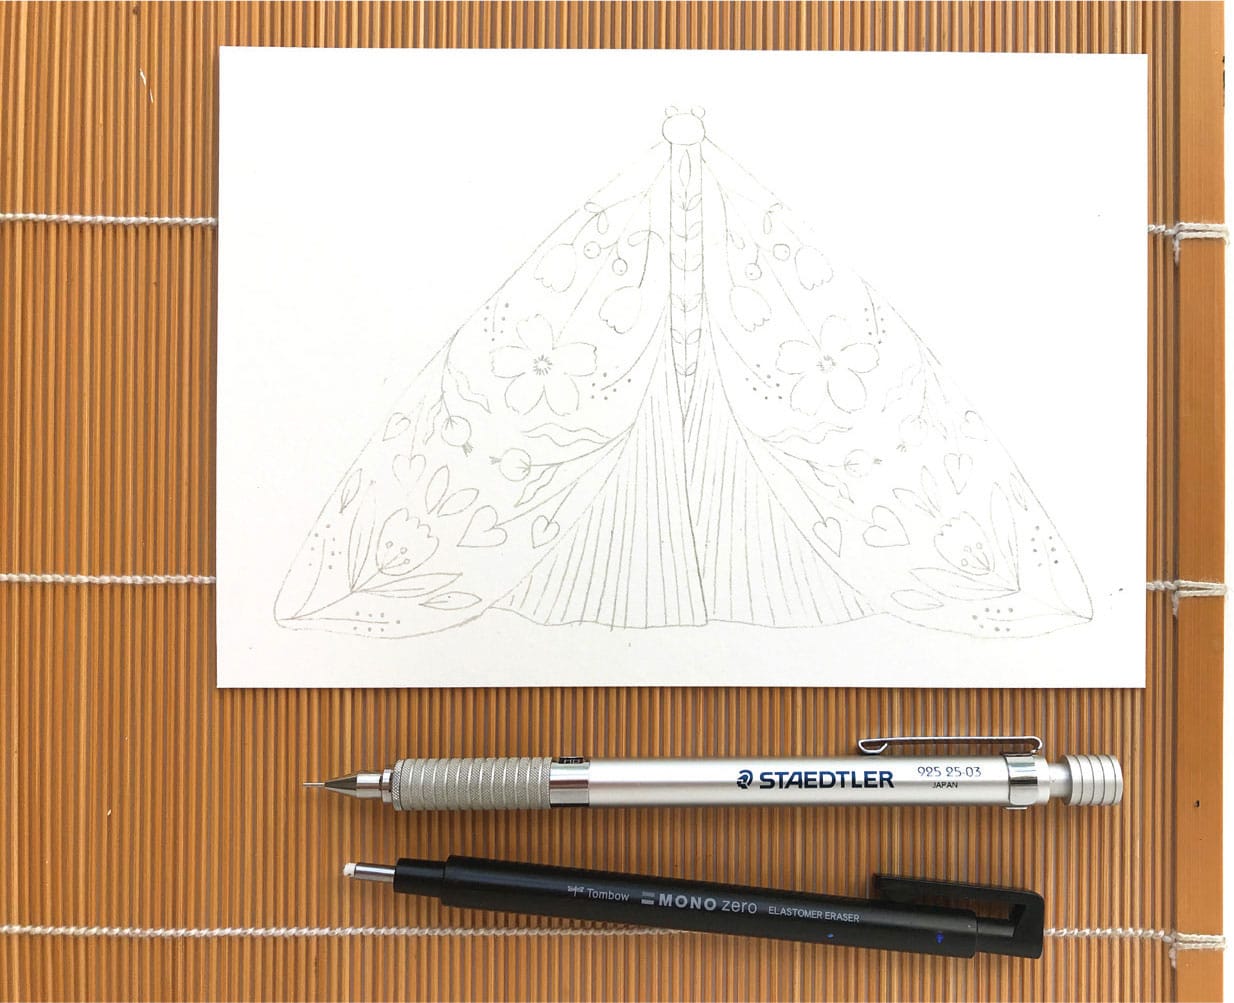
Draw the outline of a moth onto the white card stock. Lightly draw the body, as well as a symmetrical floral pattern on the wings.
2
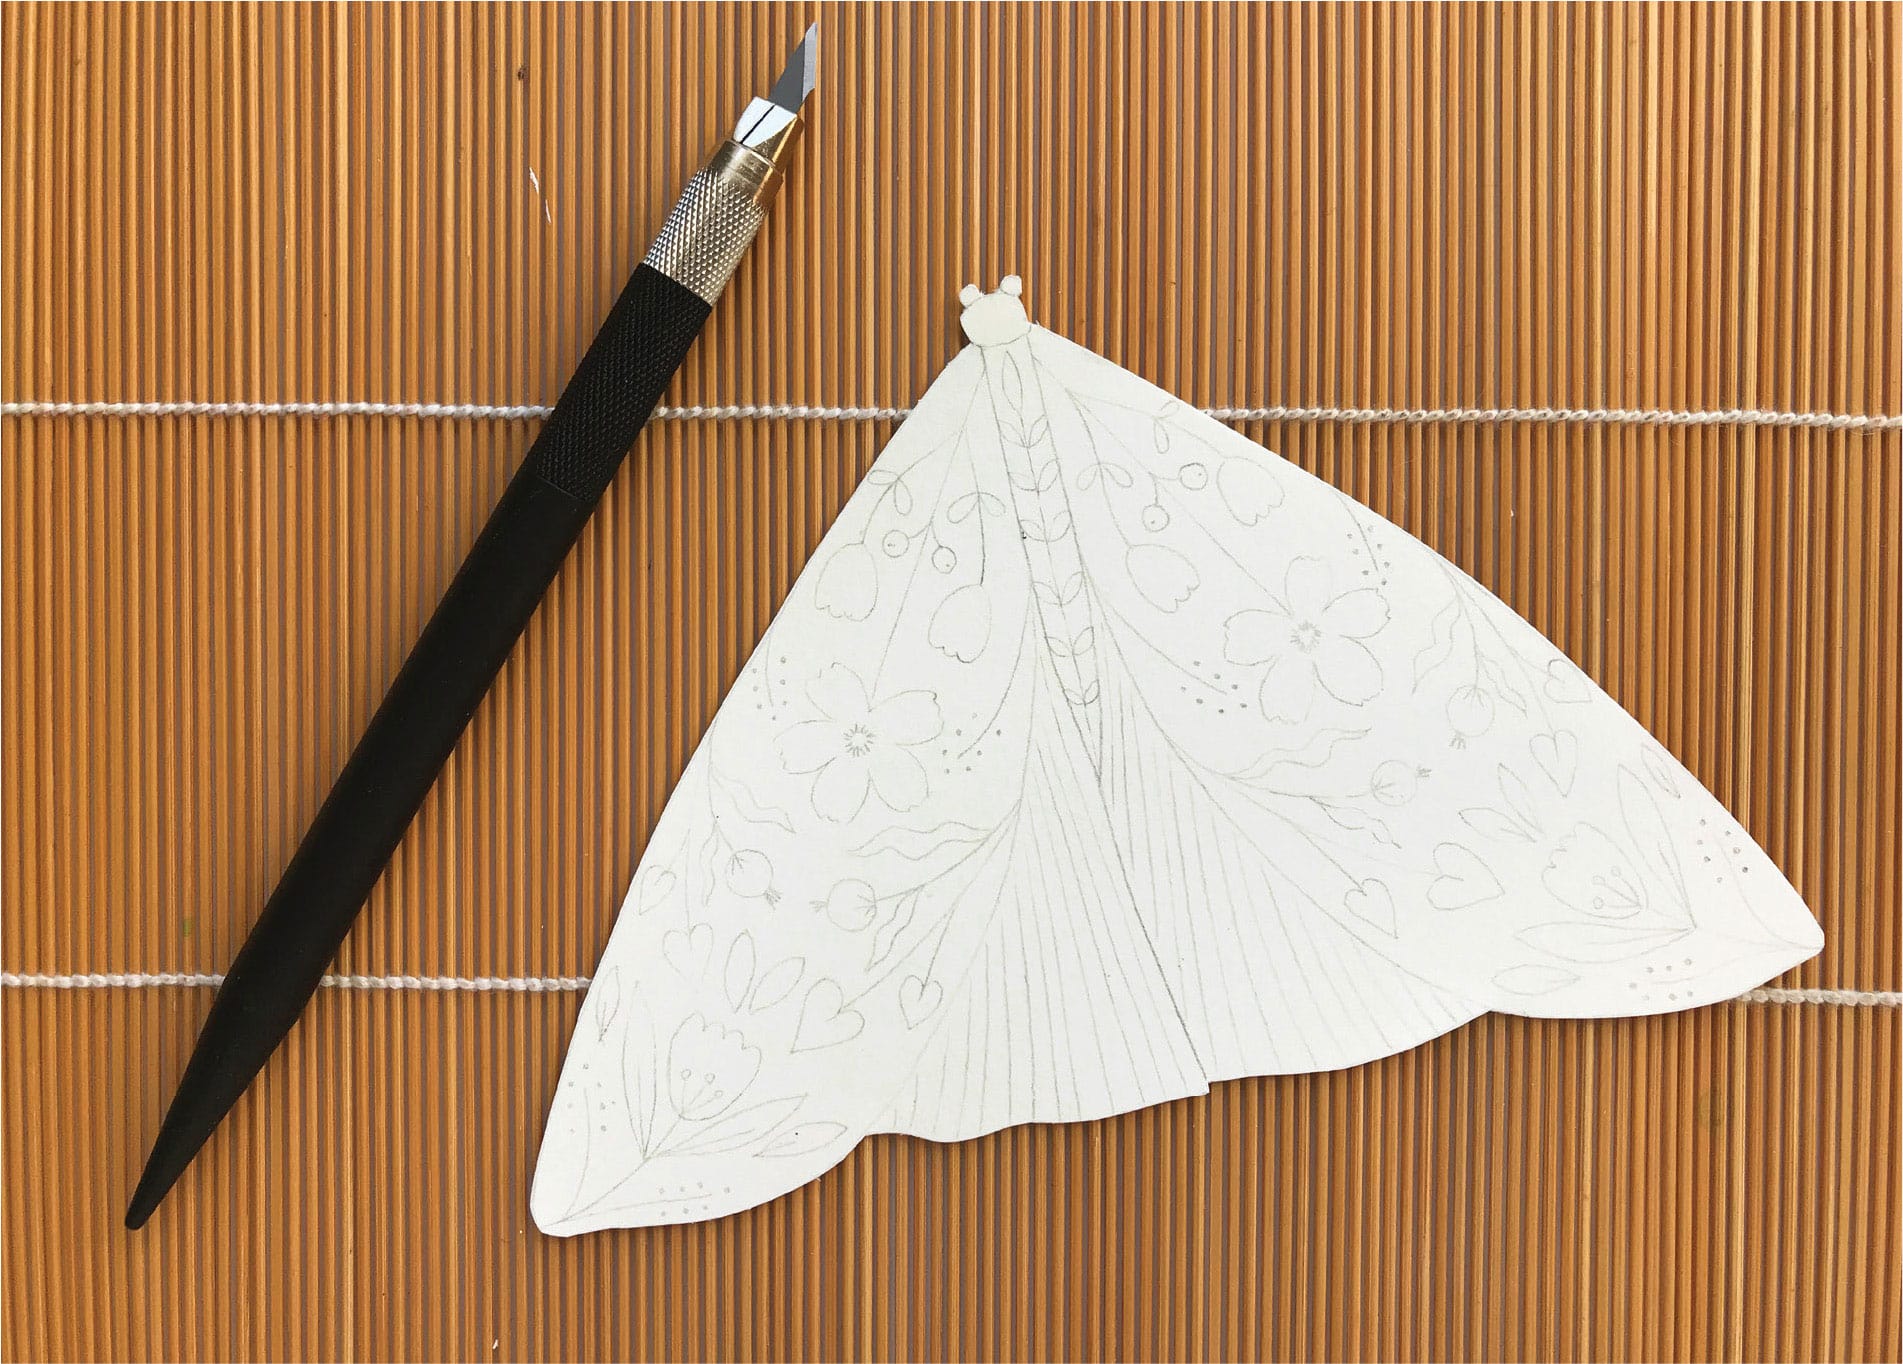
Cut out the moth using scissors or a utility knife.
3
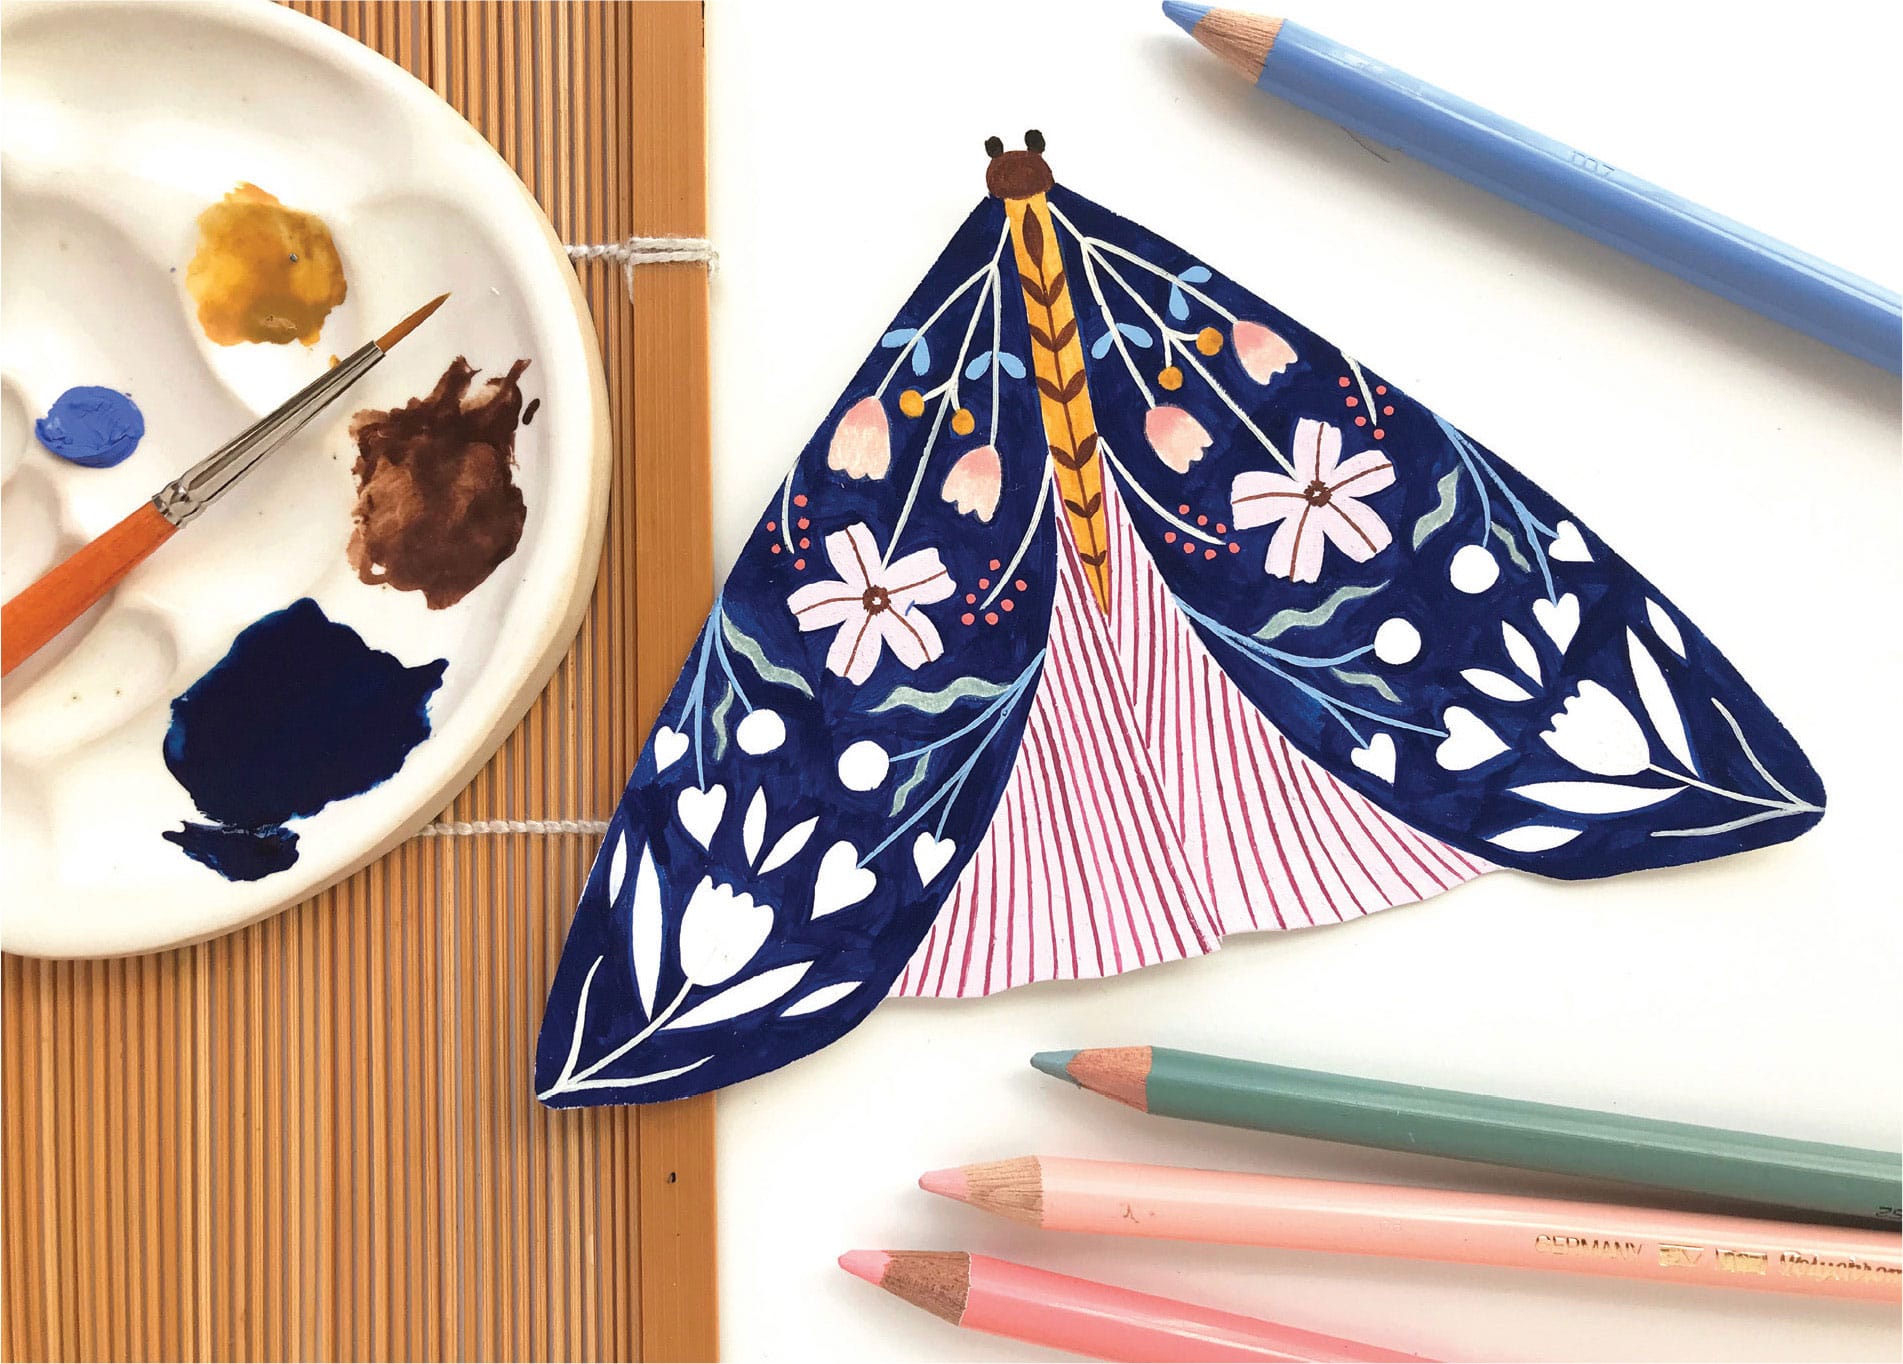
Color in the moth with gouache and colored pencils. Then you can write a sweet message to the recipient on the back.
Envelope
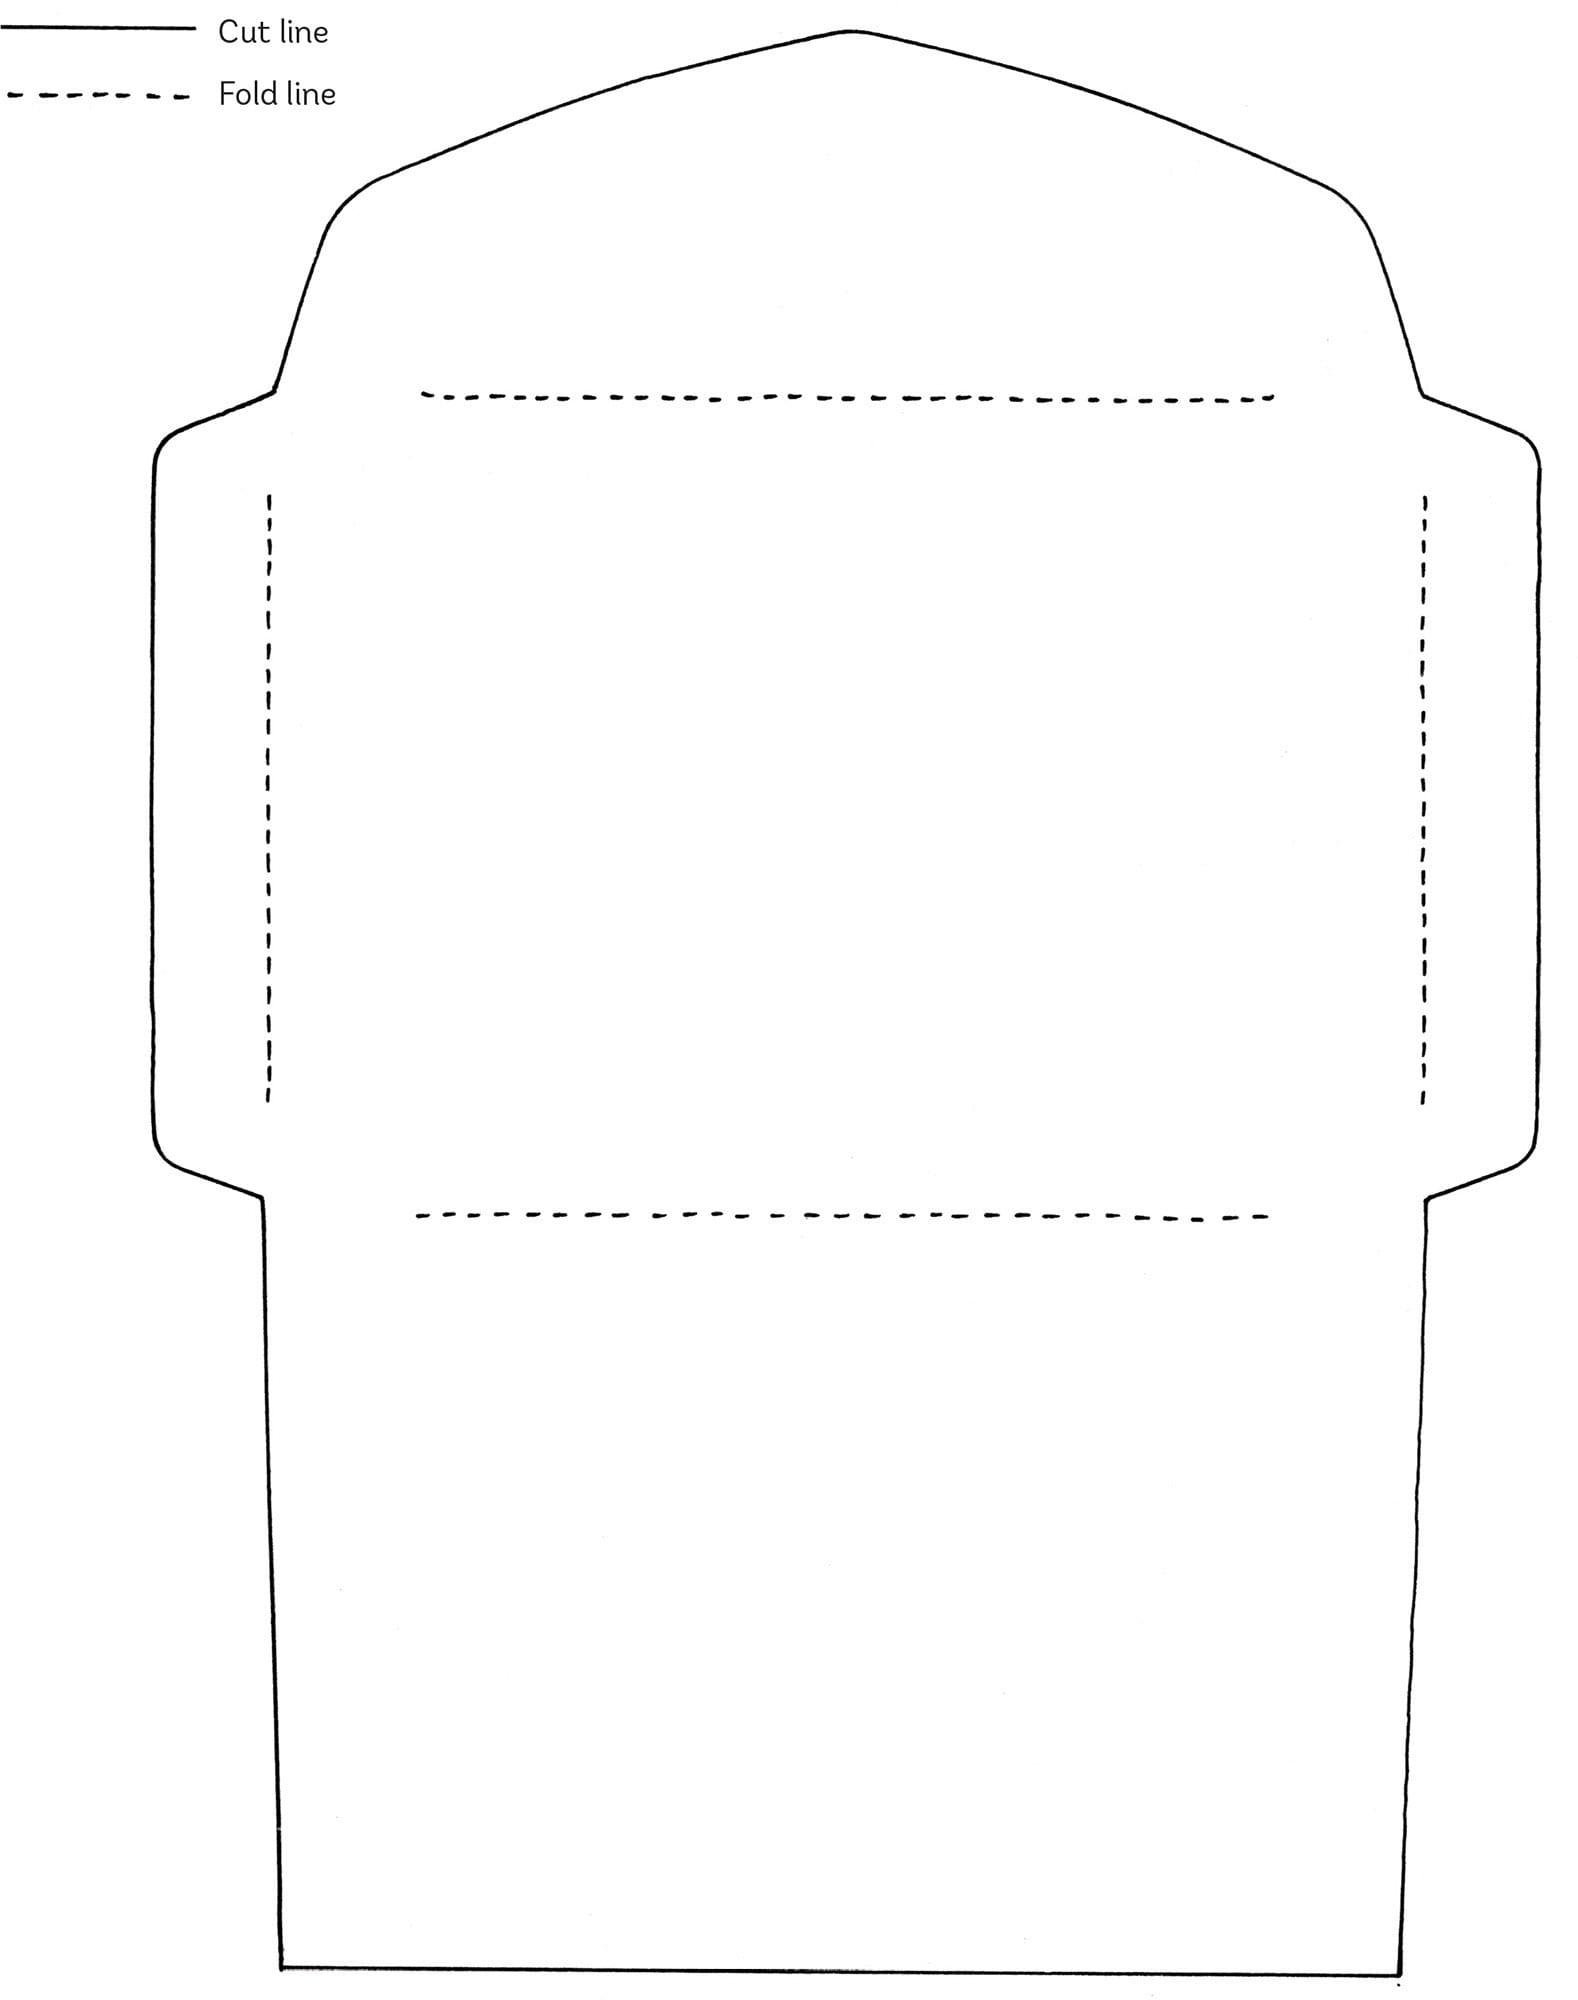
Now, make an envelope using a sheet of colored paper. Photocopy or scan and print the template provided, or draw your own outline. Then place the template on a light box or window and put the colored paper on top. Trace the template and cut it out. Then use the following steps to make an envelope, applying a bone folder tool to all folds.
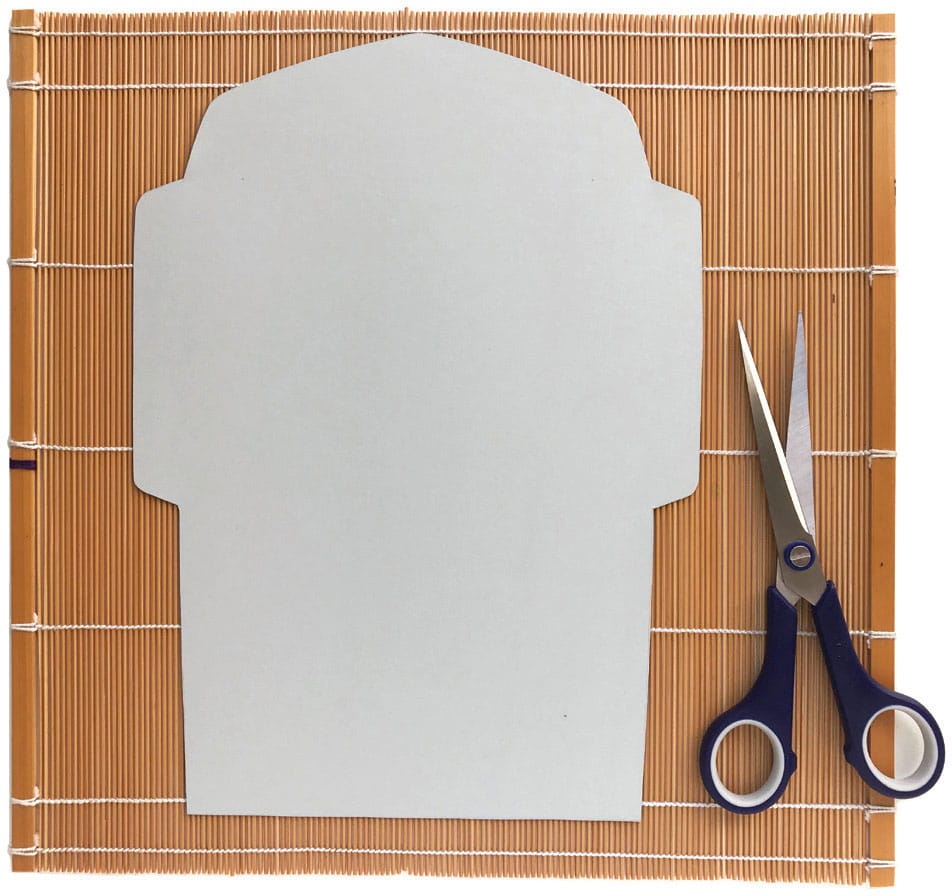
4
Cut out the shape of the envelope.
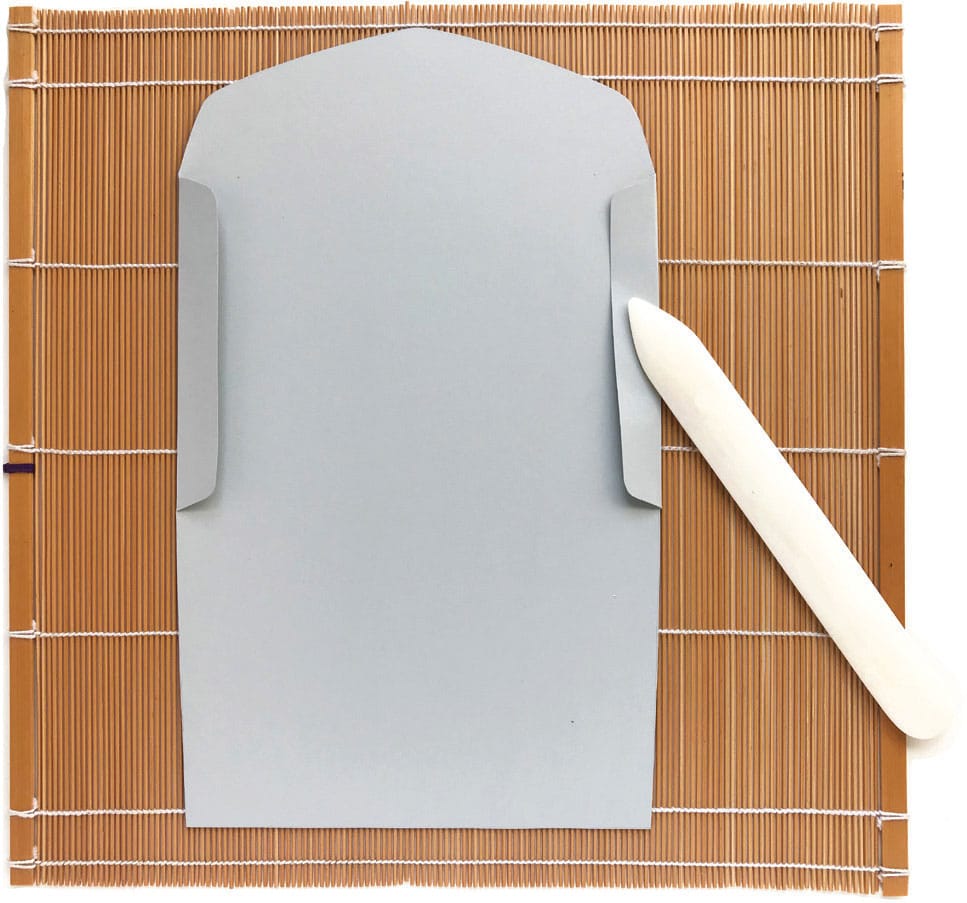
5
Using the bone folder tool, fold the side flaps inward.
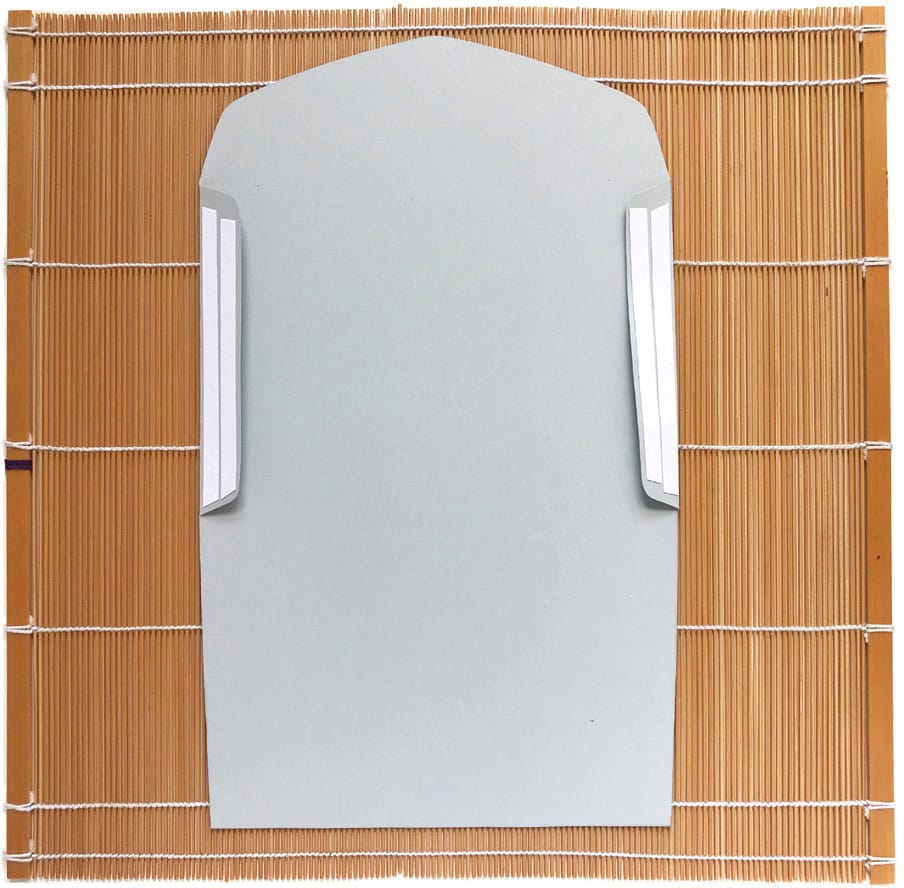
6
Place double-sided tape on the side flaps.
7
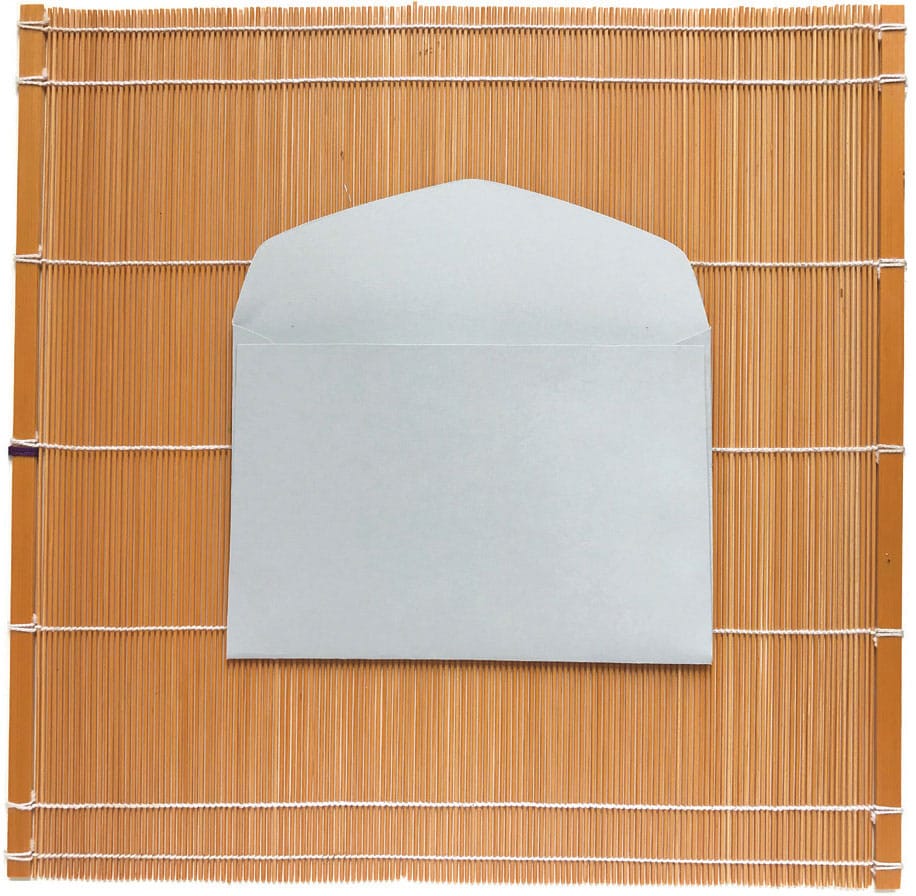
Fold up the bottom flap onto the double-sided tape.
8
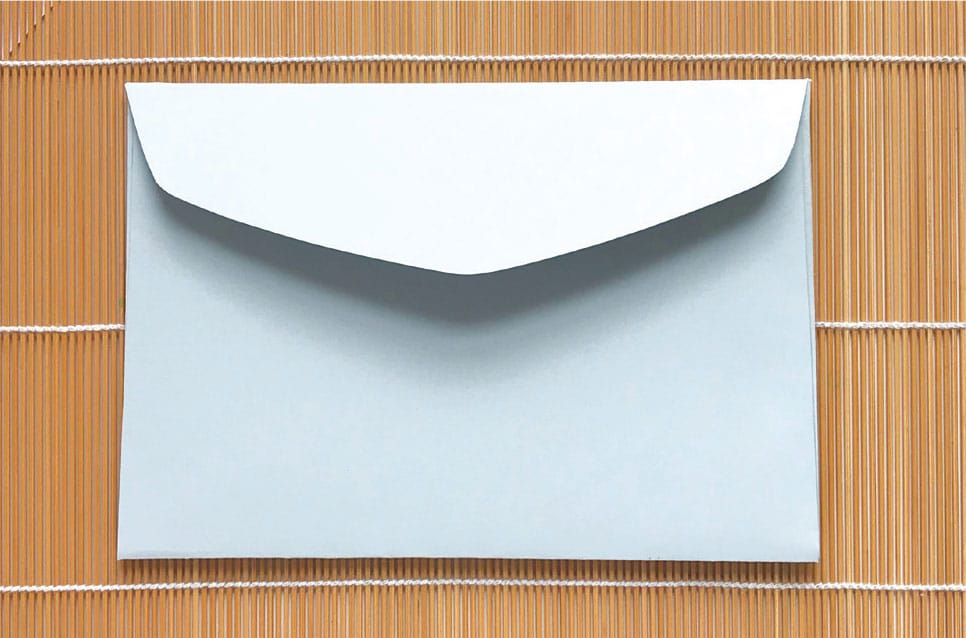
Fold down the top flap.
9
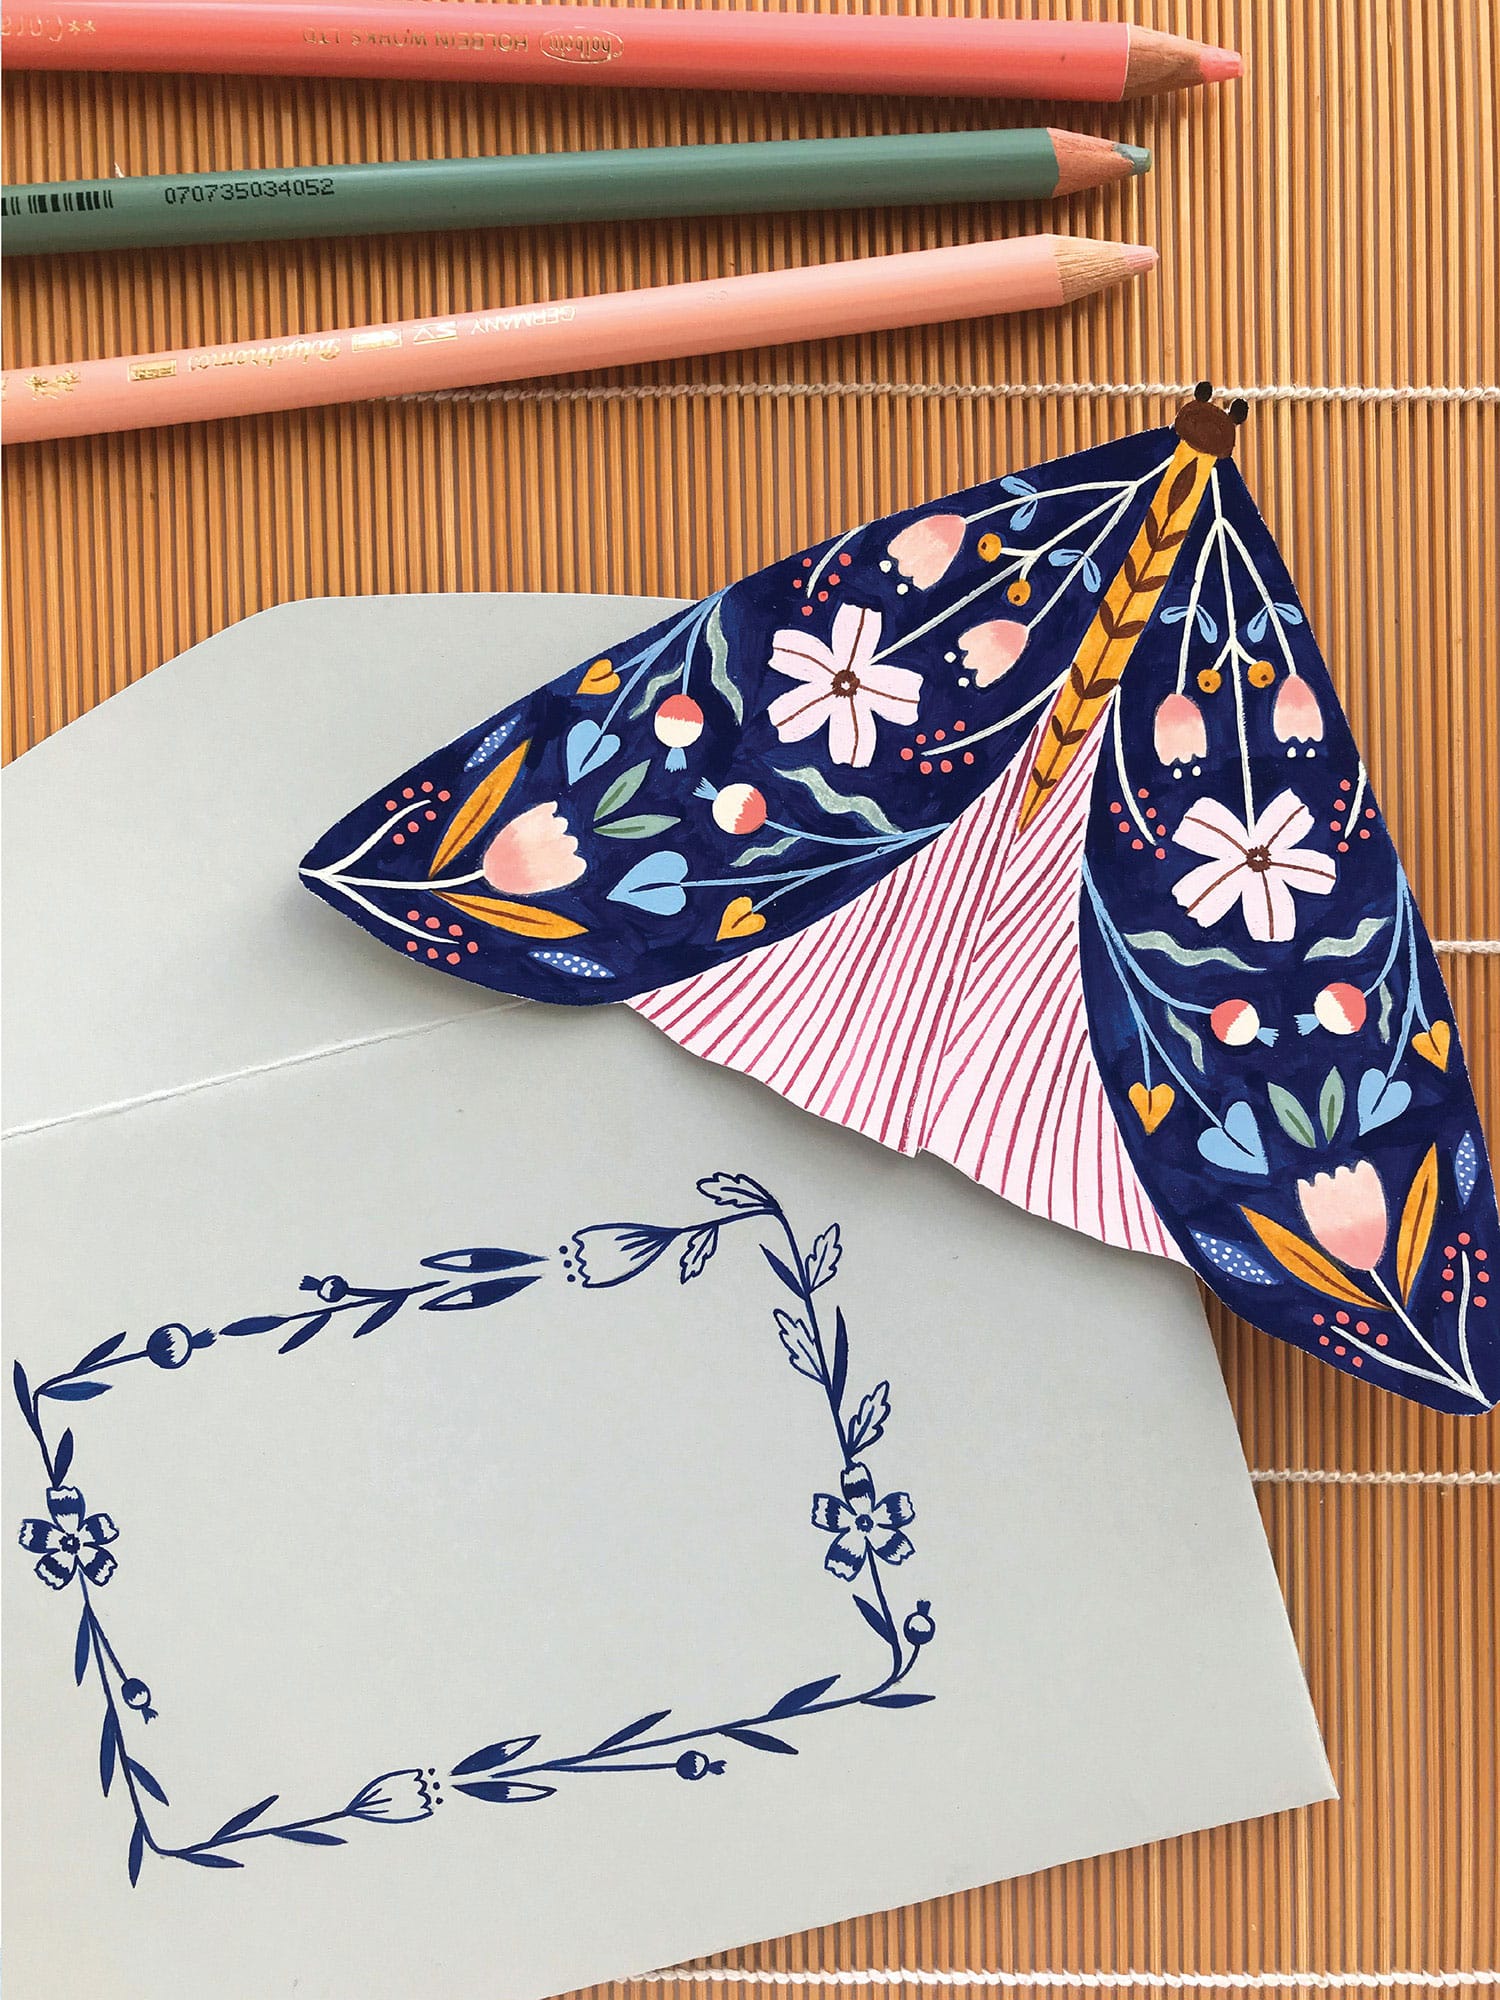
Now, back to the moth card! Decorate the front of the envelope with a frame to go around the recipient’s name and address. If using paint, choose acrylic or an acrylic-based gouache so that it is water-resistant once dry.

10
Your beautiful moth card and envelope are now ready to send!
BOOKMARK
Bookmarks are useful items that make lovely gifts as well. Using black gouache and a fine-tipped brush, create your own house-shaped bookmark featuring lots of small details and patterns.
1
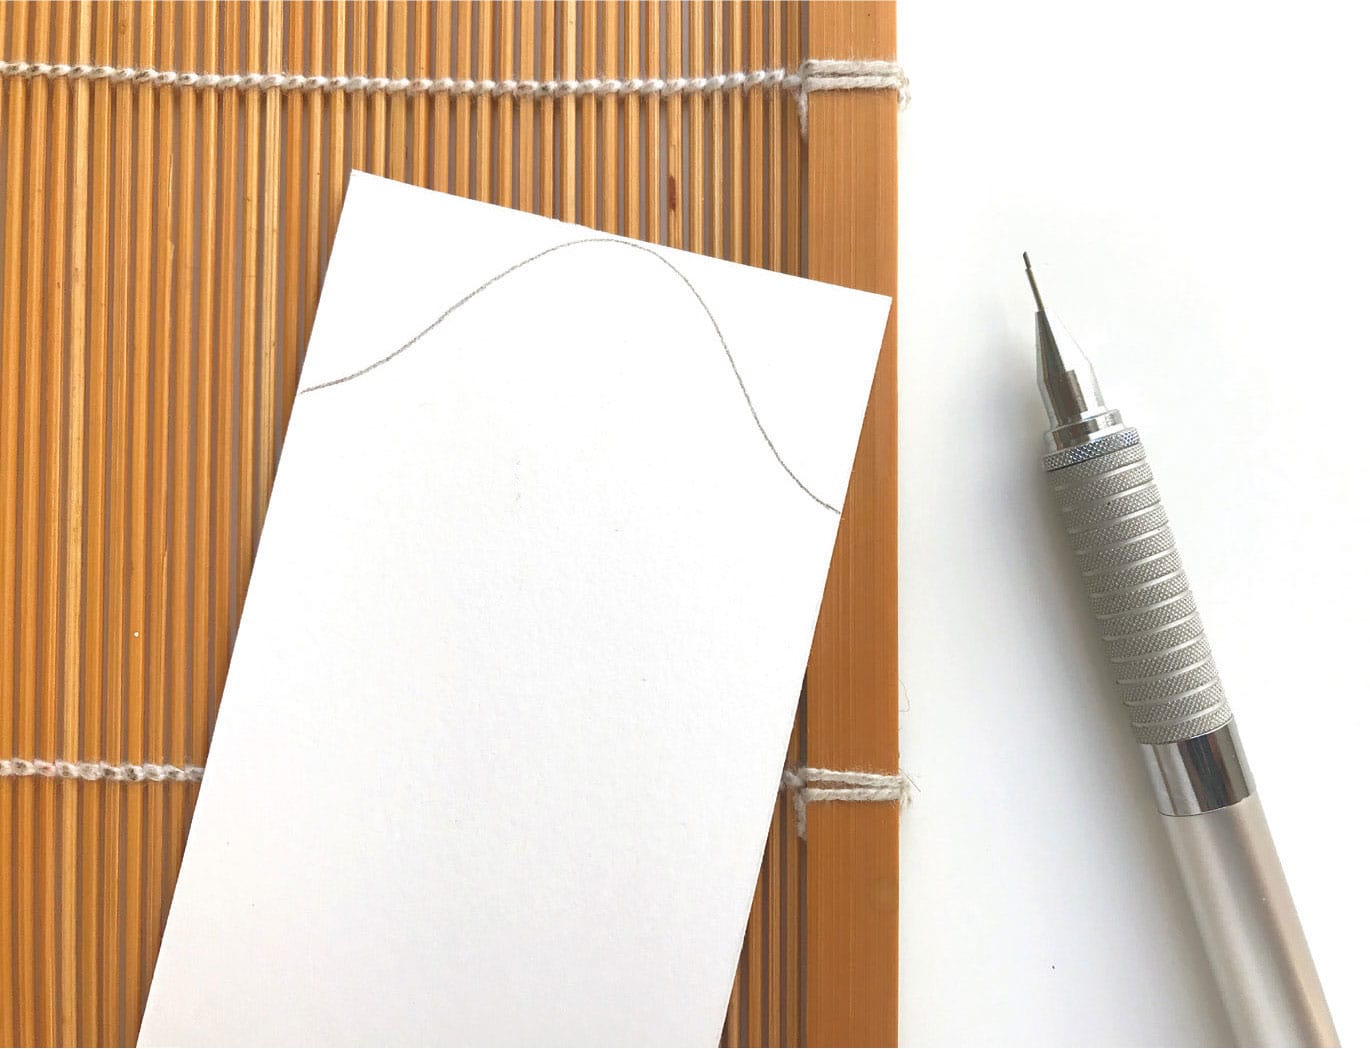
At the top of the card stock, draw a pointed roof.
2
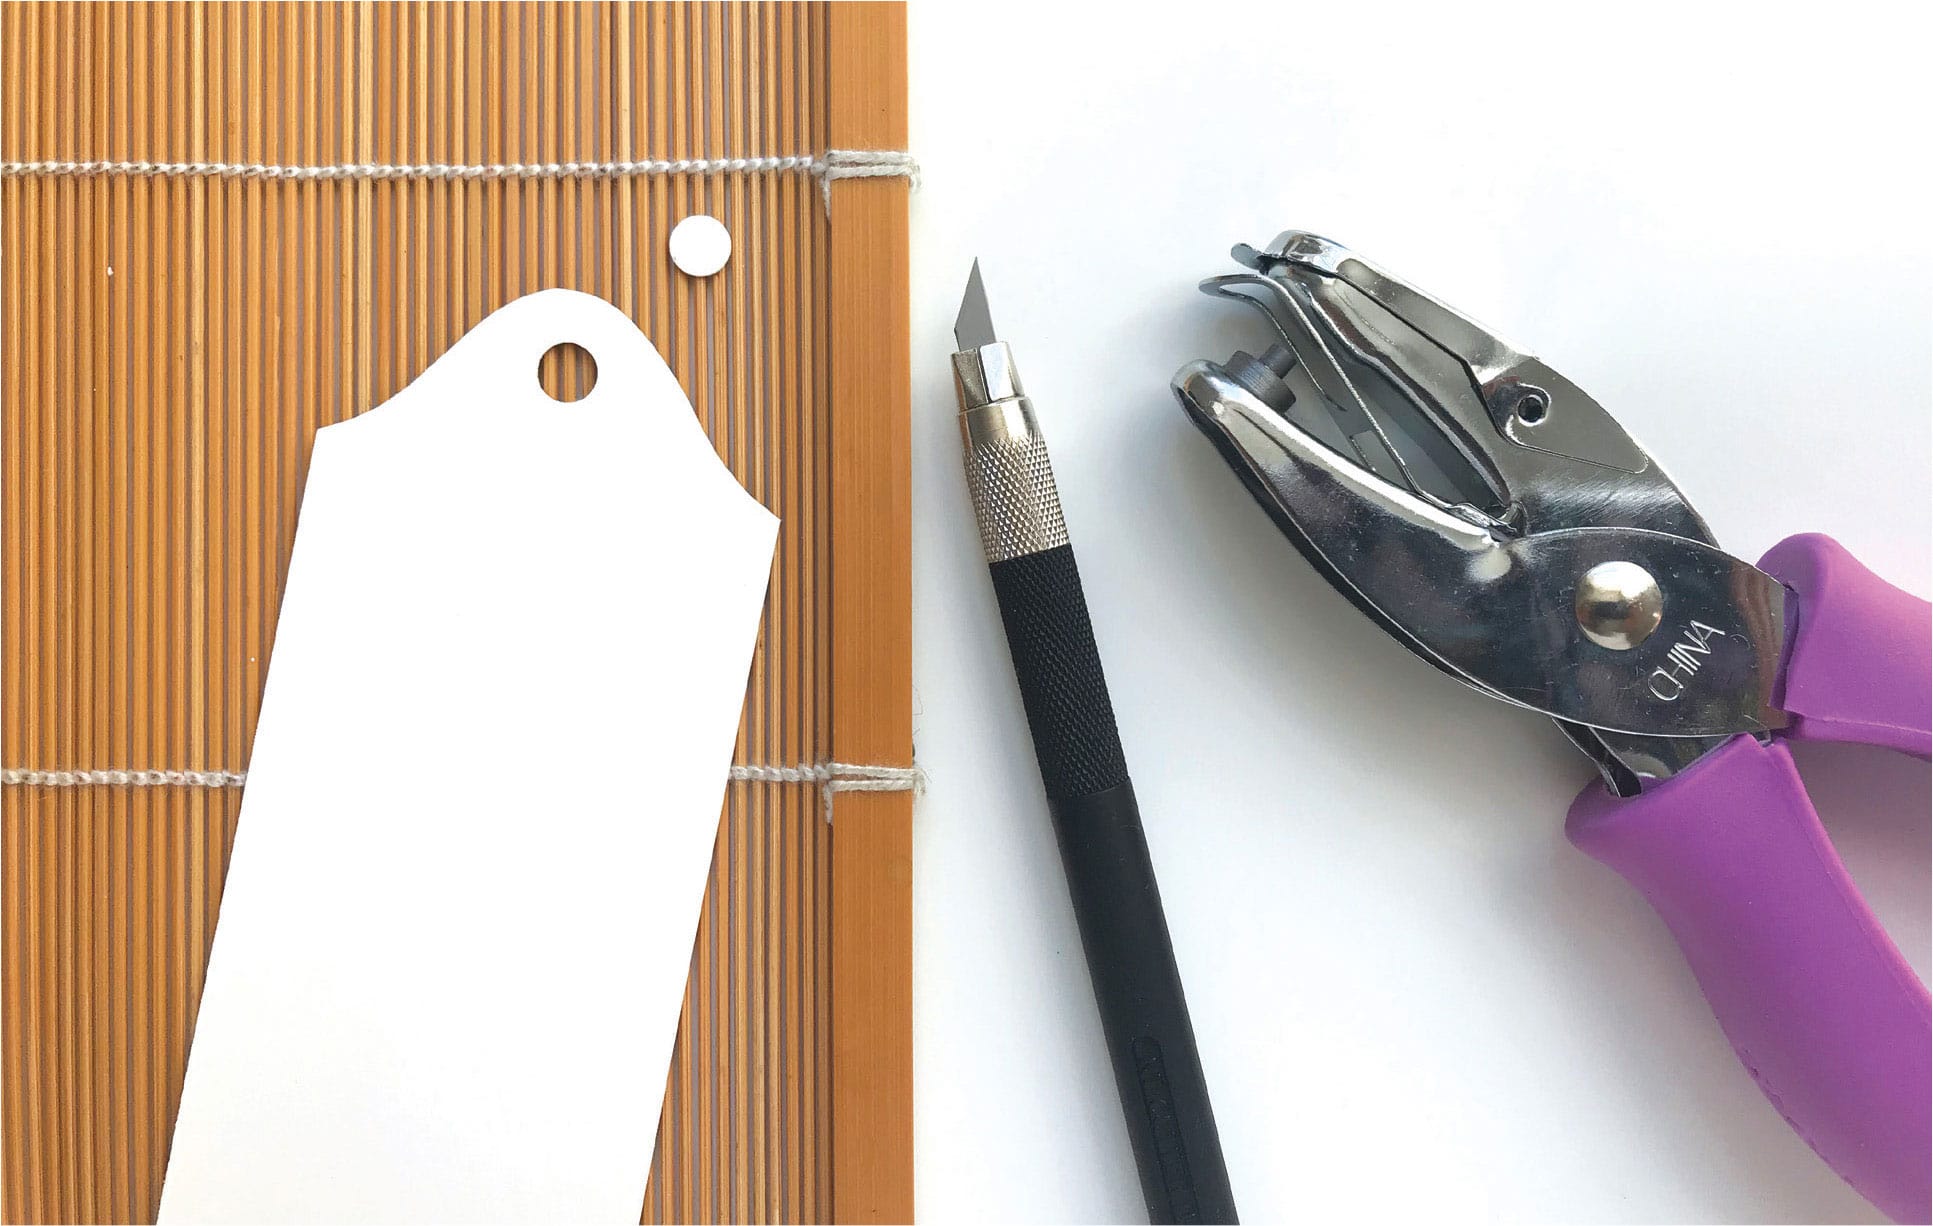
Cut around the pencil line; then use the hole punch to create a hole in the center of the roof at the top of the card stock. You will thread string or twine through here.
3
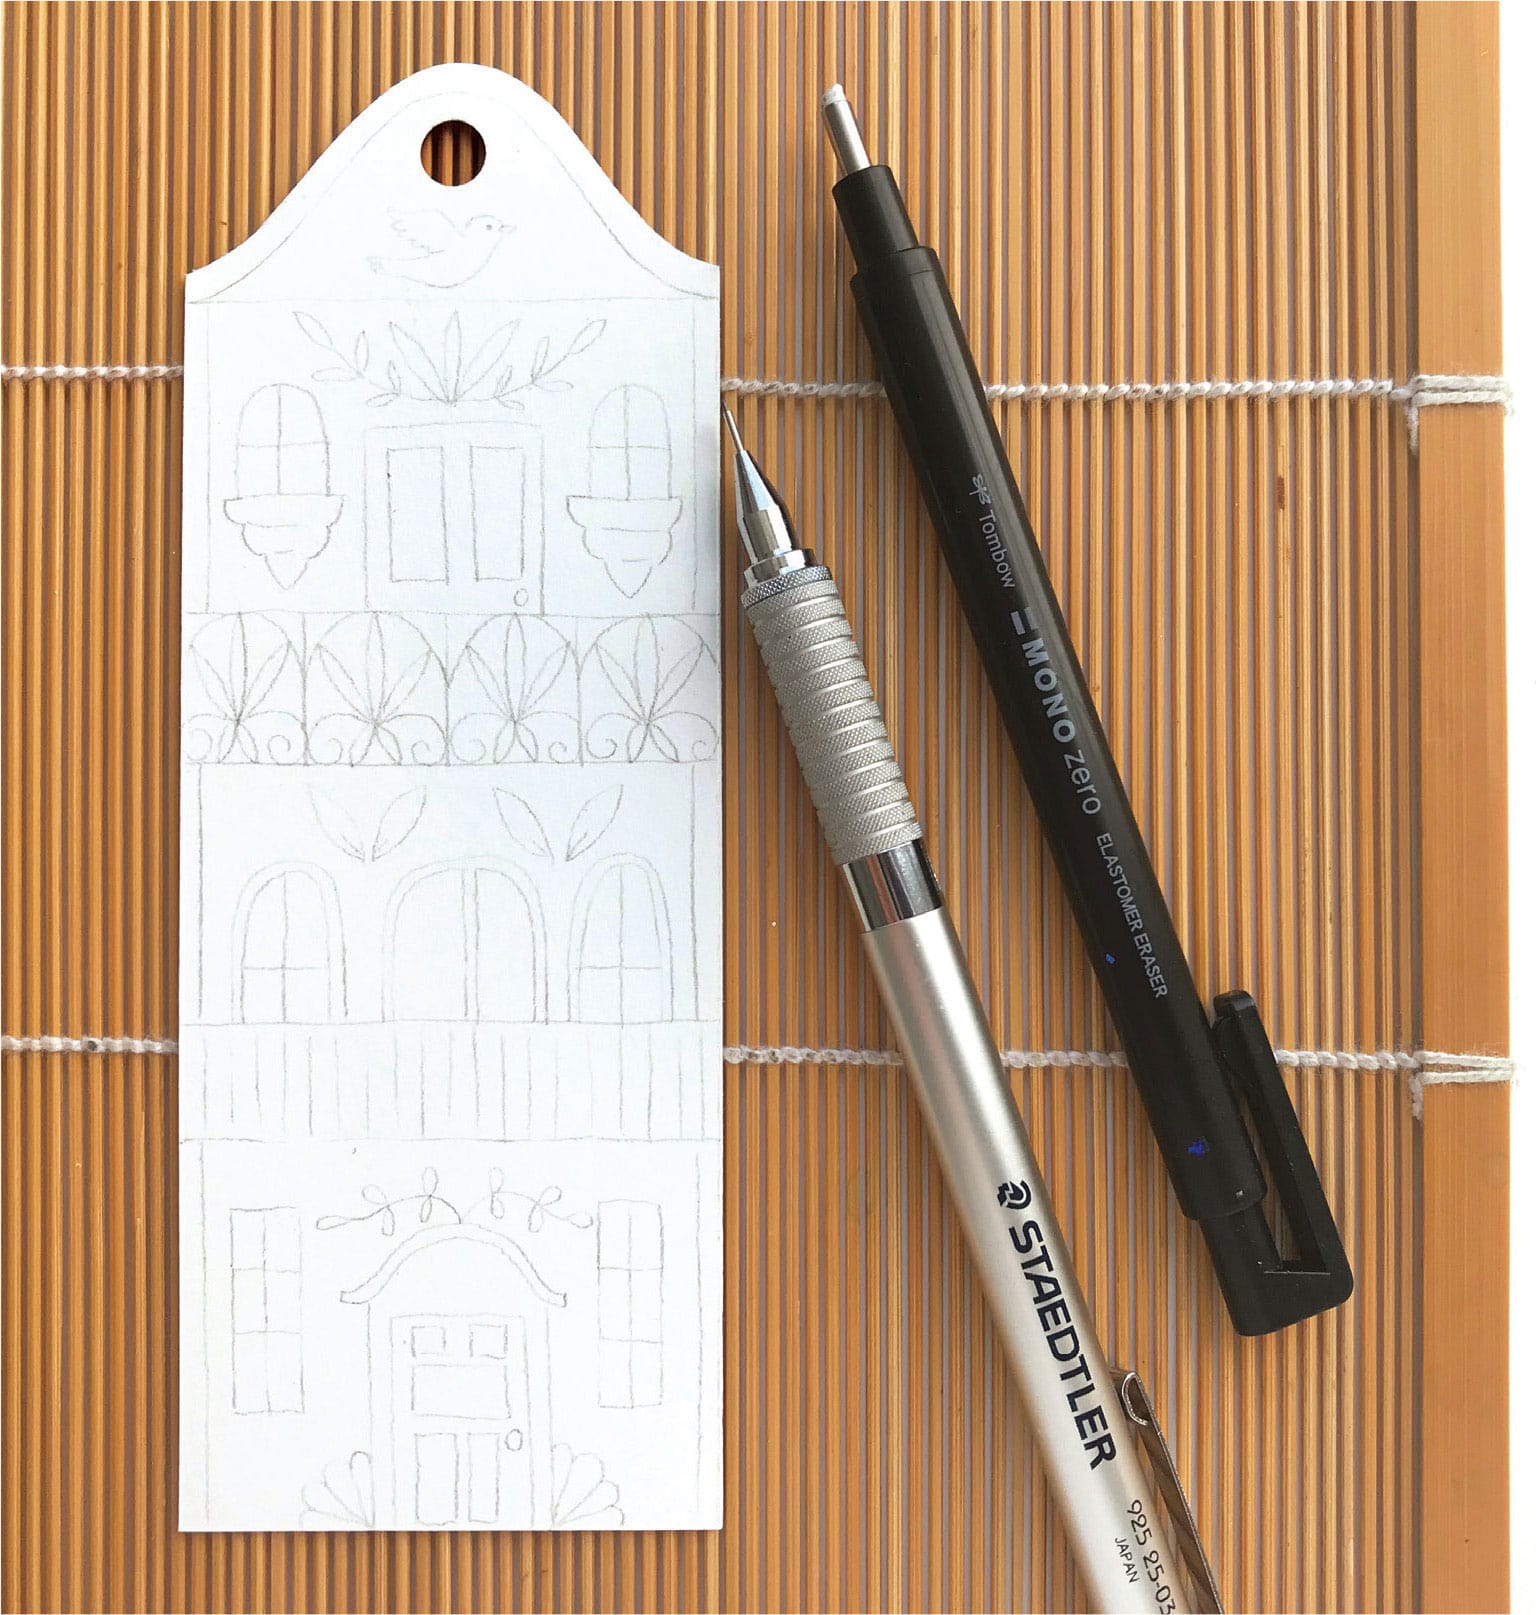
Using a pencil, lightly draw the rest of the house onto the bookmark. Include any details, such as plants, balconies, windows, and shutters.
4
Mix a small amount of water into some black gouache on a palette; then paint over the pencil lines with a fine-tipped brush.

5
Fold the twine or string in half and insert it through the hole at the top of the bookmark. Loop the loose ends through the hole to attach to the bookmark. It’s now ready to use!
