The following steps demonstrate the XSS Validator:
- We open up Burp and switch to the Extender tab:

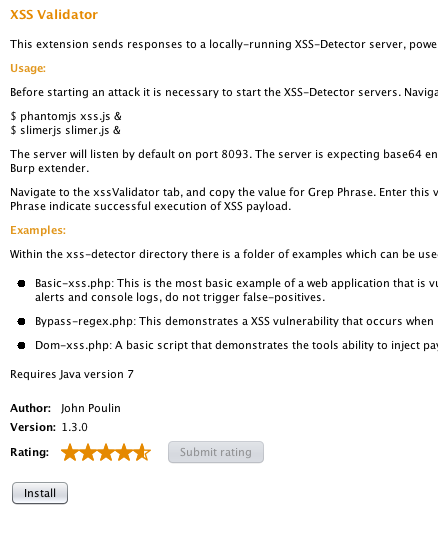
- We then install the XSS Validator extender:

- Once the installation is done, we will see a new tab in the Burp window titled xssValidator:

- Next, we install PhantomJS and SlimerJS; this can be done on Kali with a few simple commands.
- We download both the PhantomJS file from the internet using wget:
        sudo wget https://bitbucket.org/ariya/phantomjs/downloads/
        phantomjs-1.9.8-linux-x86_64.tar.bz2
- We extract it using the following command:
tar jxvf phantomjs-1.9.8-linux-x86_64.tar.bz2
The following screenshot shows the folder in which the preceding command downloads the PhantomJS file:

- Now we can browse the folder using cd, and the easiest way is to copy the PhantomJS executable to /usr/bin:
cp phantomjs /usr/local/bin
The following screenshot shows the output of the preceding command:

- To verify that we can type the phantomjs -v command in the Terminal and it will show us the version.
- Similarly, to install SlimerJS we download it from the official website:
http://slimerjs.org/download.html. - We first install the dependencies using the following command:
sudo apt-get install libc6 libstdc++6 libgcc1 xvfb
- Now we extract the files using this:
tar jxvf slimerjs-0.8.4-linux-x86_64.tar.bz2
- We then browse the directory and simply copy the SlimerJS executable to /usr/local/bin:

- Then, we execute the following command:
cp slimerjs /usr/local/bin/
The following screenshot shows the output of the preceding command:

- Now we need to navigate to the XSS Validator folder.
- We then need to start the PhantomJS and SlimerJS server using the following commands:
        phantomjs xss.js &
        slimerjs slimer.js &
- Once the servers are running, we head back to the Burp window. In the XSS Validator tab on the right-hand side, we will see a list of payloads the extender will test on the request. We can manually enter our own payloads as well:

- Next, we capture the request we need to validate XSS on.
- We select the Send to Intruder option:

- Then, we switch to the Intruder window, and under the Positions tab, we set the position where we want our XSS payloads to be tested. The value surrounded by § is where the payloads will be inserted during the attack:

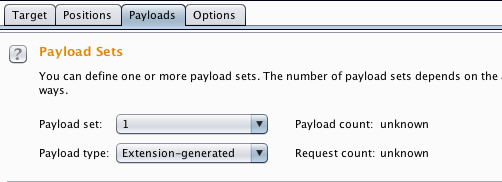
- In the Payloads tab, we select the Payload type as extension-generated:

- In Payload Options, we click on the Select generator... and choose XSS Validator Payloads:

- Next, we switch to the XSS Validator tab and copy Grep Phrase; this phrase can be customized as well:

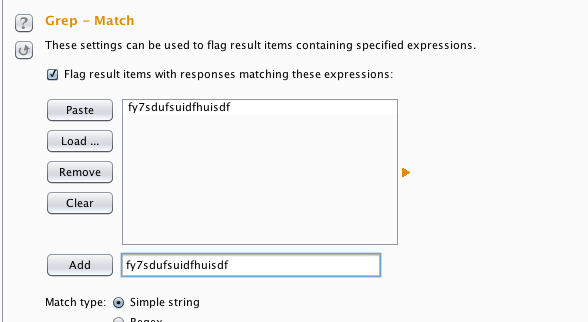
- Next, we switch to the Options tab in the Intruder and add the copied phrase in the Grep - Match:

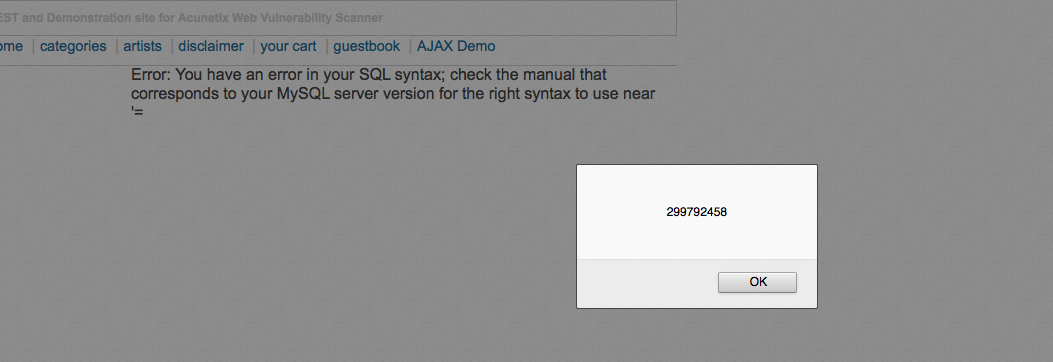
- We click on Start attack, and we will see a window pop up:

- Here, we will see that the requests with a check mark in our Grep Phrase column have been successfully validated:
