Conda (https://conda.io/docs/) is an open source package-management and environment-management system (provides virtual environment capabilities) that runs on many operating systems (for example, Windows, macOS, and Linux). Conda installs, runs, and updates packages and their dependencies. Conda can create, save, load, and switch between environments.
Anaconda is a downloadable, free, open source, high-performance Python and R distribution. Anaconda comes with conda, conda build, Python, and more than 100 open source scientific packages and their dependencies. Using the conda install command, you can easily install popular open source packages for data science from the Anaconda repository. Miniconda is a small version of Anaconda, which includes only conda, Python, the packages they depend on, and a small number of other useful packages.
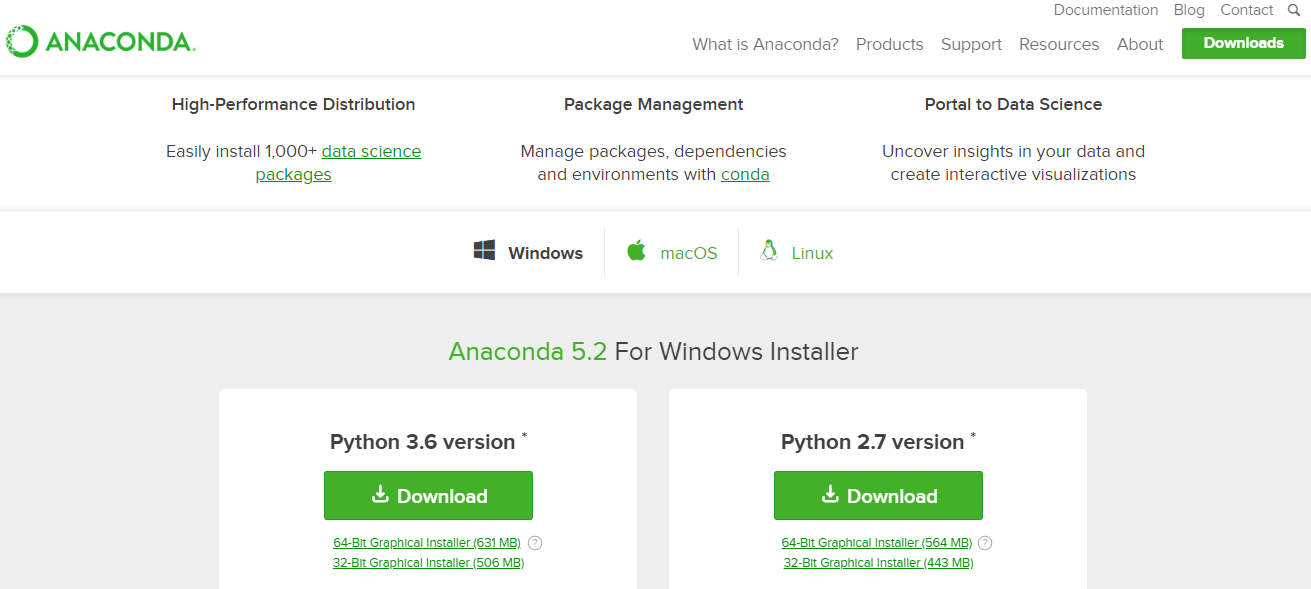
Installing Anaconda or Miniconda is easy. For the sake of simplicity, we are focusing on Anaconda. To install Anaconda, check the Acadonda installer for your operating system (https://www.anaconda.com/download/). Anaconda 5.2 can be installed in both Python 3.6 and Python 2.7 versions on Windows, macOS, and Linux:

After you have finished installing, in order to test the installation, in Terminal or Anaconda Prompt, run the following command:
$ conda list
For a successful installation, a list of installed packages appears. As mentioned, Anaconda (and Miniconda) comes with conda, which is a simple package manager similar to apt-get on Linux. In this way, we can install new packages in Terminal using the following command:
$ conda install packagename
Here, packagename is the actual name of the package we want to install. Existing packages can be updated using the following command:
$ conda update packagename
We can also search for packages using the following command:
$ anaconda search –t conda packagename
This will bring up a whole list of packages available through individual users.
A package called packagename from a user called username can then be installed as follows:
$ conda install -c username packagename
Additionally, conda can be used to create and manage virtual environments. For example, creating a test environment and installing NumPy version 1.7 is as simple as typing the next command:
$ conda create --name test numpy=1.7
In a similar fashion as working with virtualenv, environments can be activated and deactivated. To do this on macOS and Linux, just run the following:
$ source activate test
 $ python
 ...
 $ source deactivate
On Windows, run the following:
$ activate test
 $ python
 ...
 $ deactivate
Finally, it should be pointed out that we can work with conda under the PyCharm IDE, in a similar way as virtualenv to create and manage virtual environments, because PyCharm can work with both tools.