The aruco_detect_markers_draw_square.py script can be easily modified in order to overlay a more advanced augmentation.
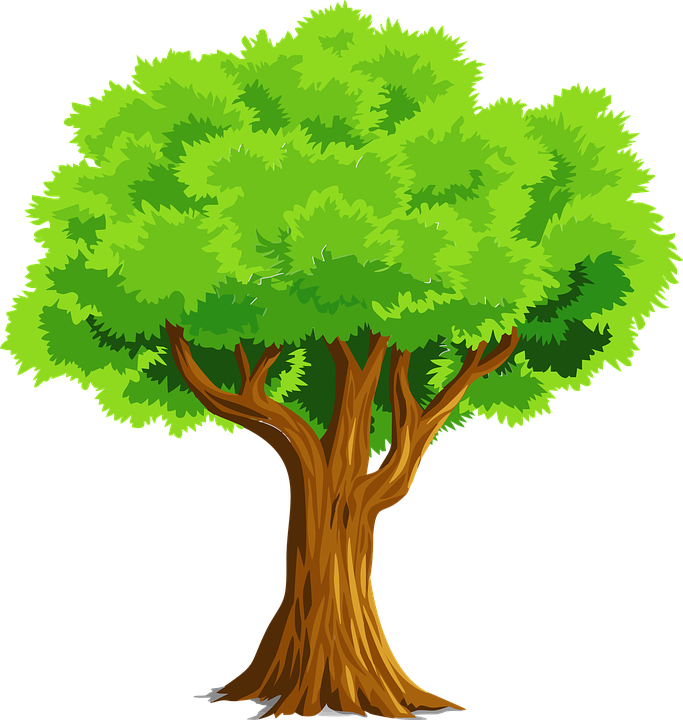
In this case, we are going to overlay the image of a tree, which can be seen in the next screenshot:

To perform this augmentation, we have coded the draw_augmented_overlay() function, as shown in the following:
def draw_augmented_overlay(pts_1, overlay_image, image):
    """Overlay the image 'overlay_image' onto the image 'image'"""

    # Define the squares of the overlay_image image to be drawn:
    pts_2 = np.float32([[0, 0], [overlay_image.shape[1], 0], [overlay_image.shape[1], overlay_image.shape[0]], [0, overlay_image.shape[0]]])

    # Draw border to see the limits of the image:
    cv2.rectangle(overlay_image, (0, 0), (overlay_image.shape[1], overlay_image.shape[0]), (255, 255, 0), 10)

    # Create the transformation matrix:
    M = cv2.getPerspectiveTransform(pts_2, pts_1)

    # Transform the overlay_image image using the transformation matrix M:
    dst_image = cv2.warpPerspective(overlay_image, M, (image.shape[1], image.shape[0]))
    # cv2.imshow("dst_image", dst_image)

    # Create the mask:
    dst_image_gray = cv2.cvtColor(dst_image, cv2.COLOR_BGR2GRAY)
    ret, mask = cv2.threshold(dst_image_gray, 0, 255, cv2.THRESH_BINARY_INV)

    # Compute bitwise conjunction using the calculated mask:
    image_masked = cv2.bitwise_and(image, image, mask=mask)
    # cv2.imshow("image_masked", image_masked)

    # Add the two images to create the resulting image:
    result = cv2.add(dst_image, image_masked)
    return result
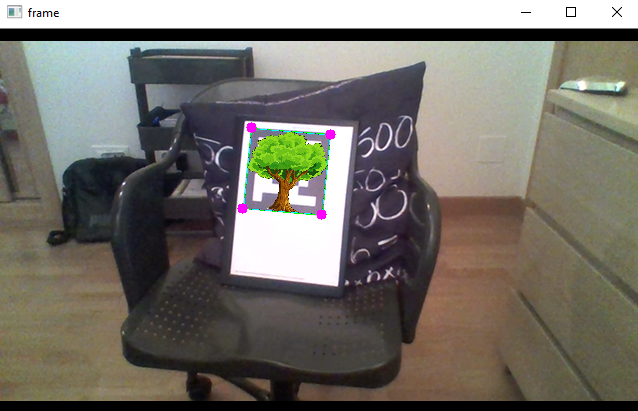
The draw_augmented_overlay() function first defines the squares of the overlay image. Then, the transformation matrix is calculated, which is used to transform the overlay image obtaining the dst_image image. Next, we create the mask and compute the bitwise operation using the previously created mask to obtain the image_masked image. The final step is to perform the addition between dst_image and image_masked in order to obtain the result image, which is finally returned.
The output of the aruco_detect_markers_augmented_reality.py script can be seen in the next screenshot:

To overlay more complex and advanced 3D models, OpenGL can be used. Open Graphics Library (OpenGL) is a cross-platform API for rendering 2D and 3D models.
In this sense, PyOpenGL (http://pyopengl.sourceforge.net/) is the most common and standard cross-platform Python binding to OpenGL.