The first step in creating an application is getting yourself set up. This chapter helps you get set up by taking you through the necessary steps to install Xcode. We will also explain what Xcode and playgrounds are. These are essential tools in helping you learn how to code and create iOS applications. Think of it as the paint and the canvas an artist needs in order to paint a beautiful picture.
By the end of this chapter, you will have all the necessary tools that will allow you to begin your journey in creating an iOS application. In this chapter, we will cover:
- Downloading and installing Xcode
- Using Playground - for running Swift code
If you were to send a text to a friend from your mobile phone, what steps would you take? What would you say? You would open up the messages application and write out a message to your friend telling them that you're learning how to code. After typing out your message on the screen, you think twice about adding a few pizza emojis to it. After sending the message, your mobile phone is able to interpret that information and send it over to your friend, all within a few seconds-how amazing!
Tip
All related source code for this chapter can be found here: https://github.com/swift-book-projects/swift-3-programming-for-kids/tree/master/Chapter-2
Powering the messages application that you're using to text your friend is code. This code is a list of instructions that is processed by a computer, written by developers like yourself. But where does a developer write code? It is written in an application that is known as an Integrated Development Environment (IDE). An IDE is a piece of software that combines the basic tools developers need to write, test, and run their applications. Xcode is a specific IDE that includes everything you need to create amazing apps for iPhone, iPad, Mac, Apple Watch, and Apple TV. It is shown in the following screenshot:
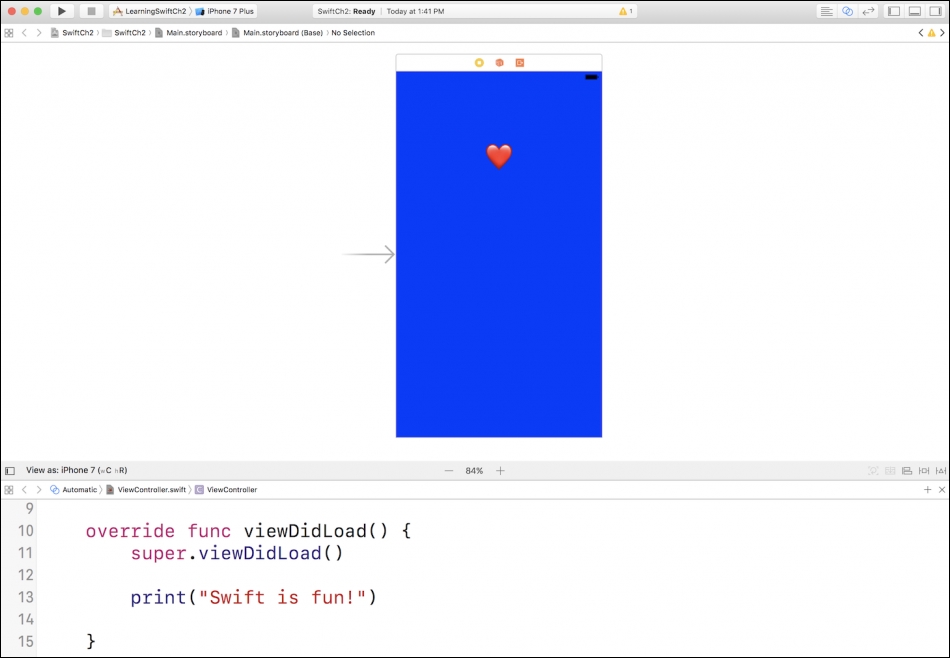
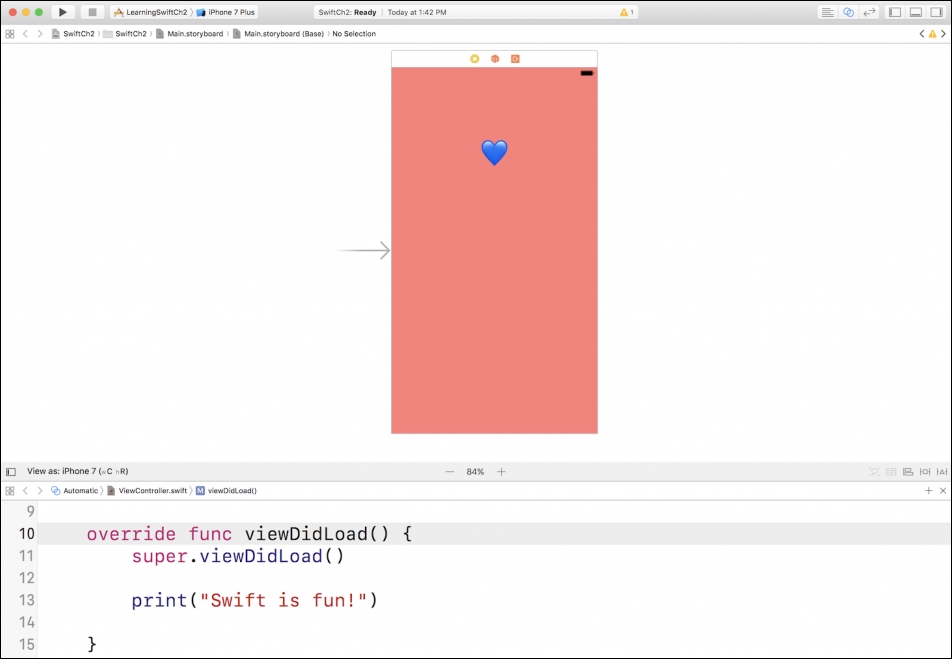
This is a screenshot of Xcode. We've begun working on an iOS app that displays a red heart on a blue background. After showing our friends how gorgeous our iOS app looks, one told us how we're going about it all wrong and that we should have a blue heart on a red background. Xcode allows us to easily make these changes:
In order for you to be able to install the latest version of Xcode (at the time of writing, it is version 8.2.1), you need to be on a Mac. You need to be running OS X 10.11.5 or later to install Xcode (at the time of writing).
The following are the instructions to download Xcode:
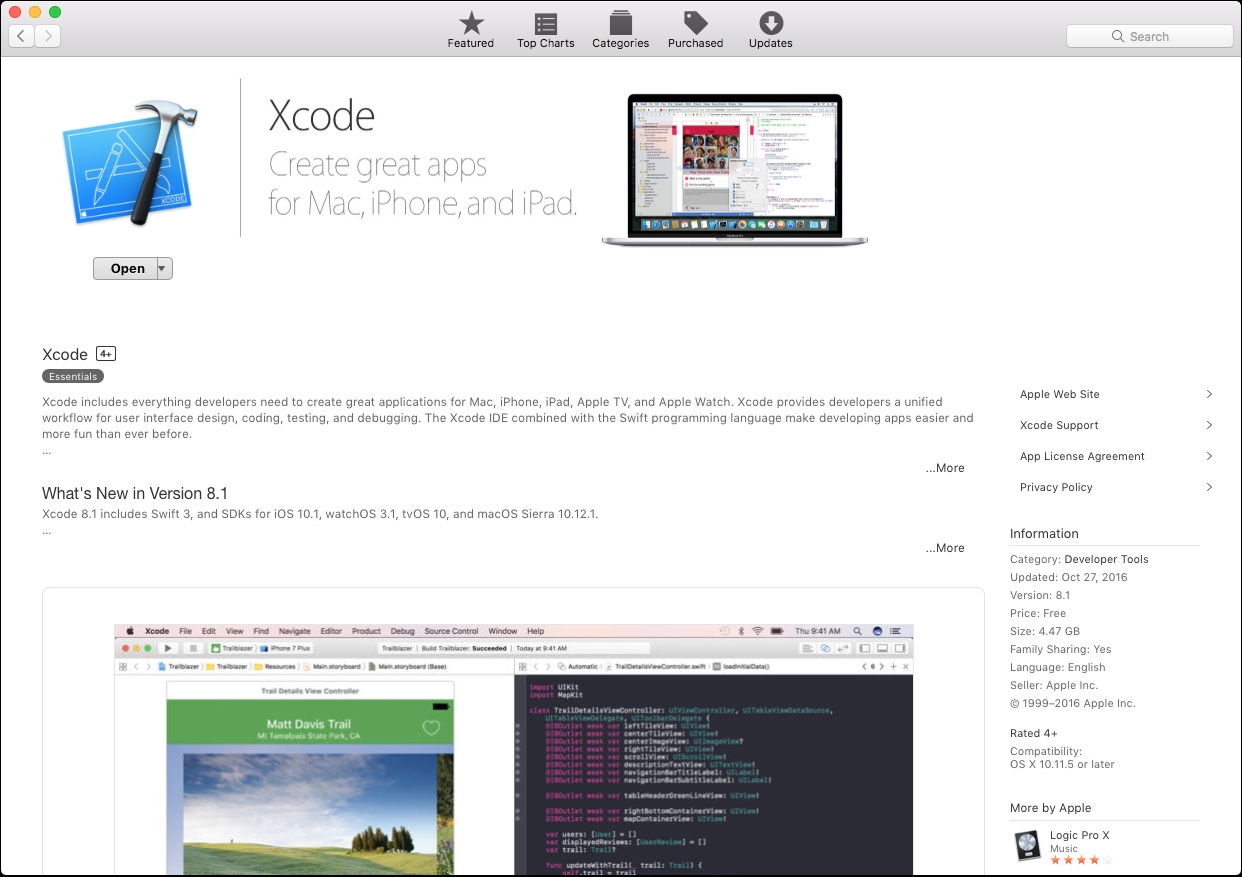
- Open the App Store application on your Mac:
- When in the App Store application, in the upper right-hand corner, search for
Xcode, as illustrated: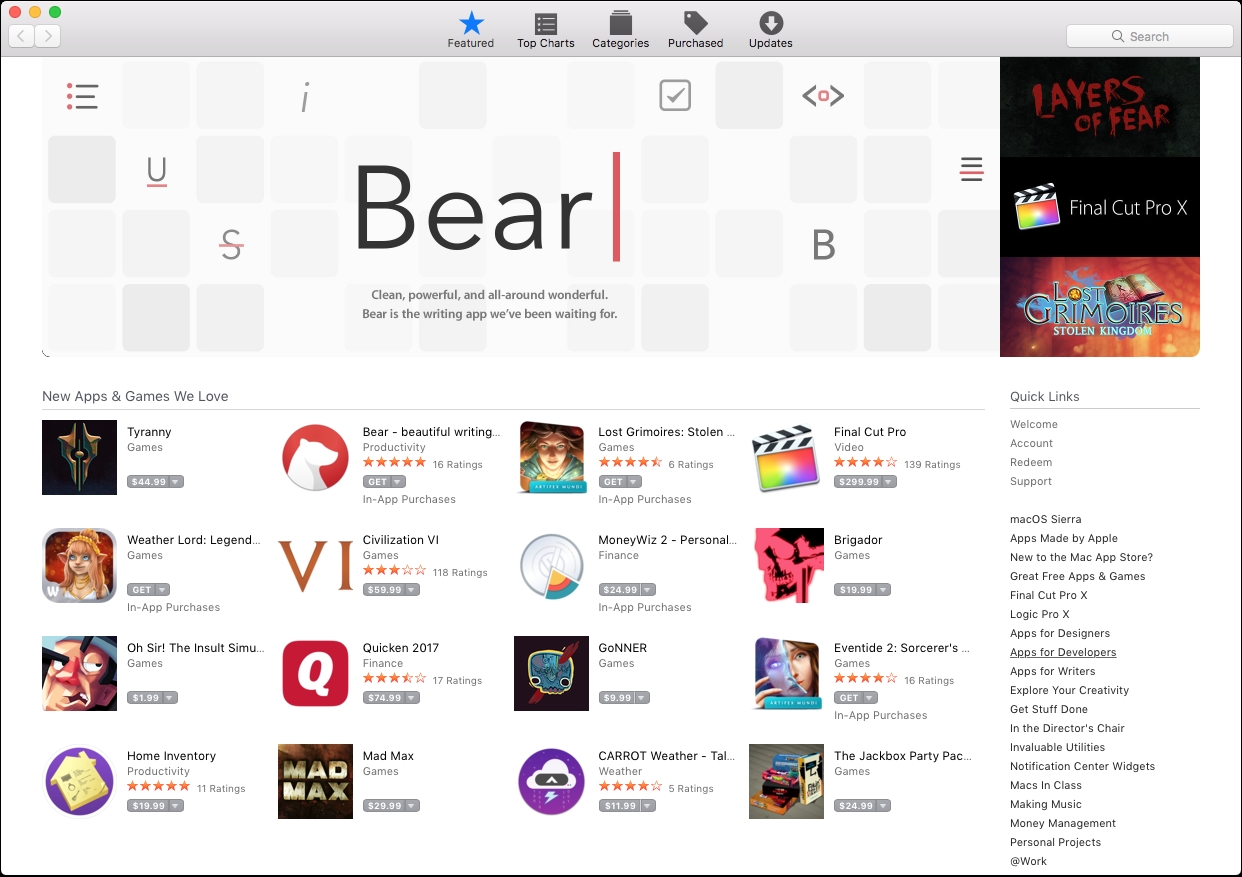
- Download Xcode; as of version 8.1, it's 4.47 GB:
After Xcode has finished installing, open the Finder application, which you should find on your toolbar (it looks like a smiling face). Within Finder, you should see that you have access to various directories. Select the applications directory, which should then list all of the available applications on your Mac. You should find Xcode in that list of applications. Considering, you might be working with Xcode a lot, you should drag this application down to your Dock for easy access. After doing so, launch Xcode.
After launching Xcode, you will be met with the following launch screen:

We are given three options. For now, we are most interested in Get started with a playground. Its description states, Explore new ideas quickly and easily. What exactly is a playground?
A playground is a place where we can write Swift code and see the results immediately. You won't be building apps in a playground, but they are a great place to learn:
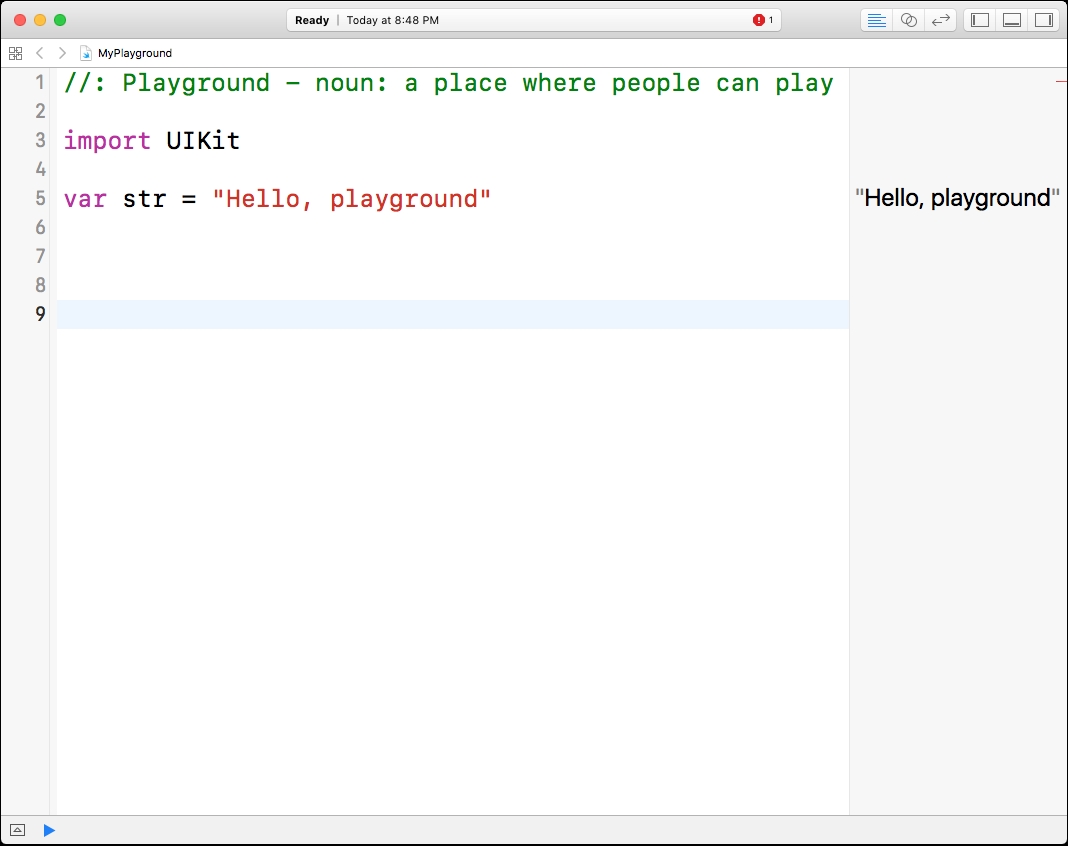
Writing Swift code in a playground is very simple. As you're writing code, you will see the results in the right-hand pane, updated in real time, as illustrated:
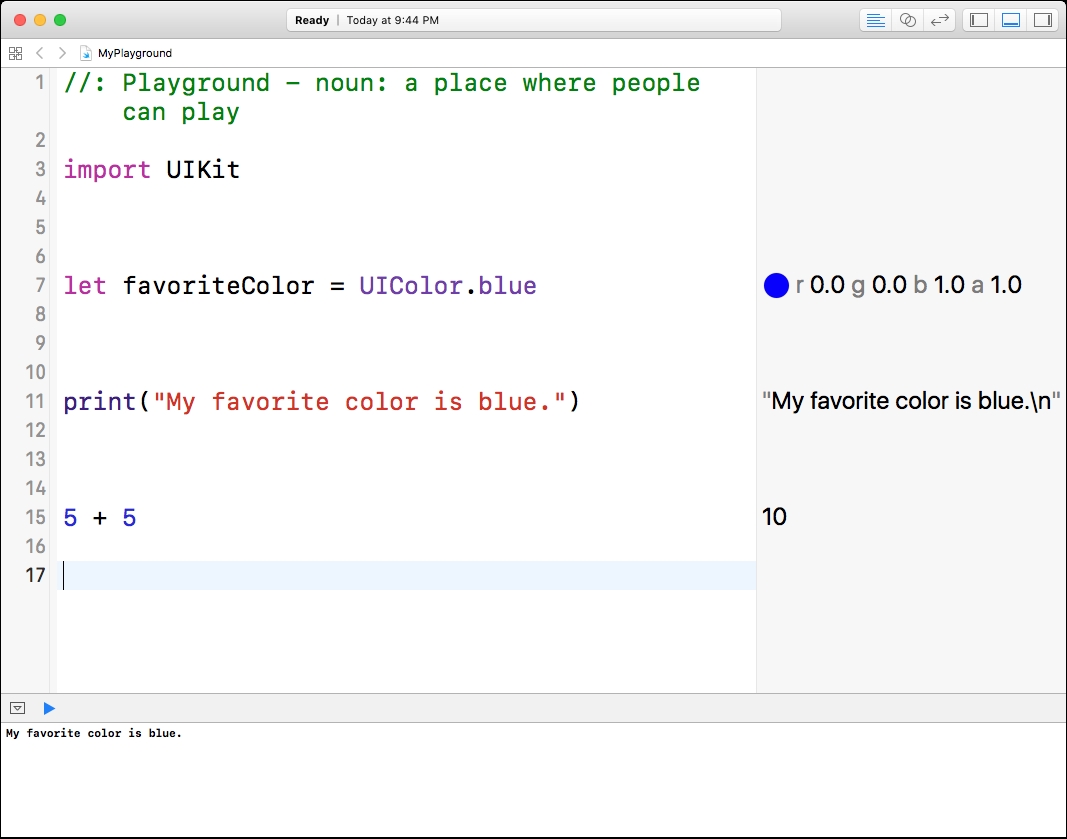
In subsequent chapters, you will be tasked with writing code in a playground file. This will make your learning experience more interactive. You will be able to see, in real time, whether or not your code (list of instructions) is doing what you expect.
You are now equipped with the necessary tools to begin your journey; We wish you luck!