Avoiding Shoots in the Midday Sun

This is true—at least until you learn how to harness light. Most professionals advocate avoiding bright sun by shooting in early morning or late afternoon during the “magic hours.” If those times are not available for the session, there are many tactics that can be employed to achieve success—including shooting into the sun! Go for drama and the chance to create a really exceptional image by taking on the “sun challenge.” Muster the courage to face it straight on. Set your camera to manual (or at least aperture priority) and spot meter to prevent it from getting confused by the intensity of the light behind the subject. This is one place where a rule can be broken to achieve grand results if you know how to do it!
Shooting in Bright Sun
Shooting in bright sun can be problematic unless you know how to harness it. Harsh shadows fall under the eyes and nose. Creases are accentuated by light falling across the face at an angle—plus frowns and squinty eyes can be caused by the brightness. The camera’s built-in flash can wash away shadows caused by the sun but the results may be flat and washed out. The following are some defensive measures that work when shooting at midday:

![]() Affix a lens hood. Lens hoods are good to use in almost all situations.
Affix a lens hood. Lens hoods are good to use in almost all situations.
![]() Dial in a lower flash compensation setting to decrease shadows under eyes/nose.
Dial in a lower flash compensation setting to decrease shadows under eyes/nose.
![]() Have models close their eyes. Snap quickly when you say “open” on the count of three.
Have models close their eyes. Snap quickly when you say “open” on the count of three.
![]() Use a gobo/scrim (large frame with translucent fabric stretched on it) to diffuse the light.
Use a gobo/scrim (large frame with translucent fabric stretched on it) to diffuse the light.
![]() Don’t chuckle, but a person who casts a very large shadow may also work as a sun shield.
Don’t chuckle, but a person who casts a very large shadow may also work as a sun shield.
![]() Use a neutral density (ND) filter to cut down on the light coming into your camera.
Use a neutral density (ND) filter to cut down on the light coming into your camera.
![]() Put a hat or sunglasses on your subject.
Put a hat or sunglasses on your subject.
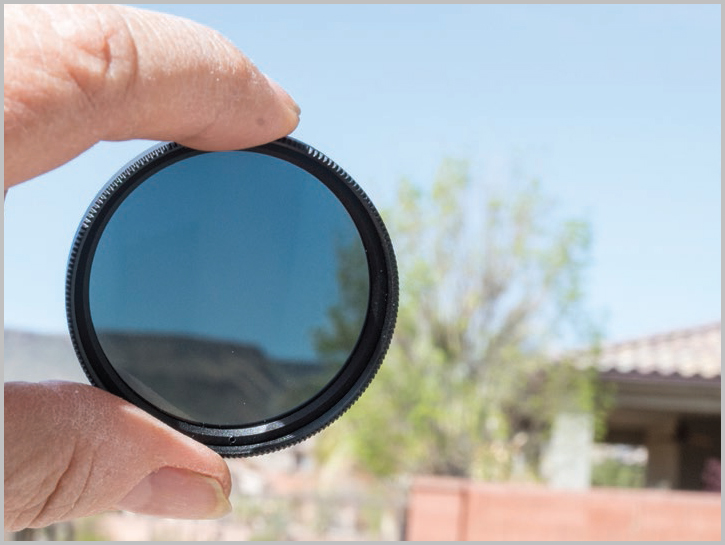
About Neutral Density (ND) Filters
Don’t attempt to get killer bokeh by using a wide-open aperture on a sunny day. It won’t work. Present-day cameras have their limits. However, just as we put on sunglasses to keep from squinting, you can use a neutral density (ND) filter to cut the light reaching your camera’s sensor.
Don’t get confused by all the different ways ND filters can be numbered and adapted for a lens. Some are screw-on models; others are affixed with holders. Different ND values (levels of light-blocking power) are quantified by their optical density or f-stop reduction capability. For instance, the optical density of 0.3 equals 1 stop of light reduction, 0.6 equals an f-stop reduction of 2, and 0.9 reduces the exposure by 3 stops, and so on. ND filters can also be stacked to create a darker value.
Use a neutral density filter to cut down on light when a wider aperture is desired for creating nice background bokeh.
Shannon Sewell expresses how she got really good at shooting in midday. She says, “There are times when harsh light looks amazing in your picture.” Practice making great photos with the sun blazing out from behind your subject.
Photographers often fail to notice subtle leaf patterns when shooting under trees. For a tree to be useful, it should not create really dense shade or throw leafy shadow patterns on the model.
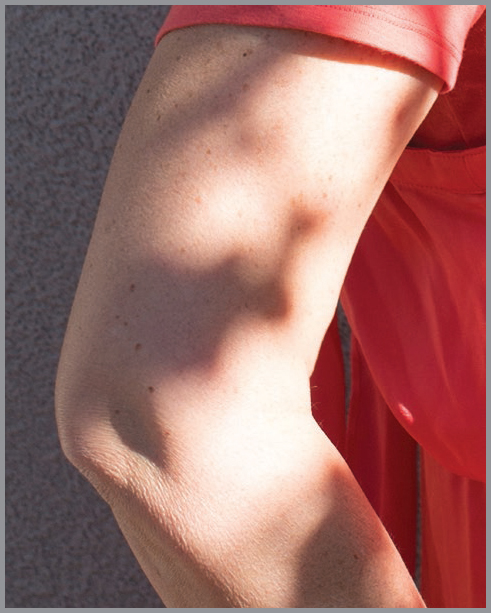
Digital capture does not handle extreme variations of light values as well as film did. The resulting aberrations produce yellow–orange “rainbows” where the sun ends and the shade begins.

The sun at 9AM accentuated the creases on my subject’s forehead and created dark pockets of shadow over her eyes.

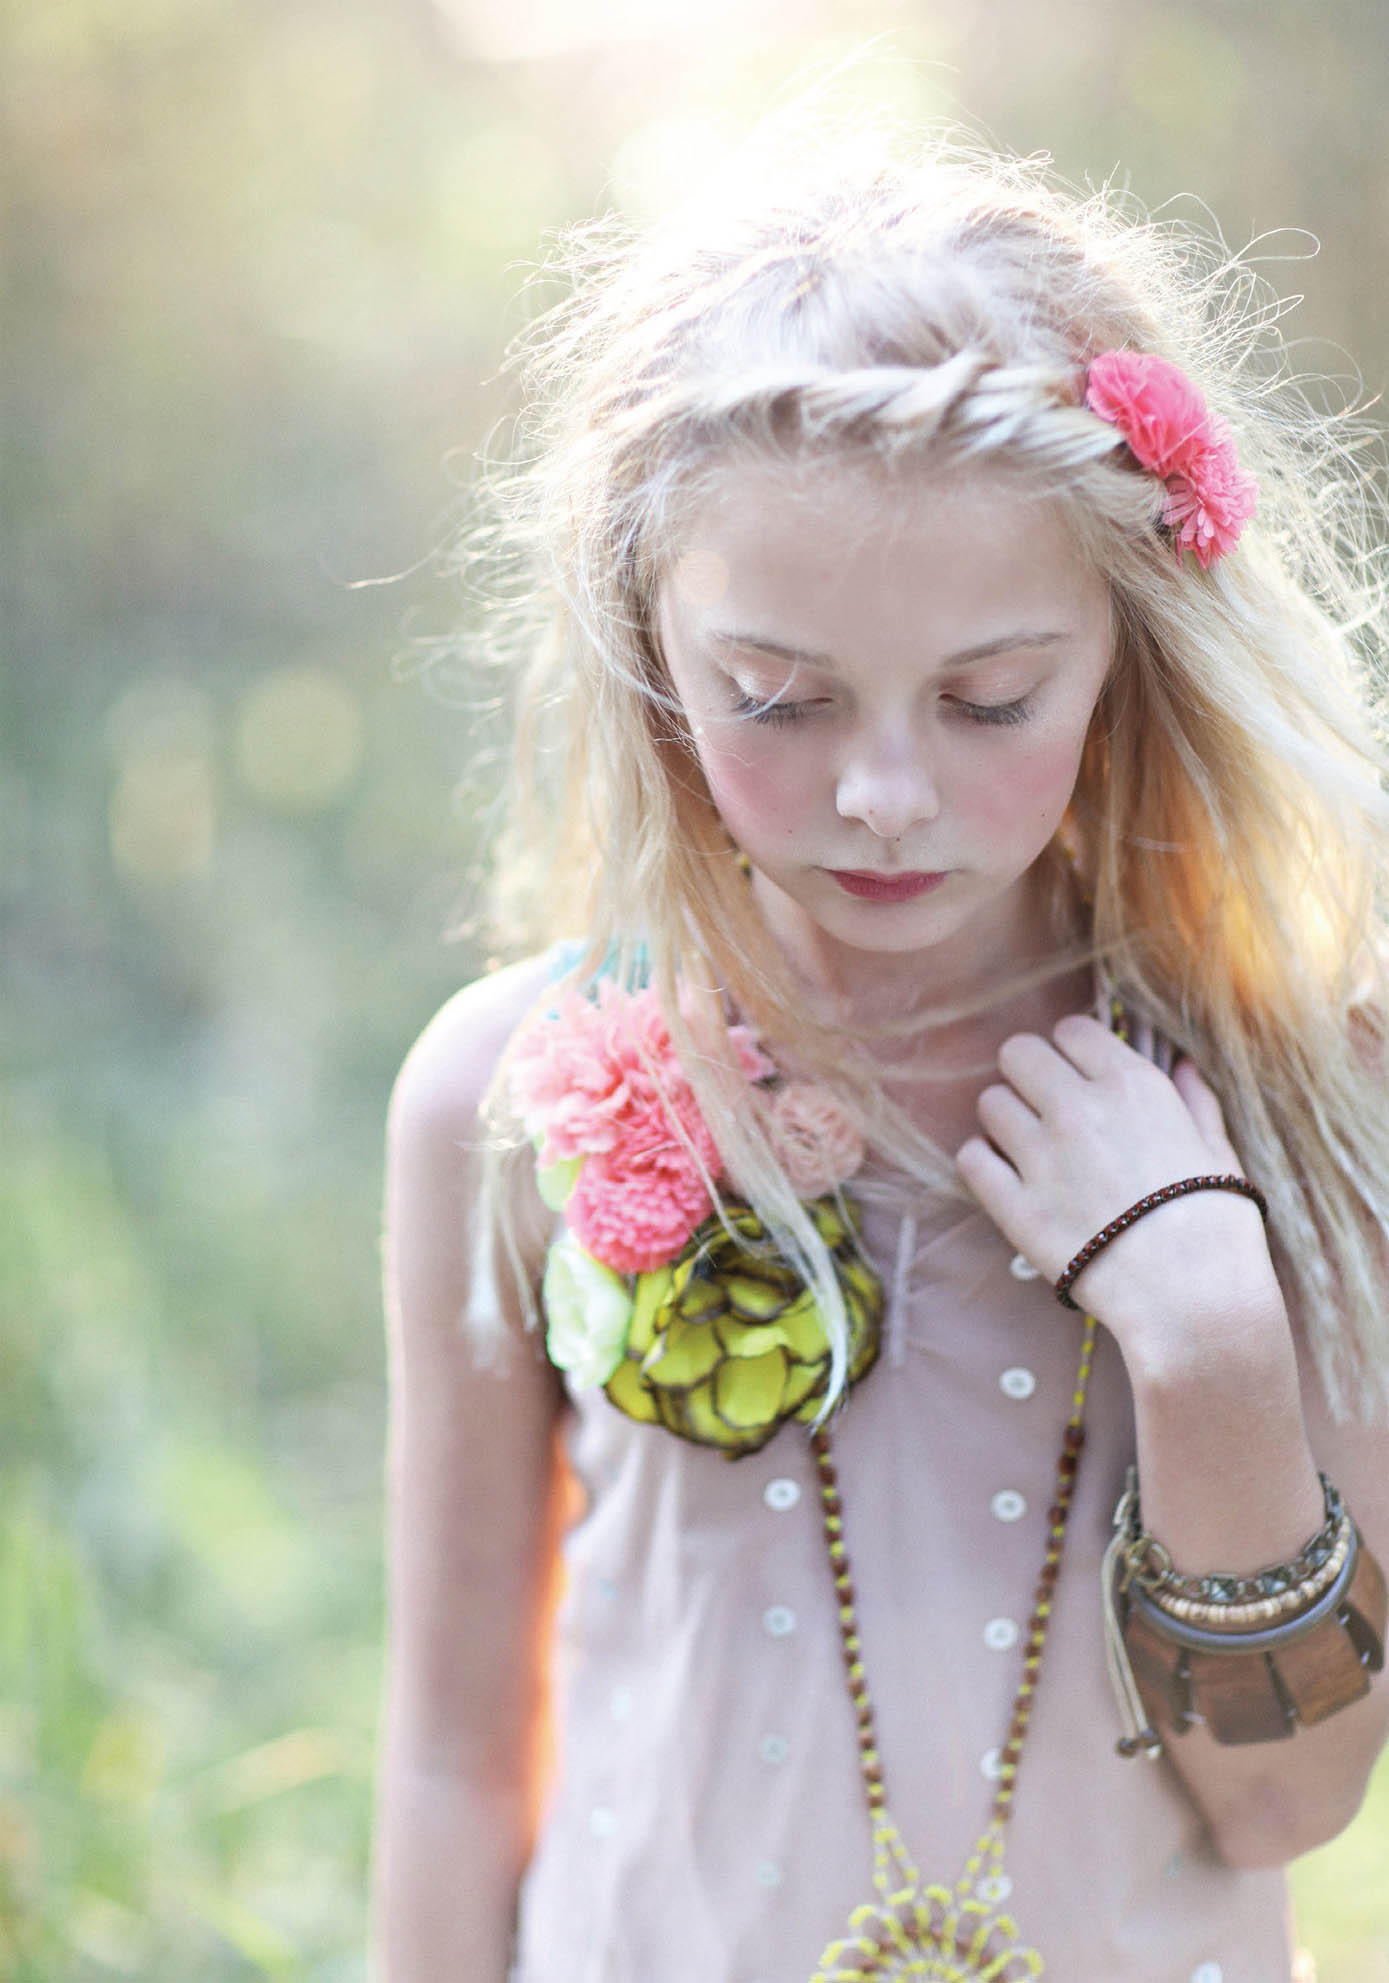
Shade trees are even more useful when they provide blossoming color. Although this is a candid travel photo, notice how the girl is not simply standing in front of a tree with a grin on her face. It’s certainly not a run-of-the-mill selfie. The tree here is used as a prop as well as for shade and a gentle rest for her hand to help frame the image.
A more versatile (and pricier) version is the all-in-one variable density ND filter that can cost $100–$200 or more, depending on the diameter needed for the specific lens that accommodates it. Beware of the cheapies because they can compromise image quality.
Landscape photographers often use gradient ND filters (half ND, half clear) to balance the exposure between the bright sky and the darker land. The filter is positioned in an adapter on the lens, then adjusted up or down to align the clear/ND transition with the horizon line.
Using a Tree to Shelter from the Sun
Trees can be awesome light blockers when used correctly—but don’t consider them catch-all solutions for bright sun. Trees may be hazardous to your images for several reasons:
![]() Trees may not be where you need them.
Trees may not be where you need them.
![]() Birds create droppings.
Birds create droppings.
![]() Nasty leaf patterns may appear on your model’s face.
Nasty leaf patterns may appear on your model’s face.
![]() Chromatic aberrations are caused by dark shadows and bright patches of light in the same spot.
Chromatic aberrations are caused by dark shadows and bright patches of light in the same spot.
![]() The shade may be too dark.
The shade may be too dark.
Natural Light Purist?
Some photographers specialize in using only natural light on their subjects. Cameras with high ISO capability have made natural light photography more achievable in low light situations. However, it’s not the gloomy days but the bright sun that’s a killer—especially in areas where there is very little cloud cover. Seattle doesn’t get enough sun and Phoenix provides overkill.
Know When It’s Time to Turn Off the Sun
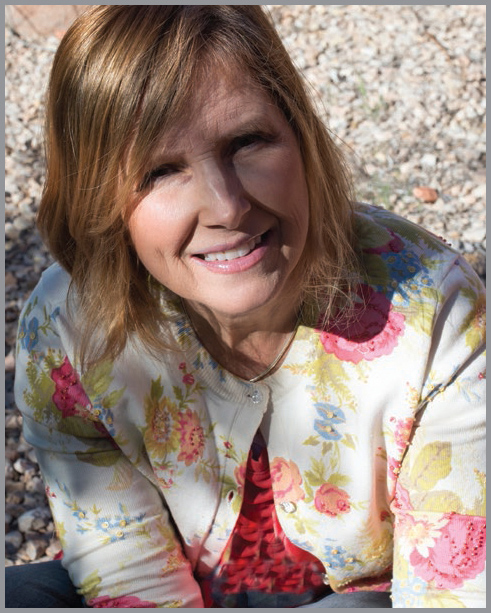
Portraits created outdoors can be problematic. Sometimes it is easier to move on to Plan B. This image was captured on the same day as the previous shots in the bright sun. We abandoned the great outdoors and moved inside. The client was provided with a change of clothing more suitable for a studio portrait. It’s easer to get a professional-looking photo with controlled lighting.

Battery Packs and Speedlights
Today’s mobile battery packs for lighting make it easy to go out on location and have plenty of light on a subject—wherever you want it. A collection of banked speedlights (small flash units) will also work to boost the light levels or add fill on darkly lit subjects.