Boosting Exposure for Brighter LCD Previews

That’s absurd! Exposing on the bright side puts you in danger of wiping out pixels, which is more destructive than shooting “dark.” “Blown out” (extremely overexposed) areas of an image cannot be restored satisfactorily in postproduction. On the other hand, there may be some pixel information in underexposed areas that can be retrieved in your RAW image processing. Aim to expose correctly, but if a slip is made, it’s better to “go over to the dark side.”
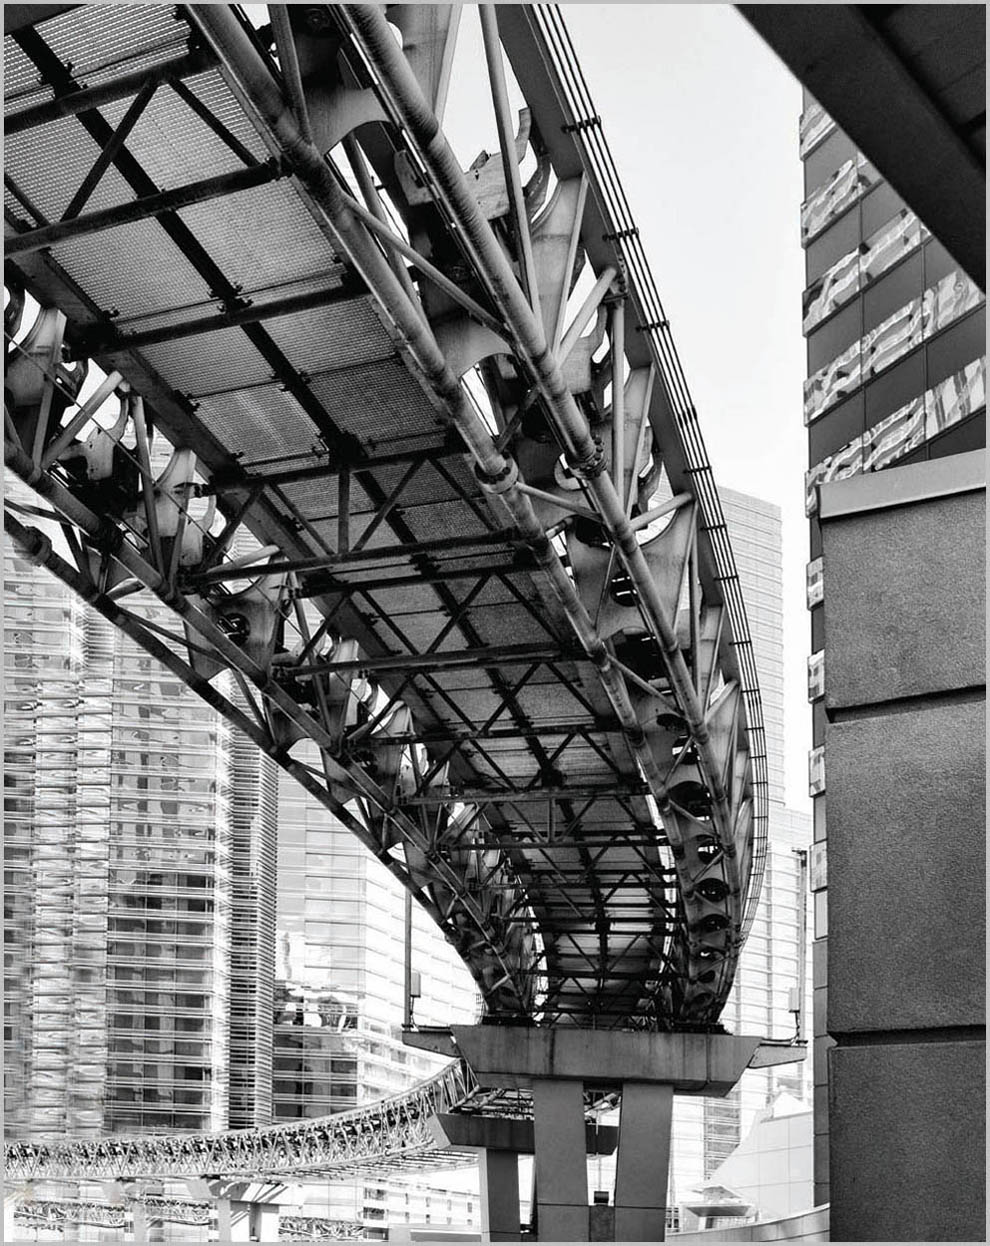
A quick adjustment of both the shutter speed and aperture brought correct exposure to this image.
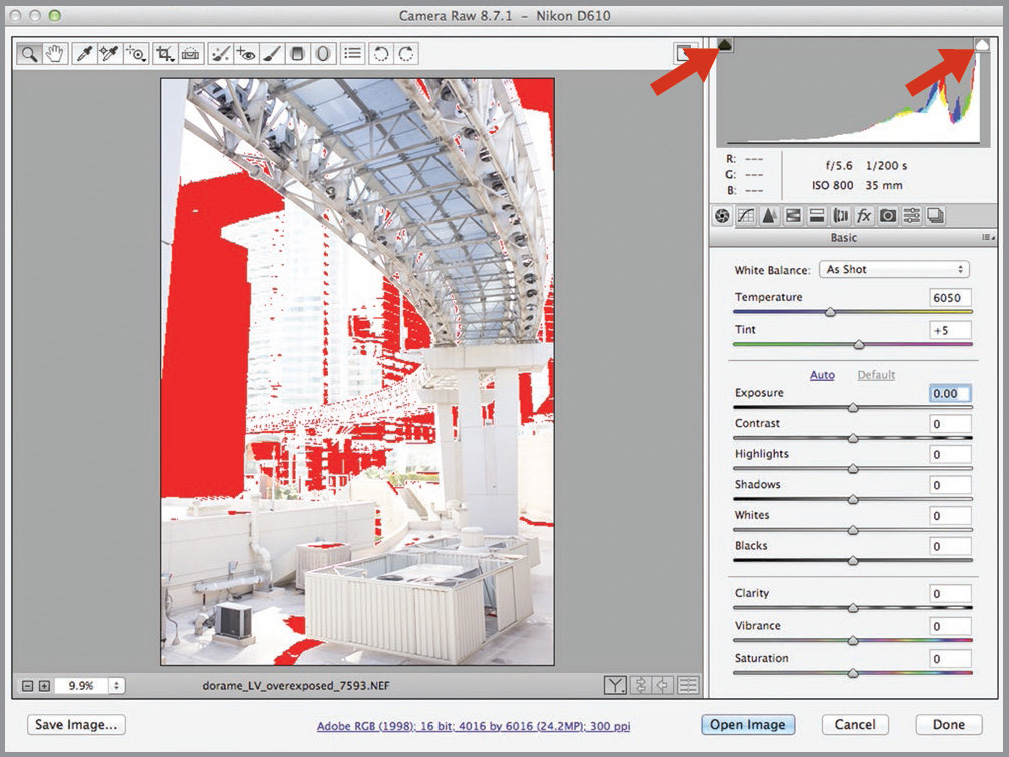
When working on a RAW image, the histogram on the upper right side of Photoshop has a small box in each upper corner (see the red arrows). These boxes show where dark and light areas are “clipped” in the image.
If not using a meter, pull off a shot (here, it’s clearly overexposed) and work your way to a correct exposure from there by either narrowing the aperture and/or increasing the shutter speed to bring the light into submission.