The vegetative stage is just as important as the clone and seedling stages. This stage can be as long or as short as you want—and by altering the photoperiod, flowering can be induced whenever you wish.
The vegetative stage begins as soon as clones or seedlings start rapidly producing leaves and roots. Both seeds and clones can be used to start the cultivation process, but clones are sometimes preferred to seeds, because they are of known genetic origin and are guaranteed to be female. You must know the growth pattern of the cultivars you are working with before you induce flowering: how fast or slow do they grow? In order to reach an ideal height when fully matured and finished, you should decide how tall you want the plants to be, and predict when to begin flowering accordingly.
At Trichome Technologies, we want fully matured, finished plants to be 36 inches tall, so we induce flowering when vegetative plants are 12–14 days in, or 15–18 inches tall. If you extend the vegetative cycle you will get tall plants, and if you shorten the vegetative cycle you will end up with short plants. To force or induce flowering, simply change your light cycle from 18 hours of light and 6 hours of darkness, to 12 hours of light and 12 hours of darkness. Outdoors, the photoperiod is dictated by nature, with shortening daylight in the late summer and fall, but indoors, artificial darkness can be created. By covering a greenhouse with blackout covering, you can create complete darkness to control the photoperiod.
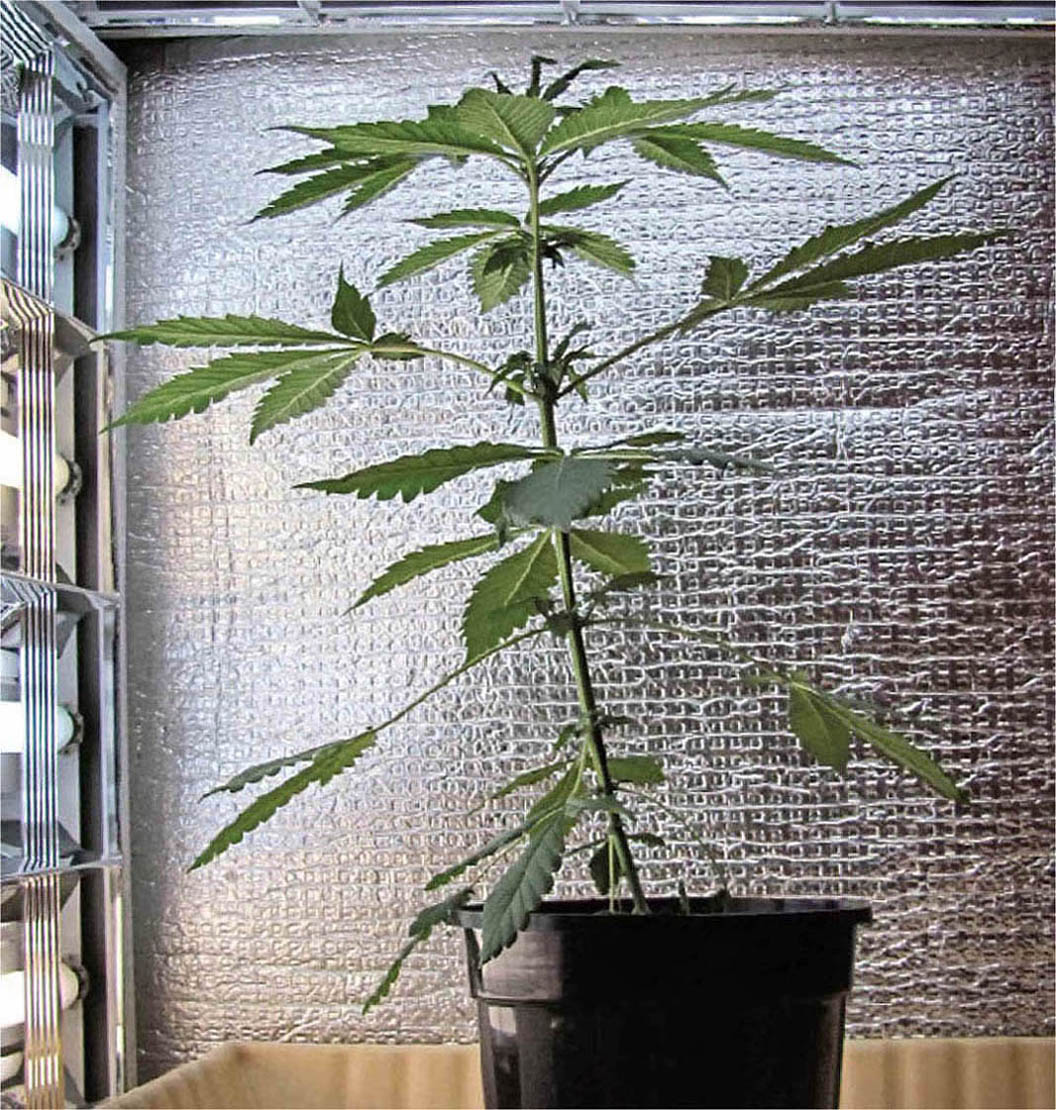
These very healthy plants have survived the clone stage, the hardening-off stage, and are ready for the vegetative stage.
This plant has been grown all wrong. Too much media / soil has been used; it has no drainage; and it has way too many stakes that ultimately increase the cost of production because of the time it takes to tie and untie all the plants.
Photos: K
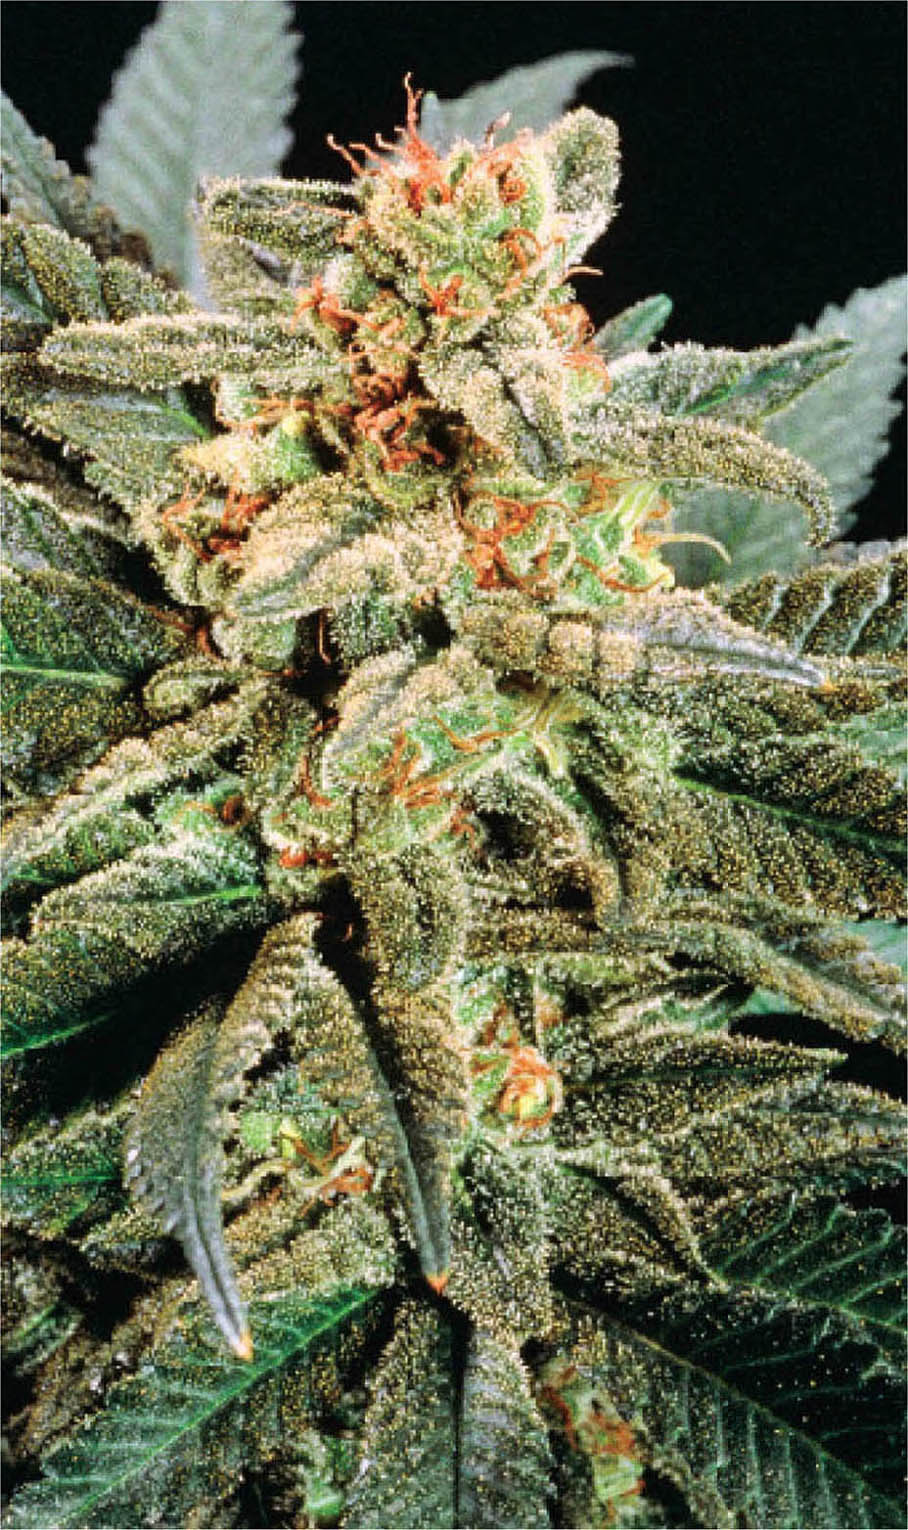
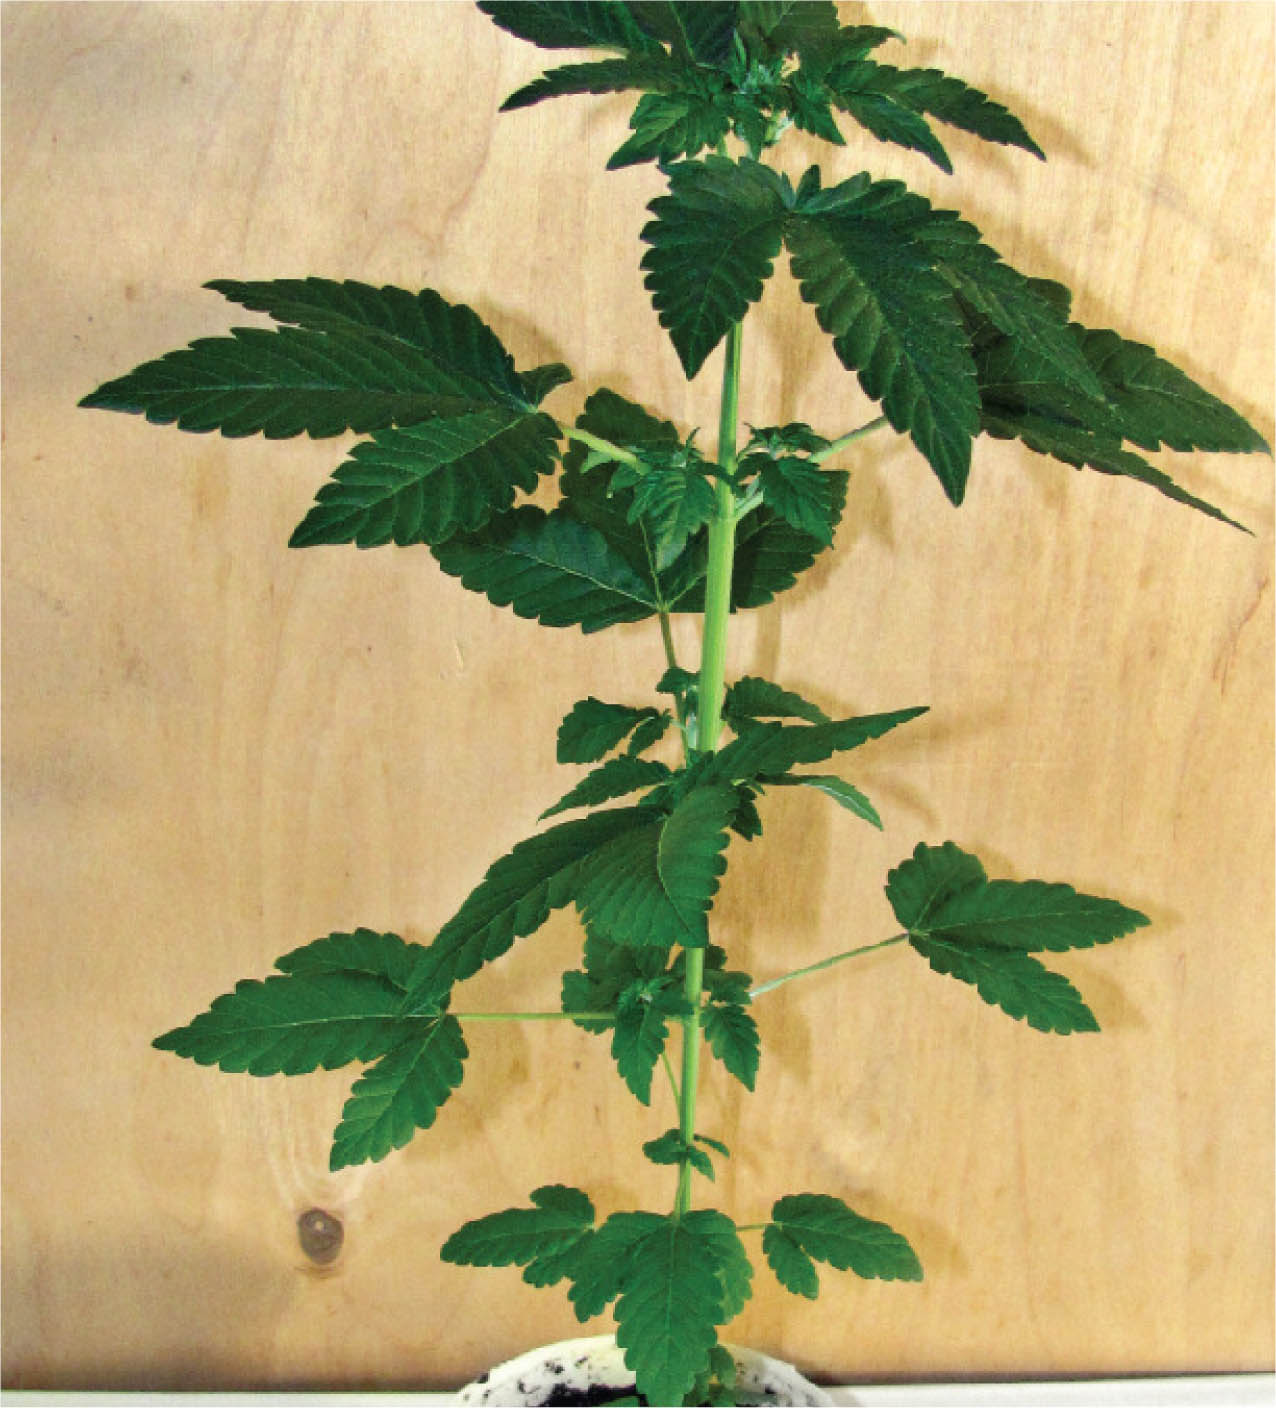
The true Kryptonite.
Photo: Andre Grossman
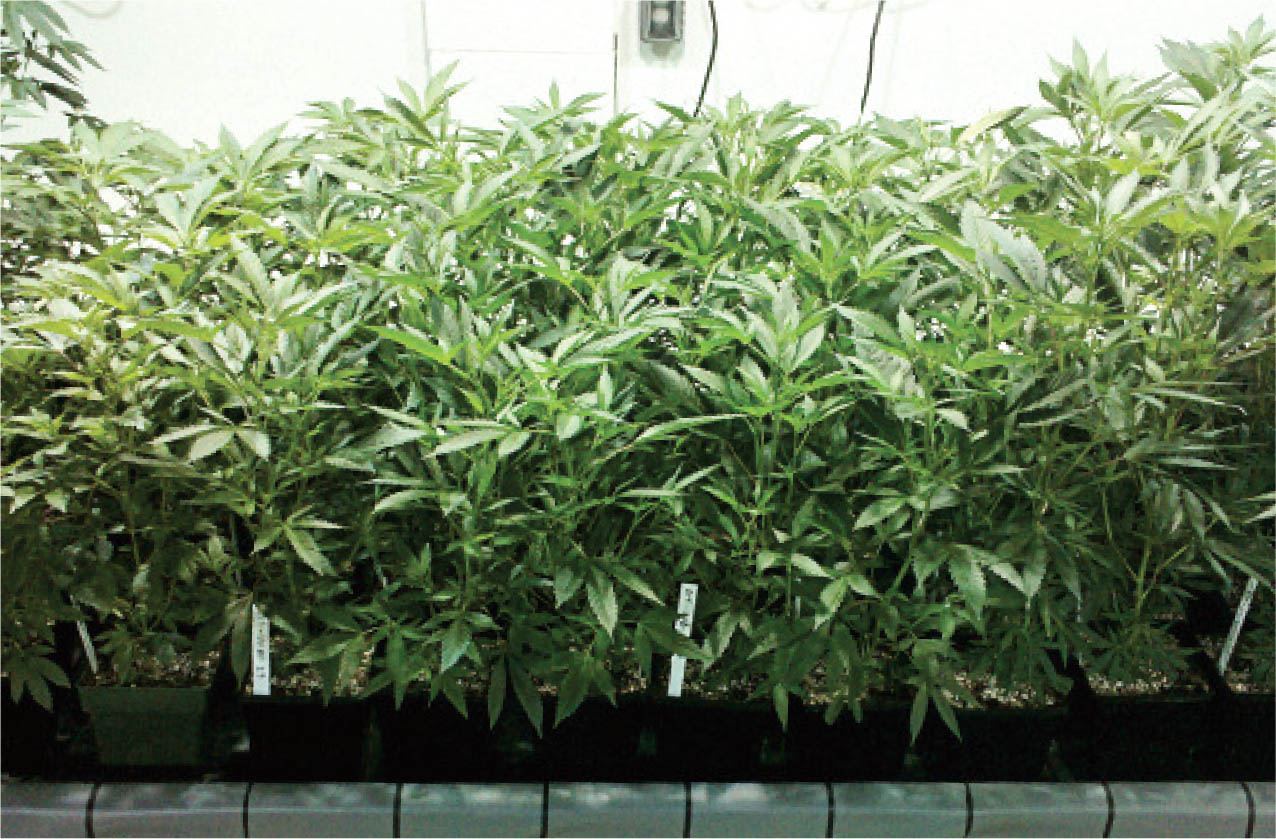
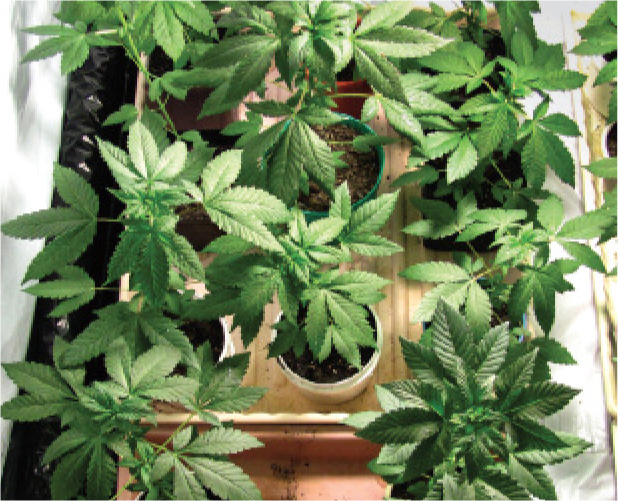
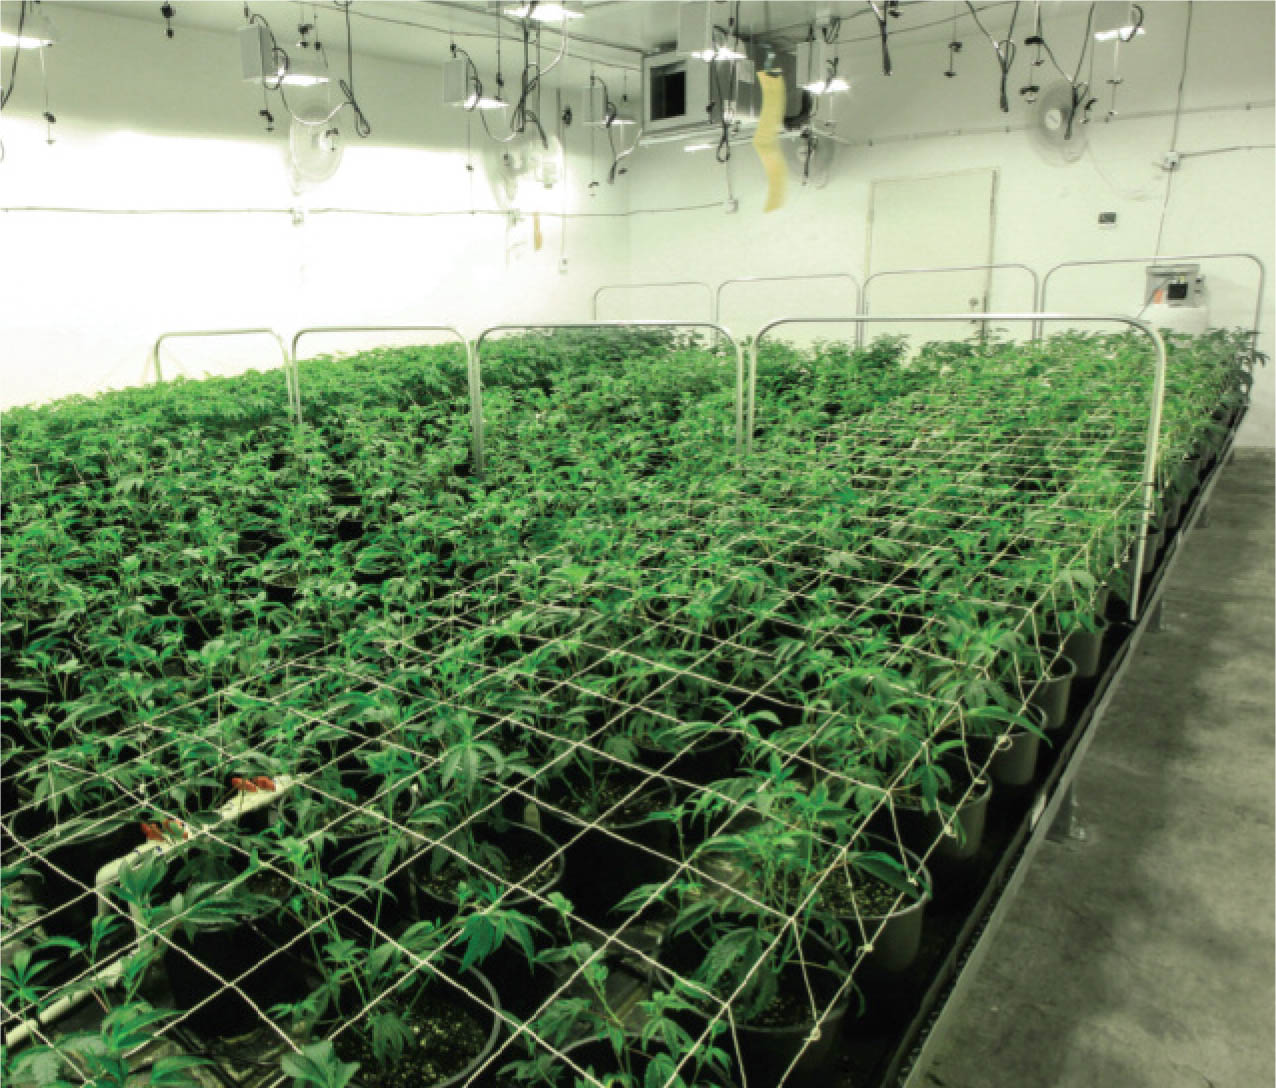
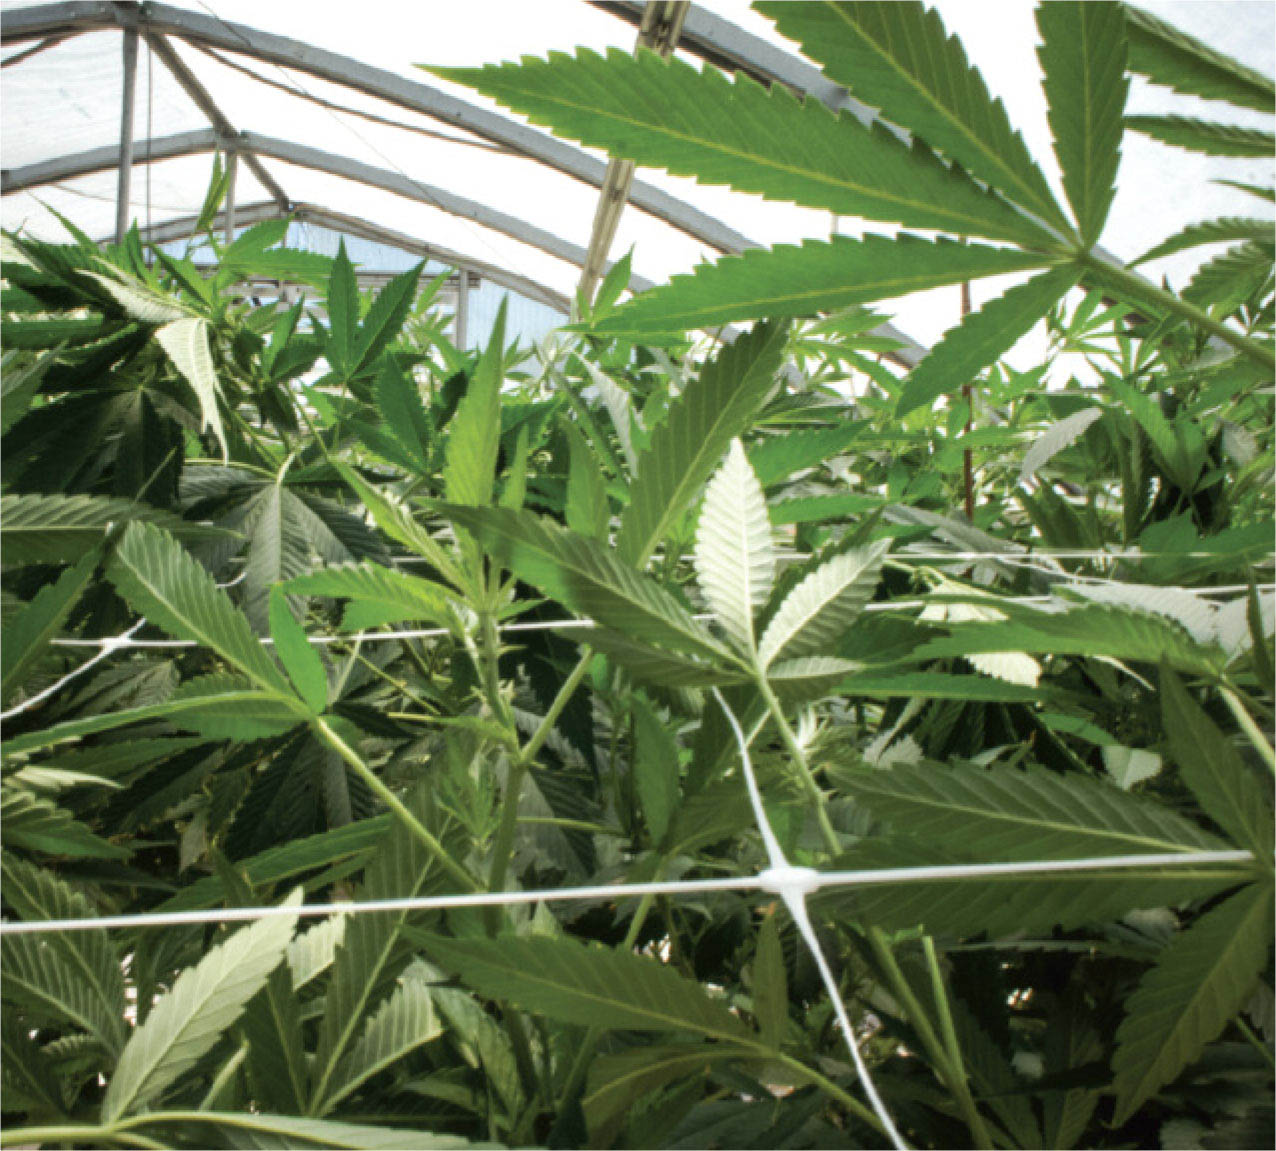
Plants just starting the vegetative cycle.
Photo: Mel Frank
At Trichome Technologies, finished clones are placed in the vegetative chambers when they are fully rooted and 4–6 inches tall. We place them under 1,000-watt MH and SH HID lights for 18 hours on and 6 hours off. The lights are kept 48 inches away from plants for 24 hours, then 36 inches for 24 hours, and finally 24–36 inches away, depending on the needs of the plant. Do not put lights too close to plants, because they might dry out, burn, or worse, die. Lights too far away will increase internodal stretching / spacing, and create spindly, leggy plants with light, airy buds. Both are unacceptable.
During the vegetative stage, plants grow rapidly for 5 to 7 days, and are completely stripped of all lower vegetation to re-stimulate vegetative growth. Over the next 5 to 7 days, the plants accelerate growth, producing the next batch of available clones. On vegetative days 10–14 (depending on cultivar), lights are changed to 12 hours on / 12 hours off. To induce flowering, 48 hours later, clones are taken from the plant.
Hindu Kush: Vegetative Stage (Grown for Seed Production)
Here the Hindu Kush seen in the Germination chapter has experienced another week of fast vegetative growth.

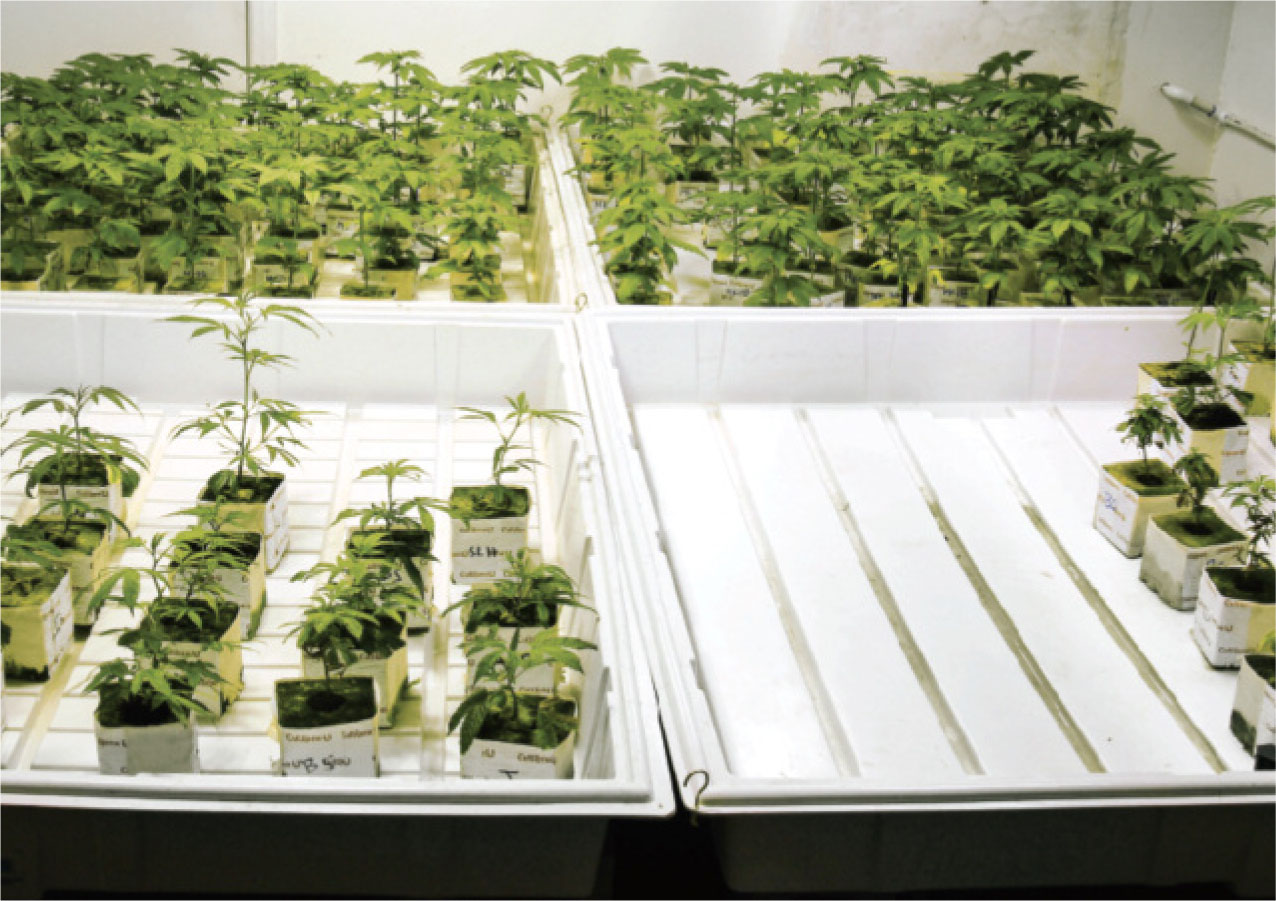
All the seedlings are now in the vegetative stage, week 2.
Another week older. Note the growth.


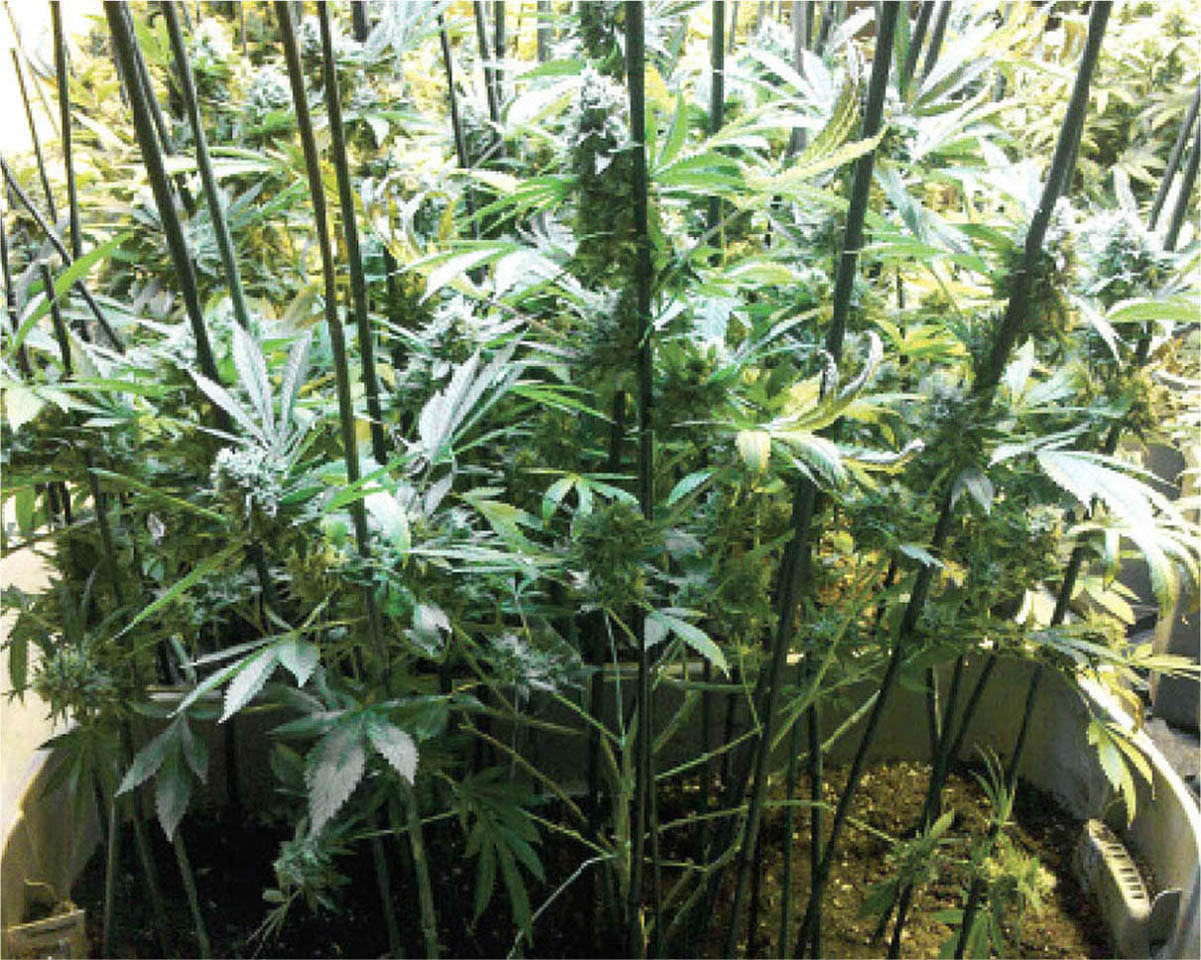
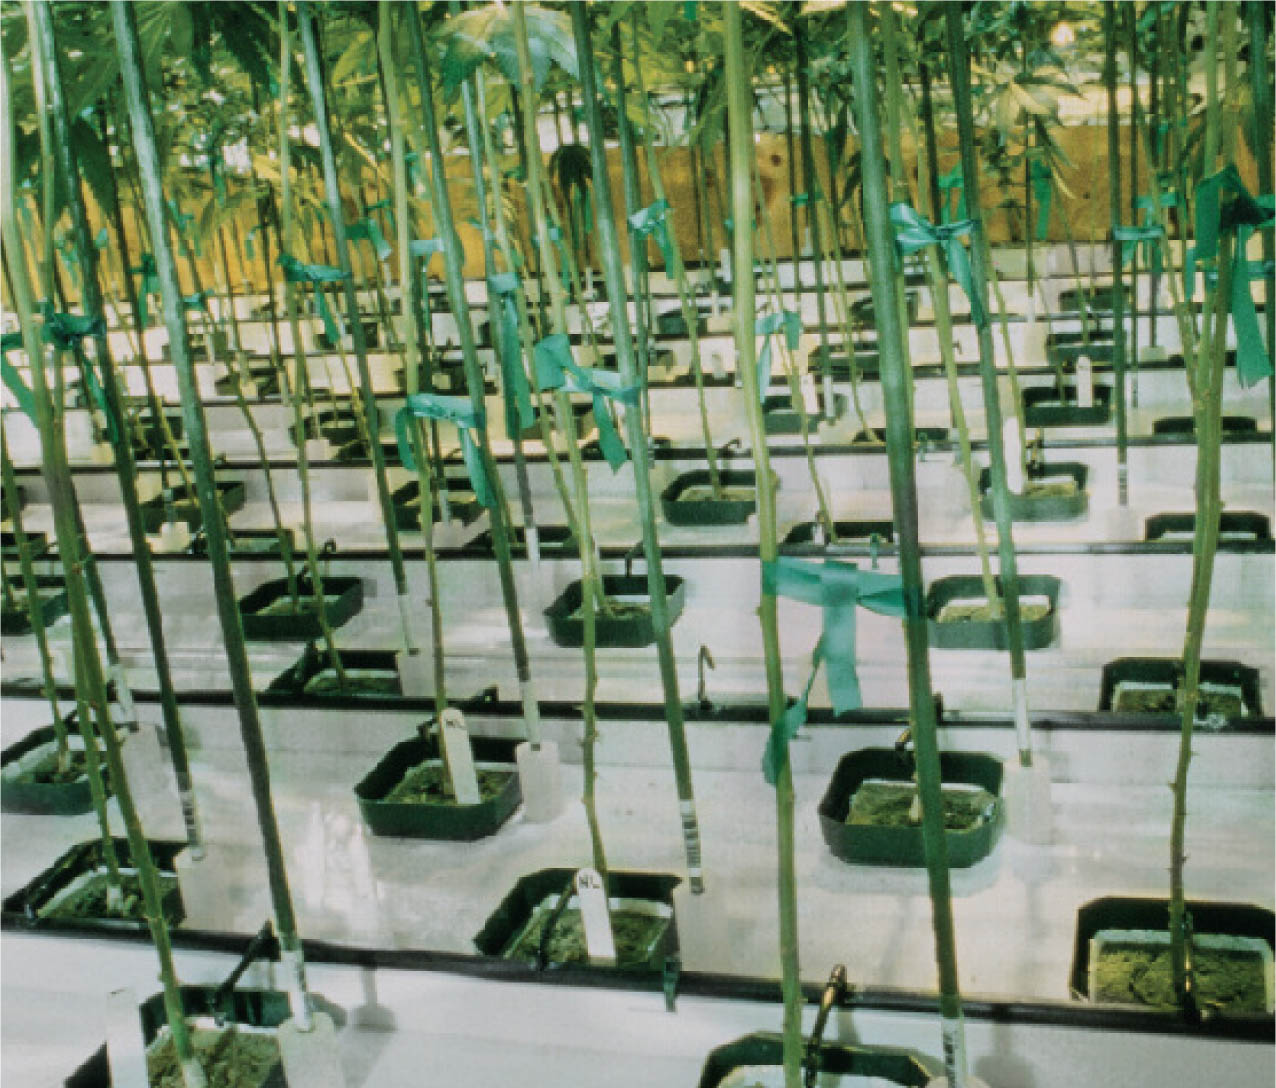
Full garden with breeding males for seed production.


Ten days later and the plants are ready to enter the flowering stage.
Tip: Strip the lower vegetation as seen here.
Photos: Mel Frank
After all available clones are removed, the plants are again stripped of all lower vegetation, transferred to the flowering chambers, and staked and tied to prevent them from falling over. The same process occurs in a soilless mix situation.
Tip
If you happen to bend or break a stem or branch accidentally, you can repair it by using a short section of a drinking straw, approximately two to four inches long. Cut the straw down one side, then slide it over the bent or broken area of stem, and close the ends. Tape the straw around the area that needs repair. For large branches or large outdoor plants you can use a large diameter piece of tubing split down one side and zip tied around the affected branch.
Lower vegetation is stripped off so that all of the plant’s energy and nutrients are redirected towards producing stronger clones and bigger, fuller buds. Lower branches are less useful, as they are light-deprived and produce airy, loose buds that are time-consuming to manicure. Remove any branches that do not receive direct light. Leave the fan leaves on, except for the lower fan leaves. For the most part, fan leaves should not be removed. They are essential for photosynthesis.
Vegetative plants in growth.
If the fan leaves become old, necrotic, sickly, or just more dead than alive, remove them. Do not keep dead leaves on plants or even lying around the growing environment—death is never a good thing to have around! Cleanliness is a top priority; debris and dead leaves decay in grow chambers, and can host mold and diseases. Keep your environment and chambers spotless! After harvest, all refuse and unusable material must be eliminated as quickly as possible, since they can also cause mold and diseases.
The health and vigor of the vegetative plants carry over to the flowering stage. Healthy vegetative plants make healthy flowering plants. You must pay close attention and watch closely for signs of nutrient deficiencies, over-fertilization, and nutrient build-up, which can raise or lower pH and lock out available nutrients—see the section on ‘flushing’ in the nutrient chapter of this book for more information.

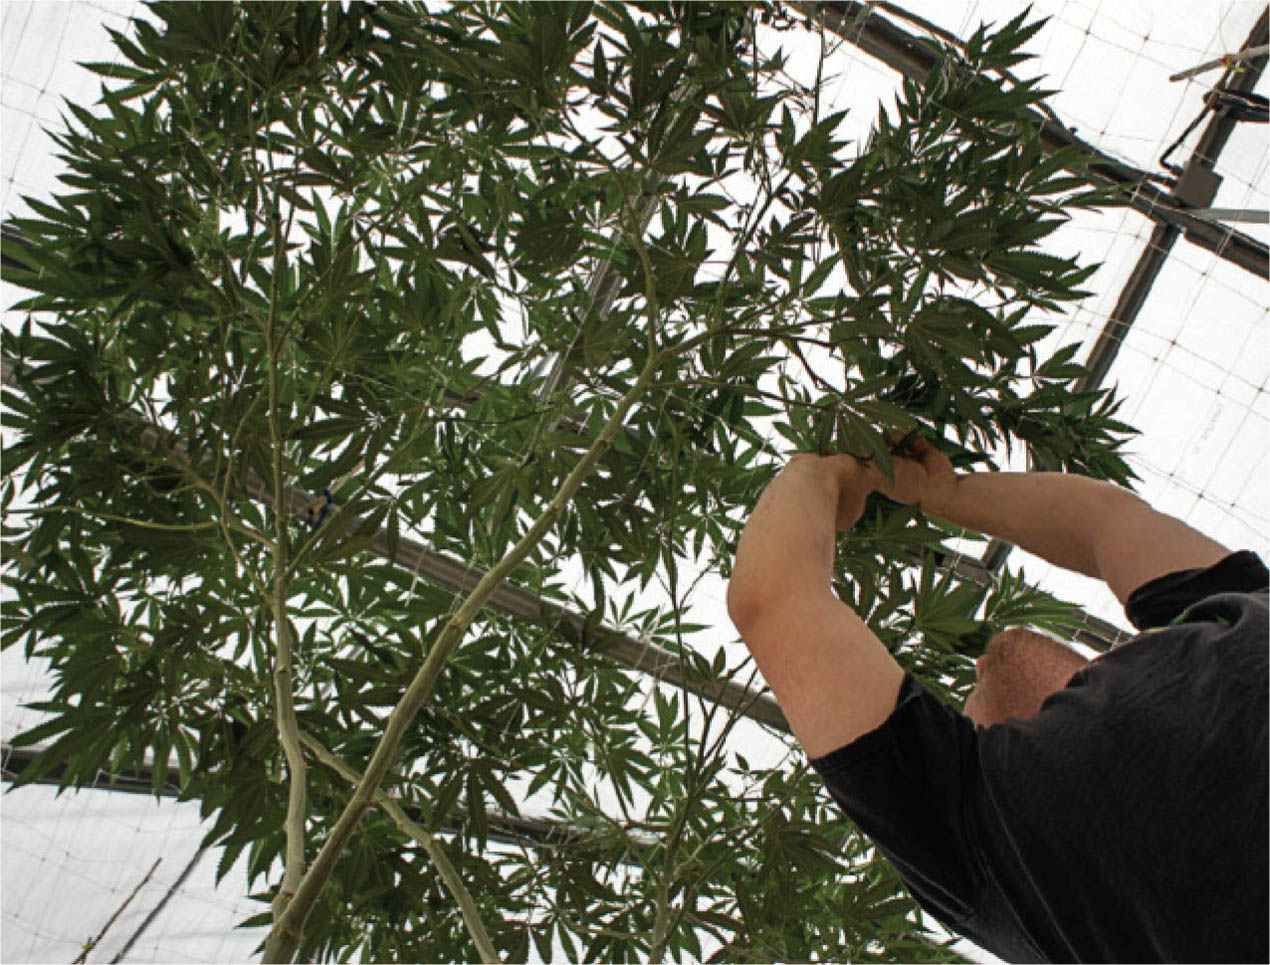
Healthy plant from the West Coast Masters.
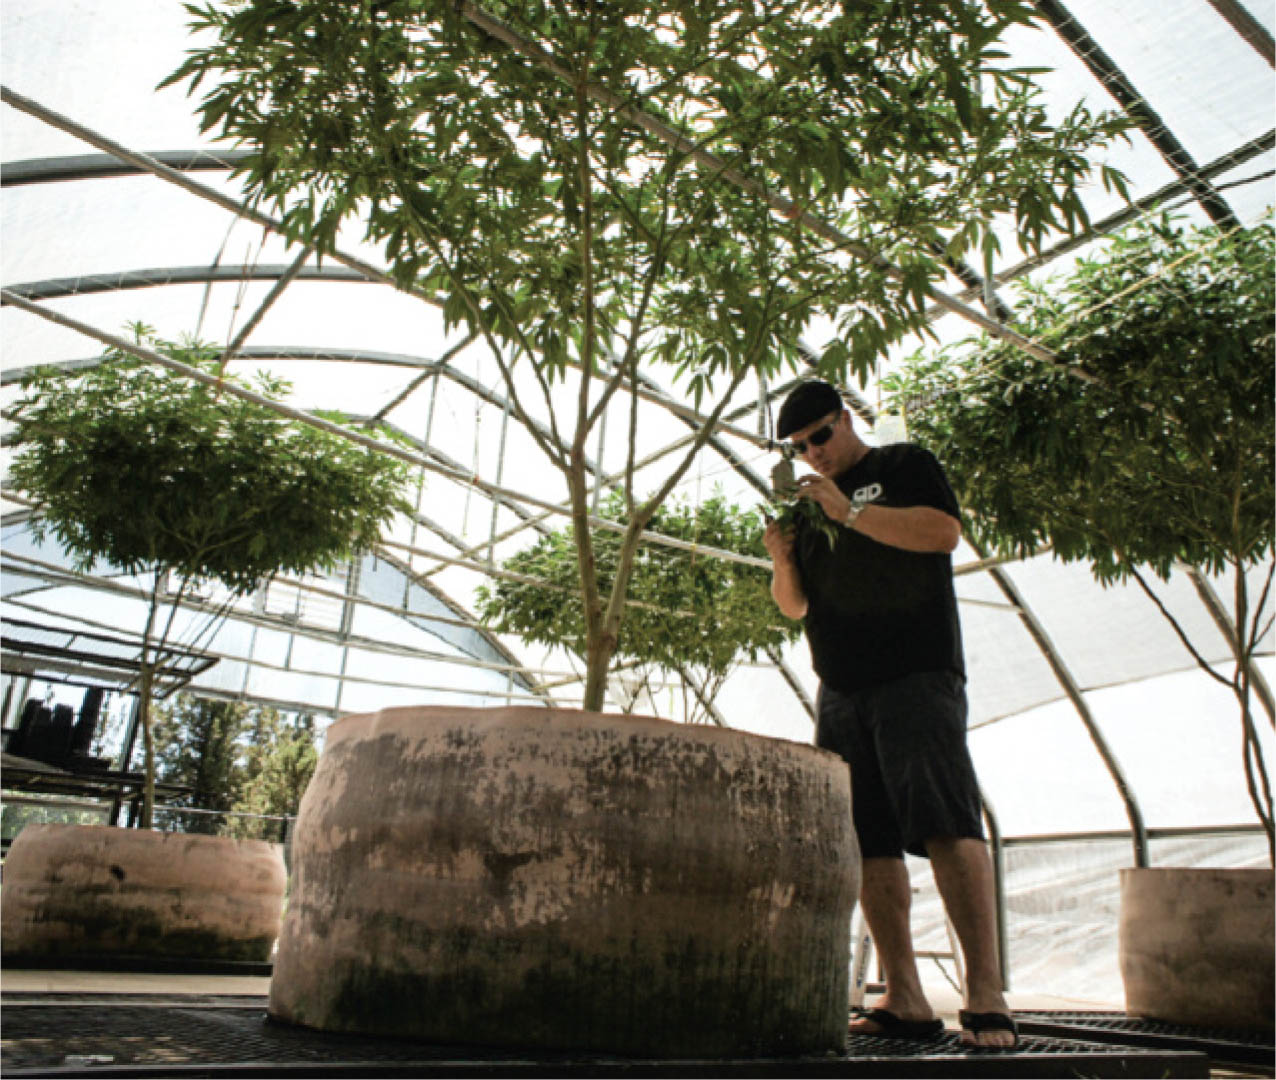
Photos: Dru West
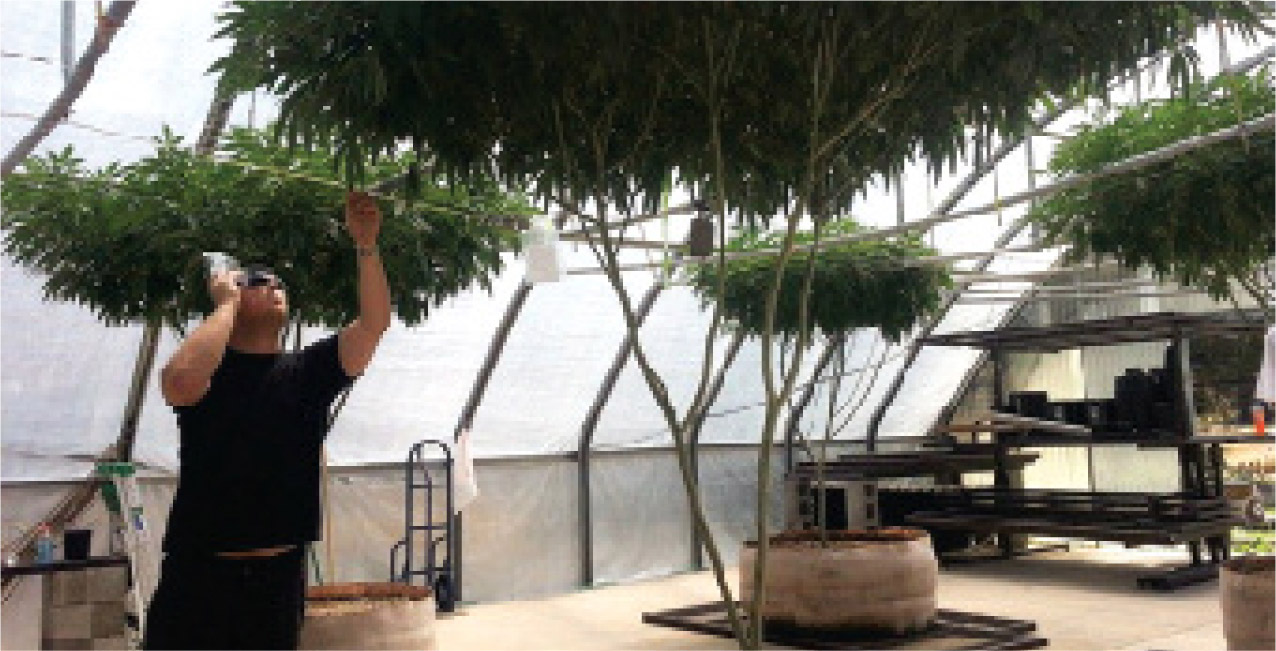
Dru West monitoring the leaves.

Beauty grown in massive SCROG garden by Dru West.
SCROG (Screen of Green) / Training Your Plants
It is possible to get the same amount from one large plant as it is to get from 10 smaller plants by training and spreading the plants out to maximize light by utilizing a uniform canopy.
An entire book has been written about this method by Dru West. The title of this book is The Secrets of the West Coast Masters: Uncover the Ultimate Techniques for Growing Medical Marijuana. You can purchase a copy of the book from Dru’s website: www.westcoastmasters.com
There is no need for me to delve into an entire chapter devoted to this grow style since it has been written about so eloquently in Dru’s book.
Careful training allows this SCROG plant to yield an insane amount of bud.
These plants are absolutely massive. This is the power of SCROG.
Photos: Dru West
SCROG canopy.
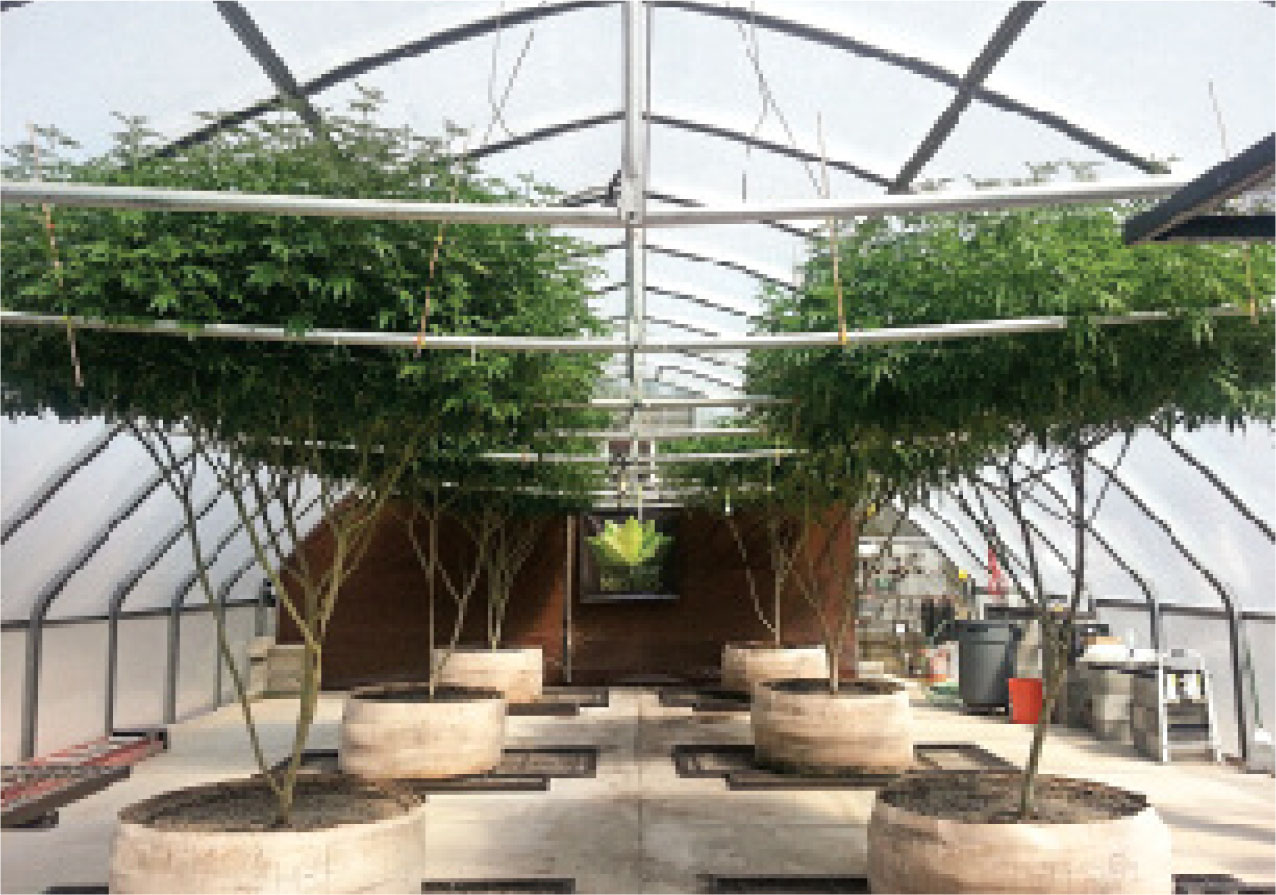
West Coast Masters greenhouse. Amazing.