Besides keyframing in the Properties tab, we can also use the Canvas by dragging objects and turning on the Record Keyframes feature.
- Open the
04_04project from this chapter's exercises folder. - Play back the project by pressing the Space bar. This project consists of a movie file with a spinning cube.
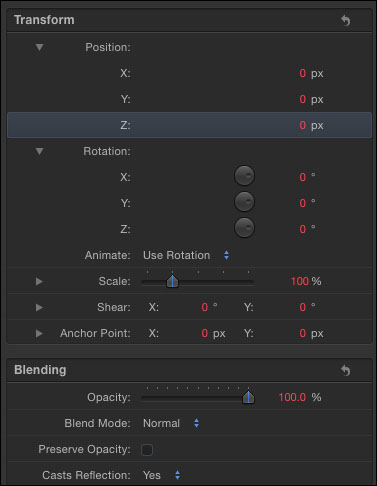
- Under the Canvas, click on the Record Keyframes button or press A. Select the cube in the Layers tab. Press F1 to go to the Properties tab of the Inspector. You should see every parameter marked in red, as shown in the following screenshot, indicating that Record Keyframes is turned on:
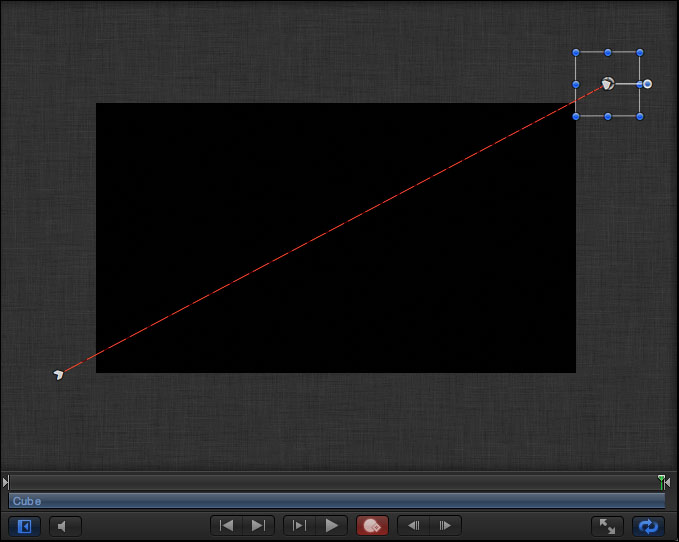
- At the beginning of the Timeline, drag the cube down to the left and offscreen. Press Command + - to zoom out of the Canvas a bit. Move to the end of the Timeline and drag the cube up and to the right offscreen, as displayed in the following screenshot. The motion path becomes visible. Unlike previous recipes, when Record Keyframes is turned on, we don't have to add any keyframes for animation to occur. The system automatically adds them for us.
- Click in the Canvas and type
3+.and hit Return to move to the three-second mark in the Timeline. Drag the bounding box around the cube in the Canvas down a touch to create another keyframe. Let's also have the cube scale up and then back down over the length of the animation. - While still at the thee-second mark, Shift + drag one of the corner circles to scale the cube up to
130. You can see the Scale value appearing in the upper-left side of the Canvas. - Press Shift + K to move to the next keyframe. Shift + drag one of the corner circles of the bounding box down to
80. Now, play back the animation. The cube travels along the path and scales up to130and back down to80. Let's see another method of working with Record Keyframes. - With the cube selected, press F1 to go to the Properties tab of the Inspector. Press the hooked arrow in the top-right corner to reset all the Transform values. The cube jumps back to its original center position in the Canvas.
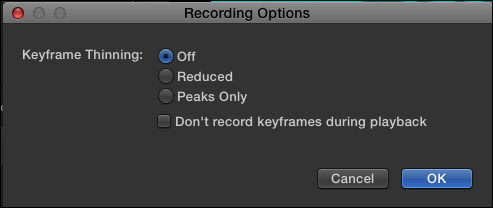
- Double-click the Record Keyframes button to go to its properties. In here, we have options for keyframe thinning, as shown in the following screenshot. If we were to play back our project, we could record keyframes on the fly. Let's set Keyframe Thinning to Reduced in order to minimize the number of keyframes that will be added when we move the cube across the screen during playback with our mouse. Press OK to close the window.
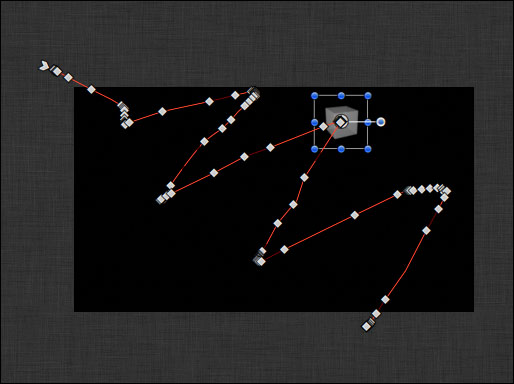
- We're going to animate the cube during playback. First, move the cube to the top-left corner of the screen. We want to move the cube in a zigzag fashion across the screen for the duration of the project until it reaches the bottom-right corner. Make sure your playhead is at the beginning of the project and Record Keyframes is still on. Select the cube in the Canvas. Press the Space bar to play back and start animating the cube for six seconds. Use the following screenshot for your reference:
- If you are unhappy with the results, press Command + Z to undo your animation. Start from the beginning and try again. You can also smooth out the animation by removing some unnecessary keyframes. Simply click on those keyframes in the Canvas with the cube selected and press Delete.
Turning Record Keyframes on can be disastrous to your project if you're not aware of it. It also doesn't help that the A shortcut key is a shortcut for the position tool in FCP X and is also a shortcut to record keyframes in Motion. Be very careful of this button and look at the preceding recipes, so that you easily know how to delete keyframes from your project.