The Transform Glyph tool allows us to adjust the individual characters of our text with ease and precision directly in the Canvas. Combine it with the Sequence Text behavior and we can make our animations come to life by dragging our text to where we want it to start.
Double-click on the 05_07 project from the exercise folder for this chapter folder. Play back the animation. This project consists of an animated alarm clock and some text.
We're going to begin by changing the size of a few characters.
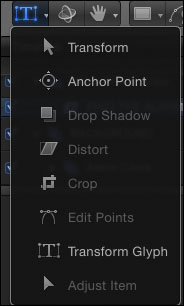
- Underneath the Selection tool, select the Transform Glyph tool as shown in the following screenshot:
- Press F7 to bring up the HUD. Click on the letter M in the Canvas. Adjust its scale in the HUD to around
190, as shown in the following screenshot. Option + click to the left and right of the slider to increase the size by one. Repeat this step for the letter R: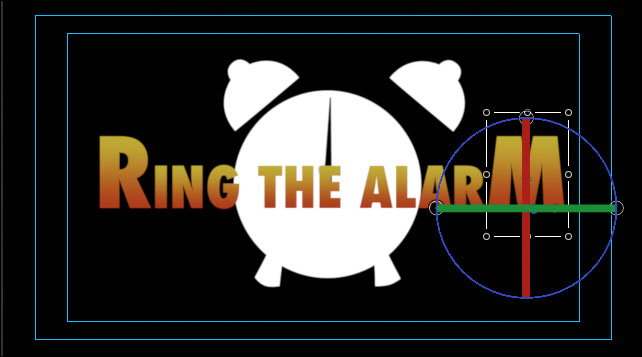
- Select Ring the Alarm in the Layers tab. Go to the gear icon to the right of the Canvas and select Text Animation | Sequence Text. Move to 2 seconds in the mini-Timeline and press O to trim the behavior's out-point. Press Command + Option + O to move the play range out-point to the playhead. Move to the beginning of the project.
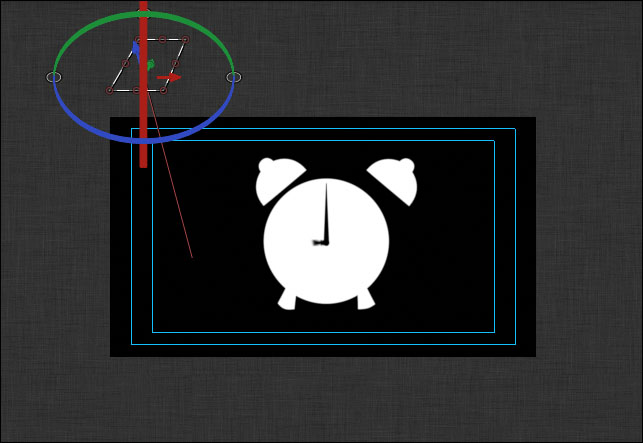
- Click on the letter R. Press Command + - a few times to zoom out on the Canvas. In the HUD, change the value of Unit Size value to Line. Hold down the Shift key and click on the top circle. Drag the text to the right to rotate it by 45 degrees on the x axis.
- Select the blue arrow and drag it to the right to move your characters offscreen. Change the Speed to Ease Both. Play back the animation. Try changing the value of Unit Size to Word and the value of Direction to Random. Play around with the settings until you're happy with the animation. Use the following screenshot to help guide you: