As a motion graphics designer, you have a responsibility to work efficiently. One way to save time is to save your favorite animations for future use. Let's take a look at how we can save our own animations that we can use over and over again.
Under the exercise folder for this chapter, folder open the 05_08 project. This project consists of a background and text layer. The project is 3D so it allows us to add lights that interact with our scene! We'll learn about this later but for now take a second to explore and see how this project was constructed.
We're going to save the text style and basic attributes associated with this text so that we can easily apply it to other text layers that we might have in our project.
- Select the Imagine text and press F4 to go to the Text tab of the Inspector. Go to the Format pane at the very top under the Style Presets menu click and choose Save All Basic + Style Attributes as shown in the following screenshot. Name the preset
BGothic, Grad, Glow and Shadow.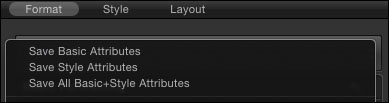
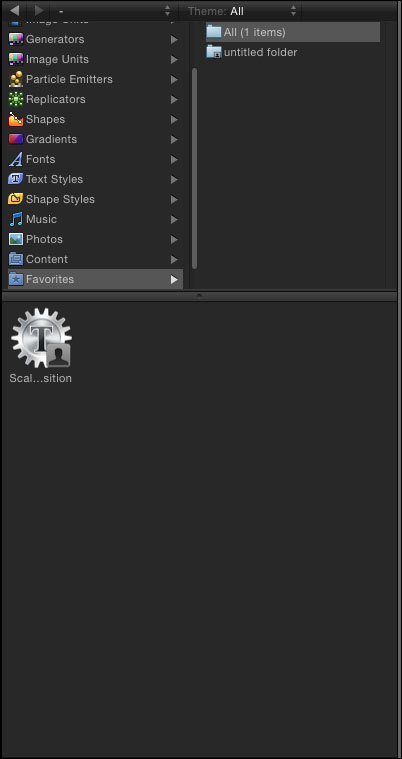
- Press Command + 2 to go to the Library. Select Text Styles; note that your preset is saved as shown in the following screenshot. Turn off the Imagine layer and turn on the Apply layer by clicking on the checkmark box next to it in the Layers tab. Drag the preset over to the Apply text. Look how easy that was compared to adjusting all the settings again!

- Let's see how we can do this with text behaviors we create with sequence text! Go to the File menu and open the
05_08_01project. Play back the project. Take a second to explore the various filters, behaviors, masks, and lights that were used to make the project. If you're going through this book chronologically, you'll find out more about this in the later chapters. - We want to copy the Sequence Text behavior from the Imagine text to apply to clips in the Timeline. Option + click the checkmark next to Imagine to solo it. Move to 4 seconds in the Timeline. Select the behavior on the Imagine text and press F2 to go the Behaviors tab. Both scale and position have been adjusted on the Sequence Text behavior to create the animation you see. Press Command + 2 to go to the Library. Select Favorites and drag the Sequence Text from the Layers tab directly into the Favorites folder. Rename it
Scale 400 and ZPositionMove. - Create a new project, add some text, and apply the preset behavior to it from the Library! How easy was that! Use the following screenshot for reference: