When you duplicate layers and combine masks, you can create some pretty cool animations and effects. Let's take a look at how we can animate a glow across a logo while it scales up over time.
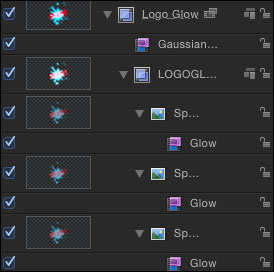
Under the exercise folder of this chapter, double-click on the 06_10 project file. The project consists of two logo groups; Logo glow and Logo. The image used was an Illustrator file. In order, to scale it up without distortion, we went to the Media tab of the Inspector and turned off Fixed Resolution. If you look inside the Logo Glow group, you should see several copies of the logo each containing a glow filter. To create this dynamic glow, duplicating the logo, as well as changing the blend mode between the layers, was needed. The Logo group only contains the Illustrator layer and no glow. Our goal is to create a mask around the Logo Glow group and animate it so that it's only seen for a few seconds.
Let's create a mask to animate one of our logo layers.
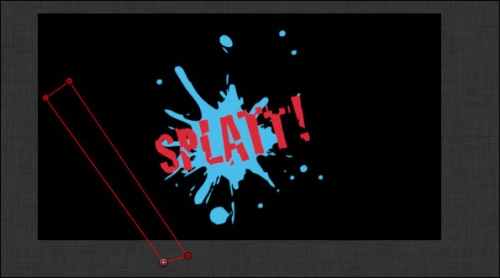
- Zoom out on the Canvas by pressing Command + -. Select the Logo Glow group. From the toolbar, select the Bezier Mask tool underneath the Rectangle Mask tool. Click to create control points of your choosing off to the side. Make sure the length of the shape you create is enough to cover the logo. Click on the first point to close the shape. The glow disappears. It's still there but the mask we created does not encompass that group.
- Press the F7 key to bring up the HUD. Increase the Feather of the mask to 100. Press the F4 key to go to the Mask tab of the Inspector and increase the Roundness to 20 and the Falloff to -30.
- With the mask still selected and the playhead at the beginning of the project, press the A key to activate Record Keyframes. Click on the mask and nudge it to force a keyframe. Move to 3 seconds. Drag the mask up and offscreen to the right. Press the A key to deactivate Record Keyframes and play back the project. Adjust the mask points to taste by selecting the mask, Ctrl + clicking on the Canvas, and choosing Edit Points.

- Select both logo groups in the Layers tab and navigate to Object | Group. With the new group selected, go to the gear icon in the toolbar and choose Grow/Shrink from under Basic Motion. Change the behavior in the HUD as desired.
- Applying a Glow filter to a layer in Chapter 1, Getting Around the Interface
- The Applying a Fade in/ Fade Out and Grow/Shrink behavior to a still recipe of Chapter 3, Making It Move with Behaviors
- The Keyframing a group recipe in Chapter 4, Making It Move with Keyframes
- The Using shape masks recipe in this chapter