So far, all the content we've used for our particle emitters has been through selecting presets or using content through Motion's library. In this recipe, we're going to find a collection of photos on our drive to bring into Motion and use them as the source for our particle system.
Locate a collection of around 20 photos on your hard drive. It's best if these photos aren't extremely large in size, because we will be displaying several of them onscreen at once. Feel free to use your favorite photo-editing application to scale them down. We want Motion to see these photos as an image sequence; to do that, we'll need to give them the same name followed by a numerical number. The numbers assigned should be sequential. For example, if you have a set of photos with buildings, you'll call the first photo building_1, the second building_2, and so on. Once this is finished, launch Motion and choose a project with Duration set to 10 seconds, Preset set to 720p, and Frame Rate set to 30. When we go to the File Browser and find the image sequence, Motion will display only a single file containing all the photos as long as the Collapsed Image Sequence button is active. See the following screenshot for reference:

Let's take our image sequence and apply it to a particle system:
- Make sure you are on the first frame of your project. Press Command + 1 to go to the File Browser. Find the image sequence, click on it and choose Import. Play back the project. The duration of the image sequence will be determined by the number of photos you have imported. Each photo plays for one frame in the order they were named.
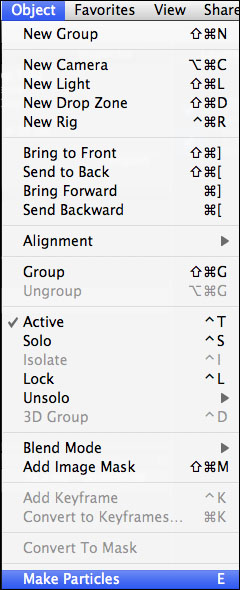
- Stop the playback and go back to the beginning of the project. With the image sequence selected, go to the Object menu and choose Make Particles, as shown here:
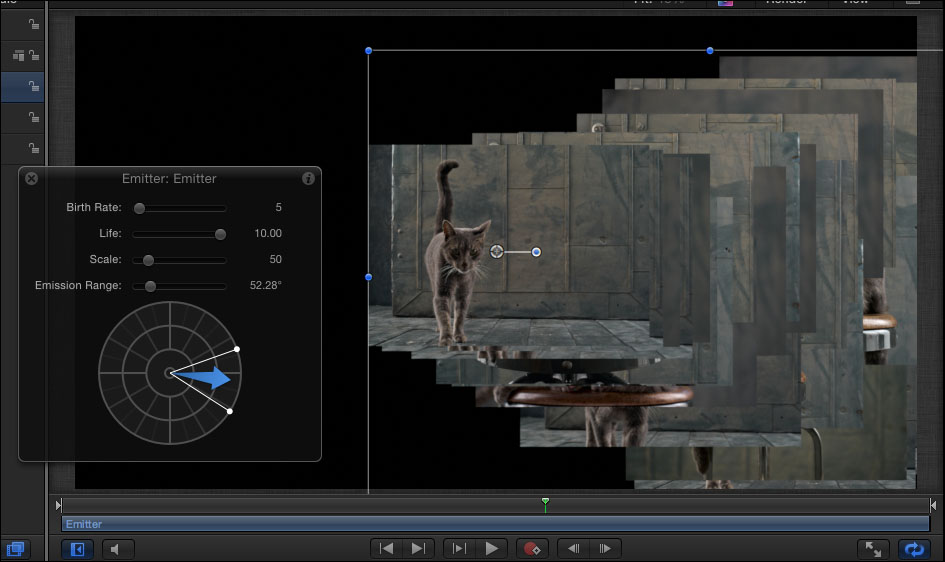
- Press F7 to show the HUD. Set Birth Rate to 5, Life to 10, and Scale to 50. Change the Emission Range slider's value as desired. Play back the animation. The following screenshot is an example of what you could end up with:
- Currently, the particle emitter is playing each photo in the image sequence. We want each photo born to be random, but not play through the entire image sequence. Press F4 to go to the Emitter tab of the Inspector. Uncheck Play Frames.
- Click the disclosure triangle over Opacity Over Life and add three tags to create a fade-in effect and a fade-out effect over the image. Let's have our pictures form in the shape of some text.
- Type a two or three letter word of your choice on screen. Make the size big and choose a thick font. Turn off the Text layer.
- Select the Emitter. In the Inspector, Set Shape to Image and Arrangement to Random. Drop the Text layer into the image source well in the Inspector.
- Bring down the Speed slider to
0, increase the Birth Rate value to1200, set Scale to3, and set Scale Randomness to2. the following is how your output should look: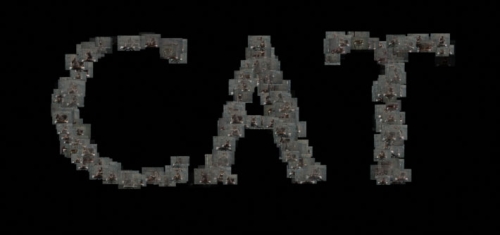
When we brought the image sequence into our project, we turned it into a particle system. By changing some of the particle parameters in the Inspector, we were able to tell the emitter to randomly display each photo.