You may have noticed an image called Bokeh in the Content or the Particle Emitter section of the Library. It creates a series of randomly blurred circles with bright highlights used to mimic a similar effect seen in photographs, usually on the background of the image. We're going to learn how we can create our own Bokeh from scratch.
Double-click the 07_10 project file from this chapter's exercise folder. The project consists of a group that has been turned off to act as the foreground of the project when we've done our Bokeh. Right now in the empty group, we're going to create a circle, add some filters, and throw it into a particle system. We will adjust the parameters and add some simulation behaviors to have it float offscreen left.
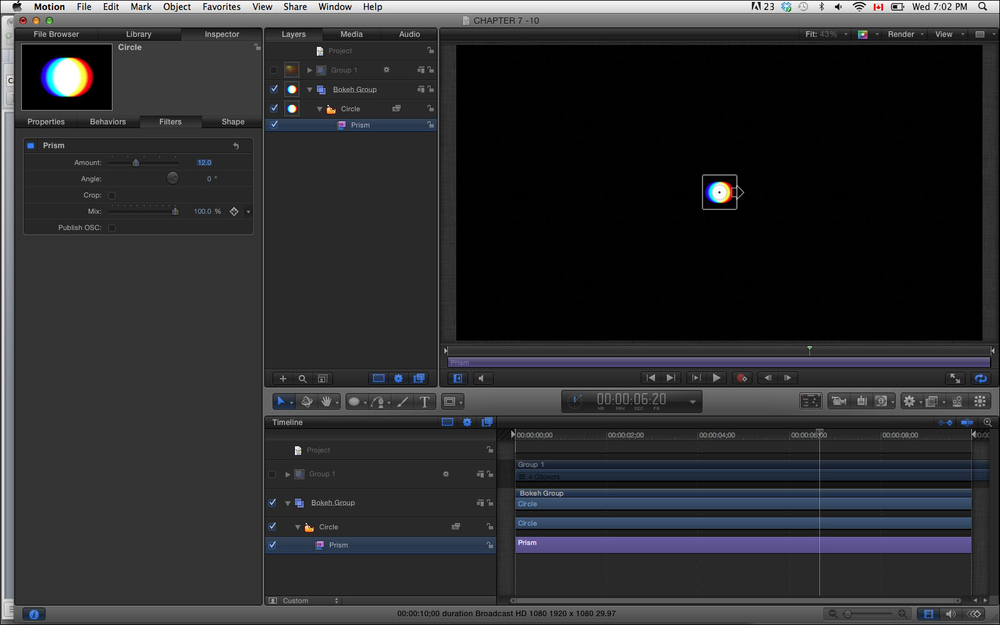
- Select the Bokeh group and go to the toolbar to select the Circle tool underneath the Rectangle tool. Shift + drag your mouse in the Canvas to create a small circle on the screen. Press the Esc key to move back to the selection tool.
- Press Command + 2 to go to the Library and select Filters | Blur | Prism. Drag that over to your Circle layer. Press F3 to go to the Filters tab and change the Amount value to 15 and the Mix value to 75, as shown in the following screenshot:
- Press Command + 2 to go to the Library tab and select Filters | Glow | Glow. Drag that over to your Circle layer to add it. Press F3 to go to the Filters tab and increase the Radius value to
40and the Threshold value to.01. - Make sure you are at the beginning of the project. Select the Circle layer and press E to create particles.
- Select the emitter and press F4 to go to the Emitter tab of the Inspector. Set Shape to Rectangle. Set Arrangement to Random Fill. Increase Size to
1000. Click the 3D checkbox. - Set Birth Rate to
4, Life to10, and Speed to0. Under Opacity Over Life, add three more tags to create a fade in and fade out effect. Set Scale Randomness to66.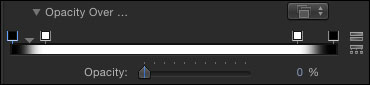
- Press Command + 2 to go to the Library tab and select Behaviors | Simulations | Gravity. Drag that over to your Circle layer to add it. Press F7 to bring up the HUD and drag the arrow to the left.
- Press Command + 2 to go to the Library tab again and select Behaviors | Simulations | Random Motion. Drag that over to your Circle layer to add it. In the HUD, set Amount to
25. Drag the emitter over to the right on the Canvas. Turn on the group that is currently turned off in the Layers tab and play back the project. Use the following screenshot for reference: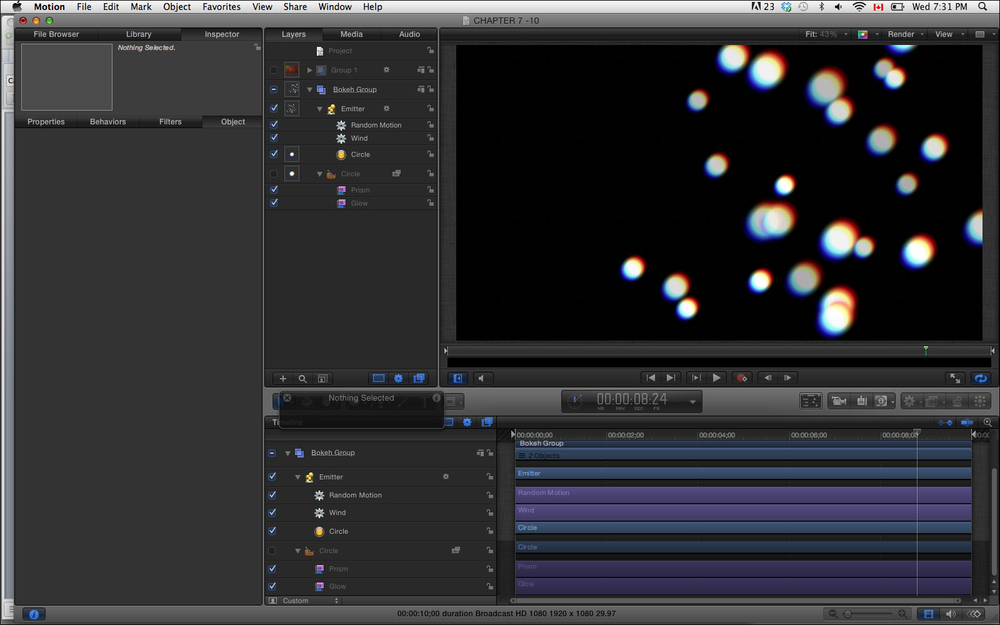
- The Making particles and changing values in the HUD recipe.
- The Tweaking particle parameters in the Inspector recipe.
- Using image masks in Chapter 6, Paint and Masks.