So far, we've created our own replicators by selecting objects to place into cells referenced by the replicator. Motion ships with over 200 replicator presets! One of the best ways to learn Motion is to dissect how some of the replicators were created. Some of the elements can be even used to create transitions between elements. Let's take a look at what it has to offer!
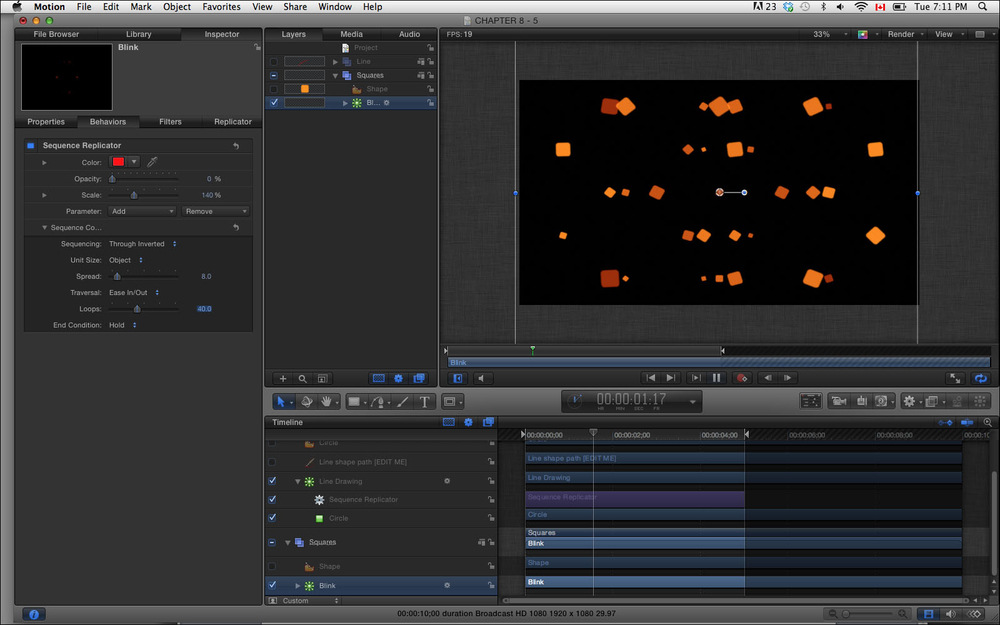
From the exercise files of this chapter, double-click on the 08_05 project. There are two replicator presets in this project but one has been turned off. Play back the project and familiarize yourself with the animation and then stop the playback. If you select the replicator in the Squares group and look in the Replicator tab of the Inspector, notice that a series of rounded orange rectangles replicate in a rectangle shape. By changing the cell controls, the rounded replicated rectangles all have different scales. The blinking was made possible from the Sequence Replicator behavior that we can view in the Behaviors tab.
We're going to change a few of the parameters to see how we can customize this preset. If you haven't already done so, click on the disclosure triangle for the Squares group and select the Blink group.
- Press the F4 key to go to the Replicator tab of the Inspector. Under the Cell Controls, change the value of Angle to 45 and the Angle Randomness to 90.
- Go to the Behaviors tab and, under the Sequence Replicator, change the value of Spread to 12, the Traversal to Ease In / Ease Out, and the Loops to 40. Play back the project and compare it with the following screenshot. Notice how many more squares are being affected because of the spread increase and how often the blinks occur now.
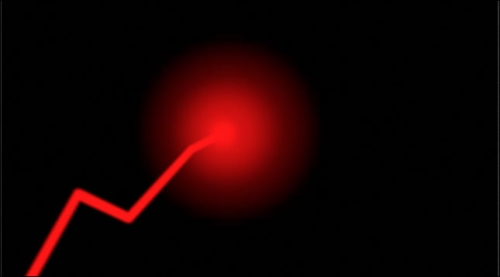
- Let's focus our attention on the other preset that's been turned off in this project. Turn off the Squares group and turn on the Lines group in the Layers tab. Play back the animation and notice it's a graph being written onscreen. Believe it or not, those are circles that are being replicated across a custom geometric shape whose animation is being controlled by the Sequence Replicator. Open the group and select the Replicator. Move your playhead to 3 seconds. Go to the Inspector and look at the various parameter settings under the replicator. Decrease the value of Points under Replicator Controls to 15 to see the circles being generated as shown in the following screenshot. Play back the project.

- Increase the value of Points back to 200. Under Cell Controls, change the value of Scale End to 50.
- Click on the Behaviors tab. Change the value of Scale to 3000 and of Spread to 3. Play back the project. Compare your results with the following screenshot:
Looking at the Library and seeing how something was created is the best way to get under the hood of the application and start creating your own animations. Don't be afraid to explore.
- The Creating a replicator and changing parameters in the HUD recipe of this chapter
- The Tweaking particle parameters in the Inspector recipe in Chapter 7, Let's Make Particles