
The next pages contain a short explanation of all the folding symbols you will meet in the course of this book, but you don’t need to learn them all now. Just come back to this section as your point of reference. It’s time to start folding. The Kabuto awaits…
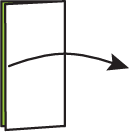
The edges of the paper are shown as solid lines.
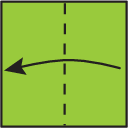
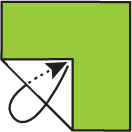
A folding instruction consists of a movement arrow and a fold-line.
A movement arrow shows the direction in which the fold is made.
The fold-line shows where the new crease will form. A dashed fold-line means that the fold is made towards you.
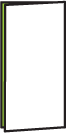
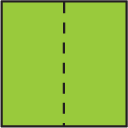
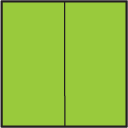
Edges which lie exactly on top of each other as the result of a fold are normally shown slightly offset on the after diagram.
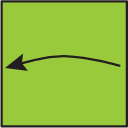
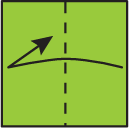
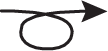
A movement arrow without a fold-line means unfold in the direction indicated.
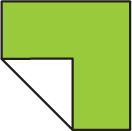
Creases you have already made are shown as thin lines.
This version of the fold arrow means fold, crease, then unfold.

A dashed and dotted fold-line means that the fold should be made away from you.
Where appropriate, shading is used to distinguish one side of the paper from the other.
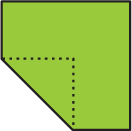
Dotted lines are used to show hidden edges or fold-lines and imaginary lines that are used to help locate a fold.
Dotted lines are also used to show the shafts of fold arrows where they pass behind one or more layers of paper. A diagram of this kind tells you to swivel the flap to the back by reversing the direction of the existing crease.

This symbol shows that the adjacent edge should be seen as divided into a number of equal sections to help you locate a fold.
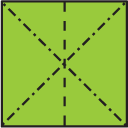
This combination of symbols shows you how a combination of existing creases can be used to collapse the paper into a different shape.

This symbol tells you to apply gentle pressure to the paper in the direction the arrowhead is pointing.

This symbol tells you to move the paper gently in the direction of the arrow.
This symbol tells you to turn the paper over, usually sideways.

The rotate symbol tells you to rotate the paper through the number of degrees shown inside the circle before continuing.

This symbol indicates that the next diagram has been drawn on a larger scale.

The eye symbol indicates that the next diagram has been drawn from a different viewpoint.

The repeat symbol indicates that a fold has to be repeated on another part of the paper. Refer to the written instruction for details.

A circle is used to draw attention to some particular part of a picture referred to in a written explanation or to which you need to pay particular attention when locating a fold.