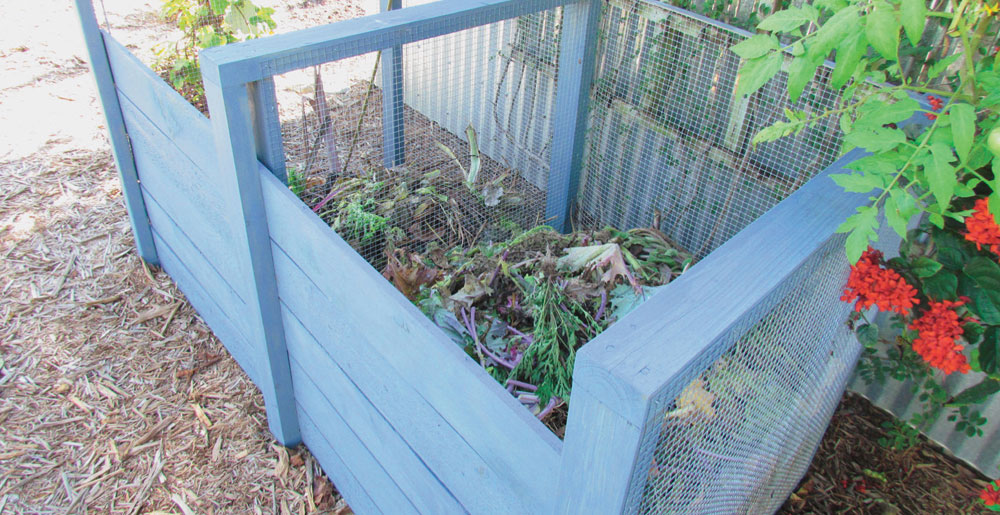
A compost bin can keep roots out of your compost and help contain the pile.
Have you heard the phrase, “plant a five-dollar plant in a twenty-five-dollar hole”? It’s true. The soil is where plants take up oxygen, water, and nutrients for the processes they need in order to grow. The soil holds and releases nutrients for the plants. Plants draw water from the soil. Characteristics of the soil make it easy or difficult for plant roots to grow, spread, and reach more water, nutrients, and oxygen. Another phrase you see often in gardening literature is, “feed the soil, not the plants.” Time spent getting the soil where it needs to be in order to support healthy plant growth is time saved trying to fix problems later.
A compost bin can keep roots out of your compost and help contain the pile.
Soils in the Northwest vary widely. In some areas, you’ll stick a shovel in the ground and find nothing but coarse sand. Other areas are plagued with sticky, slow-to-drain clay that dries to be hard as a rock during a drought. Still other gardens have very little topsoil on top of hard rock.
The pH of the soil can range from acidic (low) to alkaline (high). The only way to know what you’re dealing with is to get a soil test. You can spend years building up your soil—getting the texture right, adding organic matter, and correcting the pH. What I’ve learned by gardening in the same place for several years is that whatever you try to do to your soil, it will try to revert back to its natural state. It’s a never-ending battle.
Some people would tell you to test the soil before you do anything else. You can do that, but once you add compost or additional organic matter, such as worm castings or blood meal, you will have changed the composition—and possibly the pH—of the soil, which makes your soil test useless.
Why would you add more compost to the soil before testing it? You can always add compost. It is the duct tape of the garden. Compost fixes everything!
You can buy compost if you’re short on time. You can (and should) also make your own. Composting is a great way to cut down on the amount of trash you throw away. It’s also a shame to have to buy something you can make yourself from food scraps, leaves, and yard debris that you otherwise have to pay someone else to take away!
It’s important to continually add compost to your raised beds and vegetable gardens.
There are two types of materials to add to compost piles: green materials, which are high in nitrogen, and brown materials, which are high in carbon. While there isn’t a precise ratio of green to brown materials required in compost piles, if you add equal amounts of each over time, you’ll get usable compost faster.
Kitchen scraps
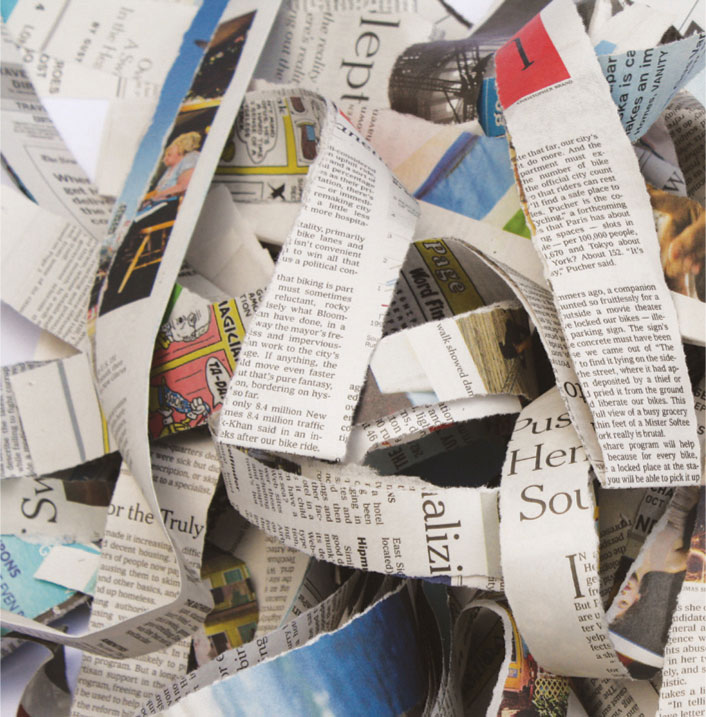
Shredded newspaper
Shredded newspapers
Dried leaves
Sawdust
Wood chips
Paper bags
Paper towels
Twigs
Tea bags
Wheat straw
Coffee grounds
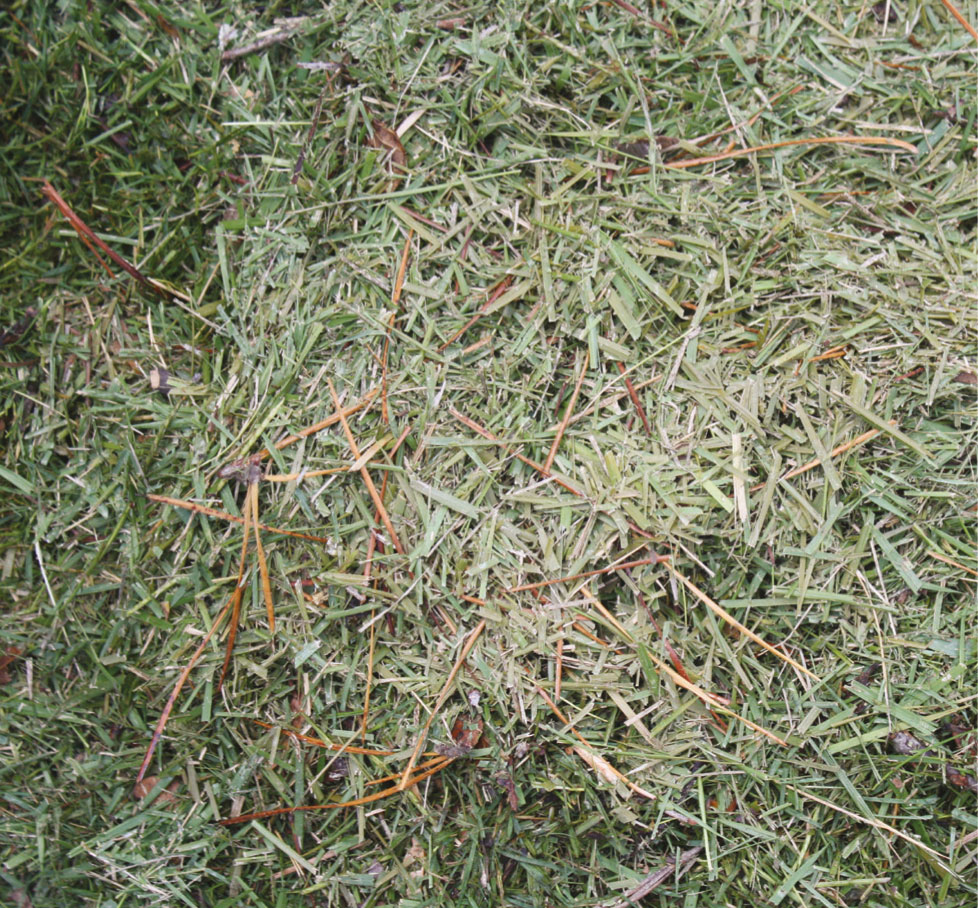
Grass clippings
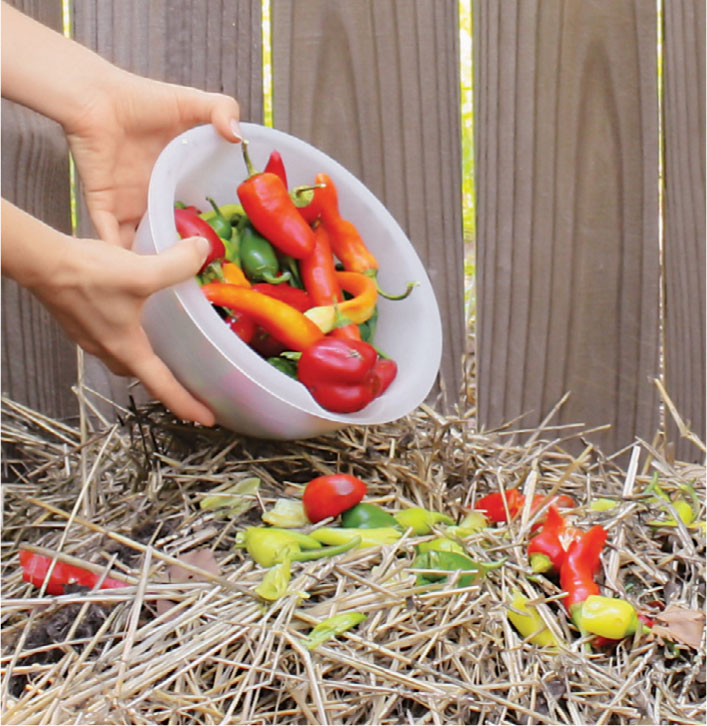
You can compost almost any natural material, but if you’re composting at home, don’t put any animal products other than eggshells in the compost pile. No meat, cheese, dairy, or lasagna leftovers.
Build a compost pile by layering green materials and brown materials like you’d make a lasagna. Start with chopped-up dried leaves (you can run over them with the lawn mower). Then add grass clippings or kitchen scraps, and keep layering. The smaller the pieces you add to the pile, the faster they will decompose.
If you do not have enough material to begin with, you can build a compost pile over several weeks. While building the pile, continuously add material—shredded newspapers, the stems of broccoli, last summer’s dead annual flowers that you pulled up, even the Halloween pumpkin. When the pile is large enough, stop adding new material. Use new material to start a new pile.
Keep the pile “cooking” (a healthy pile will heat up) by using a pitchfork or garden fork to turn the pile, mix it up and oxygenate it.

Compost pile
Adding compost to the garden is always a good idea. There are other types of organic matter that you can add to the soil to provide extra nutrients to plants, either when you’re planting or when you’re prepping the soil for planting.

Plant-tone
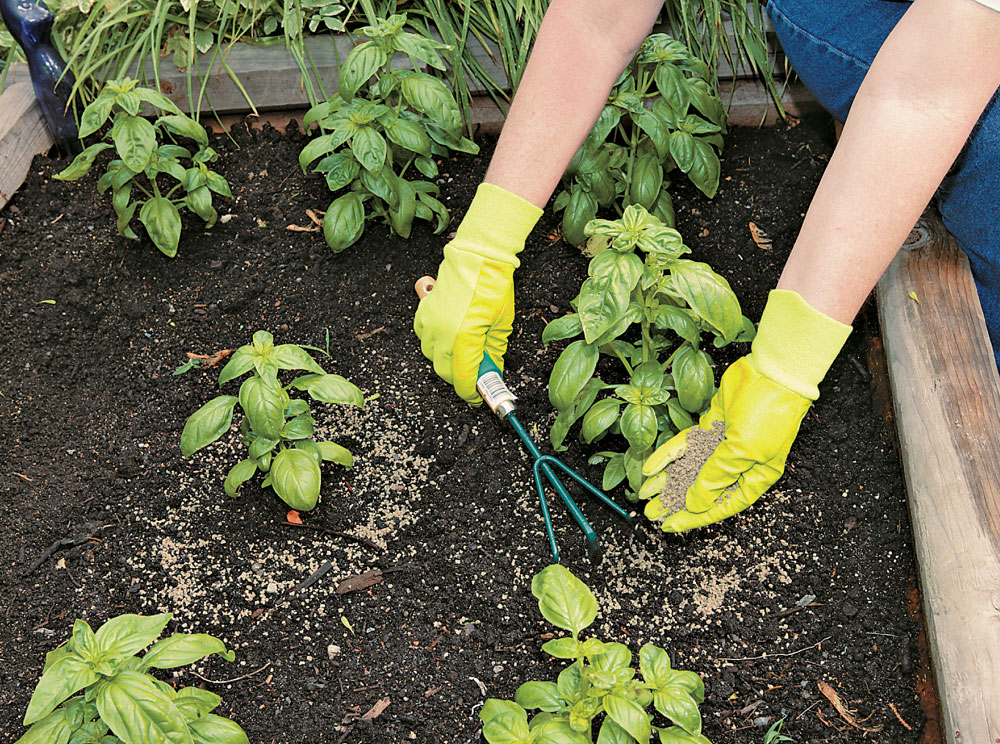
Blood meal, bonemeal, and Plant-Tone are organic, slow-release fertilizers made from animal products. Sprinkle them around the plants (this is called sidedressing) and work them into the soil with a four-tine claw. Just like synthetic fertilizers, plant tones are available for acid-loving plants, vegetables, flowers, and trees. Each type has different combinations of nutrients and ingredients to best benefit the receiving plants. Use these when you’re planting to add nutrients that will break down slowly over time.

Worm castings
Worm castings (worm poop) are expensive to buy, but they’re wonderful for garden plants, particularly vegetables. Worm castings and soil conditioner are similar products, in that they are both almost entirely composed of humus, which is the most decomposed element in soil. Humus is excellent for plants. Incorporate worm castings or soil conditioner into your soil before planting and you’ll be amazed at how well your plants grow. You can make your own worm castings by becoming a worm farmer. Buy a worm bin, and follow the directions for procuring and feeding the worms. Worm composting is also a great way to get rid of kitchen scraps.

Garden soil
Garden soil and topsoil are soils that you can use to build up areas of the garden where soil has washed away. Generally, it’s helpful to mix garden soil or topsoil with compost before planting a garden bed. The compost adds nutrients and natural water-holding capacity, while the topsoil adds structure and bulk. Do not buy garden soil with synthetic fertilizer in it.
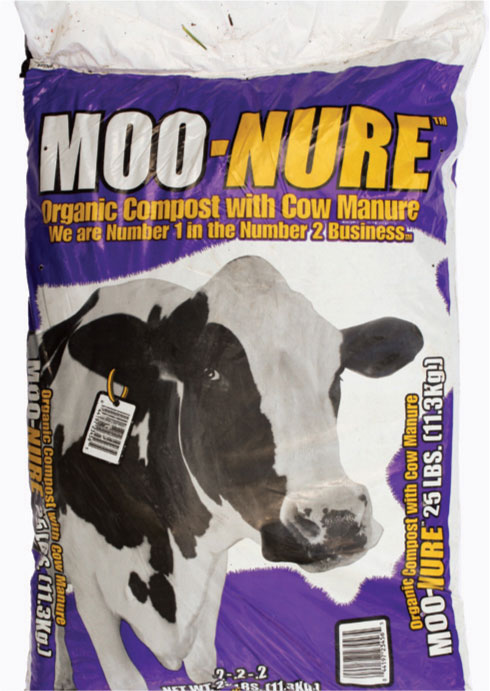
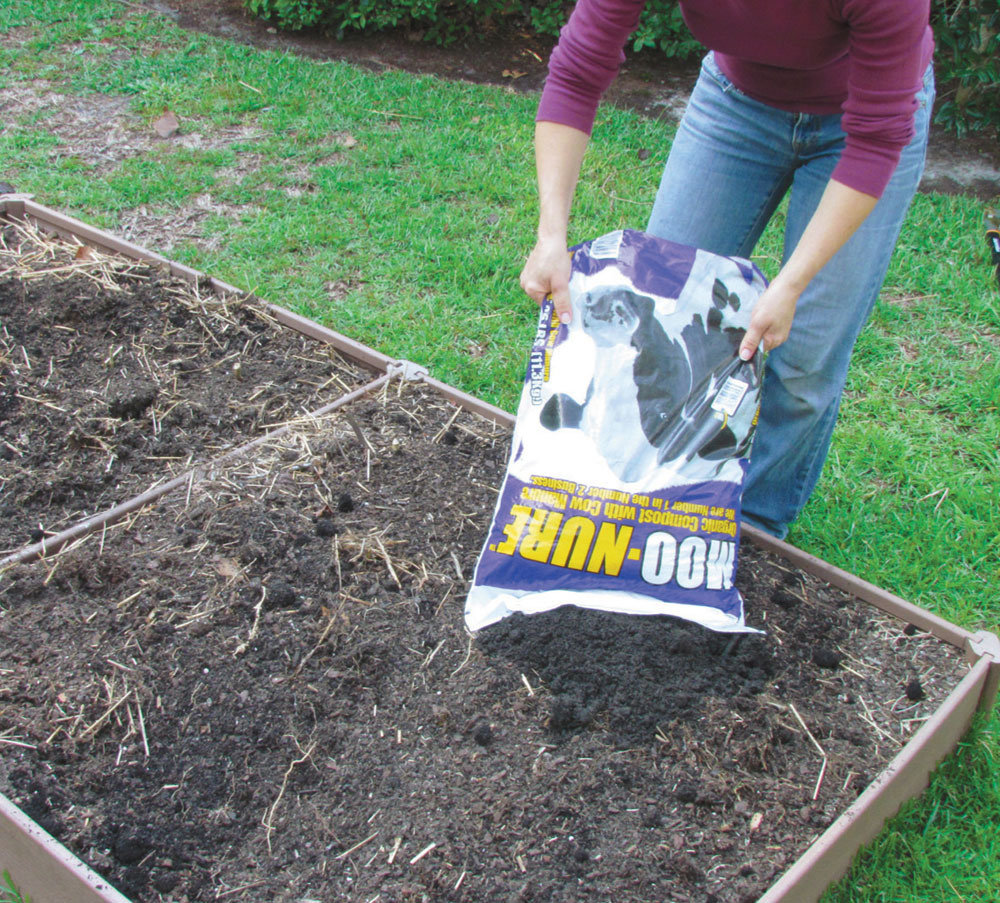
Cow manure
You can make your own compost, but you can also buy composted manure or pick it up from a farm. Cow, rabbit, chicken, and mushroom compost are the most commonly available types for purchase. If you get manure from a local farm, make sure that it has been sitting and aging for at least six months. Ammonia in fresh manure can burn your plants. Never use cat or dog droppings in the garden.
After you’ve added compost, manure, and topsoil to create the garden bed in which you’ll grow your plants, it’s time to test the soil. Testing now gives you a more accurate picture of the conditions the plants will have to deal with while they’re growing and any additional adjustments you need to make.
You can get soil test boxes and forms from your local cooperative extension office. You can also purchase soil test kits at garden centers and home-improvement stores so that you can test the soil at home. These kits allow you to test for the soil’s pH and the presence of nitrogen (N), phosphorus (P), and potassium (K). Test the soil to see if anything is lacking before adding fertilizer, lime, or amendments other than compost to the garden.
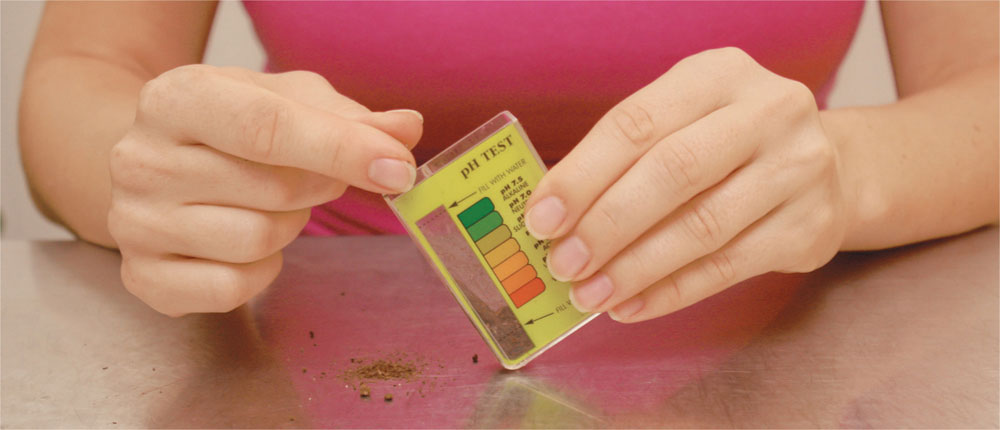
1 Add soil to the kit from the area of the garden that you want to test. Then add water according to the instructions.
2 Add the indicator powder to the water in the container; shake the container to mix the soil, water, and indicator powder.

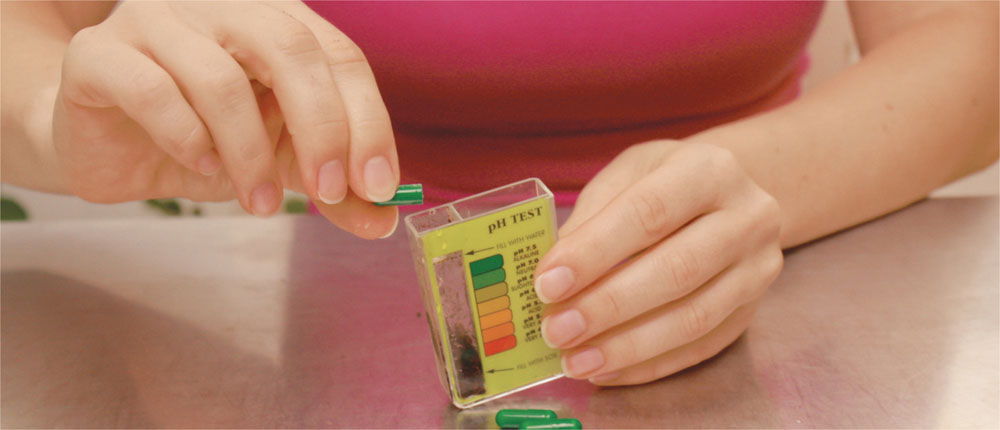
3 Hold the container against a piece of white paper so that you can check the color of the water with the soil in it against the color key on the container. The color of the water will match one of the colors in the key on the container. The reading will tell you whether the soil is acidic (low pH) or alkaline (high pH), has low nitrogen levels, or has high phosphorus levels. After testing, you’ll know what to add (or not add) to the soil.
The pH scale runs from 0 to 14. Most plants grow best in the range of 5.5 to 7.0, because nutrients in the soil are most available to plants at those soil pH levels. Landscape plants will usually struggle along if the soil pH is off, but edibles won’t produce roots, leaves, and fruits for you to harvest if an off pH prevents them from getting the nutrients they need.
Asparagus |
6.0–8.0 |
Beet |
6.0–7.5 |
Broccoli |
6.0–7.0 |
Cabbage |
6.0–7.5 |
Carrot |
5.5–7.0 |
Cauliflower |
5.5–7.5 |
Celery |
5.8–7.0 |
Cucumber |
5.5–7.0 |
Lettuce |
6.0–7.0 |
Muskmelon |
6.0–7.0 |
Onion |
5.8–7.0 |
Spinach |
6.0–7.5 |
Tomato |
5.5–7.5 |
Soils with a pH below 5.5 are considered to be acidic. Soils with a pH above 7.0 are considered to be alkaline. To lower the pH of alkaline soils so that the pH is in the neutral range of 5.5 to 7.0, add aluminum sulfate according to package instructions. You can buy this at garden centers and home-improvement stores in the aisle with fertilizers and lawn care products. Some vegetables grow well with a lower pH, but most are happier with a neutral pH. Blueberries thrive in soils with a lower pH.
Spinach and plants in the cabbage family grow best in soils with a higher pH. To raise the pH of the soil, add lime, which is also available at garden centers and home-improvement stores. Submitting a soil sample to your local cooperative eExtension office for testing is the best way to find out how much lime you need to add.
Fertilizing is related to soil quality because you put the fertilizer in or on the soil, and the plants get the nutrients from fertilizers from the soil. Before fertilizing can be effective, the soil has to have the right properties to retain the nutrients from fertilizers and make them available to plants. If you’ve added compost, tested the pH, and adjusted it, and your plants still need more nutrients than those in the soil (and most edibles will), you can fertilize. In the rainy Northwest, minerals are leached out. Ground stone, such as Azomite, will restore these nutrients. More specifics on fertilizing materials, timing, and instructions are covered in chapter 6.