The angels, who had confronted the divine plan, were banished to Earth and punished until they had recanted their sins. The devil, who saw this as the perfect opportunity to tempt these wayward angels, joined them into a gang to make sure they never returned to heaven. But God had no intention of letting his children fall in the claws of Lucifer and sent Elohim, a fallen angel, with the mission of safeguarding the angels to Earth. In exchange, he would be allowed to become human again and live as a mortal alongside the woman he loves.
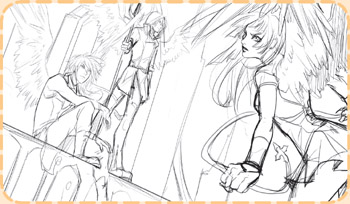
1. SKETCHES
We made many drafts for this illustration, although we were fairly clear on the concept for the warrior angels. The illustration we chose shows Elohim in all his glory, ready to face Lucifer.

2. STRUCTURE
As simply as possible, we lay out the basic skeleton of the image, defining the proportion of the body and breadth of the ribcage.

3. VOLUME
We slightly adjust the size of the angel’s back, define his limbs, and sketch in his wings and hair.

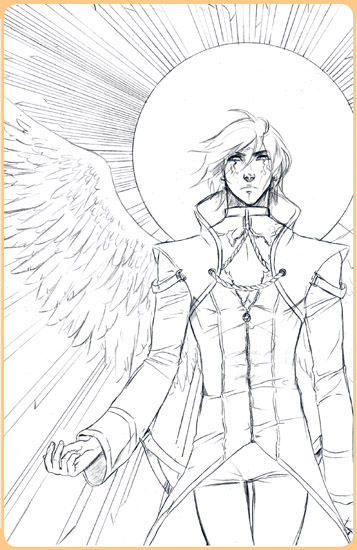
4. ANATOMY
The body, robust and realistic-looking, emphasizes the broad back and a more slender trunk and legs.

5. DETAILS
His outfit has an Eastern cut, both angular and elegant. We drew a Star of David in the background decorated with Aramaic-inspired letters.

6.1. COLOR
We applied several color layers on each of the main areas of the illustration.

6.2. COLOR
We applied the first shadow tone using a brush with average Hardness and Opacity to have more subtlety. We faded the shadows to create volumes and applied a gray gradient to the background.

6.3. COLOR
We added the second tone of shadows using brushstrokes, aiming to give greater depth and details. We also nuanced the color of some areas and finished by adding new gradients and shadows to the background.
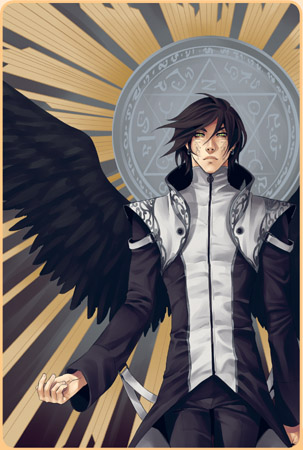
6.4. COLOR
We painted in the highlights, keeping in mind that the light comes from the top left. It doesn’t have to be applied to the whole drawing, as it is better to only do it where something specific needs highlighting or stands out notably, such as metal parts, the hair, gems, and wing feathers.

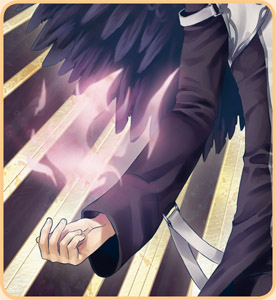
6.5. COLOR
To represent the flames, we first drew tongues of fire on one layer, leaving out some translucent areas and applying the Outer and Inner Glow Effects from the Layer Blending Options.

6.6. COLOR
We adjusted the background color and added a texture to give it more presence. We applied a second layer with short brushstrokes over the flames in the Intense Light Blend Mode.

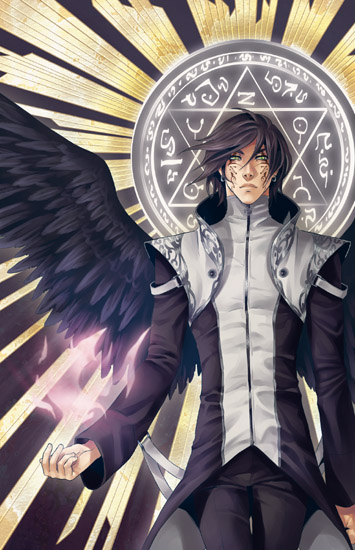
FINISHING TOUCHES
- We applied a light source behind the character to separate it from the background, textures to the halo, and outer light to the seal.
- We unified the colors on one layer in a single brownish tone at 5% opacity.
- We applied a third layer in a Bright Light Blend Mode over the flames and changed its color to pink, to give the image a touch more warmth.
Tips & tricks
- There are two main keys to attaining a realistic and congruent finish to these types of illustrations:
The first is to start with pastel colors that don’t darken the image too much and give it a more natural color range.
The second is having dexterity and coloring prowess with the graphics tablet, making soft brushstrokes to mark out the image details.
- A very common error is making shadows with tools that darken the color instead of with brushstrokes, so it’s best to avoid using these types of resources as much as possible.