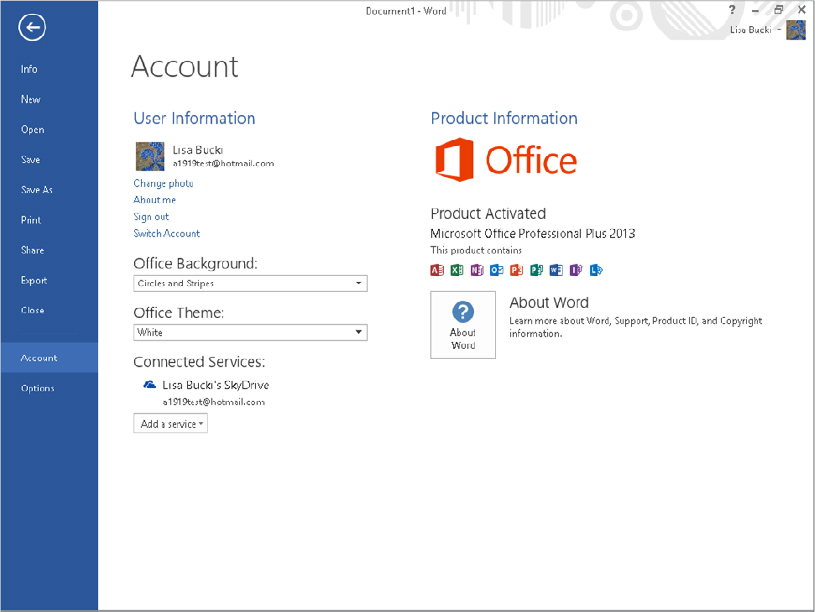
FIGURE B.1 The Backstage view informs you that Office has been activated.
Appendix B
Optimizing Your Office Installation
IN THIS APPENDIX
Using the Setup disc
Activating Microsoft Office
Getting Office updates
Adding and removing programs and features
Running diagnostics
Repairing Microsoft Office
For many users, Office 2013 may already be installed on a company computer or pre-installed on a new system. Even if one of those situations applies to you, you may still need to adjust your Office installation at some point.
After you download the Office Setup files, it’s a good practice to burn your own setup disc not only as a backup of the download, but also for maintenance purposes.
Many of the installation and repair tasks start with inserting the Microsoft Office 2013 disc into your DVD drive. In most cases, the setup program launches automatically. If it doesn’t, open a folder window for the drive on the desktop and double-click the setup.exe file. If you downloaded the program, navigate to the folder where you saved the setup.exe file and launch it from there. If you are setting up Office for the first time, follow the onscreen prompts, entering your 25-character Product Key when prompted. Most users choose a typical install and install to the default location recommended by setup.
One crucial action in keeping Office running well is to activate your Office installation. Microsoft requires activation as part of its system to verify users of properly acquired Office programs versus those who may have obtained the suite fraudulently.
When you start an Office application the first time, you will be prompted to activate your installation. If you decline to activate the software, Microsoft provides a grace period of 30 days of using Office, after which Office enters Reduced Functionality mode.
If you need to start the activation process manually, you can follow these steps from one of the Office programs:
After Office has been activated, click the File tab and click Account again. The right portion of the screen displays a “Product Activated” message, as shown in Figure B.1.
FIGURE B.1 The Backstage view informs you that Office has been activated.
Microsoft periodically releases updates to the Office programs that affect functionality and security. These should download automatically via the Windows Update feature. You can manually download and install updates at any time from the Control Panel. Start Control Panel from the desktop (Settings charm ⇒ Control Panel in Windows 8 or Start ⇒ Control Panel in Windows 7.) Click System and Security ⇒ Windows Update. If updates are already listed as available, click the link(s) to view important and optional updates to review them before installing. You can clear the check box beside any update you don’t want to install. Then click the Install button. If you don’t see any updates in the initial Windows Update screen, you can click Check for Updates.
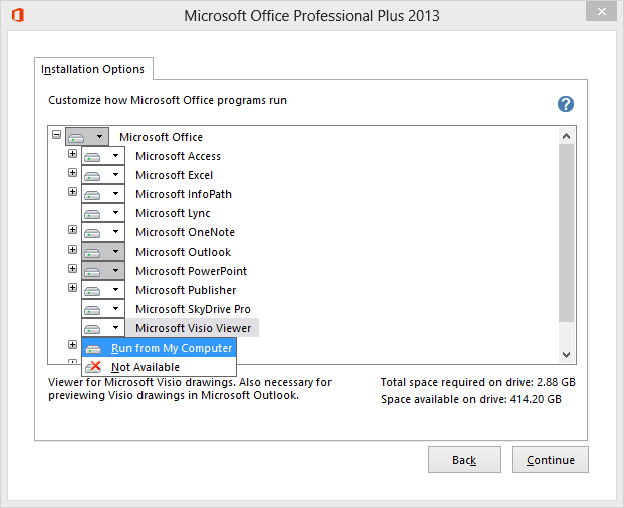
You can add or remove Office applications and components as needed. Often in a business environment, systems are initially set up with a typical or minimal installation, and a user needs to add more components to tackle particular work tasks.
To add or remove programs and features in Office:
FIGURE B.2 Add and remove features to your Office installation.
In Office 2013, you instead can enable an option that periodically downloads a file to diagnose problems. To enable this feature, click File, and then click Options. In the Options dialog box, click Trust Center at the left, and then click the Trust Center Settings button to open the Trust Center dialog box. Click Privacy Options at the left, click the Download a file periodically that helps determine system problems check box to check it, and then click OK twice to close the dialog boxes.
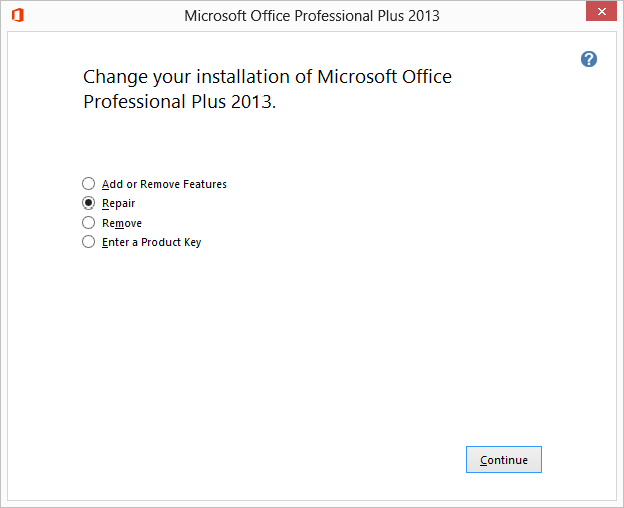
Repairing an installation generally takes care of any issues with missing or corrupted files. Repairing is a less drastic option than removing (uninstalling) and reinstalling Office, so it’s always a good troubleshooting procedure to try to repair your install.
To repair Office (Windows 7 or Windows Vista):
FIGURE B.3 Repair your Office installation.