FLOORS
BASEMENT FLOORS
Preparing a concrete floor for carpet, laminate, vinyl, or wood flooring has been simplified by the introduction of new subfloor products that have built-in vapor barriers and cleats that create a slight air gap between the subfloor and the concrete slab. This system allows air to circulate, protecting the finished flooring from any slab moisture. The new dry-floor subfloor systems are less than one inch thick and are very easy to install. There are several types of these dry-floor systems available, but the one most readily available and easiest to use is a product sold in 2 × 2 feet tongue-and-groove squares.
Although subfloor panels can be adjusted for slight irregularities in the concrete slab, they can’t overcome problems with a floor that is badly cracked and heaved. Nor is the built-in air gap beneath the system a solution to a basement that has serious water problems. A badly heaved slab will need to be leveled with a cement-based leveling compound, and serious water problems will need to be rectified before you consider creating finished living space in a basement.
Allow the subfloor panel squares to acclimate in the basement for at least 24 hours with the plastic surfaces facing down before installing them. In humid summer months, the squares—as well as the finished wood flooring product, if that’s what you’ll be installing—should be allowed to acclimate for a full two weeks before installation.
The old way of installing subfloor (plywood over 2 × 4 sleepers) does make a sturdy floor and has the advantage of not requiring any special products—you can do it with materials found at any building center.
Instead of a subfloor and plywood underlayment, some flooring requires an isolation layer to separate it from the concrete basement floor. These are most often installed with ceramic floors.
If your concrete basement floor has cracks, holes, or other imperfections, address them before installing flooring.
Concrete basement floors have a high utility value, but whenever possible you’ll want to cover them to improve livability in your new basement rooms. Some floor coverings can be installed directly over the concrete, but in most cases you should lay subfloor panels and underlayment before installing the floor covering. A system like the one above is ideal for basements because it can be removed readily: the laminate strip flooring snaps together and apart; the underlayment is unbonded and can be rolled up; and the subfloor panels also are snap-together for easy removal and re-laying.
 LEVELING BASEMENT FLOORS
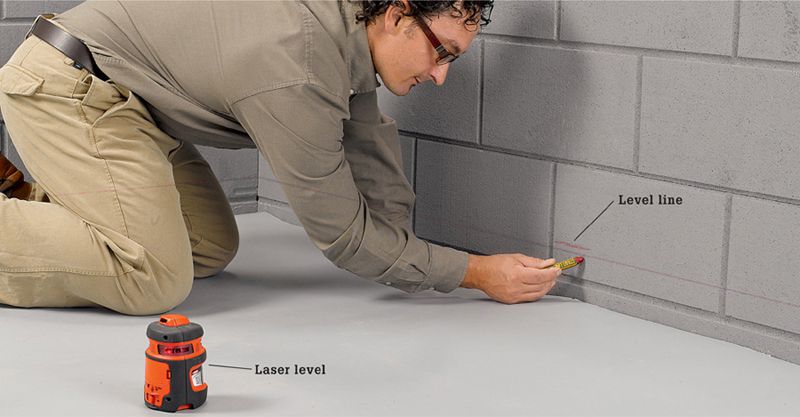
Test the floor to see how level it is. Use a laser level to project a level line on all walls. Mark the line and then measure down to the floor. Compare measurements to determine if floor is level. If you are installing a subfloor you can correct the unevenness by shimming under low areas. But if the floor height varies by more than an inch or two (not uncommon), you should pour floor leveler compound in the low areas. In more extreme examples you’ll need to resurface the entire floor.
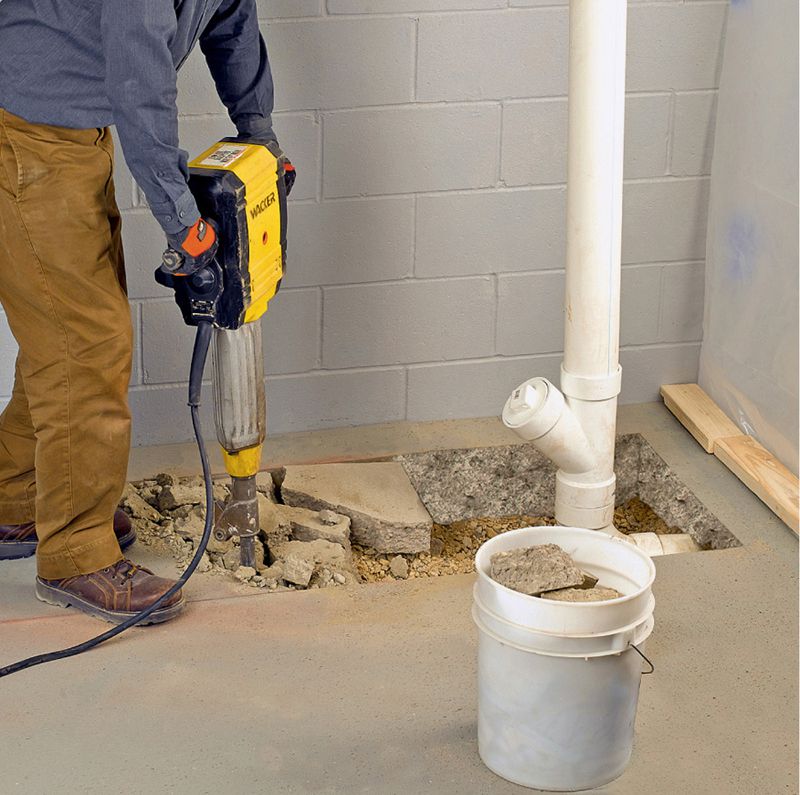
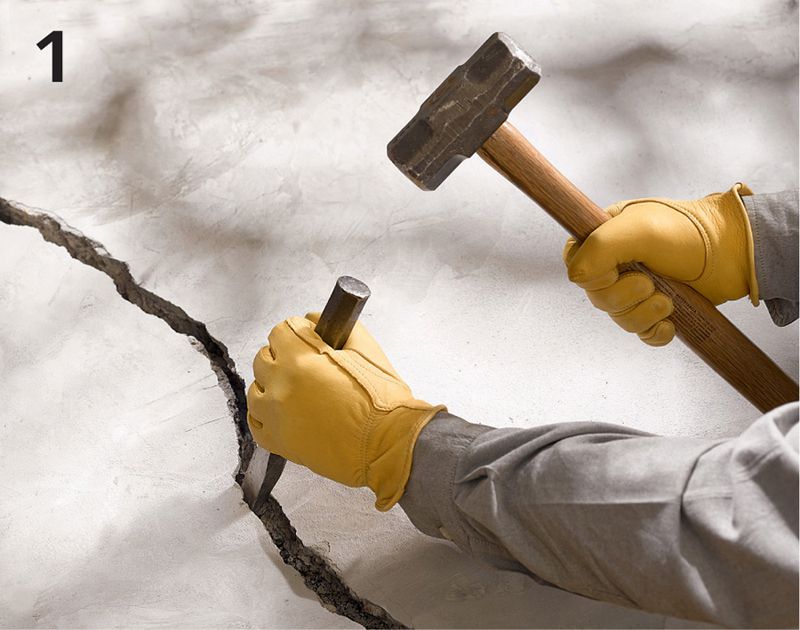
Break up and remove very high areas or eruptions, and patch the area with concrete that is leveled with the surrounding surfaces. Use a rental jack hammer to break up the concrete. A hand maul and cold chisel also may be used if the area is not too large: most concrete basement floors are only 3 to 4" thick.
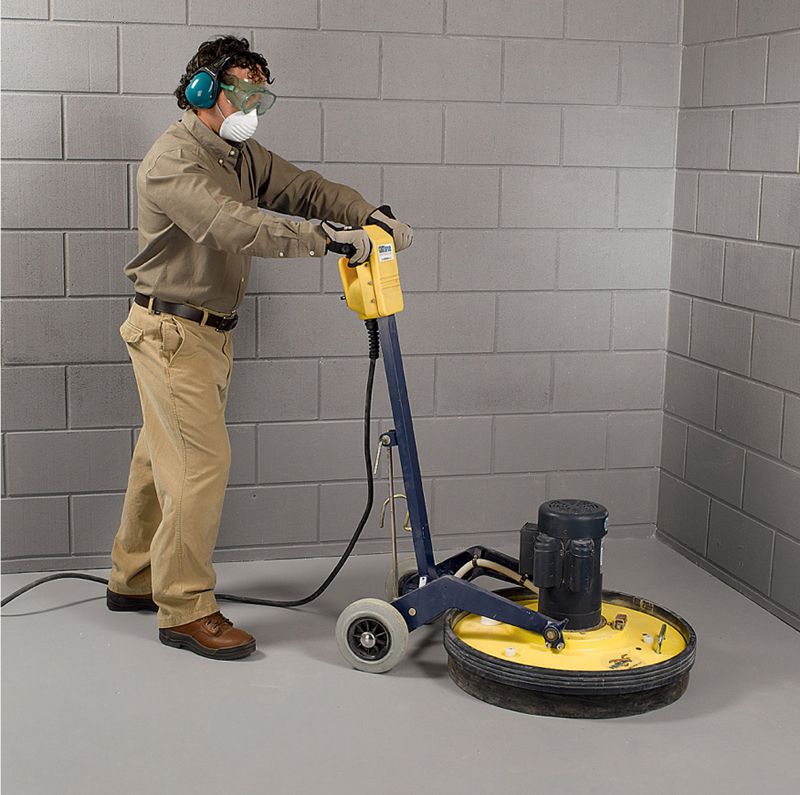
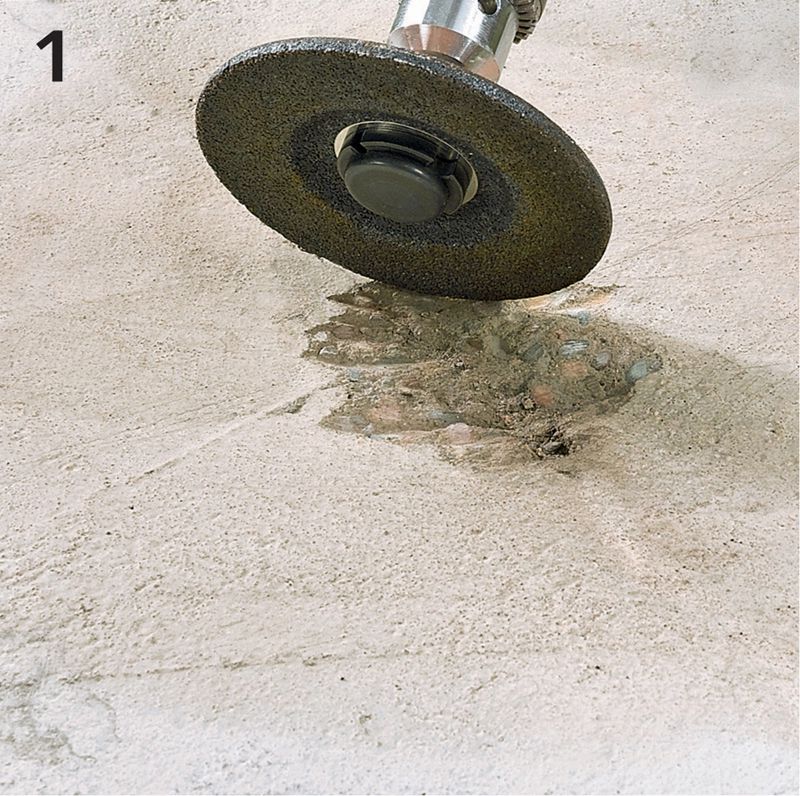
Grind down high spots if they are small and far apart. A rented concrete grinder makes quick work of the job. Even larger areas can be ground down, if your ceiling height is already limited (less than 7 ft.).
HOW TO REPAIR FLOOR CRACKS
Prepare the crack for the repair materials by knocking away any loose or deteriorating material and beveling the edges down and outward with a cold chisel. Sweep or vacuum the debris and thoroughly dampen the repair area. Do not allow any water to pool, however.
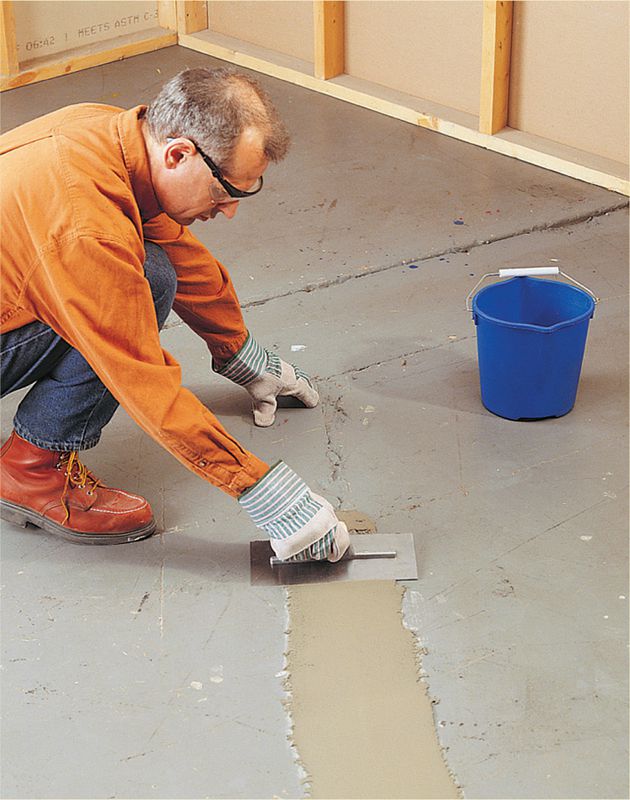
Mix the repair product to fill the crack according to the manufacturer’s instructions. Here, a fast-setting cement repair product with acrylic fortifier is being used. Trowel the product into the crack, overfilling slightly. With the edge of the trowel, trim the excess material and feather it so it is smooth and the texture matches the surrounding surface.
HOW TO PATCH A SMALL HOLE
Cut out around the damaged area with a masonry-grinding disc mounted on a portable drill (or use a hammer and stone chisel). The cuts should bevel about 15° away from the center of the damaged area. Chisel out any loose concrete within the repair area. Always wear gloves and eye protection.
Dampen the repair area with clean water and then fill it with vinyl concrete patcher. Pack the material in with a trowel, allowing it to crown slightly above the surrounding surface. Then, feather the edges so the repair is smooth and flat. Protect the repair from foot traffic for at least one day and from vehicle traffic for three days.
HOW TO PATCH A LARGE HOLE
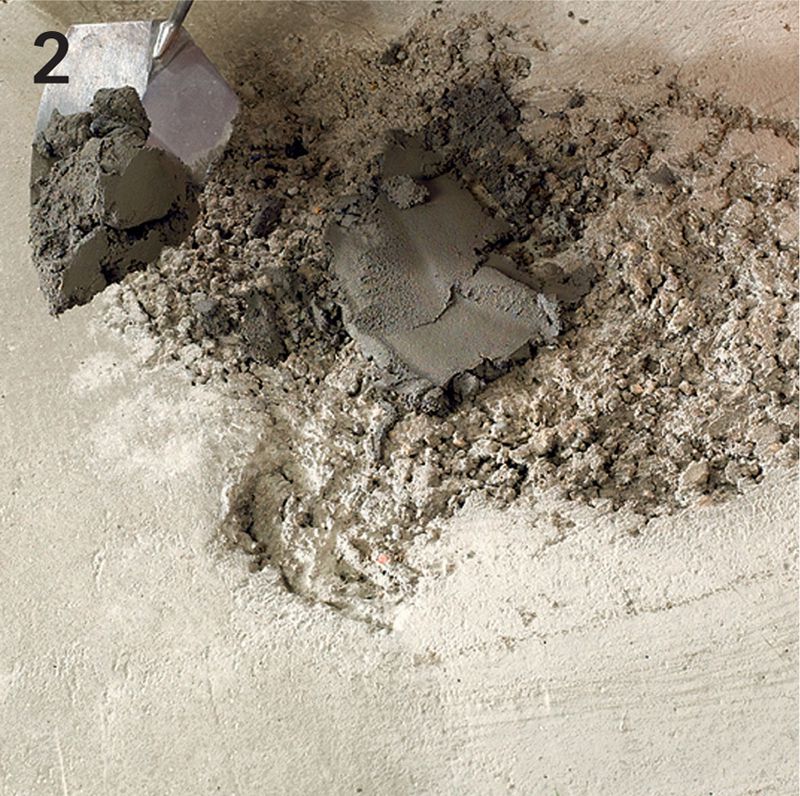
Use a hammer and chisel or a heavy floor scraper to remove all material that is loose or shows any deterioration. Thoroughly clean the area with a hose and nozzle or a pressure washer.
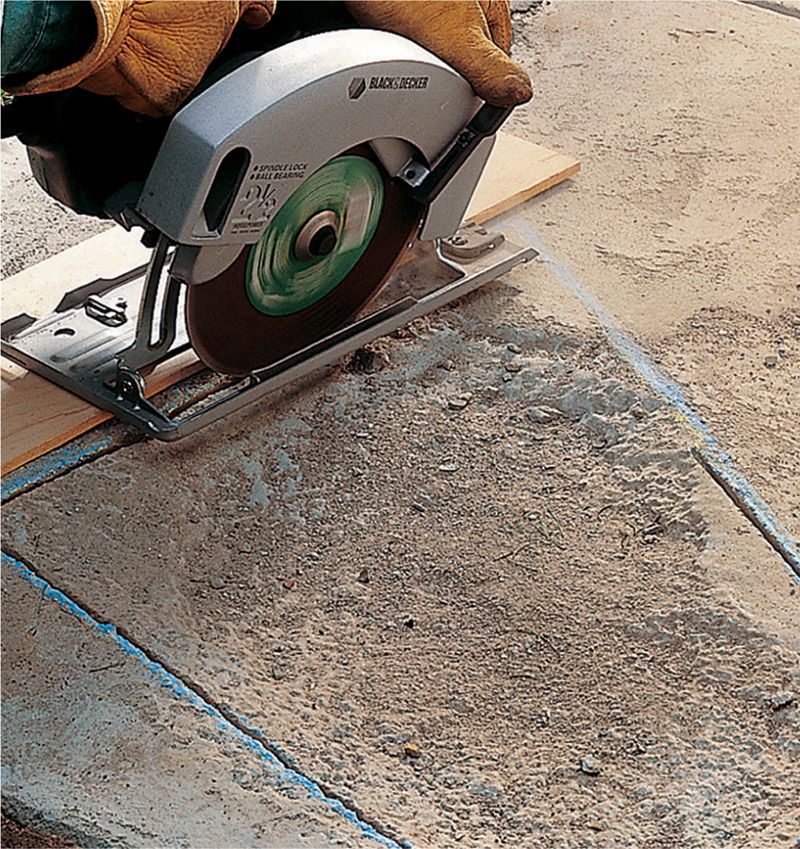
OPTION: Make beveled cuts around the perimeter of the repair area with a circular saw and masonry-cutting blade. The bevels should slant down and away from the damage to create a “key” for the repair material.
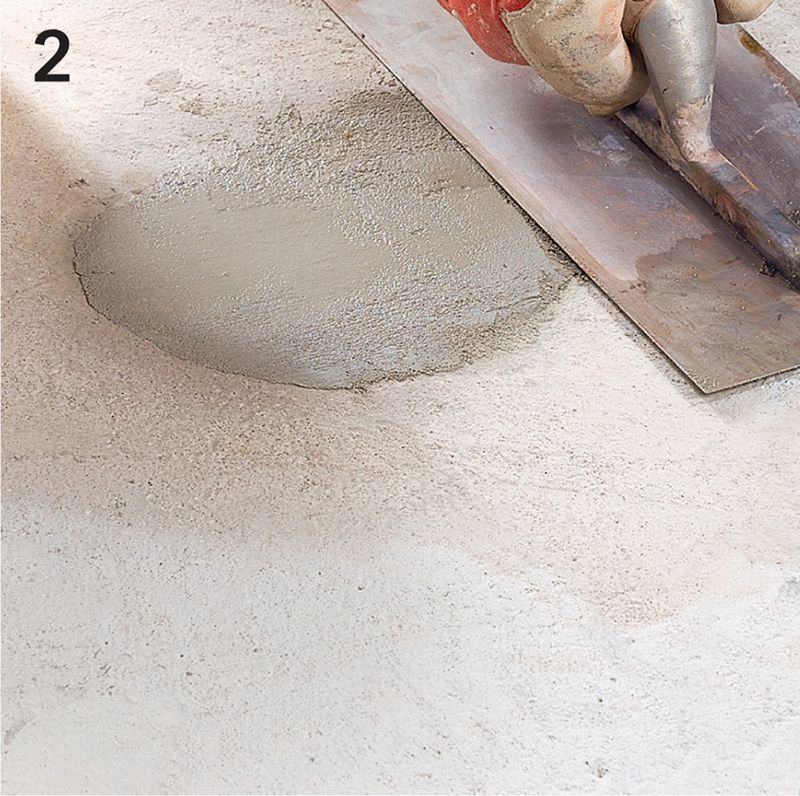
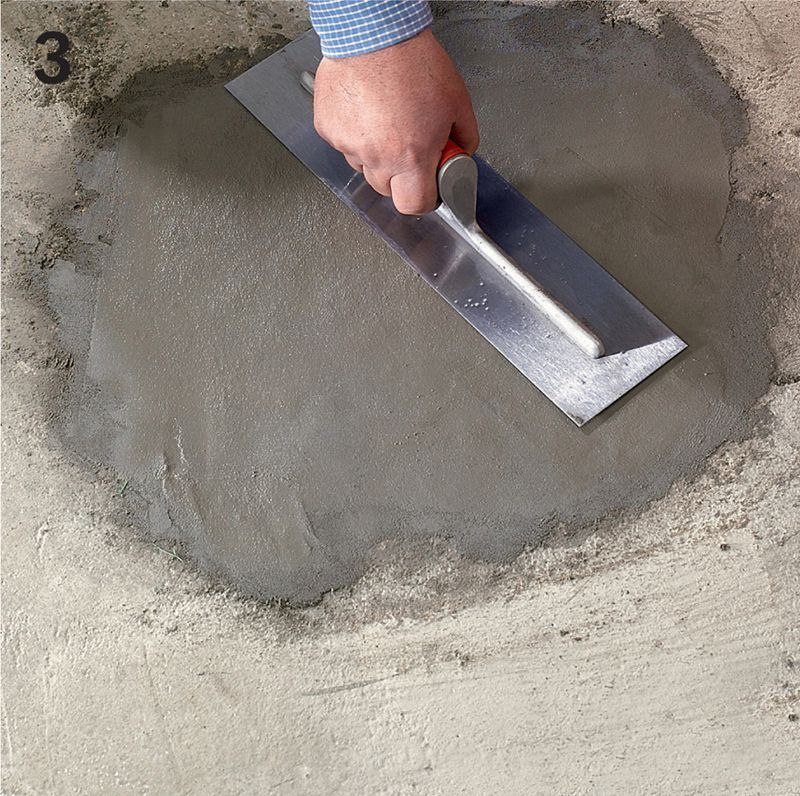
Mix concrete patching compound according to the manufacturer’s instructions, and then trowel it neatly into the damage area, which should be dampened before the patching material is placed. Overfill the damage area slightly.
Smooth and feather the repair with a steel trowel so it is even with the surrounding concrete surface. Finish the surface of the repair material to blend with the existing surface. For example, use a whisk broom to recreate a broomed finish. Protect the repair from foot traffic for at least one day and from vehicle traffic for three days.