CABINETS & COUNTERTOPS
COUNTERTOPS: INSTALLING
Post-form laminate countertops are available in stock and custom colors. Pre-mitered sections are available for two- or three-piece countertops that continue around corners. If the countertop has an exposed end, you will need an endcap kit that contains a pre-shaped strip of matching laminate. Post-form countertops have either a waterfall edge or a no-drip edge. Stock colors are typically available in 4-, 6-, 8-, 10-, and 12-foot straight lengths and 6- and 8-foot mitered lengths.
Post-form countertops are among the easiest and cheapest to install. They are a good choice for beginning DIYers, but the design and color options are fairly limited.
The following tools and materials will be used in this project: wood for shimming (A); take-up bolts for drawing miters together (B); household iron (C); endcap laminate to match countertop (D); endcap battens (E); file (F); adjustable wrench (G); buildup blocks (H); compass (I); fasteners (J); silicone caulk and sealer (K).
 HOW TO INSTALL A POST-FORM COUNTERTOP
OPTION: Use a jigsaw fitted with a downstroke blade to cut post-form. If you are unable to locate a downstroke blade, you can try applying tape over the cutting lines, but you are still likely to get tear-out from a normal upstroke jigsaw blade.
Use a framing square to mark a cutting line on the bottom surface of the countertop. Cut off the countertop with a jigsaw using a clamped straightedge as a guide.
Attach the battens from the endcap kit to the edge of the countertop using carpenter’s glue and small brads. Sand out any unevenness with a belt sander.
Hold the endcap laminate against the end, slightly overlapping the edges. Activate adhesive by pressing an iron set at medium heat against the endcap. Cool with a wet cloth, then file the endcap laminate flush with the edges of the countertop.
Position the countertop on the base cabinets. Make sure the front edge of the countertop is parallel to the cabinet faces. Check the countertop for level. Make sure that drawers and doors open and close freely. If needed, adjust the countertop with shims.
Because walls are usually uneven, use a compass to trace the wall outline onto the backsplash. Set the compass arms to match the widest gap, then move the compass along the length of the wall to transfer the outline to the top of the backsplash. Apply painter’s tape to the top edge of the backsplash, following the scribe line (inset).
Remove the countertop. Use a belt sander to grind the backsplash to the scribe line.
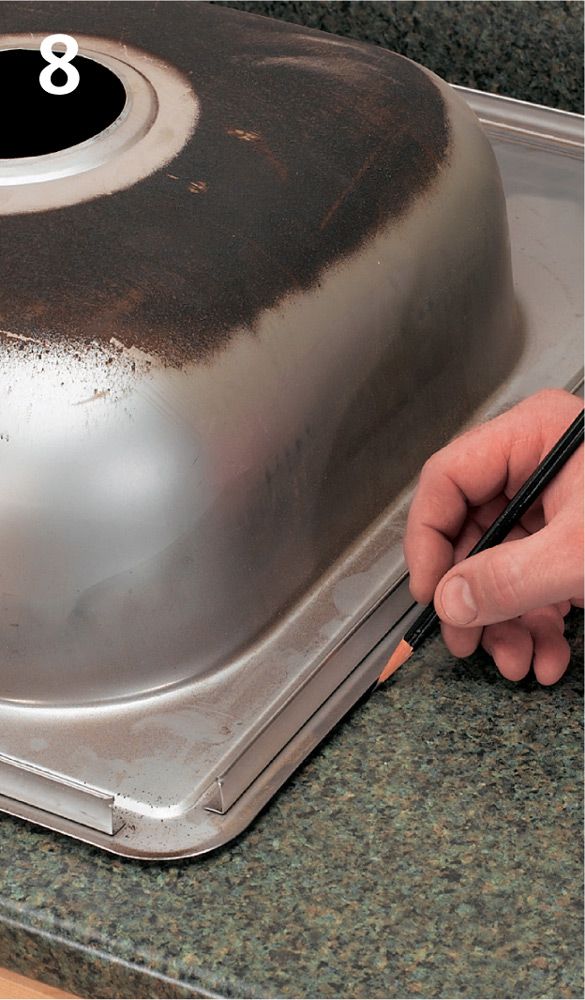
Mark cutout for self-rimming sink. Position the sink upside down on the countertop and trace its outline. Remove the sink and draw a cutting line 5/8" inside the sink outline.
Drill a starter hole just inside the cutting line. Make sink cutouts with a jigsaw. Support the cutout area from below so that the falling cutout does not damage the cabinet.
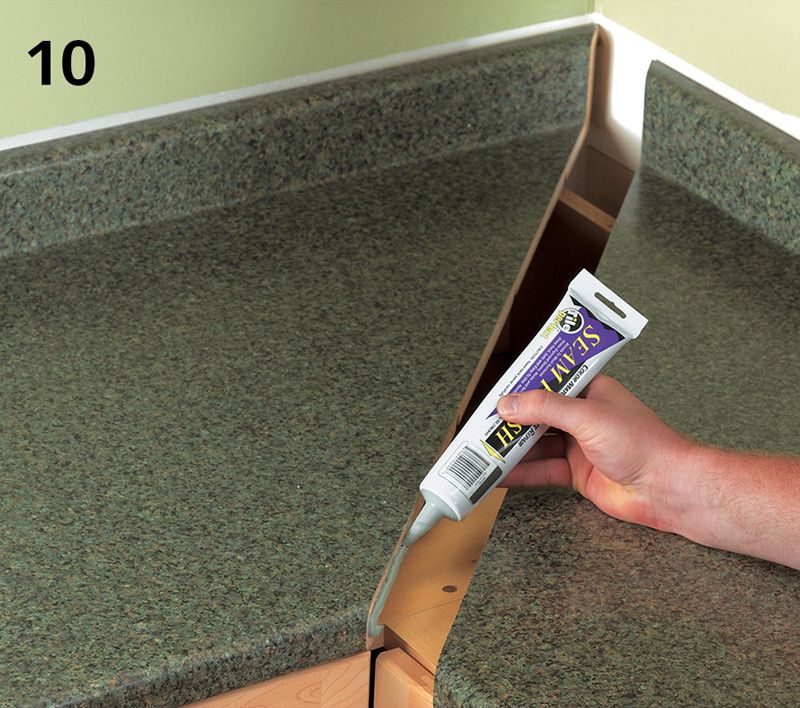
Apply a bead of silicone caulk to the edges of the mitered countertop sections. Force the countertop pieces tightly together.
From underneath the countertop, install and tighten miter take-up bolts. Position the countertop tightly against the wall and fasten it to the cabinets by driving wallboard screws up through the corner brackets and into the countertop (inset). Screws should be long enough to provide maximum holding power, but not long enough to puncture the laminate surface.
Seal the seam between the backsplash and the wall with silicone caulk. Smooth the bead with a wet fingertip. Wipe away excess caulk.


