WALLS & CEILINGS
DRYWALL: CURVED WALLS: INSTALLING
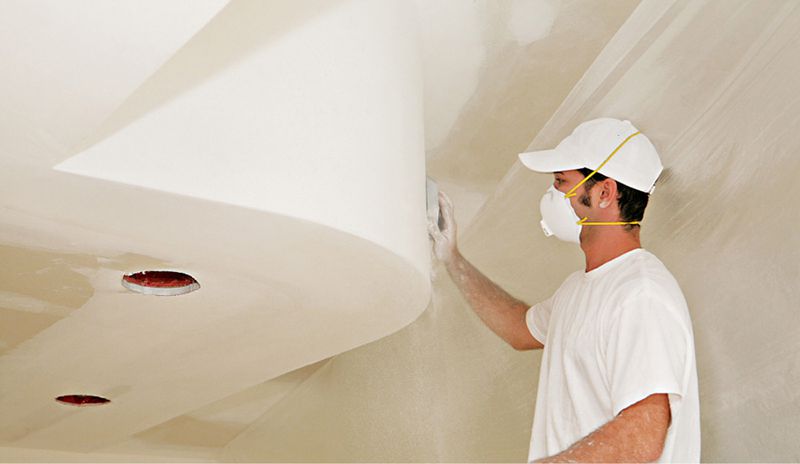
Curved walls have obvious appeal and are surprisingly easy to build. Structurally, a curved wall is very similar to a standard nonload-bearing partition wall, with two key differences: the stud spacing and the materials used for the top and bottom wall plates.
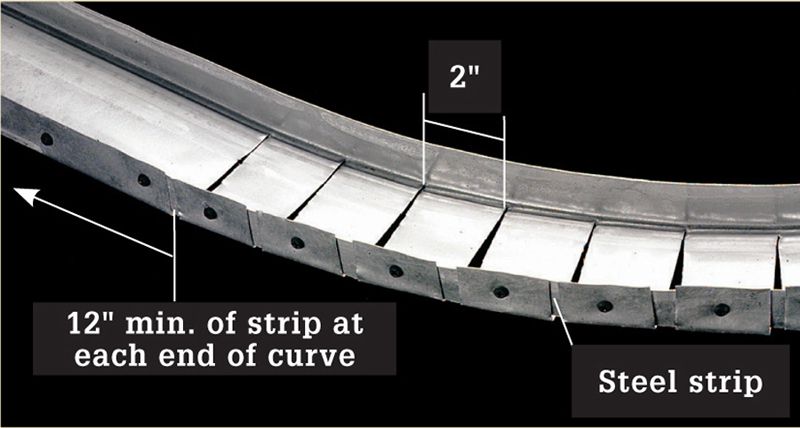
Traditionally, plates for curved walls were cut from 3/4-inch plywood—a somewhat time-consuming and wasteful process—but now a flexible track product made of light-gauge steel has made the construction much easier. Using the steel track, frame the wall based on a layout drawn onto the floor. Shape the track to follow the layout, screw together the track pieces to lock-in the shape, then add the studs.
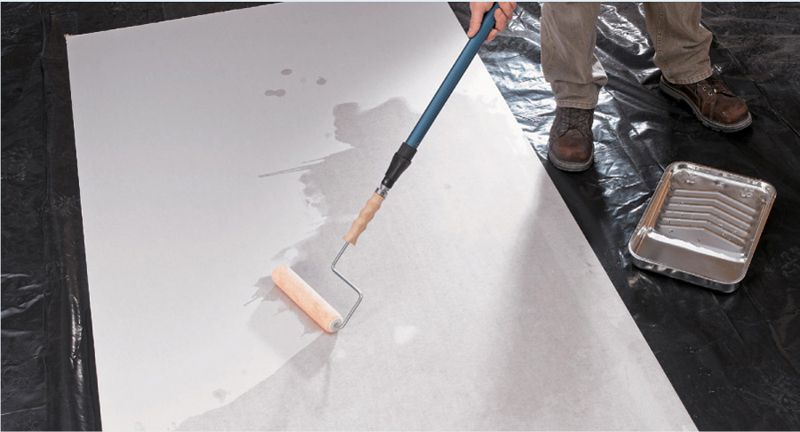
The ideal stud spacing for your project depends upon the type of finish material you plan to use. If it’s drywall, 1/4-inch flexible panels (usually installed in double layers) require studs spaced a maximum of 9-inch O.C. for curves with a minimum radius of 32 inches. For radii less than 32 inches, you may have to wet the panels.
By virtue of their shape, curved walls provide some of their own stability. Half-walls with pronounced curves may not need additional support if they’re secured at one end. If your wall needs additional support, look for ways to tie it into the existing framing, or install cabinets or other permanent fixtures for stability.
If you are planning a curved wall of full height, use a plumb bob to transfer the layout of the bottom track up to the ceiling for the layout of the top track. Check the alignment by placing a few studs at the ends and middle, and then fasten the top track to the ceiling joists with drywall screws.
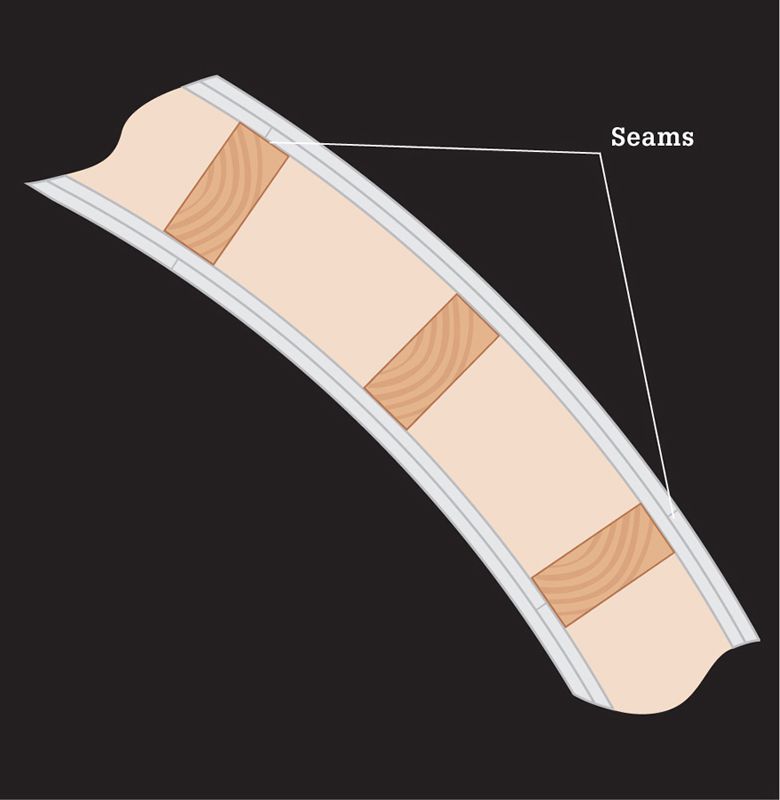
When hanging drywall on curved walls, it’s best to install the panels perpendicular to the framing. Try to avoid joints, but if they are unavoidable, note that vertical seams are much easier to hide in the curve than horizontal seams. If panels have been wetted for the installation, allow them to dry thoroughly before taping seams.
A curved wall can be created in several ways using traditional framing and drywall methods or modern products that eliminate much of the work.
 HOW TO FRAME A CURVED WALL
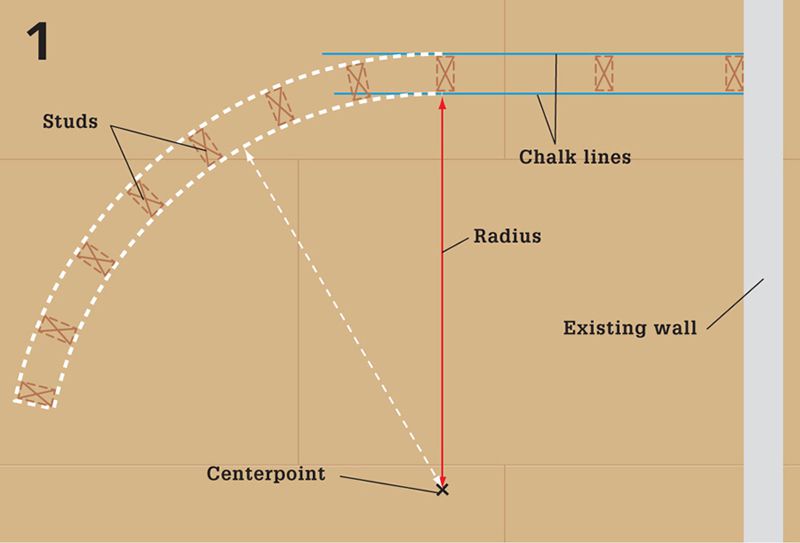
Draw the wall layout. Mark straight portions with parallel chalk lines representing the outside edges of the wall track. Use a framing square to make sure the lines are perpendicular to the adjoining wall. At the start of the curve, square off from the chalk line and measure out the distance of the radius to mark the curve’s centerpoint. For small curves (4 ft. or so), drive a nail at the centerpoint, hook the end of a tape measure on the nail, and draw the curve using the tape and a pencil as a compass; for larger curves, use a straight board nailed at the centerpoint.
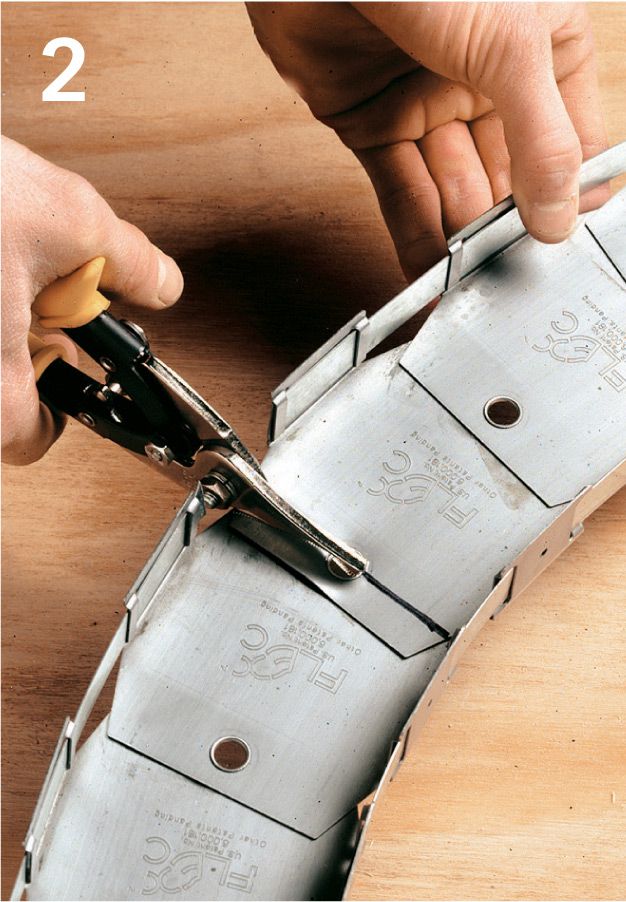
Position the track along the layout lines, following the curve exactly. Mark the end of the wall onto the track using a marker, then cut the track to length with aviation snips. Cut the top track to the same length.
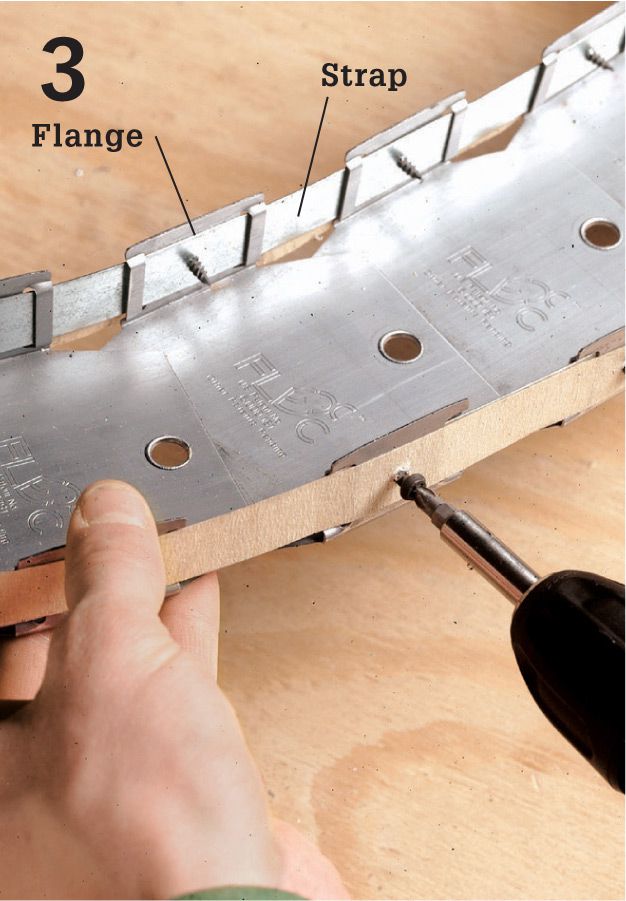
Reposition the bottom track on the layout, then apply masking tape along the outside flanges. Secure the track by driving a Type S screw through each flange and into the strap. Screw both sides of the track. Turn over the bottom track, then set the top track on top and match its shape. Tape and screw the top track.
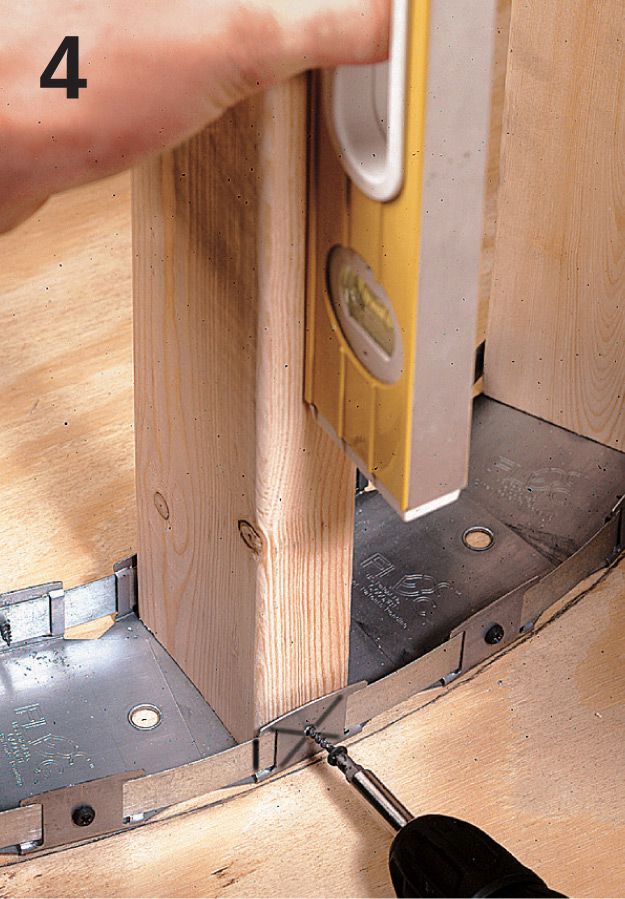
Fasten the bottom track to the floor, using 1 1/4" drywall screws. Mark the stud layout onto both tracks. Cut the studs to length. Install the studs one at a time, using a level to plumb each along its narrow edge, then driving a 1 1/4" screw through the flange or strap and into the stud on both sides.
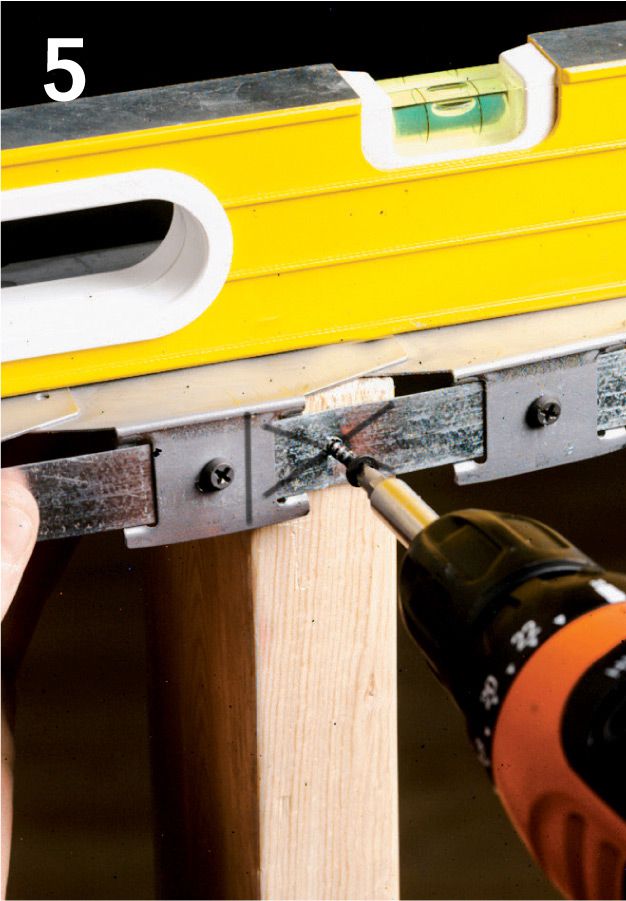
Fit the top track over the studs and align them with the layout marks. Fasten the studs to the top track with one screw on each side, checking the wall for level and height as you work. Set the level on top of the track, both parallel and perpendicular to the track, before fastening each stud.
 INSTALLING DRYWALL ON CURVES
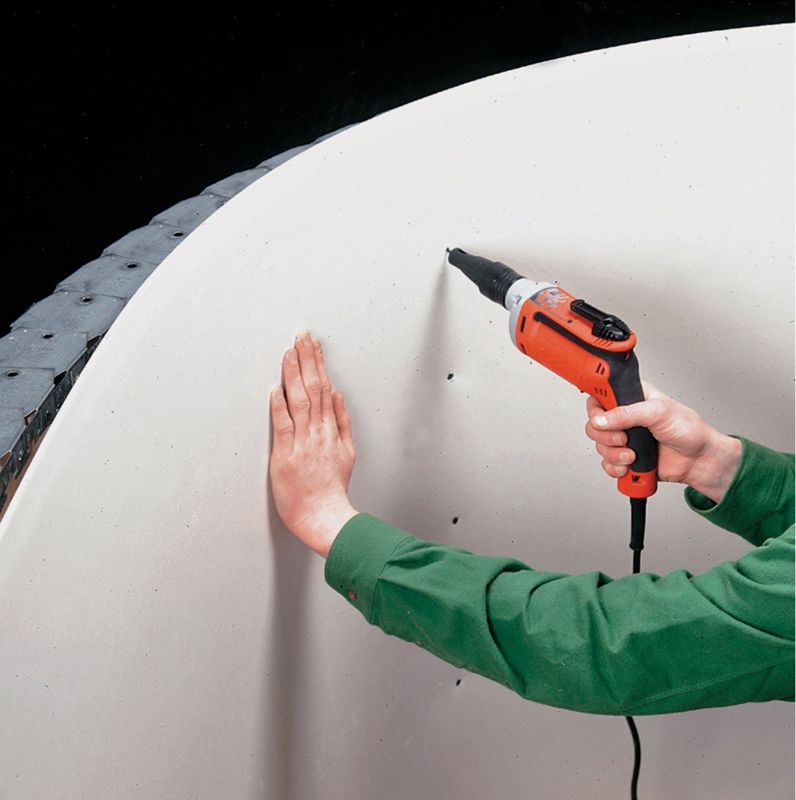
Use two layers of 1/4" flexible drywall for curved walls and arches. If there are butted seams, stagger the seams between layers.
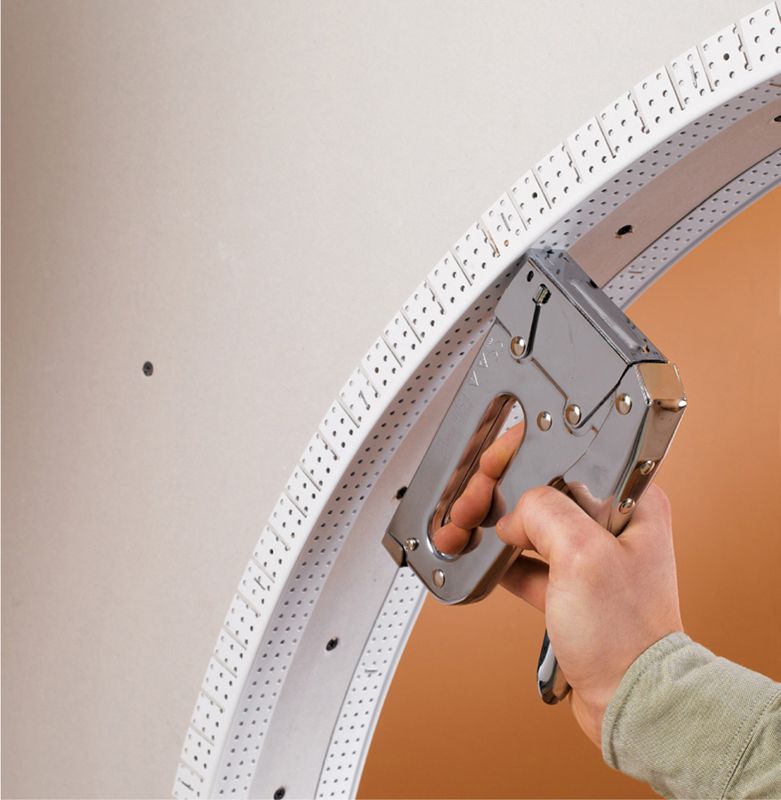
Install corner bead with adhesive and staples or drywall nails. Do not use screws to attach corner bead—they will cause the bead material to kink and distort.
 HANGING FLEXIBLE DRYWALL
Start at the center for concave curves. Cut the first panel a little long and position it lengthwise along the wall. Carefully bend the panel toward the midpoint of the curve and fasten it to the center stud. Work toward the ends to fasten the rest of the panel. Install the second panel over the first, then trim along the top of the wall with a drywall saw.
`
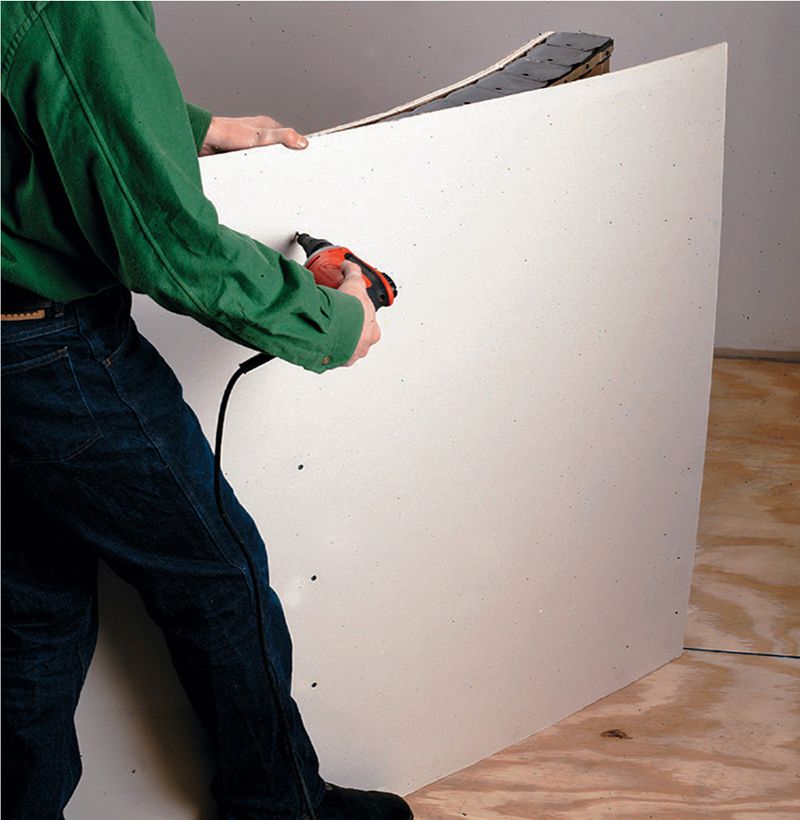
Start at one end for convex curves. Cut the panel long and fasten it lengthwise along the wall, bending the panel as you work. Add the second layer, then trim both to the framing. To cover the top of a curved wall, set a 1/2" panel on the wall and scribe it from below.
 HANGING DRYWALL IN ARCHWAYS
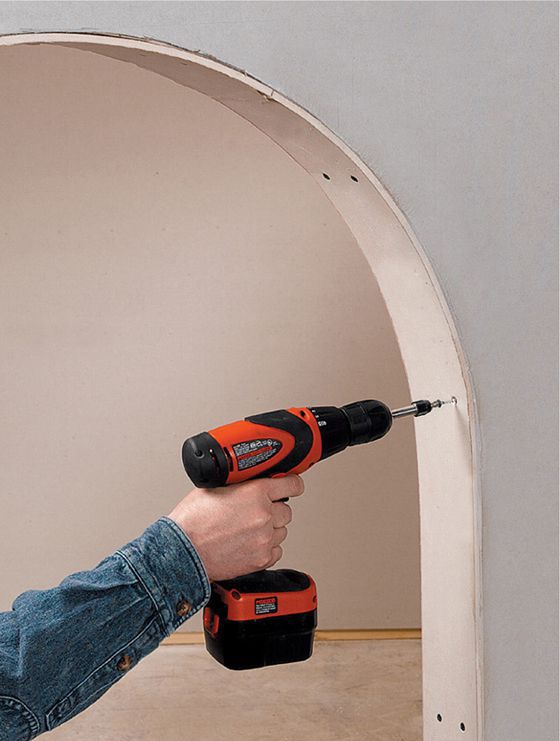
Cut 1/4" flexible drywall to width and a few inches longer than needed. Fasten to the arch with 1 1/4" drywall screws, working from the center out to the ends. Trim the ends of the piece and install a second to match the thickness of the surrounding drywall.
Variation: Score the backside of 1/2" drywall every inch (or more for tighter curves) along the length of the piece. Starting at one end, fasten the piece along the arch; the scored drywall will conform to the arch.

