FLOORS
FLOORS: UNDERLAYMENT
Underlayment is a thin layer of sheathing screwed or nailed to the subfloor to provide a smooth, stable surface for the floor covering. The type of underlayment you choose depends on the type of floor covering you plan to install. Ceramic and natural stone tile floors usually require an underlayment that stands up to moisture, such as cementboard. For vinyl flooring, use a quality-grade plywood; most warranties are void if the flooring is installed over substandard underlayments. If you want to use your old flooring as underlayment, apply an embossing leveler to prepare it for the new installation. Most wood flooring and carpeting do not require underlayment and are often placed on a plywood subfloor with only a cushion pad or rosin paper for underlayment.
When you install new underlayment, attach it securely to the subfloor in all areas, including under movable appliances. Notch the underlayment to fit the room’s contours. Insert the underlayment beneath door casings and moldings. Once the underlayment is installed, use a latex patching compound to fill gaps, holes, and low spots. This compound is also used to cover screw heads, nail heads, and seams in underlayment. Some compounds include dry and wet ingredients that need to be mixed, while others are premixed. The compound is applied with a trowel or drywall knife.
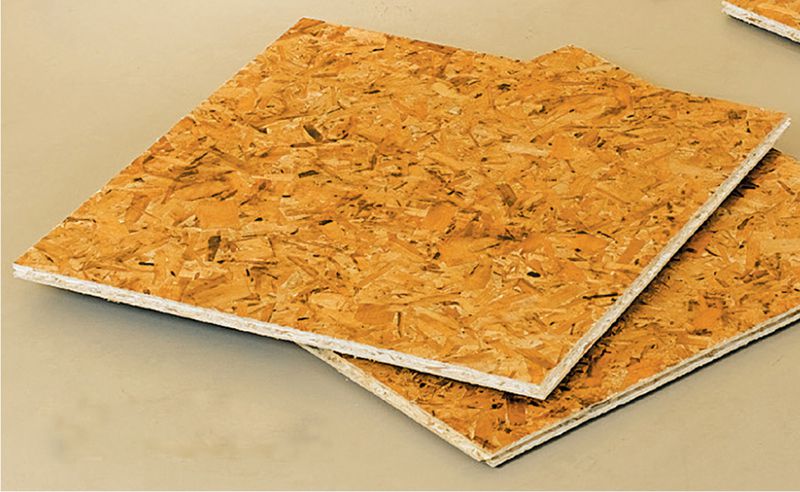
24 × 24" interlocking underlayment panels
 HOW TO INSTALL PLYWOOD UNDERLAYMENT
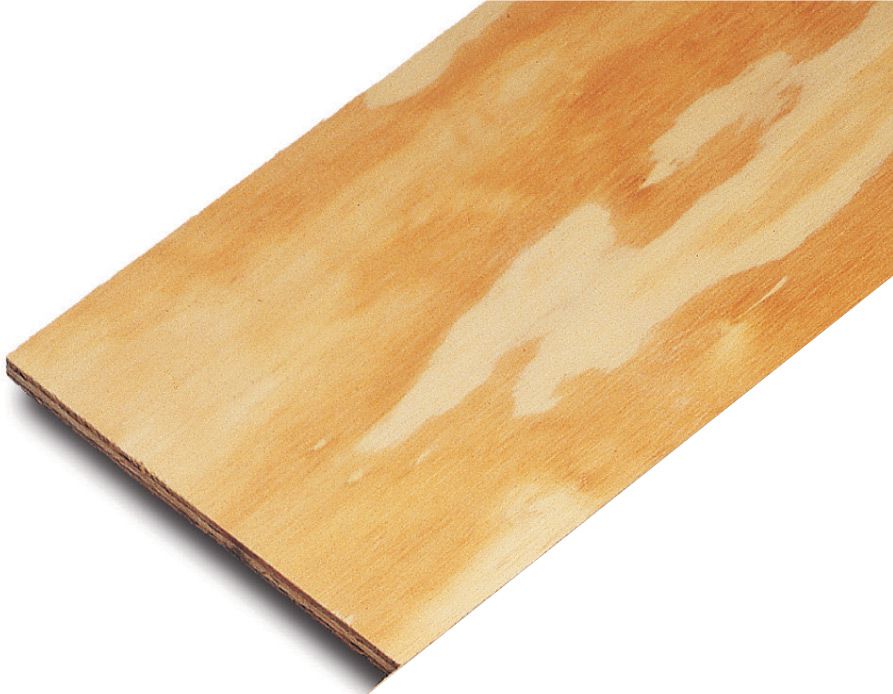
Plywood is the most common underlayment for sheet vinyl flooring and resilient tile. For vinyl, use 1/4" exterior-grade AC plywood. This type has one smooth, sanded side for a quality surface. Wood-based floor coverings, like parquet, can be installed over lower-quality plywood underlayment. When installing plywood, leave 1/4" expansion gaps at the walls and between sheets. Make sure the seams in the underlayment are offset from the subfloor seams.
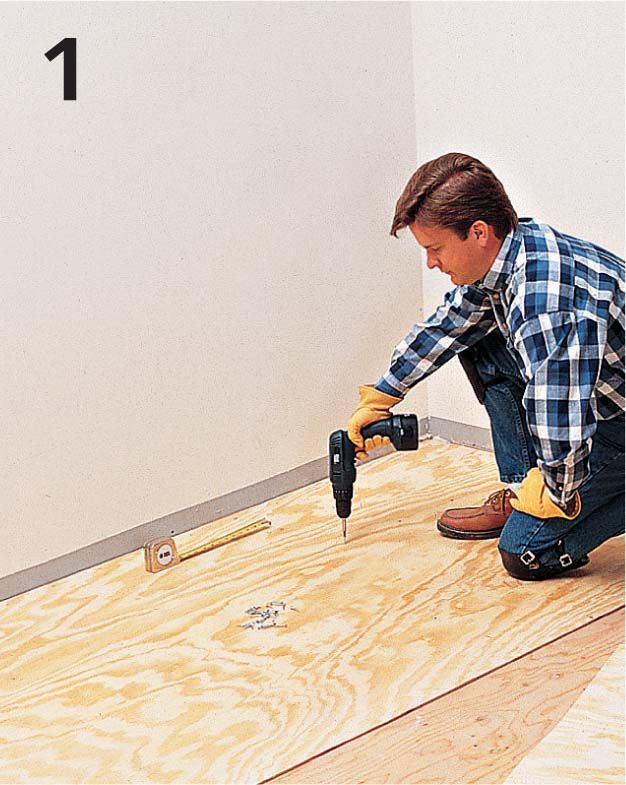
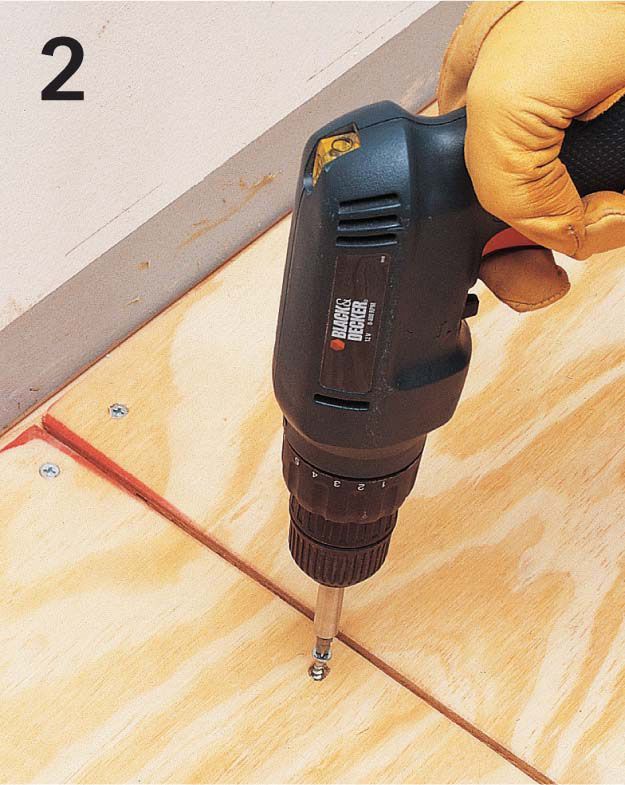
Install a piece of plywood along the longest wall, making sure the underlayment seams are not aligned with the subfloor seams. Fasten the plywood to the subfloor using 1" deck screws driven every 6" along the edges and at 8" intervals in the field of the sheet.
Continue fastening sheets of plywood to the subfloor, driving the screw heads slightly below the underlayment surface. Leave 1/4" expansion gaps at the walls and between sheets. Offset seams in subsequent rows.
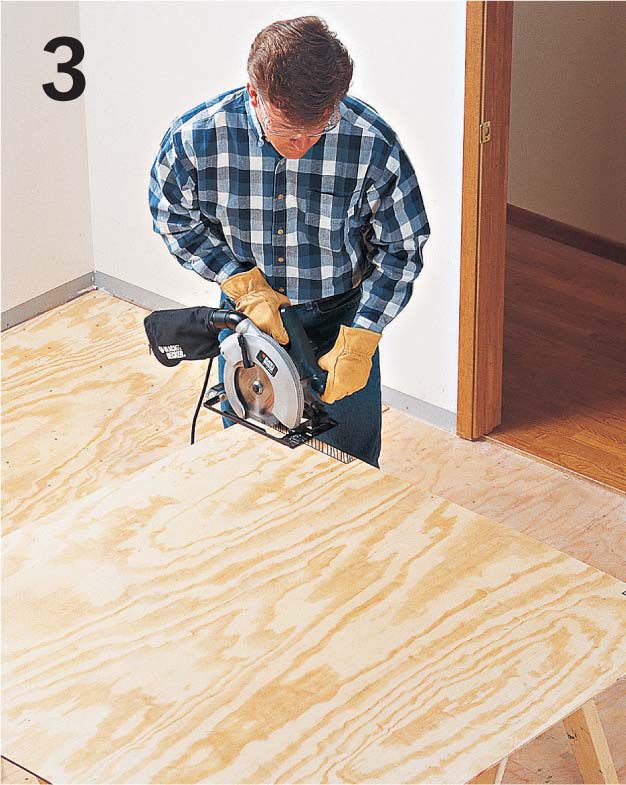
Using a circular saw or jigsaw, notch the plywood to meet the existing flooring in doorways. Fasten the notched sheets to the subfloor.
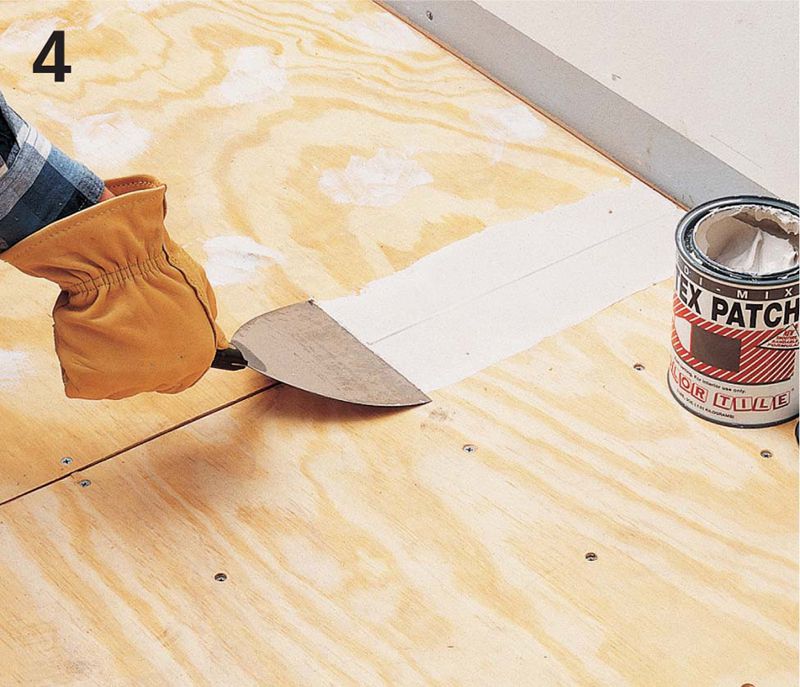
Mix floor-patching compound and latex or acrylic additive following the manufacturer’s directions. Spread it over seams and screw heads using a wallboard knife.
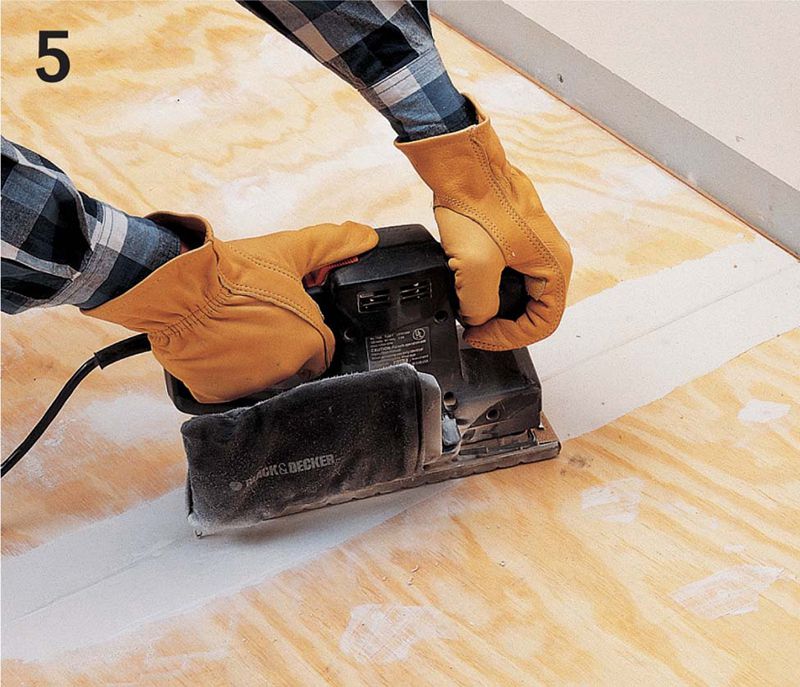
Let the patching compound dry, then sand the patched areas using a power sander.
INSTALLING CEMENTBOARD
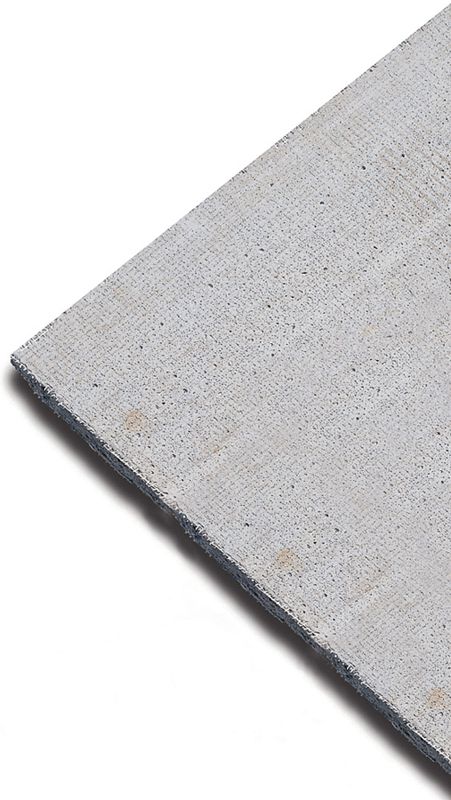
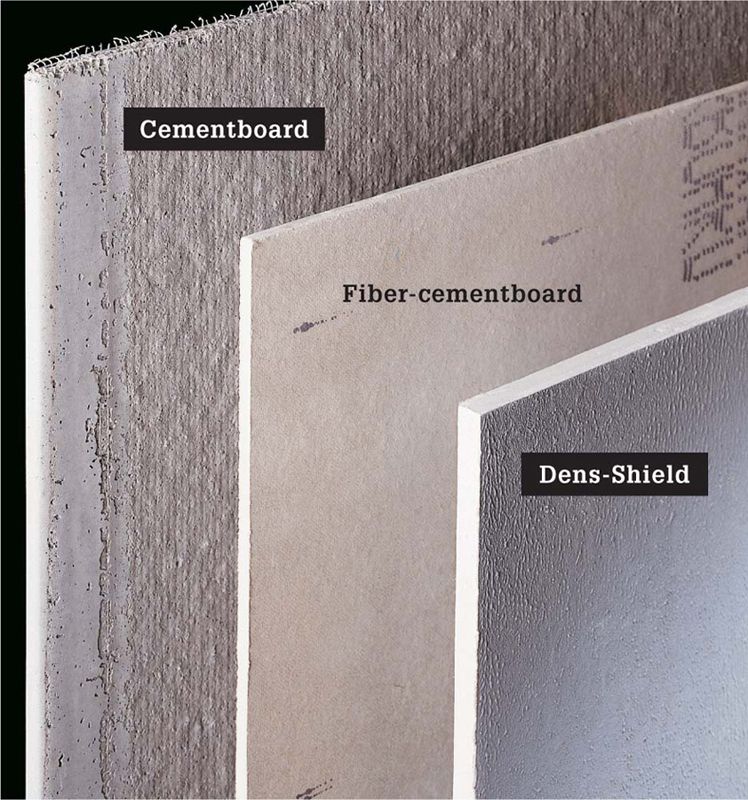
Ceramic and natural stone tile floors usually require an underlayment that stands up to moisture, such as cementboard. Fiber-cementboard is a thin, high-density underlayment used under ceramic tile and vinyl flooring in situations where floor height is a concern. Cementboard is used only for ceramic tile or stone tile installations. It remains stable even when wet, so it is the best underlayment to use in areas that are likely to get wet, such as bathrooms. Cementboard is more expensive than plywood, but a good investment for a large tile installation.
Common tile backers are cementboard, fiber-cementboard, and Dens-Shield. Cementboard is made from portland cement and sand reinforced by an outer layer of fiberglass mesh. Fiber-cementboard is made similarly, but with a fiber reinforcement integrated throughout the panel. Dens-Shield is a water-resistant gypsum board with a waterproof acrylic facing.
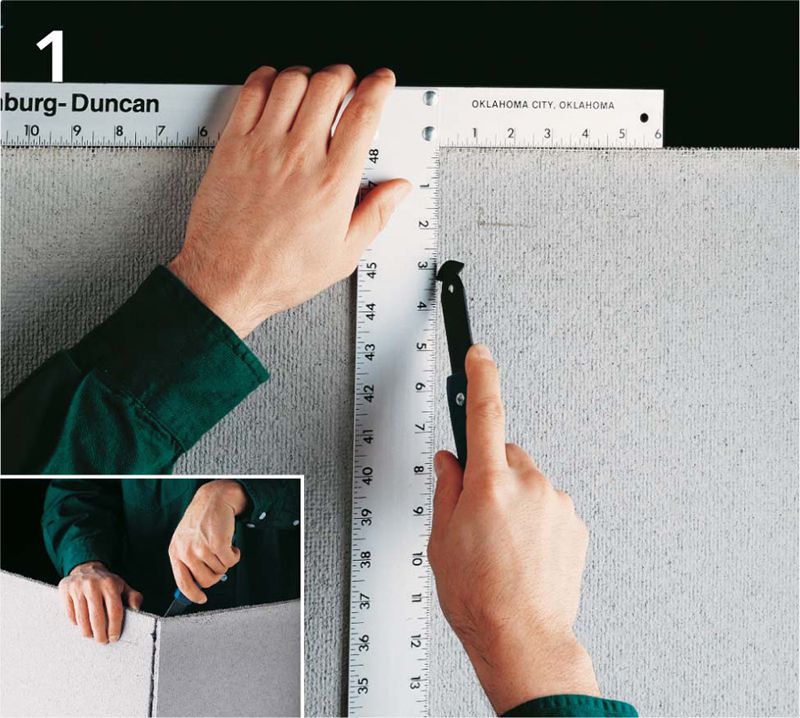
HOW TO INSTALL CEMENTBOARD
Cut cementboard by scoring through the mesh just below the surface using a utility knife or carbide-tipped cutter. Snap the panel back, then cut through the back-side mesh (inset). Note: For tile applications, the rough face of the board is the front.
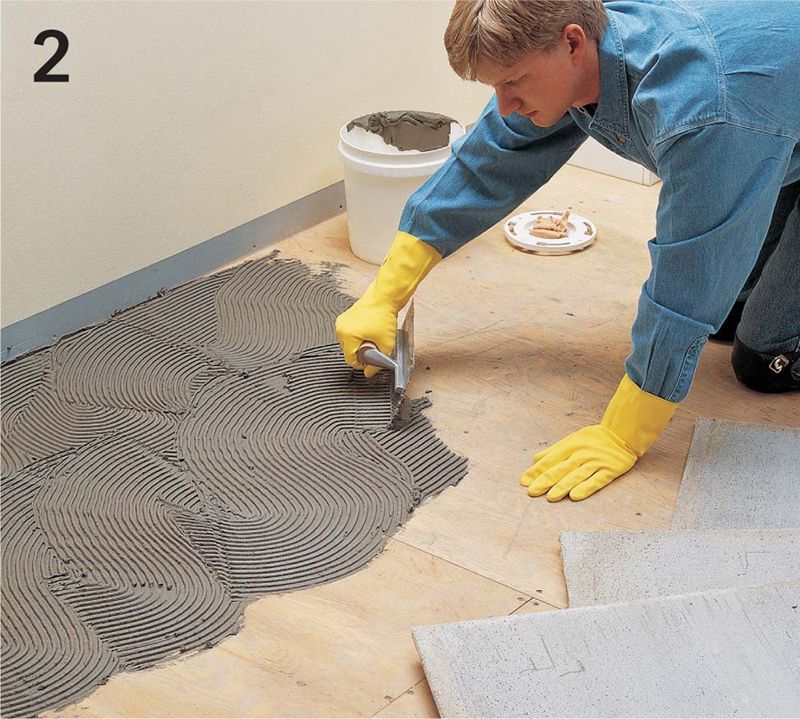
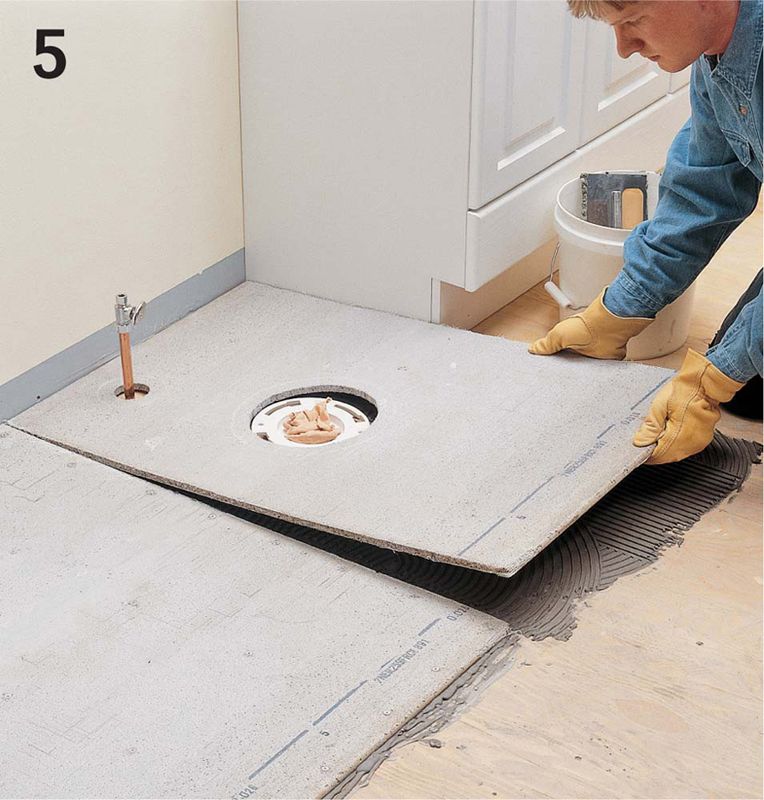
Mix thin-set mortar according to the manufacturer’s directions. Starting at the longest wall, spread the mortar on the subfloor in a figure eight pattern using a 1/4" notched trowel. Spread only enough mortar for one sheet at a time. Set the cementboard on the mortar with the rough side up, making sure the edges are offset from the subfloor seams.
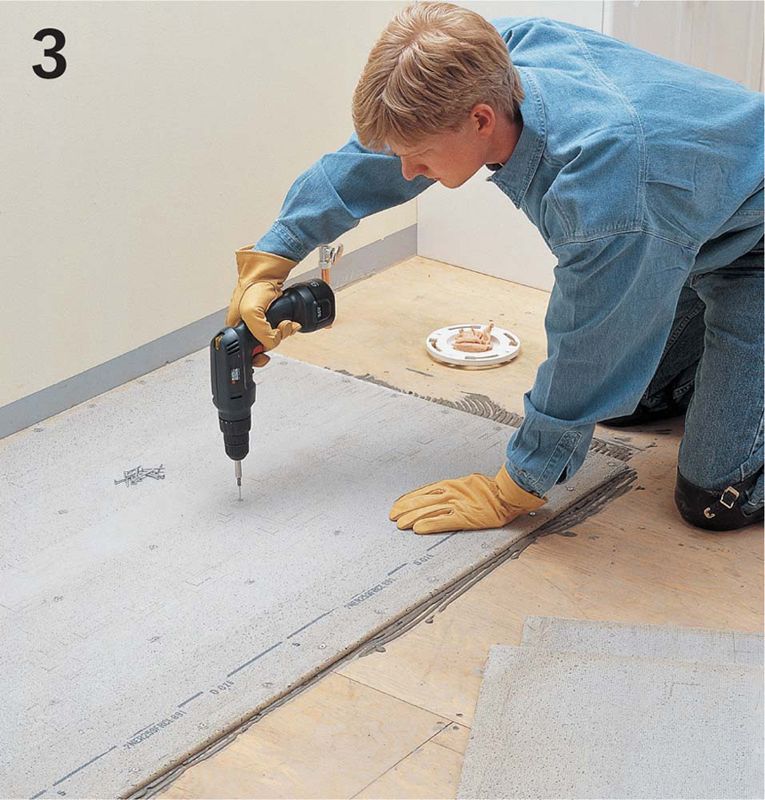
Fasten the cementboard to the subfloor using 1 1/4" cementboard screws driven every 6" along the edges and 8" throughout the sheet. Drive the screw heads flush with the surface. Continue spreading mortar and installing sheets along the wall. Option: If installing fiber-cementboard underlayment, use a 3/16" notched trowel to spread the mortar, and drill pilot holes for all screws.
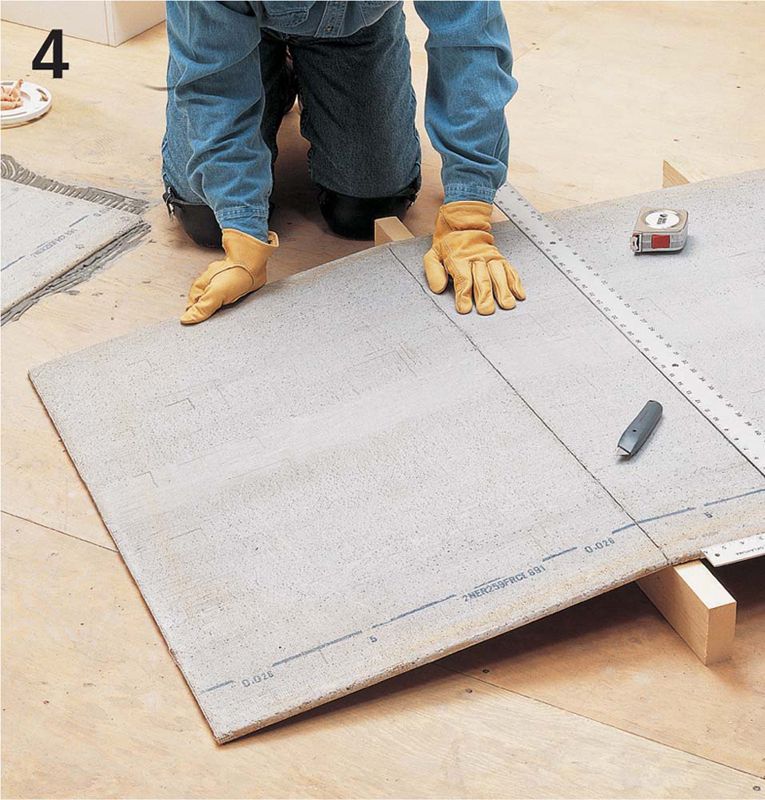
To cut holes, notches, or irregular shapes, use a jigsaw with a carbide-tipped blade. Continue installing cementboard sheets to cover the entire floor.
Cut cementboard pieces as necessary, leaving an 1/8" gap at all joints and a 1/4" gap along the room perimeter.
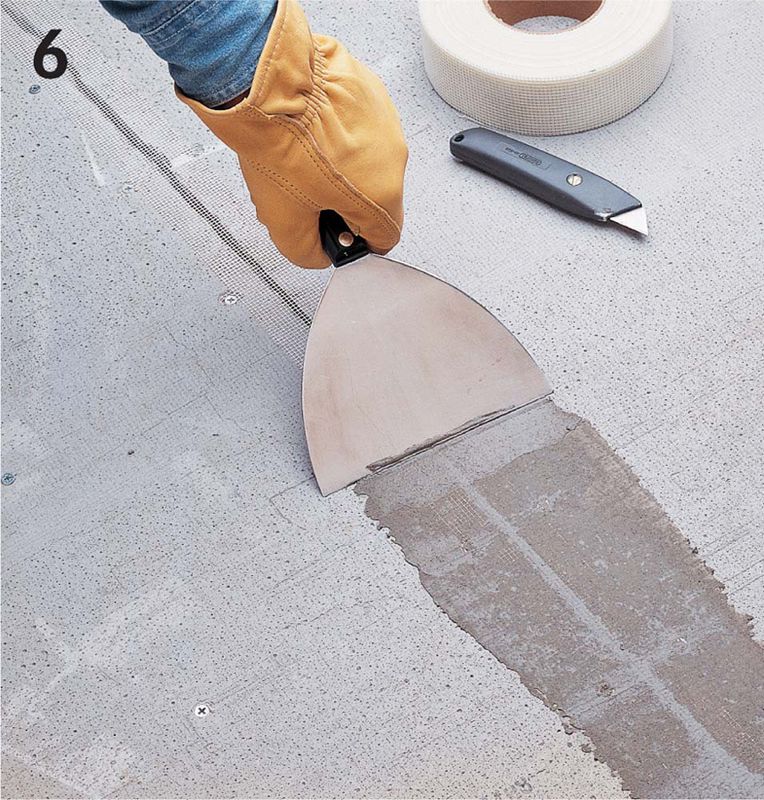
Place fiberglass-mesh wallboard tape over the seams. Use a wallboard knife to apply thin-set mortar to the seams, filling the gaps between sheets and spreading a thin layer of mortar over the tape. Allow the mortar to set for two days before starting the tile installation.