HOW TO INSTALL UNDERLAYMENT PANELS
When installing a new floor over a concrete base, raised underlayment panels that simply rest on the concrete can provide a great surface for other flooring materials. The tongue-and-groove plywood panels have dimpled plastic on the bottom. This allows air to circulate underneath so that the concrete stays dry, and insulates the flooring above. The assembled panels can support laminates, resilient sheets, or tiles. And you can install them in a weekend.
HOW TO INSTALL UNDERLAYMENT PANELS
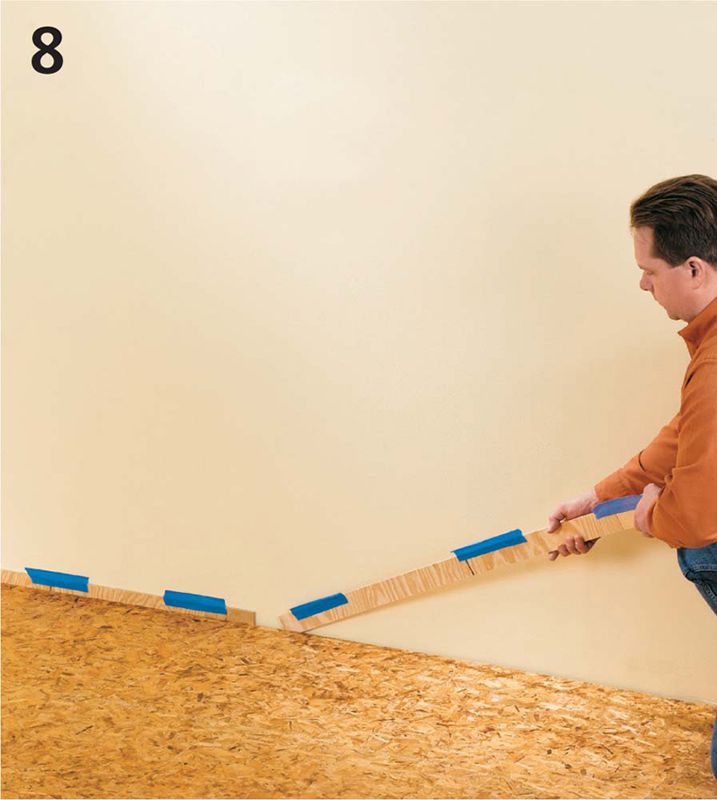
Start at one corner, and measure the length and width of the room from that starting point. Calculate the number of panels you will need to cover the space in both directions. If the starting corner is not square, trim the first row to create a straight starting line.
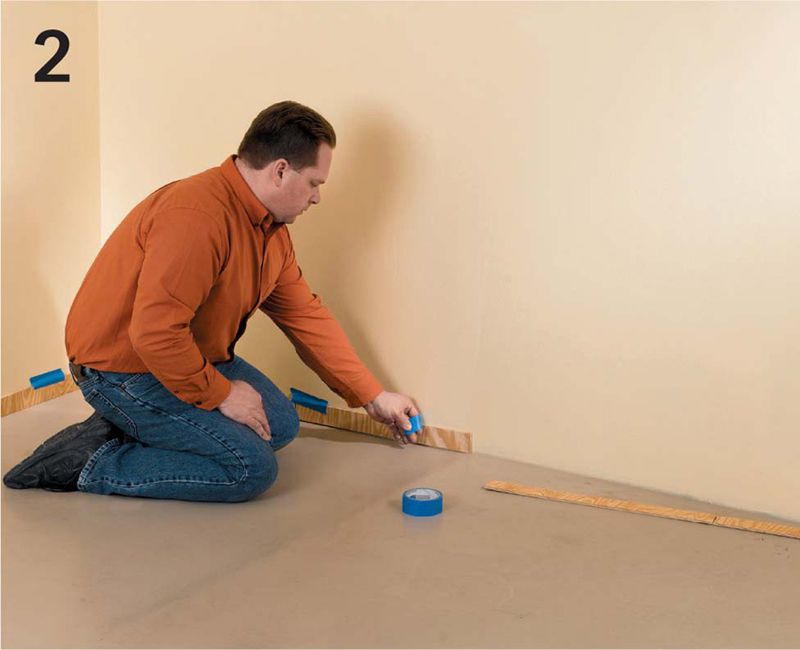
Create an expansion gap around the edges. Place 1/4" spacers at all walls, doors, and other large obstacles. To make your own spacers, cut sheets of 1/4" plywood to the thickness of the panels, and hold them in place temporarily with adhesive tape.
Dry-lay a row of panels across the room. If the last row will be less than 6" wide, balance it by trimming the first panel or the starting row, if necessary, to account for the row end pieces.
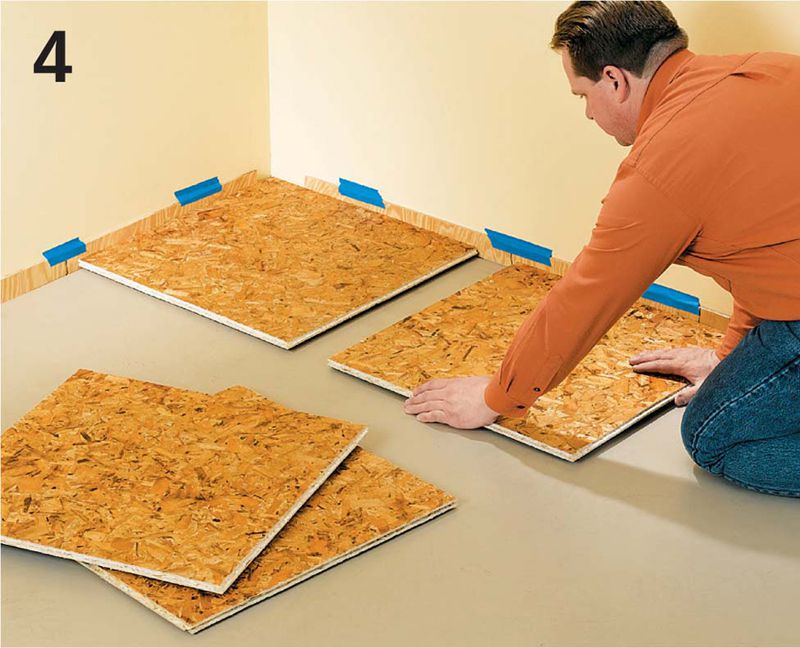
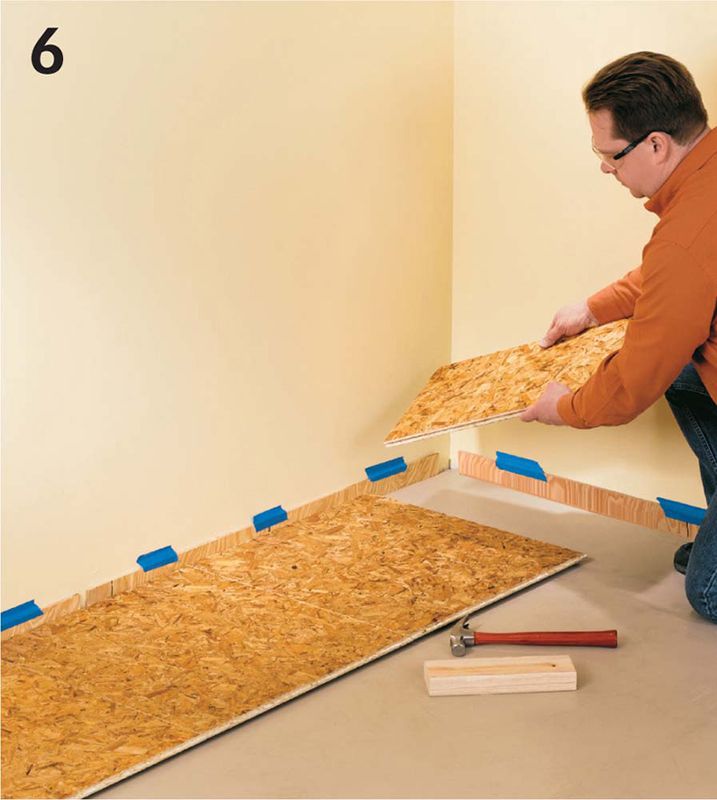
Starting in the corner, lay the first panel with the grooved side against the 1/4" spacers. Slide the next panel into place and press-fit the groove of the second panel onto the tongue of the first. Check the edges against the wall.
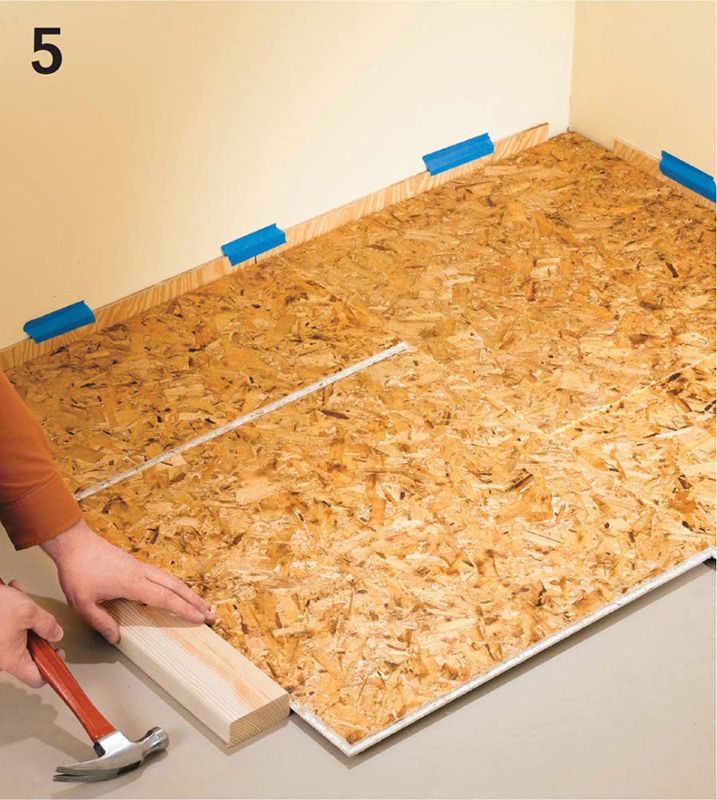
Repeat these steps to complete the first row. If necessary, tap the panels into place with a scrap piece of lumber and a rubber mallet or hammer—just be careful not to damage the tongue or groove edges. Starting with the second row, stagger the seams so that the panels interlock.
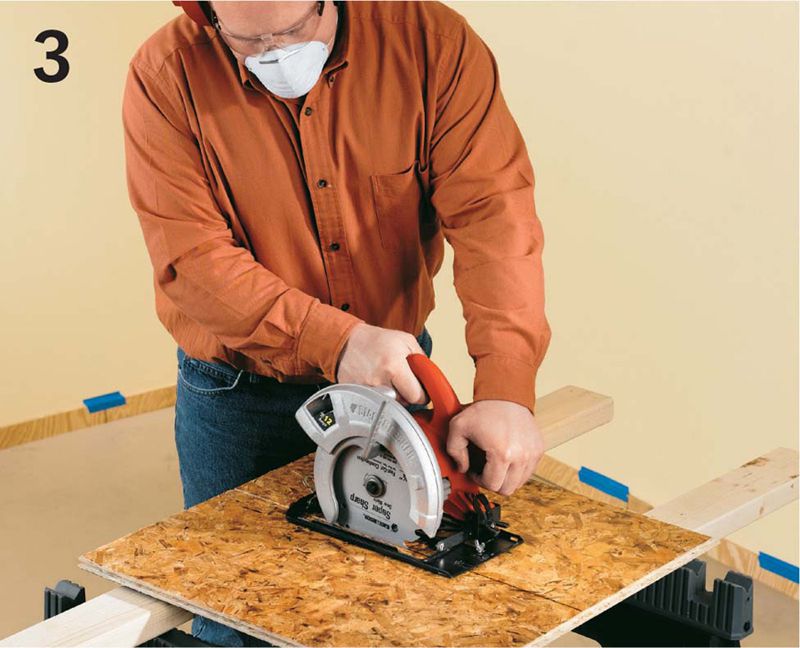
Cut the last panel to fit snugly between the next-to-last panel and the 1/4" spacer on the far wall. Install the last panel at an angle and tap it down. Continue working from the starting point, checking after each row to be sure the panels are square and level.
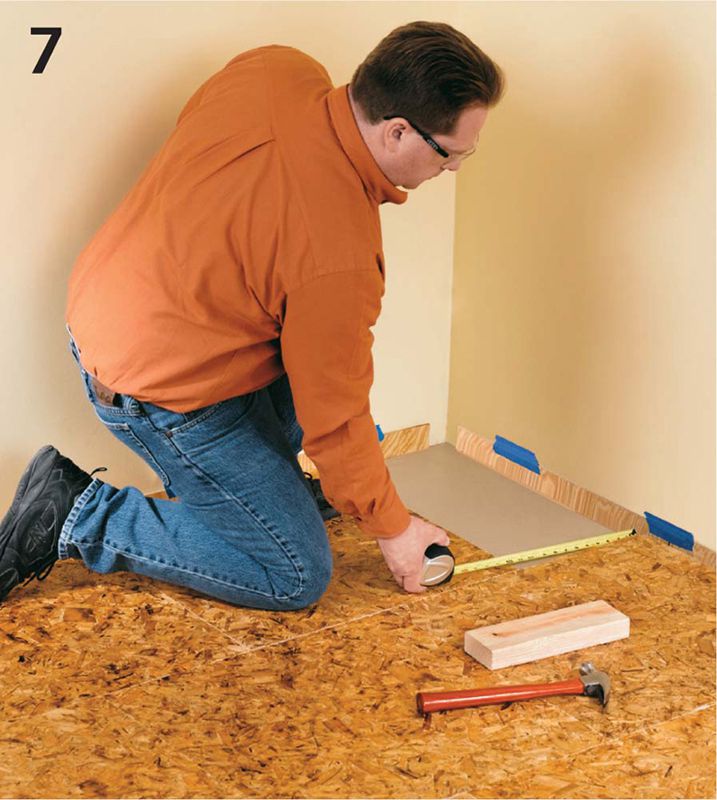
When you reach the last row and last panel to complete your installation, you may have to cut the panel to fit. Measure for fit, allowing for the 1/4" expansion gap from the wall. Cut the panel and fit it into place.
When all the panels are in place, remove the spacers from around the perimeter of the room. Note: You may choose to wait to remove the spacers until after your flooring project is finished, depending on the floor covering material.