Tools & Materials 
Hammer
Tape measure
Level
Circular saw
Carpenter’s pencil
2 × 6 lumber
16d nails
8d common nails
10d common nails
Protective equipment
Measurements are critical in framing a wall, but the actual components that go into the structure are fairly basic. Refer to your plans and be sure to account for all of the elements of your framed wall, including door and window openings. For any frame carpentry it usually works best to build the wall on the ground or floor, including the sill and cap plates. Then, raise the assembly, position it, and anchor it to the structural members beneath the subfloor.
Tools & Materials
Hammer
Tape measure
Level
Circular saw
Carpenter’s pencil
2 × 6 lumber
16d nails
8d common nails
10d common nails
Protective equipment
Hand Nailing 
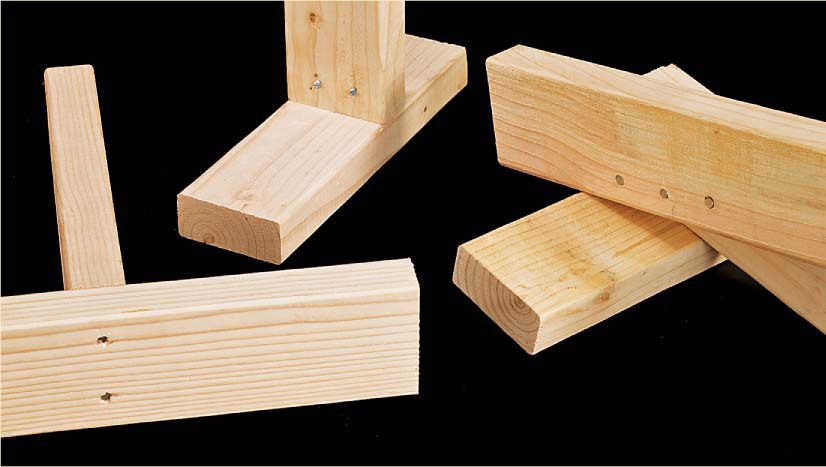
The best hand-nailing technique for joining framing members depends on whether you assemble the framed wall and then raise it, or you add boards one at a time in their final position. If you’re assembling the wall on the floor or ground, end-nail the studs to the plates whenever you can (left sample). End-nailed joints, usually made with 10d common nails, are strong and fast to make. To double up wall studs or headers, facenail the parts (right sample) with 8d common nails. Facenailing is also used for attaching jack studs to king studs. To fasten a vertical stud to a top or sole plate that is already in place, toenailing (middle sample) is your best option.
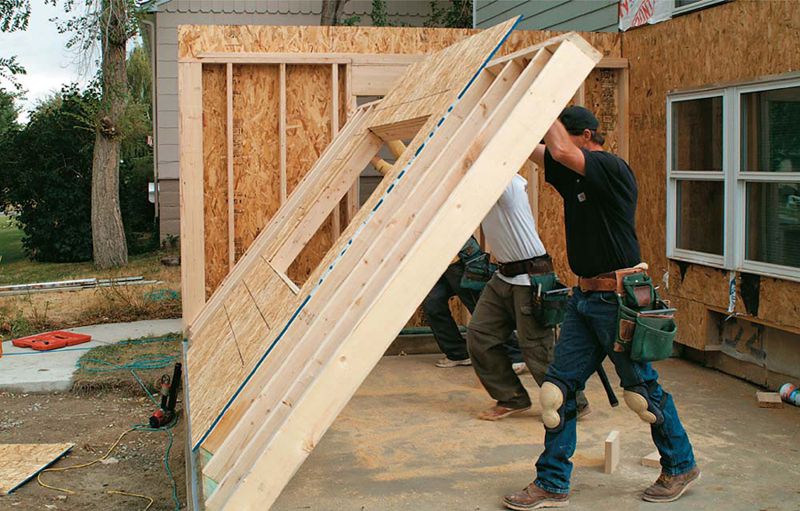
The wall raising is one of the more exciting moments in construction, as the shape of the structure begins to emerge. The basic idea is to build the addition as completely as you can before you cut into the house.
 HOW TO FRAME A WALL
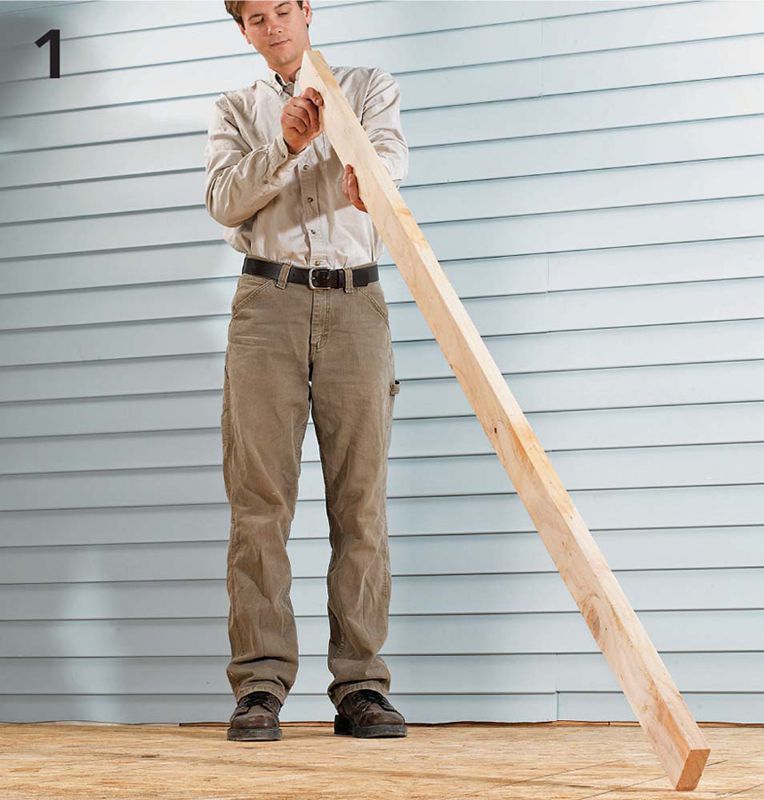
Sight down the studs and top and sole plates and replace any with warps or obvious imperfections. Cut the plates and studs to uniform lengths, using a stop block. If you have designed your addition with 8-ft.-tall walls, look for pre-cut 925/8" studs. Note: In most climates today, your wall framing members should be made of 2 × 6 lumber, not the 2 × 4 lumber seen here. Code requirements for minimum wall insulation generally require a deeper 2 × 6 stud bay.
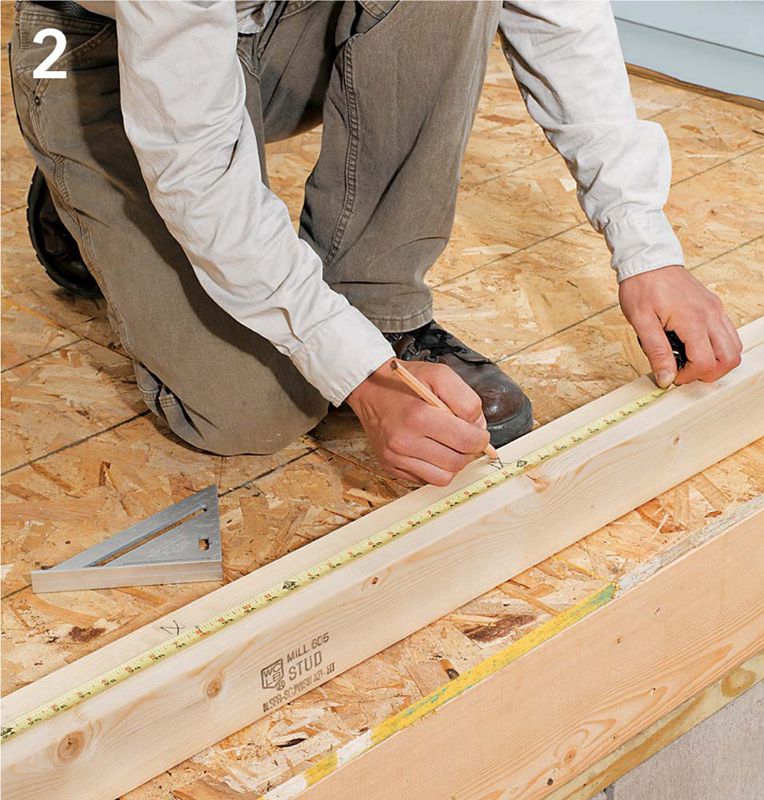
Gang-mark the wall stud locations on the sole and top plates. Cut the plates to length first and clamp the ends together, making sure they are flush. In most cases, the studs should be 16" on-center. Draw an X on the side of the marking lines where the stud will fit.
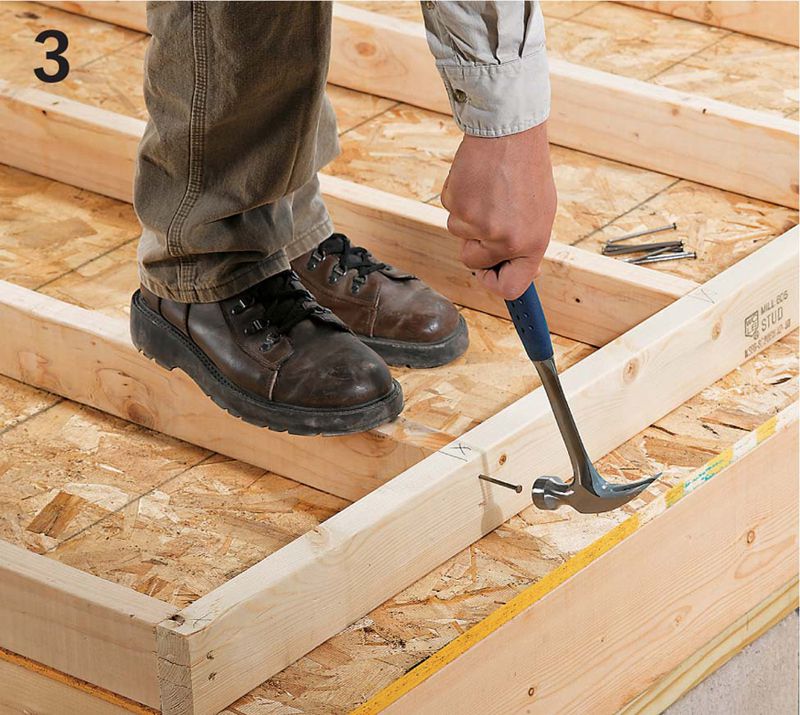
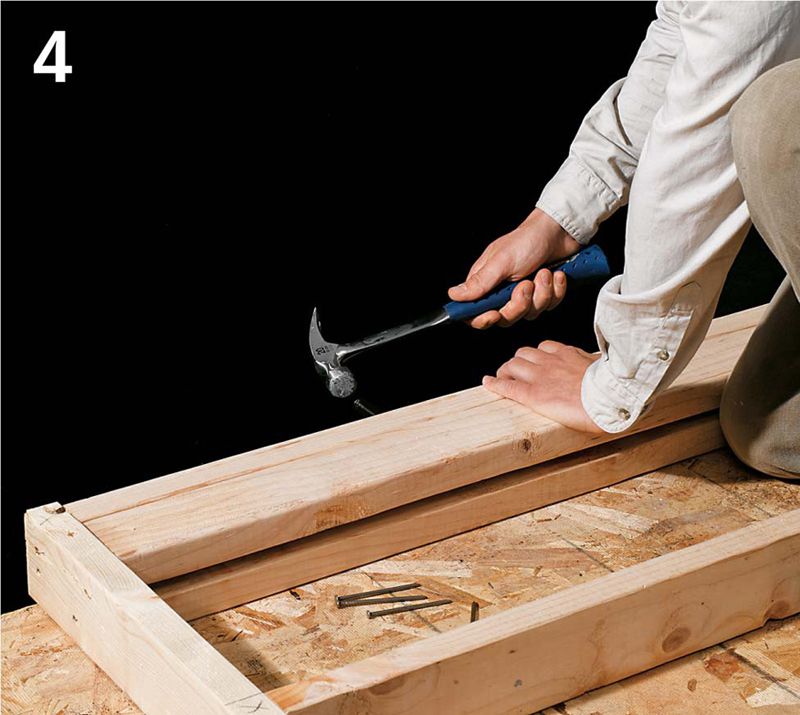
With sole plate lying on edge, face nail through the sole plate and into the bottoms of the studs. Use two or three 16d common nails per stud. Then, nail the top plate to the other end of the studs so that the wall is framed, lying down.
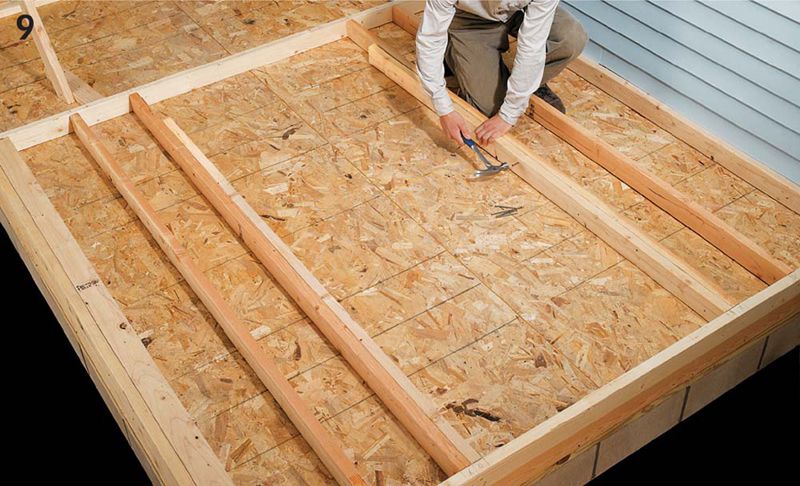
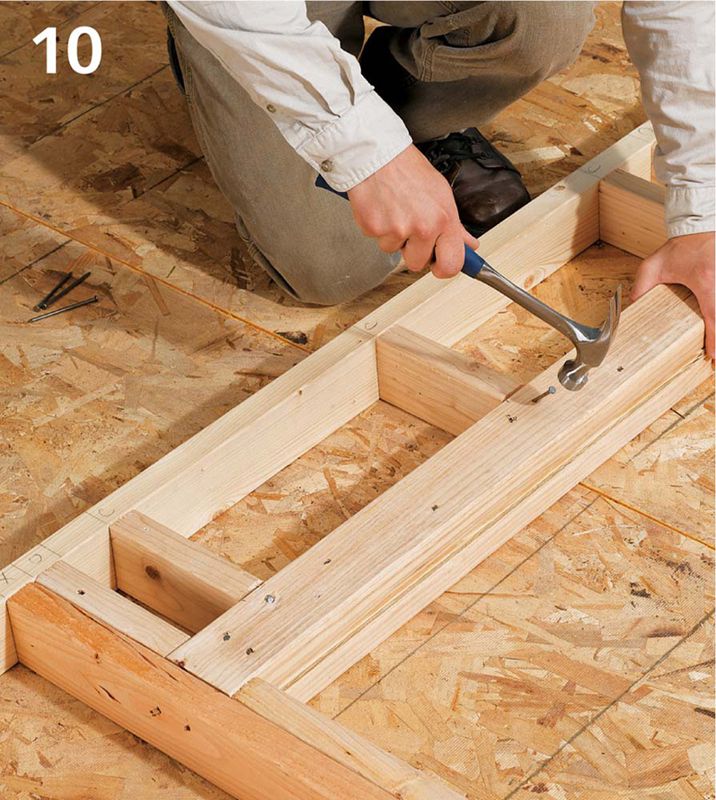
Build the wall corners. There are several ways you can create interlocking corners so the wall can be attached easily and accurately to the adjoining framed wall. Here, a pair of studs are installed perpendicular to the corner stud to create nailing surfaces for the adjoining wall and for the exterior wall sheathing at the corner.
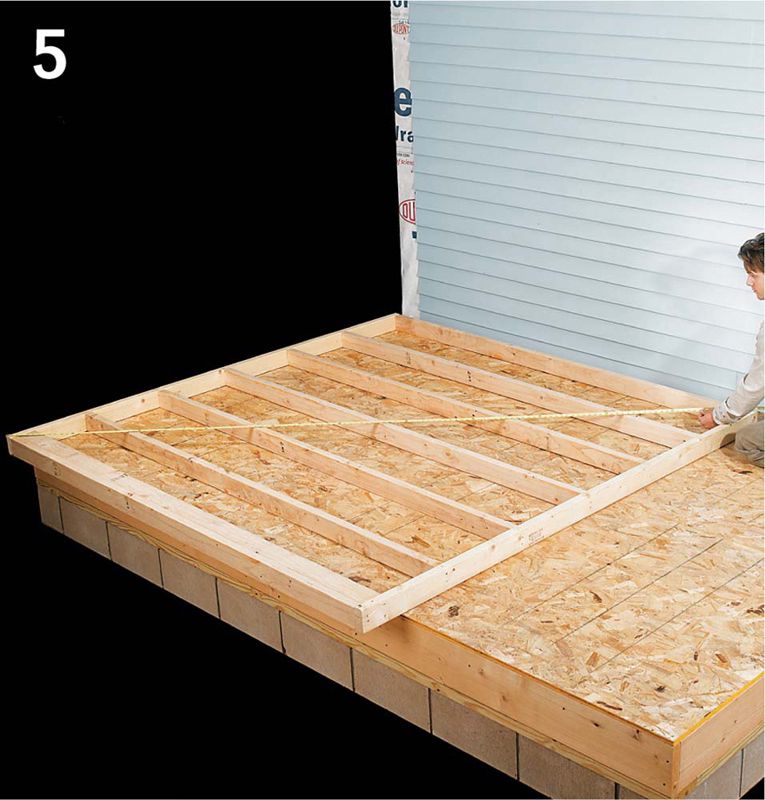
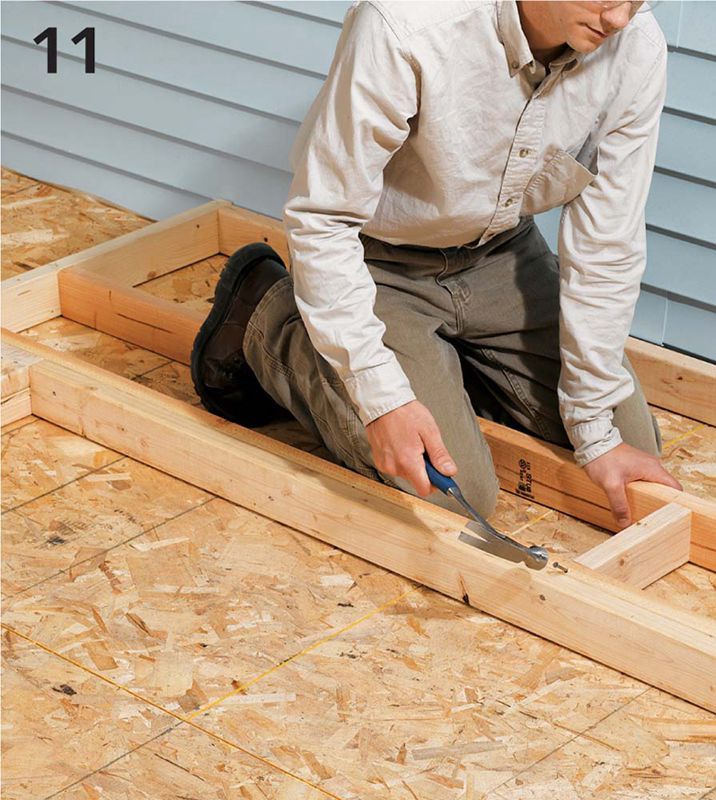
Measure the diagonals of the wall to check that it is square. If the diagonal measurements are not identical, use pressure (and clamps if necessary) to pull the wall frame into square. If the diagonals just won’t match, measure the wall studs and make sure none of the studs is too long or too short.
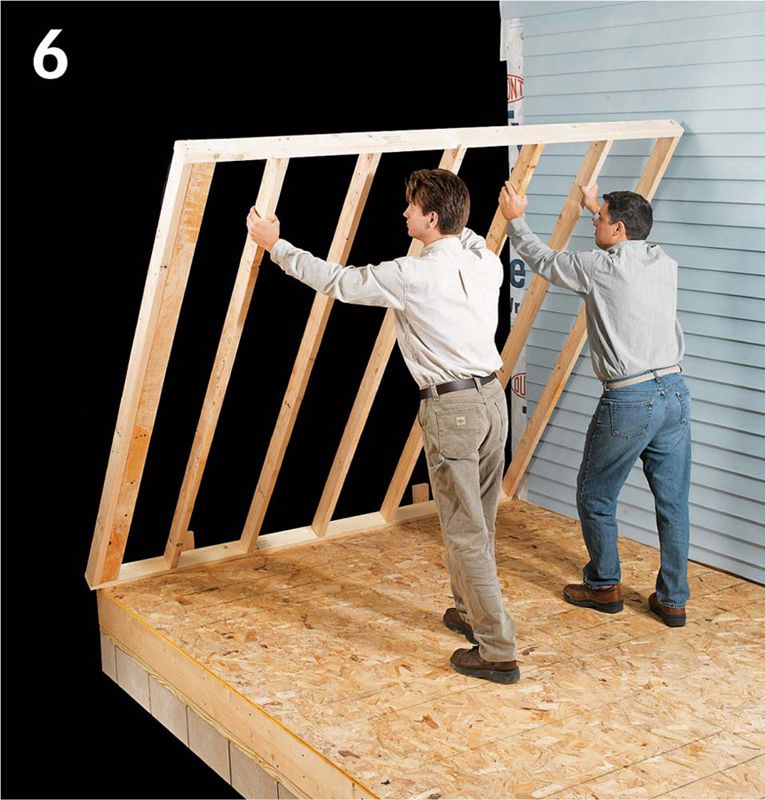
Raise the first wall. Nail guide blocks to the outside edge of the rim joist to create stops for the soleplate. With a helper, raise the wall into position and check the studs for plumb and the wall for level. If the wall abuts the house make sure it fits cleanly against the wall (the siding should have been removed at the wall tie-in spot by this point).
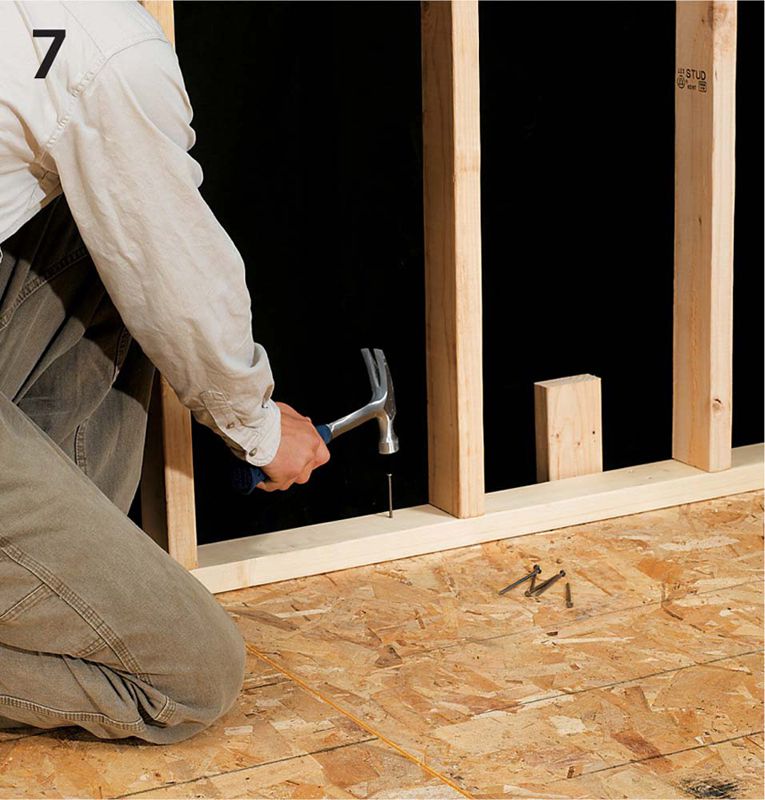
Nail the soleplate to the structural members beneath the subfloor with pairs of 16d common nails spaced every 14" to 16". Attach a 2 × 4 brace to an intermediate stud and anchor the other end to a stake in the ground.
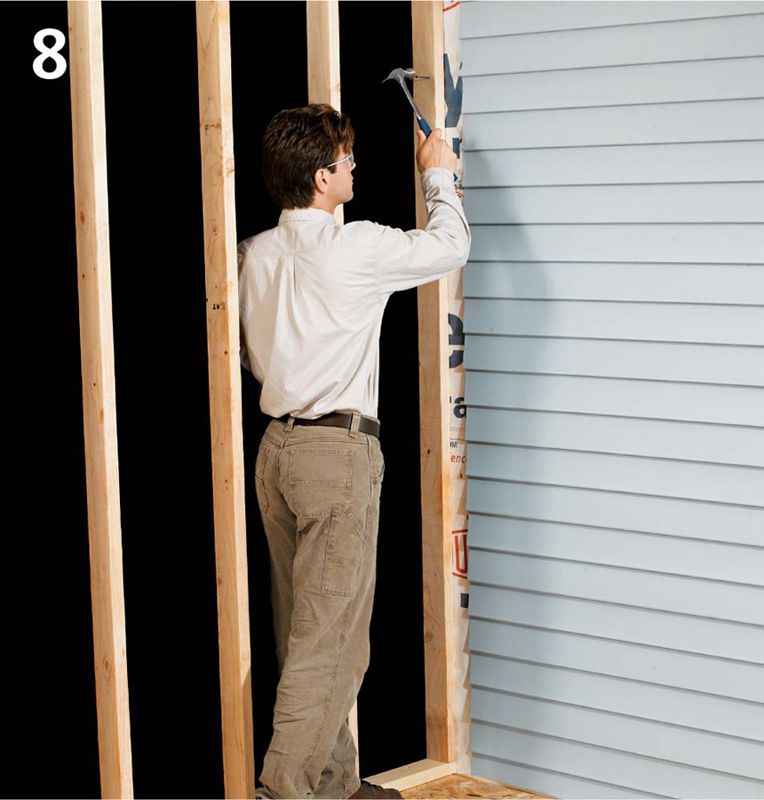
Plumb the wall, then nail the corner wall stud to the existing house structure. If you did not plan your addition so the wall meets the house at a house stud location, you’ll need to remove the exterior wall sheathing in the installation area and install 2 × 4 or 2 × 6 nailing blocks between the wall studs on each side of the opening.
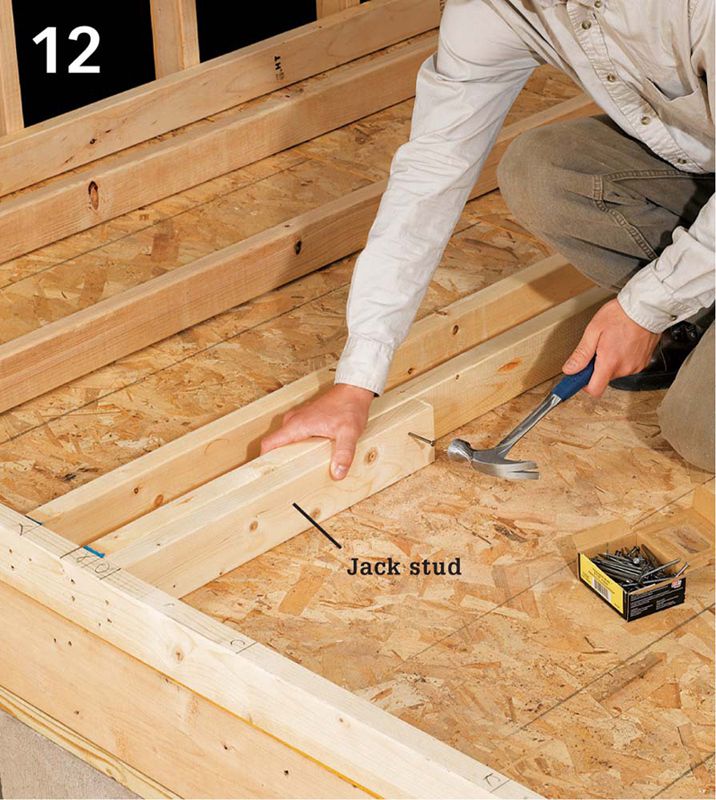
Begin building the second wall. If the wall includes an exterior door, nail king studs into place allowing for the rough-in width of the pre-hung door unit plus 3" (for the jack studs). Face nail jack studs in place.
Constructing a Header
Door and window openings are wider than normal stud spacing, so they require a head beam, or header, to transfer the overhead weight to the studs at the sides of the opening. Professional builders commonly make their own headers by sandwiching 1/2" plywood between two 2× pieces. The width of the 2× depends on the width of the opening and how much overhead load the wall carries; check your local codes. The pieces are laminated with construction adhesive and then nailed from both sides to create a strong header that measures exactly as wide as the thickness of a 2 × 4 wall. For 2 × 6 walls, construct a box from parallel 2×s on all sides and fill it with insulation.

Place the header on the tops of the jack studs with the ends flush against the king studs. Drive 10d common nails through the king studs and into the header. Then, cut cripple studs to fit between the header and the top plate, maintaining the 16" o.c. spacing. Toenail the cripple studs into position.
Add extra blocking next to the door opening for improved security.
Add framing for windows as needed. Nail king studs into place, allowing for the rough-in width of the window plus 3". Facenail jack studs into place above the sole plate to the bottom of the sill.
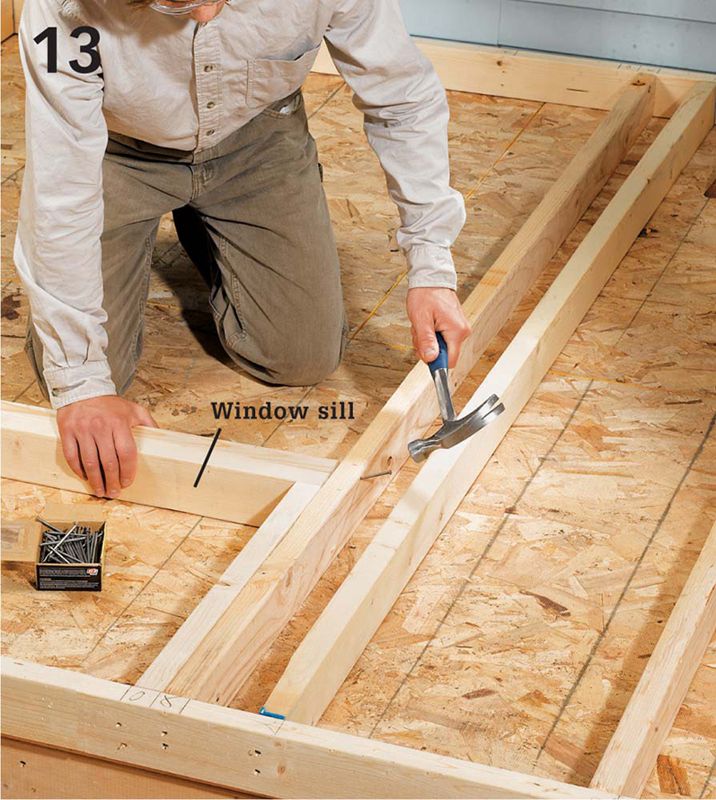
Nail a doubled 2 × 4 window sill into place on top of jack studs. Drive 10d common nails through the king studs and into the ends of the double sill.
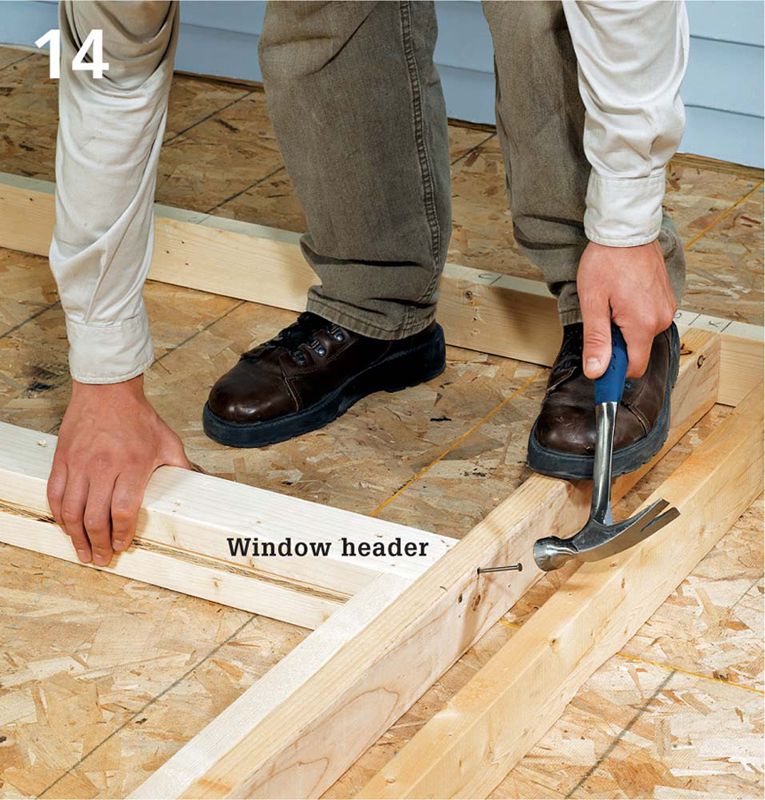
Nail the window header into position above the top jack studs, facenailing it through the king studs.
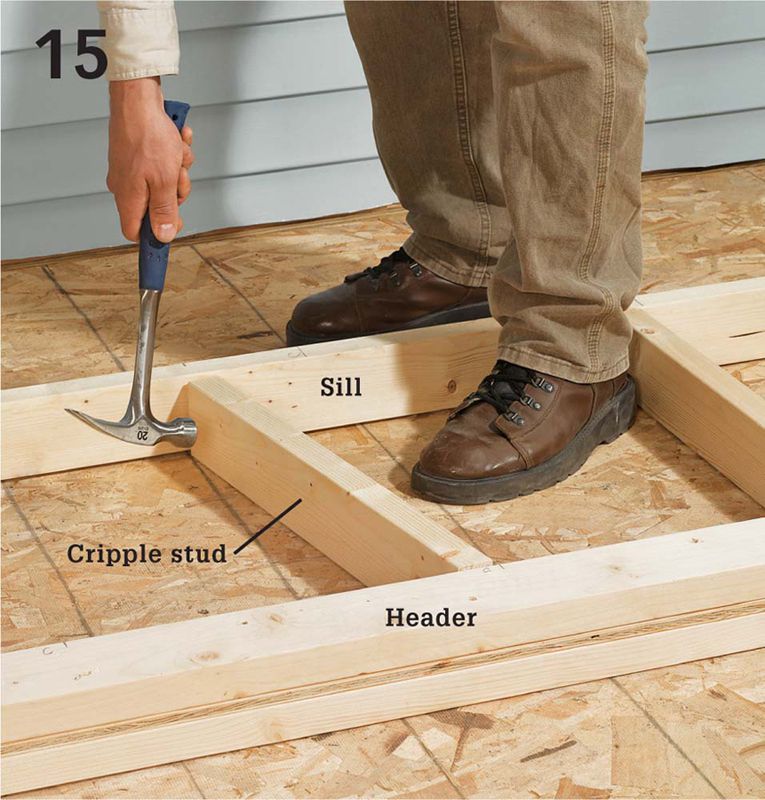
Nail cripple studs above the header and below the sill, adding more cripples as necessary to maintain at least 16" o.c. spacing for studs.

Tie adjoining wall frames together by nailing them at the corners, and add overlapping top plates to lock the walls together.