Tools & Materials 
Chalk line
Tape measure
Drill
Hacksaw
1 1/4" deck screws
Gutters
Drain pipes
Connectors
Fittings
Hangers
Protective equipment
Installing a snap-together vinyl gutter system is a manageable task for most do-it-yourselfers. Snap-together gutter systems are designed for ease of installation, requiring no fasteners other than the screws used to attach the gutter hangers to the fascia.
Before you purchase new gutters, create a detailed plan and cost estimate. Include all of the necessary parts, not just the gutter and drain pipe sections—they make up only part of the total system. Test-fit the pieces on the ground before you begin the actual installation.
Tools & Materials
Chalk line
Tape measure
Drill
Hacksaw
1 1/4" deck screws
Gutters
Drain pipes
Connectors
Fittings
Hangers
Protective equipment
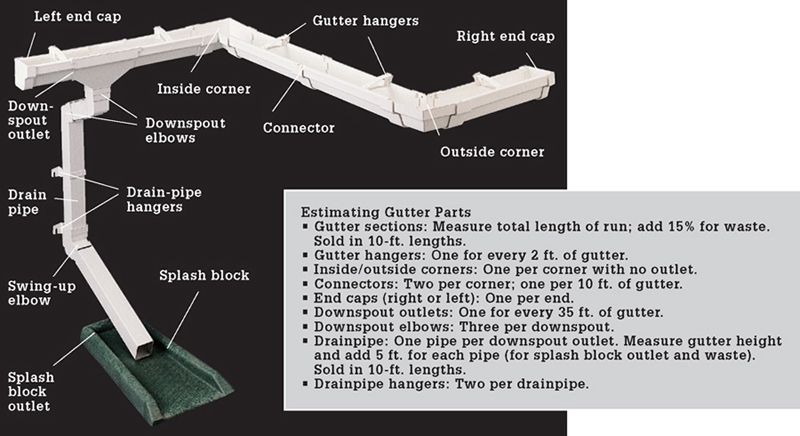
Vinyl snap-together gutter systems are easy to install and relatively inexpensive, and they won’t rot or deteriorate. The slip joints allow for expansion and contraction, which contribute to their reliability and longevity.
 HOW TO INSTALL VINYL GUTTERS
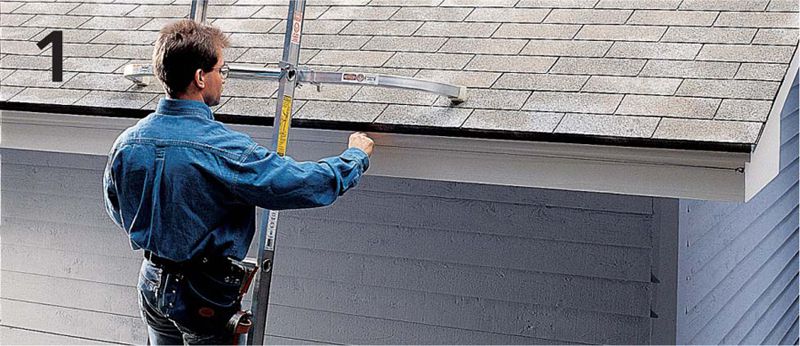
Mark a point at the high end of each gutter run, 1" from the top of the fascia. Snap chalk lines that slope 1/4" per 10 ft. toward downspouts. For runs longer than 35 ft., mark a slope from a high point in the center toward downspouts at each end.

Install downspout outlets near the ends of gutter runs (at least one outlet for every 35 ft. of run). The tops of the outlets should be flush with the slope line, and they should align with end caps on the corners of the house.
Following the slope line, attach hangers or support clips for hangers for a complete run. Attach them to the fascia at 24" intervals using deck screws.
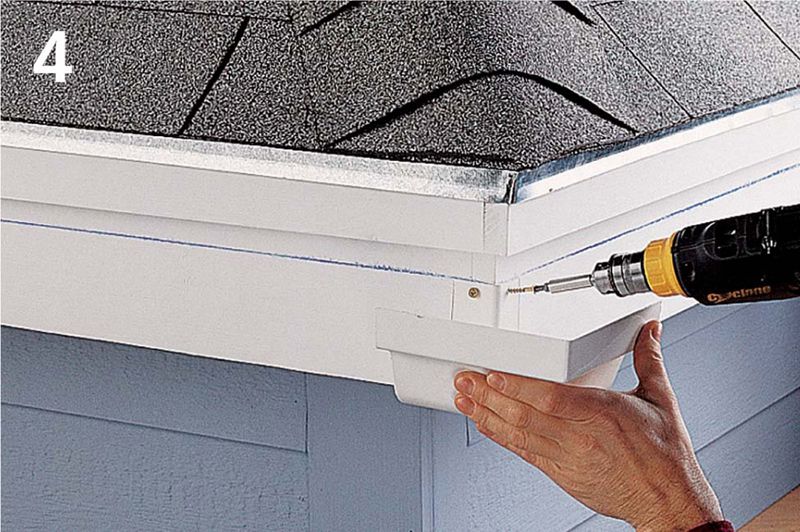
Following the slope line, attach outside and inside corners at all corner locations that don’t have end caps.
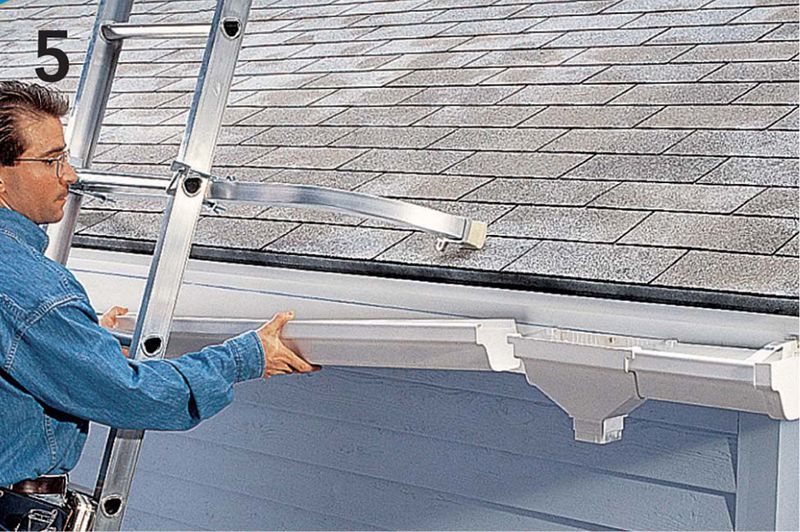
Use a hacksaw to cut gutter sections to fit between outlets and corners. Attach the end caps and connect the gutter sections to the outlets. Cut and test-fit gutter sections to fit between outlets, allowing for expansion gaps.
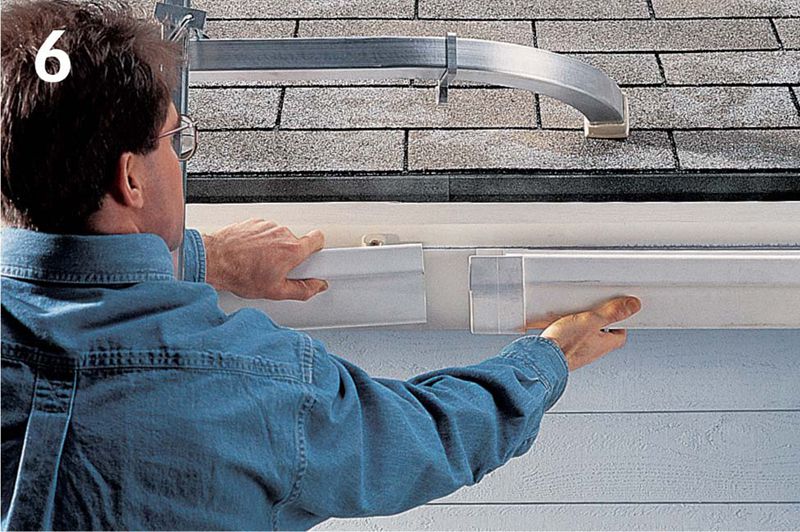
Working on the ground, join the gutter sections together using connectors. Attach gutter hangers to the gutter (for models with support clips mounted on the fascia). Hang the gutters, connecting them to the outlets.
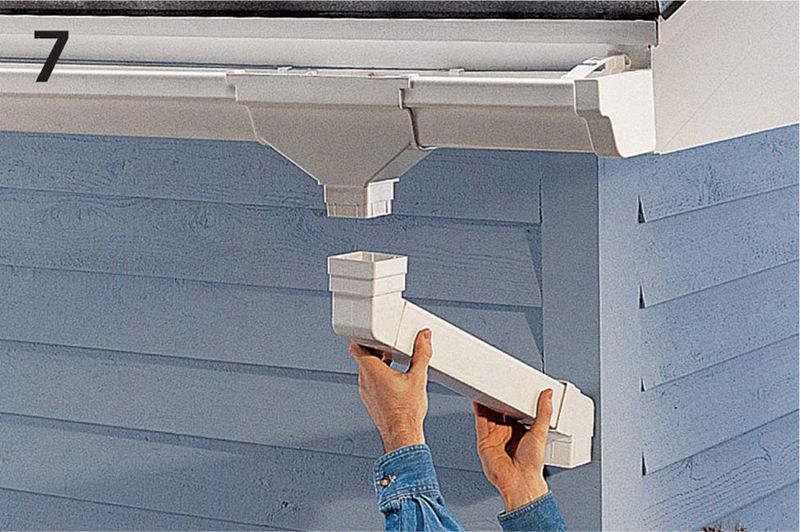
Cut a section of drainpipe to fit between two downspout elbows. One elbow should fit over the tail of the downspout outlet and the other should fit against the wall. Assemble the parts, slip the top elbow onto the outlet, and secure the other to the siding with a drainpipe hanger.
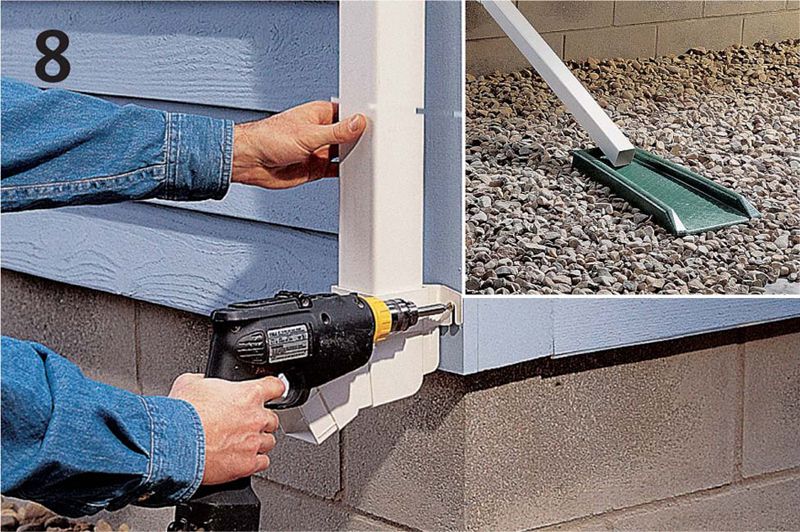
Cut a piece of drainpipe to fit between the elbow at the top of the wall and the end of the drainpipe run, staying at least 12" above the ground. Attach an elbow, and secure the pipe to the wall with a drainpipe hanger. Add accessories, such as splash blocks, to help channel water away from the house (inset).
