EXTERIOR
GUTTERS (SEAMLESS): INSTALLING
Seamless gutters are continuous lengths of gutters, rather than two or more sections fastened together. By eliminating the seams, you eliminate the potential for leaks. However, “seamless” is a bit of a misnomer. There are still seams at the corners and ends, which need to be sealed.
The gutters should extend slightly past the edge of the fascia, aligning with the edges of the roofing. The back edge of the gutter slides behind the drip edge. When preparing the gutters, zip screws are preferred over rivets. They don’t require predrilling, and they can be unscrewed later.
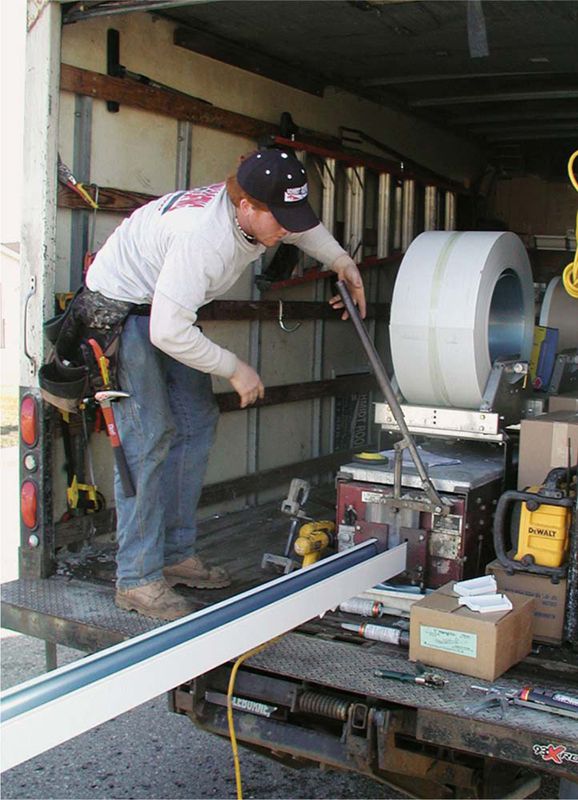
Seamless gutters are fabricated on-site, or they can be delivered to your home at the specified length.
 HOW TO INSTALL SEAMLESS GUTTERS
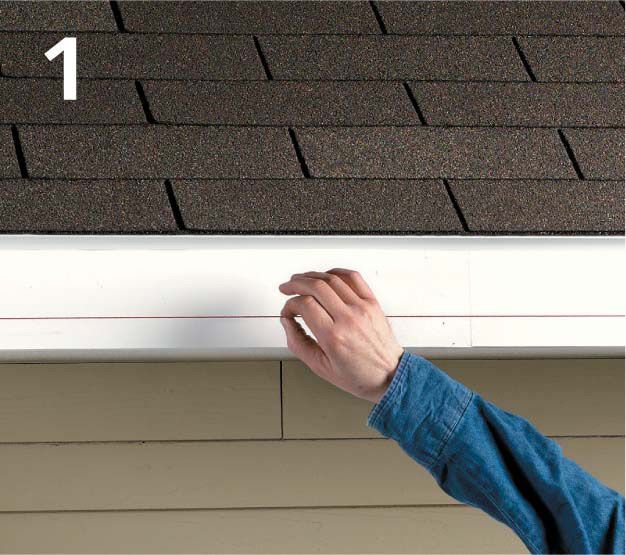
At the fascia’s midpoint, measure down from the drip edge and make a mark for the bottom of the gutter. Mark both ends of the fascia, adding a 1/4" slope for every 10 ft. of gutter. Snap chalk lines between the marks.
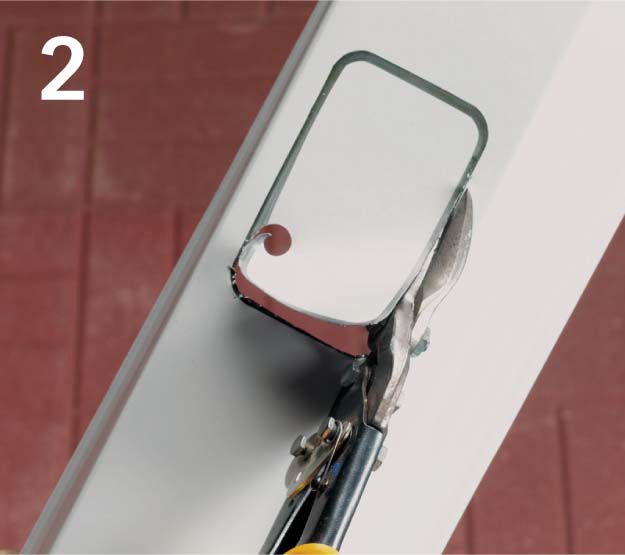
Mark the downspout locations on the gutter. Set a gutter outlet at each mark, centered from front to back, and trace around it. Cut out the holes using aviation snips or a rotary saw.
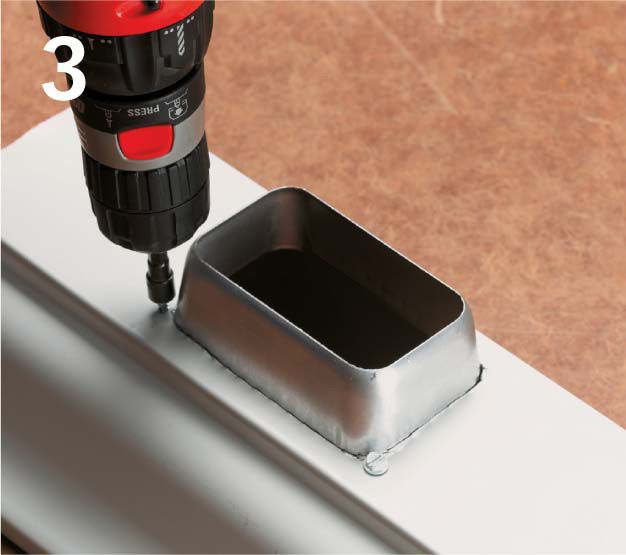
Apply a bead of sealant under the lip of the outlet. Place the outlet in the hole in the gutter. Press firmly in place, then attach from the bottom side of the gutter using zip screws.
Place an end cap over the end of the gutter. Drive zip screws through the flange into the gutter. Apply ample sealant along the inside edges of the cap.
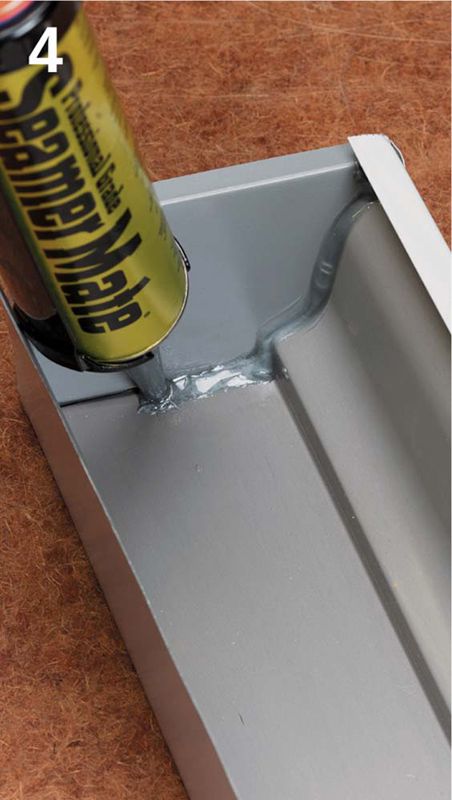
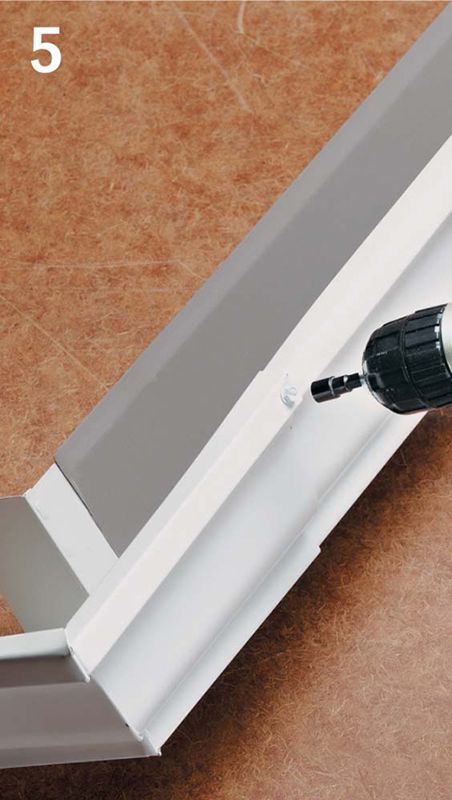
Apply a small bead of sealant on the bottom and sides inside a corner box. Slide the end of the gutter inside the box. Fasten the gutter and box together using zip screws. Apply ample sealant along the inside seam.
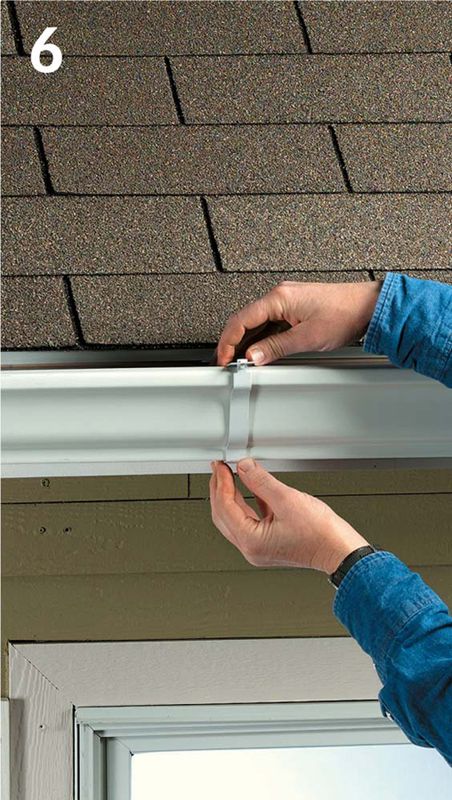
Clip gutter hangers to the gutter every 24”. Lift the gutter into place, sliding the back side under the drip edge and aligning the bottom with the chalk line. Drive the nail or screw in each hanger through the fascia to install.
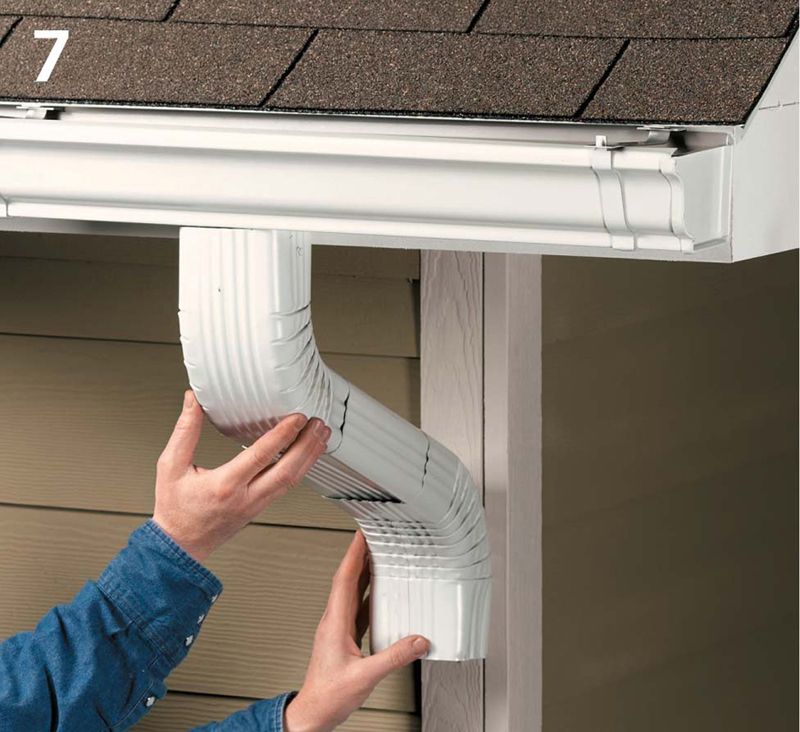
Fasten an elbow to the gutter outlet, driving a zip screw through each side. Hold another elbow in place against the house. Measure the distance between the elbows, adding 2" at each end for overlap. Cut a downspout to this length using a hacksaw. Crimp the corners of the downspout for easy insertion and fasten together. Tip: Assemble the elbows and downspout so the top pieces always fit inside bottom pieces.
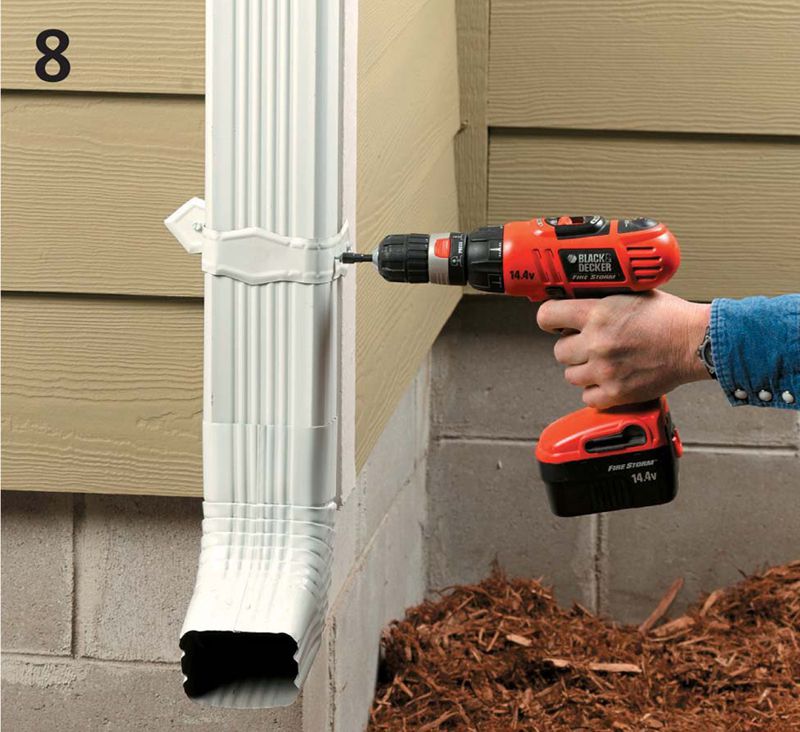
Fasten downspout brackets to the wall for the top and bottom of the downspout and every 8 ft. in between. Cut a downspout that spans the length of the wall, and attach it to the elbow at the top. Install another elbow at the end of the downspout. Fasten the brackets to the downspout.

